Mini Red Velvet Cheesecakes
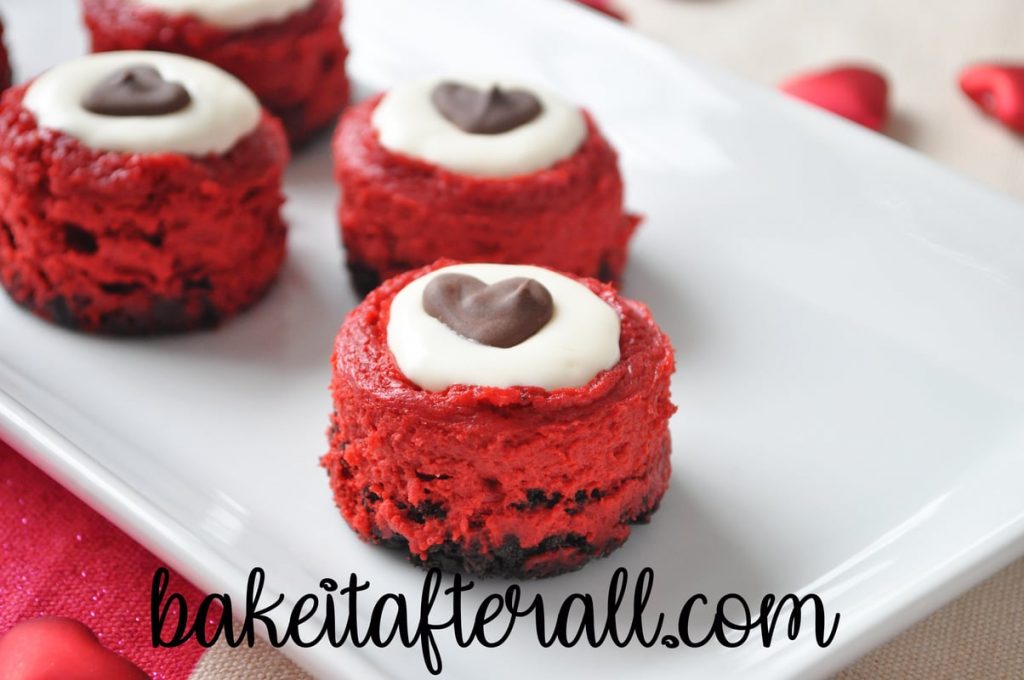
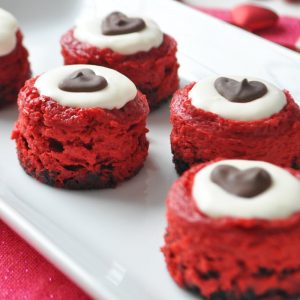
Mini Red Velvet Cheesecakes have a chocolate cookie crust and red velvet cheesecake filling with a cream cheese topping. Gluten free option and instructions for how to make chocolate heart decorations. Cute and festive for the holidays or Valentine’s Day!
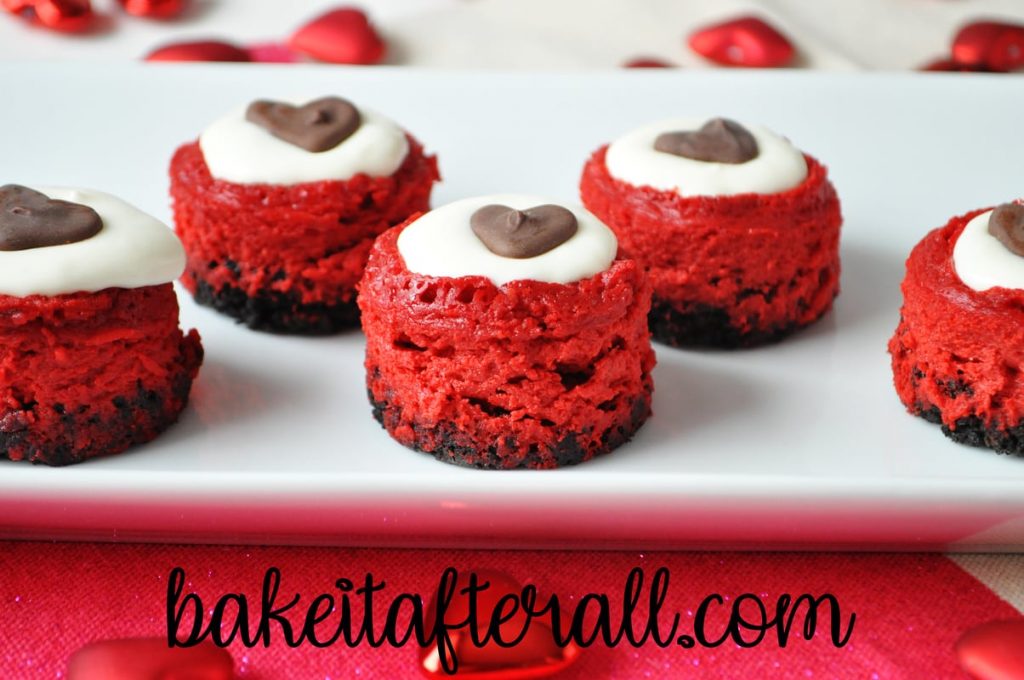
Many years ago in the first days of my blog, I posted a Red Velvet Cheesecake from Southern Living. After the success of my Bailey’s Irish Cream Mini Cheesecakes, I’ve wanted to adapt this recipe into a mini cheesecake form.
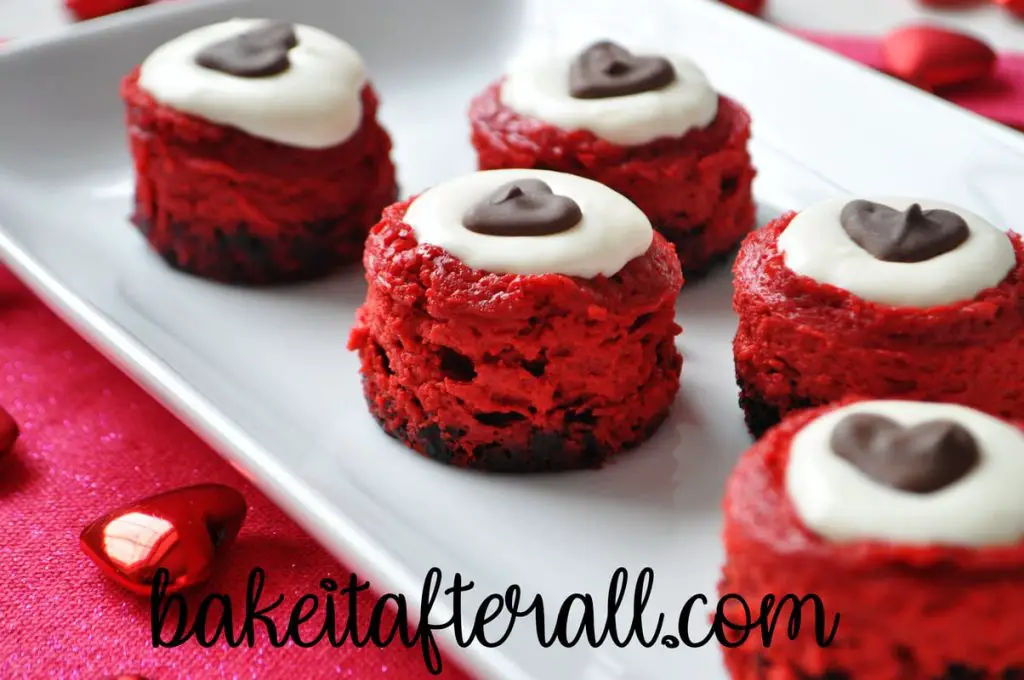
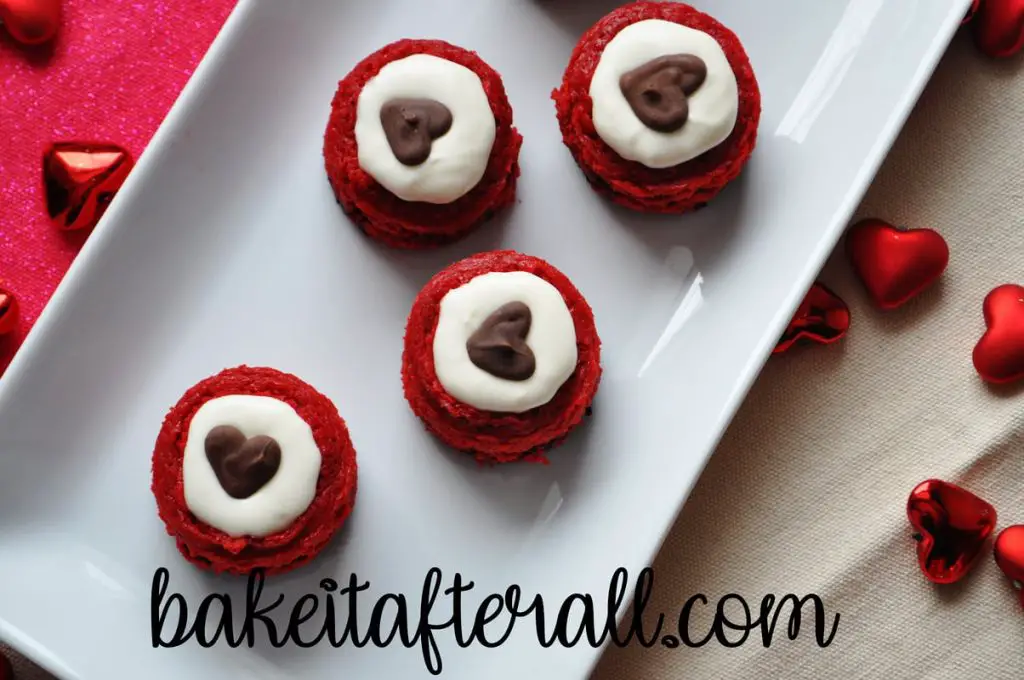
These turned out so cute and perfect for Valentine’s Day or a Valentine’s Day Tea Party for Kids. They have a chocolate sandwich cookie crust, a red velvet cheesecake filling, and a cheesecake frosting topping. I added chocolate heart decorations that I made while making the handles for the Mini Hot Chocolate Cheesecakes.
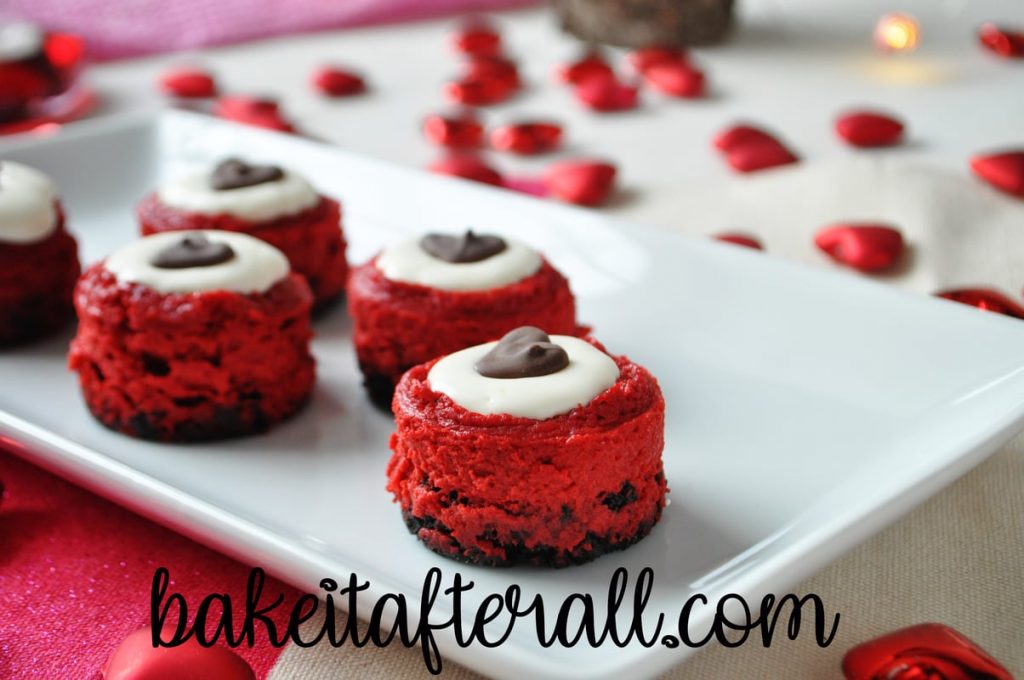
The cheesecake filling is more light and airy than other versions of mini cheesecakes I’ve made, specifically the Mini Mocha Cheesecakes and the Mini New York Cheesecakes. Those were more creamy, yet firm.
If you’re looking for a fun way to celebrate Valentine’s Day, these mini cheesecakes are the answer!
Recipe Details
Making the Crust
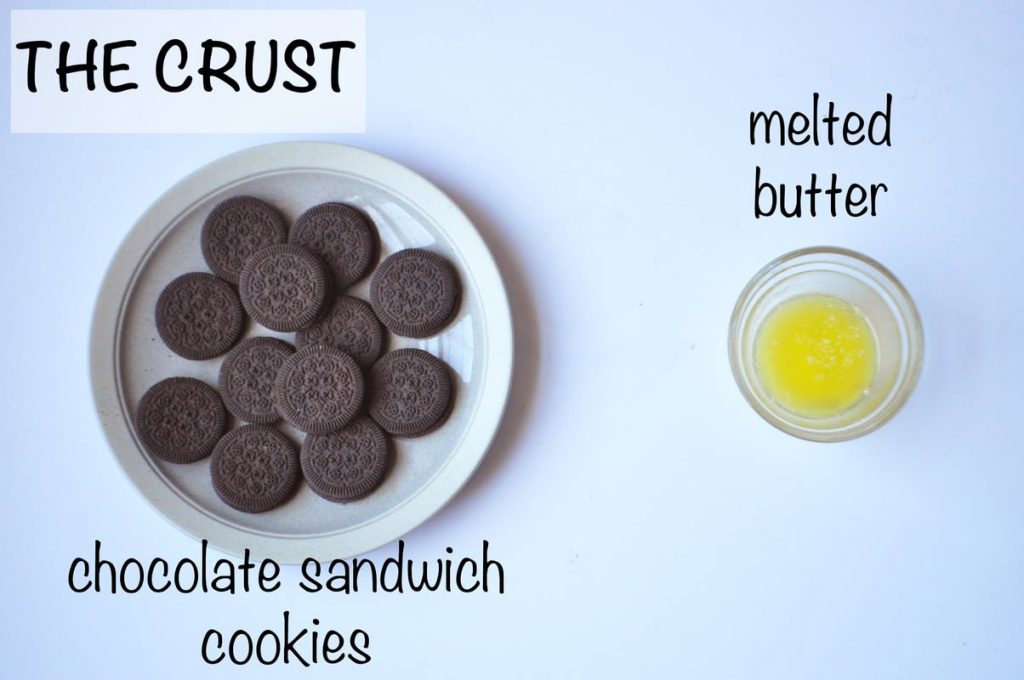
First, the cookies are crushed to crumbs in a food processor or with a meat tenderizer. Then, the cookie crumbs are combined with the melted butter until well mixed.
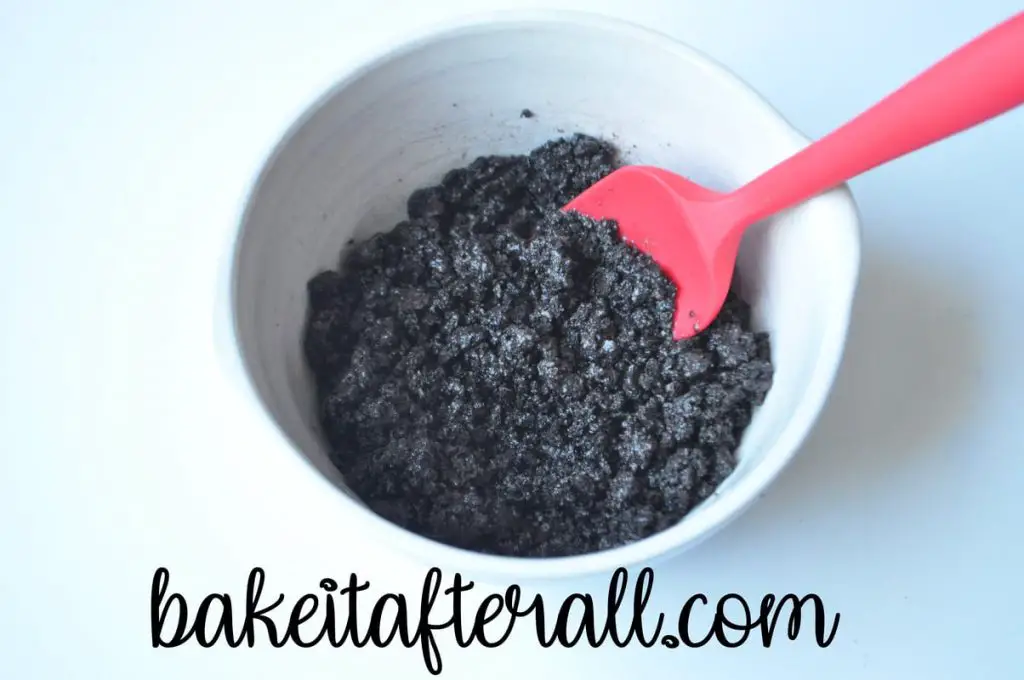
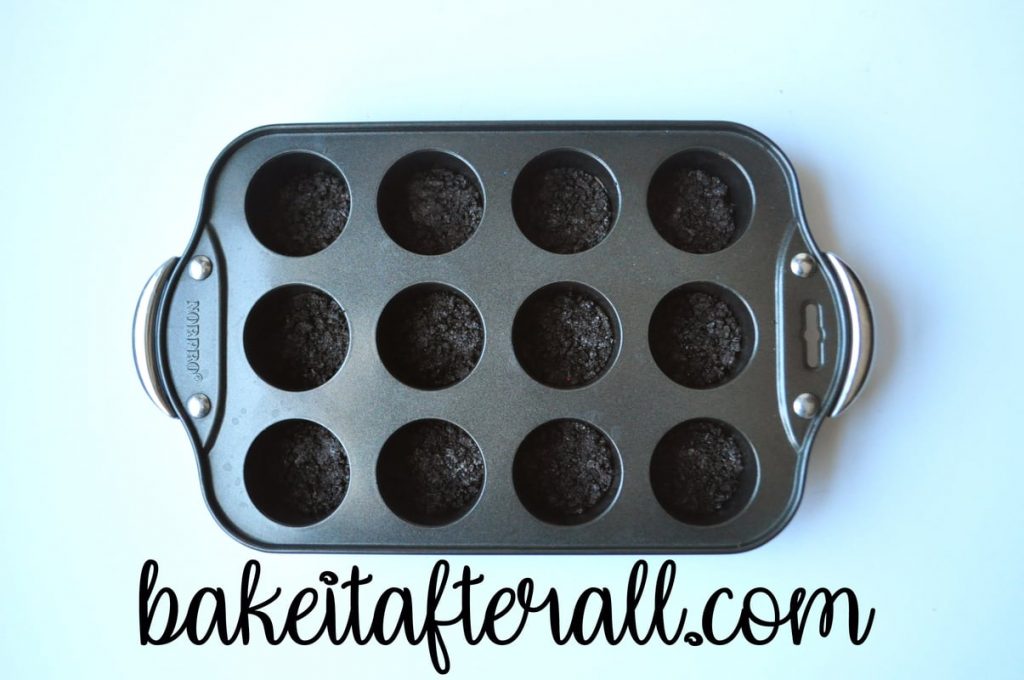
Divide the crumbs between the wells of a mini cheesecake pan. I have 2 pans, so I was able to fill 14 wells with the crumbs. If you do not own a mini cheesecake pan, you may use a mini muffin pan or even a standard size muffin pan. I highly recommend using cupcake liners with muffin pans or it will be nearly impossible to get your cheesecakes out of the pan.
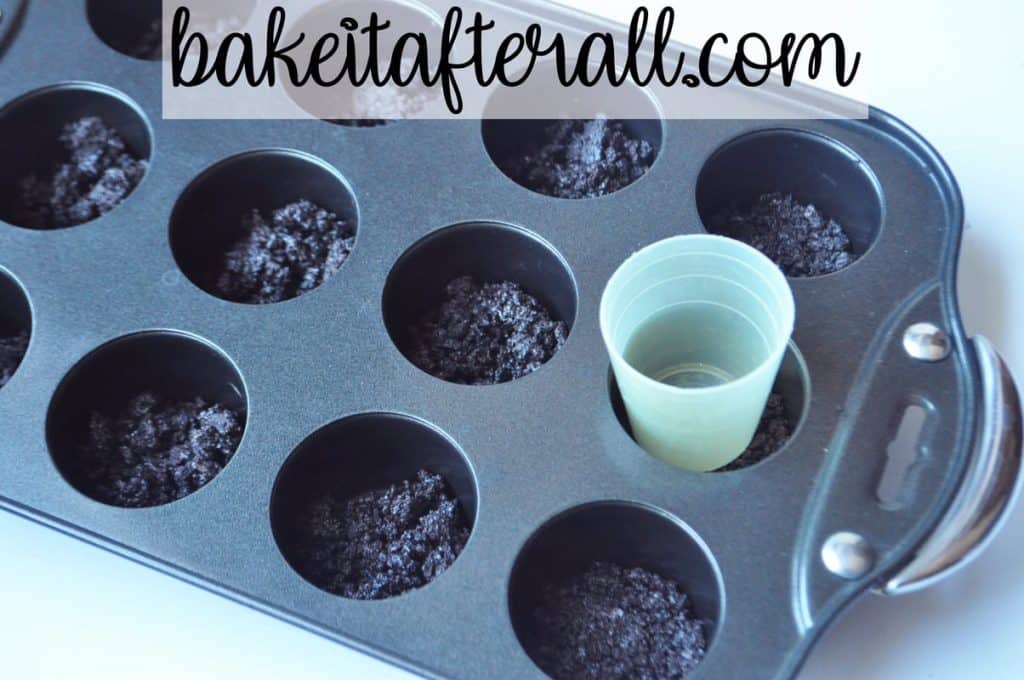
I use a small cup to press down the crumbs evenly in each well. You may use your fingers if you don’t have a cup this small.
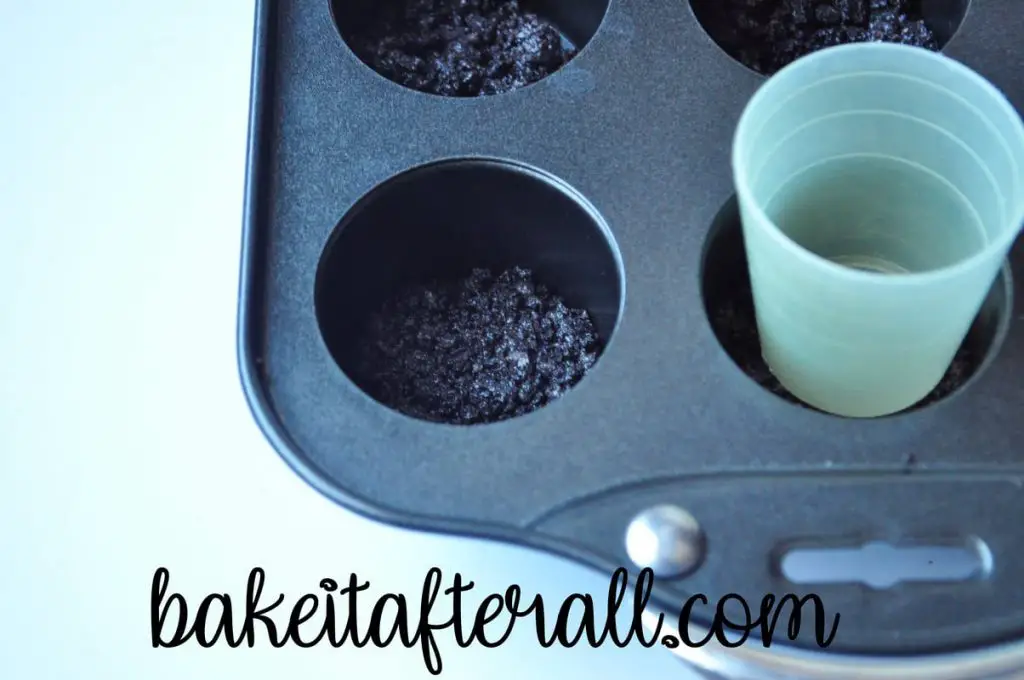
The crusts are baked until fragrant and then set aside to cool while you make the filling.
Making the Filling
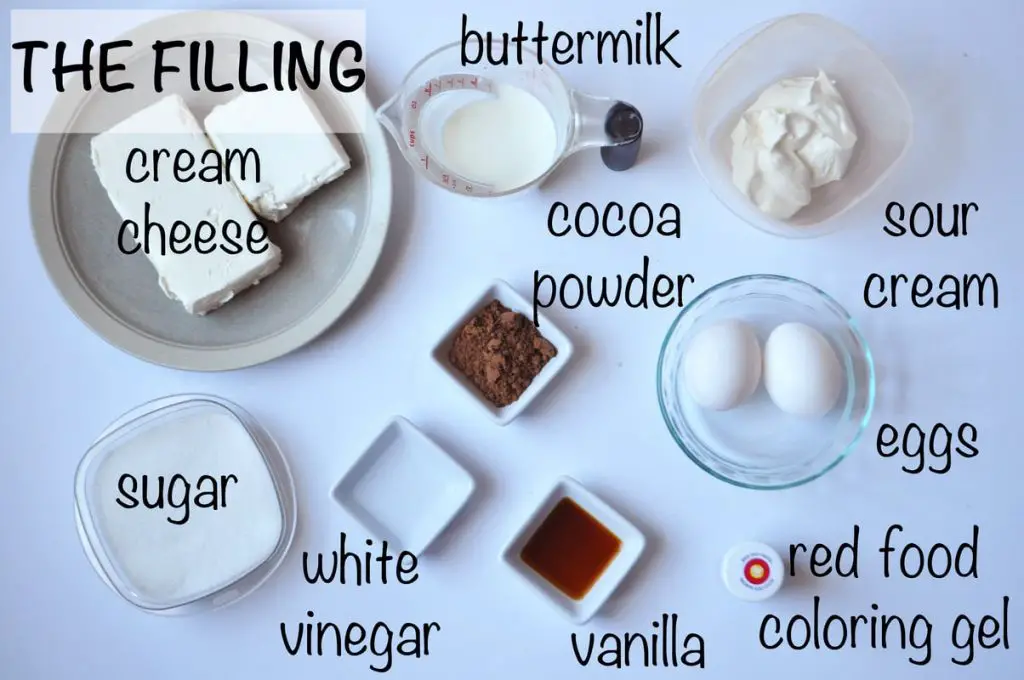
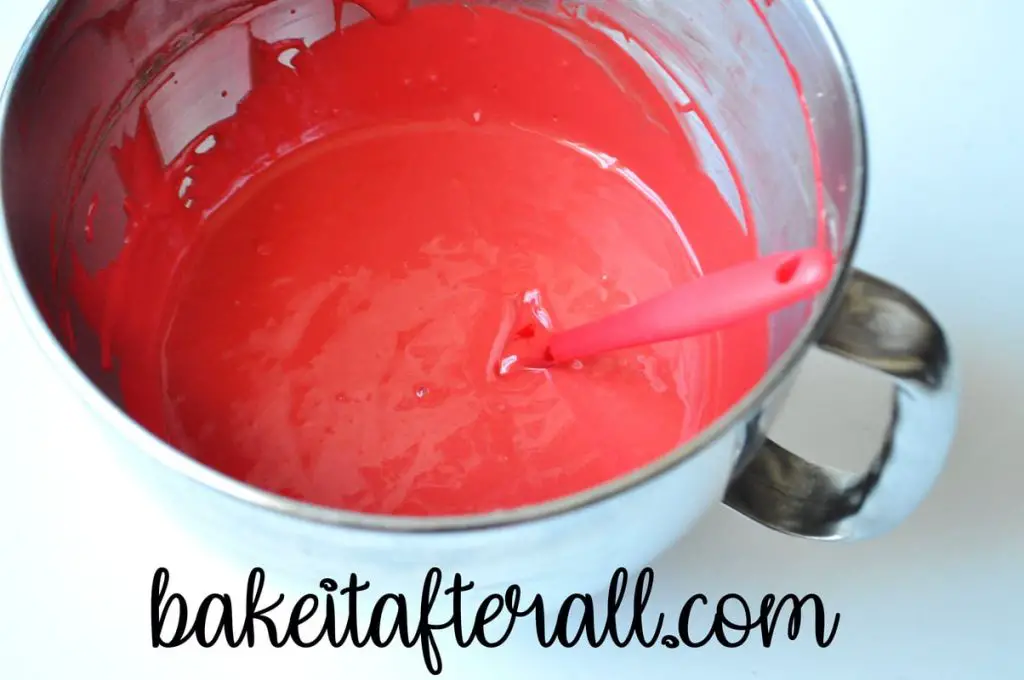
The cream cheese and sugar are added to the bowl of an electric mixer and beaten until well combined. The remaining filling ingredients are added. The batter is layered on top of each crust.
It is important not to fill the wells past 3/4 full. The cheesecakes rise as they bake. If the wells are too full, the batter will rise and spill over the top of each well like a muffin. I used a dough scoop to add the batter to each well of the pan.
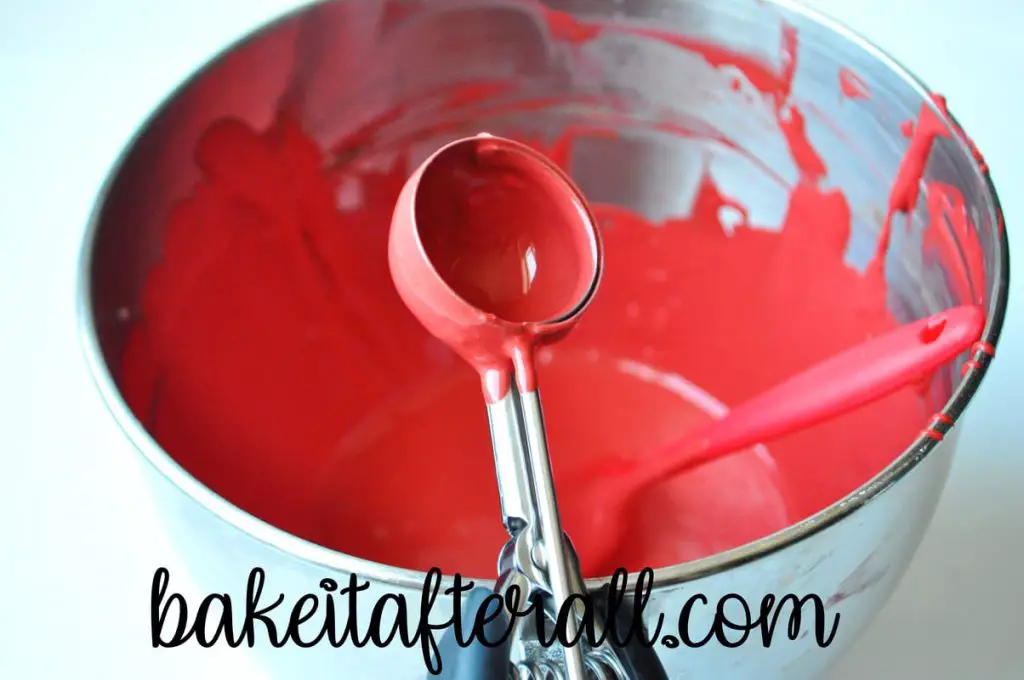
I had quite a bit of extra batter that I baked in two small ramekins.
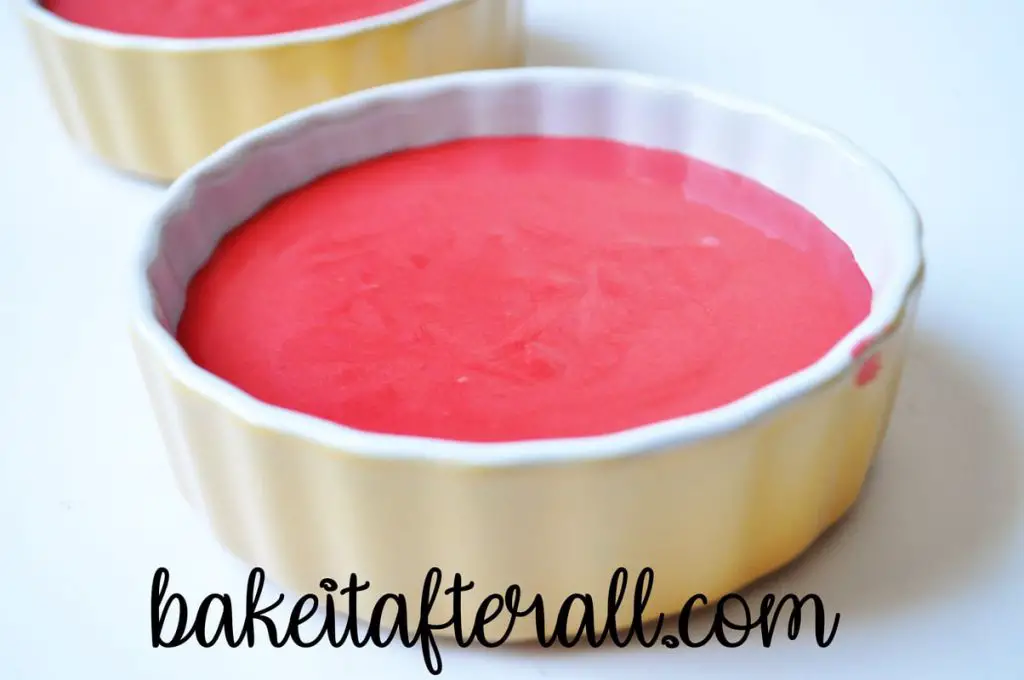
The cheesecakes are baked until set. You will just need to adjust your baking time to be longer if using a standard size muffin pan and for the ramekins.
Making the Chocolate Heart Decorations
When I was making the chocolate handles for the Mini Hot Chocolate Cheesecakes, I decided to make some chocolate heart decorations as well, knowing my plan to make these red velvet cheesecakes. The method is quite simple.
Place a piece of parchment or waxed paper on top of a baking sheet. Then, melt the chocolate at 50% power in 30-second intervals, stirring between each heating interval, until just melted. Transfer the melted chocolate to a disposable piping bag with a plastic coupler and small metal tip or to a resealable gallon sized plastic bag with a corner cut off. Pipe the chocolate into heart shapes onto the paper.
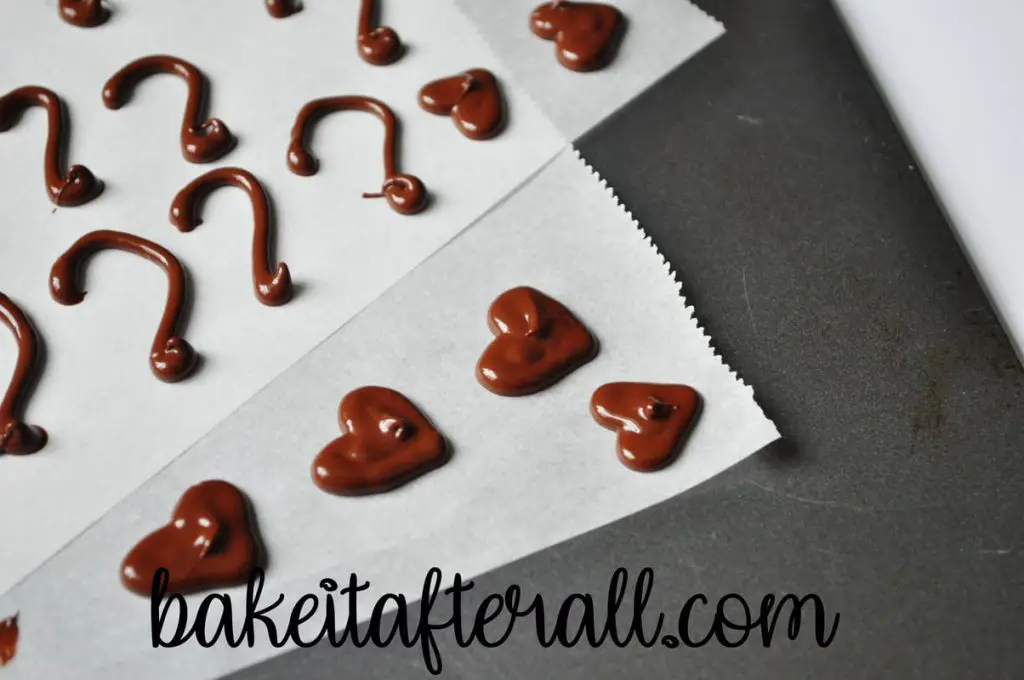
Allow the chocolate to set. You may refrigerate or freeze it to speed up this process. Once set, carefully remove the chocolate hearts from the paper and store in an airtight container at room temperature or in the freezer.
Making the Topping
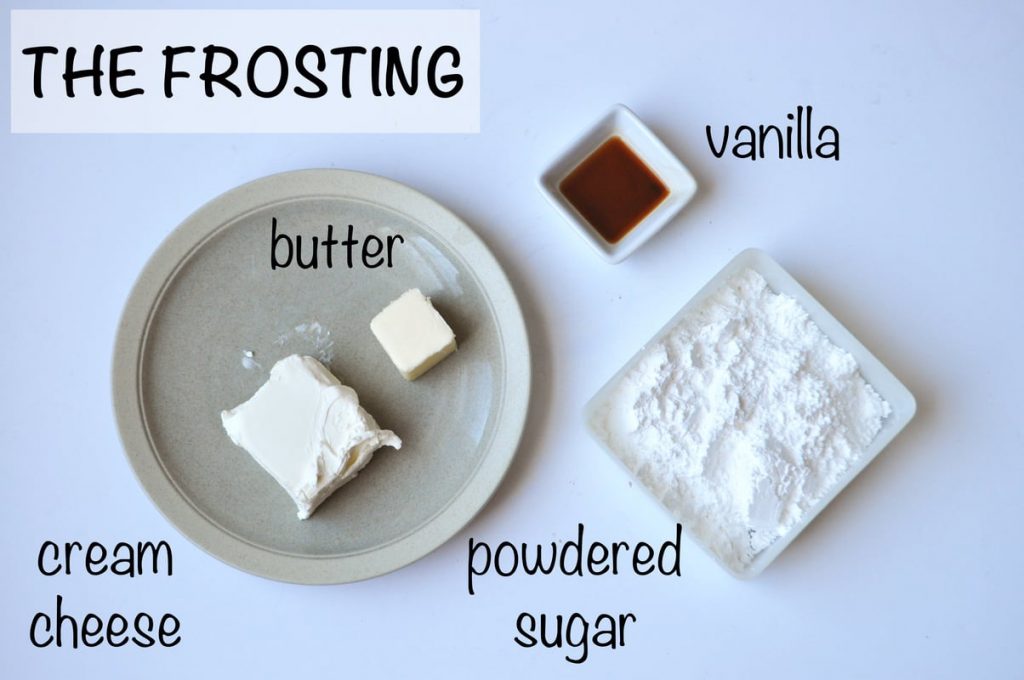
Beat cream cheese and butter at medium speed with an electric mixer until smooth. Gradually add powdered sugar and vanilla, beating until smooth.
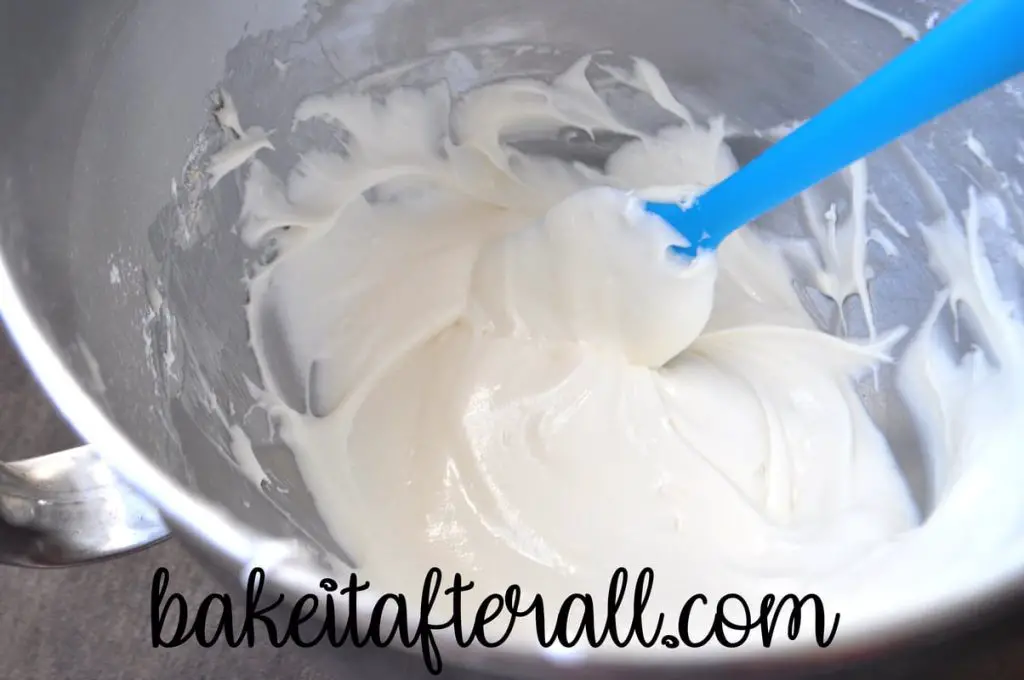
Finish the Cheesecakes
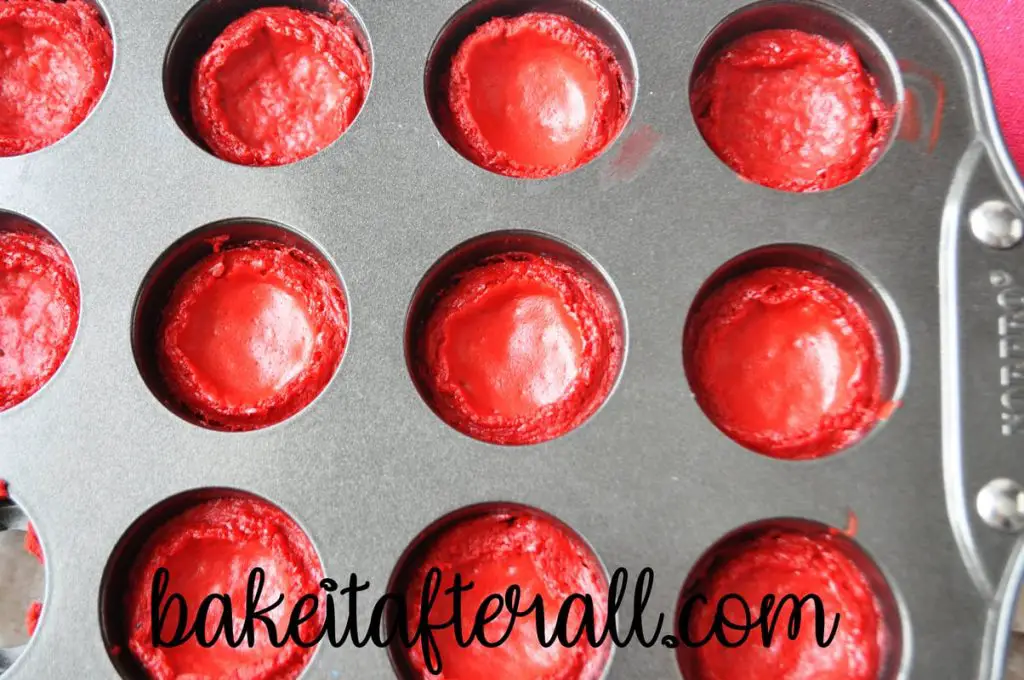
Carefully remove the mini cheesecakes from the mini cheesecake pan and remove the metal bottom from each cheesecake. If using a muffin pan, remove the cheesecakes and take off and discard the cupcake liner. Spread the frosting evenly over the top of the cheesecakes. Add a chocolate heart decoration on top of the frosting, if using.
Gluten Free Mini Cheesecakes
Use gluten free chocolate sandwich cookies, such as Glutino, for an entirely gluten free dessert.

Looking for More Valentine’s Day Recipes?
Check out these other dessert recipes perfect for Valentine’s Day:
Red Velvet Cheesecake
Nut Free Linzer Cookies
Red Velvet Brownies with Cheesecake Swirl
Chocolate Covered Strawberries
Valentine’s Day Oreo Truffles
Outrageous Brownies
Best Gooey French Brownies
Easy Homemade Cream Puffs
Bread Pudding with Bourbon Caramel Sauce
Cranberry Christmas Cake
Cherry Chocolate Cheesecake Bundt Cake
Mocha Cream Cake
Vanilla Swiss Meringue Buttercream on Red Velvet Cupcakes
Dark Chocolate Cupcakes with Easy Vanilla Buttercream and Valentine’s Sprinkles
Roasted Cherry Brownie Sundaes with Cherry Port Sauce
Homemade Ben & Jerry’s Hot Fudge Sauce
Dark Chocolate Covered Cherry Cookies
Triple Chocolate Biscotti
Santa’s Whiskers Cookies made with all red cherries for Valentine’s Day
Chewy Oatmeal Cookies with Valentine Sprinkles
Butter Cookies with Valentine’s Sprinkles or pressed into hearts
Looking for More Mini Cheesecakes?
Check out my entire mini cheesecake recipe collection:
Mini Mocha Cheesecakes
Mini Hot Chocolate Cheesecakes
Bailey’s Irish Cream Mini Cheesecakes
Mini New York Cheesecakes
Mini Pina Colada Cheesecakes
Black Bottom Caramel Pumpkin Cheesecake Bites
Mini Pumpkin Cheesecakes
Pumpkin Spice Magic Bar Minis
Mini Red Velvet Cheesecakes
Equipment
- two 12-cup mini cheesecake pans or one 24-cup mini muffin pan
Ingredients
For the Crust:
- 12 chocolate sandwich cookies (such as Oreos or gluten free Glutino)
- butter, melted
For the Filling:
- 12 ounces cream cheese (1 1/2 packages)
- 3/4 cup sugar
- 2 eggs
- 1/2 cup sour cream
- 1/4 cup buttermilk (see note)
- 1 1/2 tablespoons unsweetened cocoa powder
- 1 teaspoon vanilla extract
- 1/2 teaspoon white vinegar
- 1/2 ounce red food coloring gel (or 2 ounces red food coloring liquid)
For the Chocolate Heart Decorations:
- 1 ounce semisweet chocolate
For the Frosting:
- 4 ounces cream cheese (1/2 package)
- 2 tablespoons butter
- 1 cup powdered sugar
- 1/2 teaspoon vanilla extract
Instructions
Make the Crust:
- Preheat the oven to 325°F. If using a mini muffin or standard size muffin pan instead of a mini cheesecake pan, line each cup with a paper or aluminum cupcake liner.
- Crush the cookies to crumbs in a food processor or with a meat tenderizer.
- Combine cookie crumbs with melted butter until well mixed. Divide the crumbs among the wells of a mini cheesecake, mini muffin pan, or standard size muffin pan. Use a small cup or your fingers to press down the crumbs evenly. If you have extra crumbs, add them to a separate small dish to bake.
- Bake for 10 minutes or until fragrant. Set aside to cool and make the filling.
Make the Filling:
- Beat the cream cheese and sugar in the bowl of an electric mixer until well combined. Add the eggs and the remaining ingredients on low speed until just combined.
- Layer the batter on top of each crust, filling the wells 3/4 full. Do not overfill, as the cheesecake will rise during baking. Bake extra batter in a separate dish or discard.
- Bake for 15 – 25 minutes, until the cheesecake is set. Baking time will depend on the size of the wells and how full each well is. Cool completely.
Make the Chocolate Heart Decorations:
- Lay a piece of parchment or waxed paper on a baking sheet.
- Melt the chocolate at 50% power in 30-second intervals, stirring between each heating interval, until just melted. Transfer the melted chocolate to a disposable piping bag with a plastic coupler and small metal tip or to a resealable gallon sized plastic bag with a corner cut off.
- Pipe the chocolate into heart shapes onto the paper. Allow the chocolate to set. You may refrigerate or freeze it to speed up this process.
- Once set, carefully remove the chocolate hearts from the paper and store in an airtight container at room temperature or in the freezer.
Make the Frosting:
- Beat cream cheese and butter at medium speed with an electric mixer until smooth.
- Gradually add powdered sugar and vanilla, beating until smooth.
Finish the Cheesecakes:
- Carefully remove the mini cheesecakes from the pan by pushing up from the bottom. Gently pry off the metal bottom from underneath the crust. If using a muffin pan, remove the cheesecakes and take off and discard the cupcake liner.
- Spread the frosting evenly over the top of the cheesecakes. Add a chocolate heart decoration on top of the topping, if using.
These are adorable!! So fun to make and delicious!
Thank you!!