Easy Homemade Cream Puffs
My mom’s famous Easy Homemade Cream Puffs are simple and easy but are hands down the most requested dessert in my extended family. I’ve included a gluten free recipe too!

These Easy Homemade Cream Puffs are THE most requested recipe from our family. This is one of my mom’s signature desserts. Pretty much every social group of hers has had them and requests them again, and again, and again. My mom was famous for her Cream Puffs at my dad’s work. She has given out the recipe for over 30 years to anyone who has asked, and many have asked.
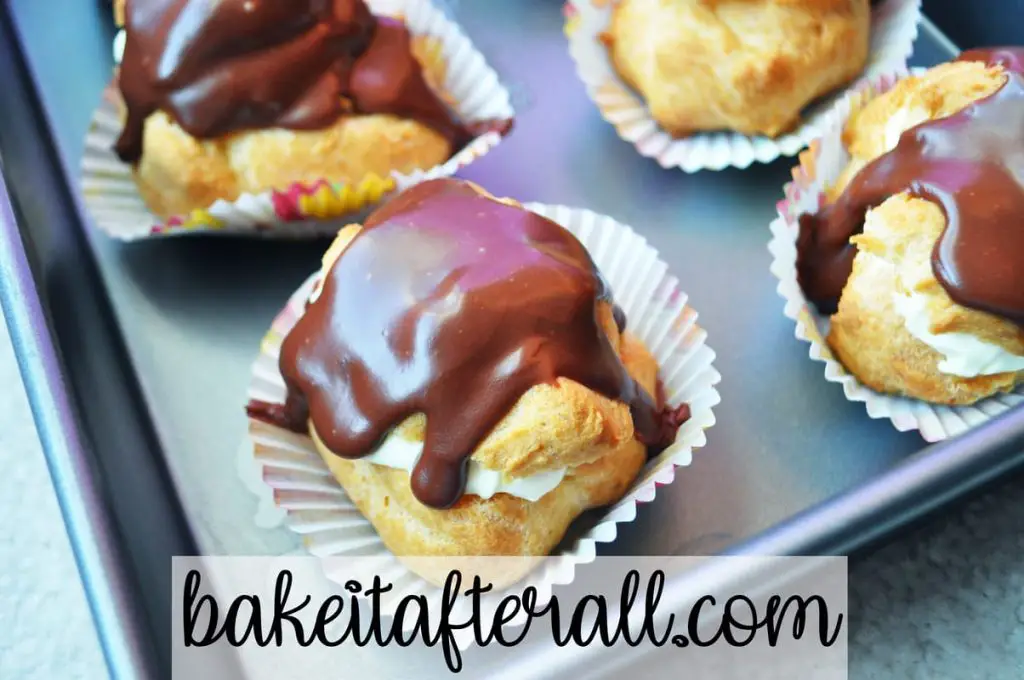
She thinks they are so easy to make and has never had any trouble with the recipe. Yet, some people have come back to her time and time again with questions and wanting to know why theirs didn’t turn out. Thankfully for you, this post is the culmination of 30+ years of research and optimization as to how to make the perfect cream puff.
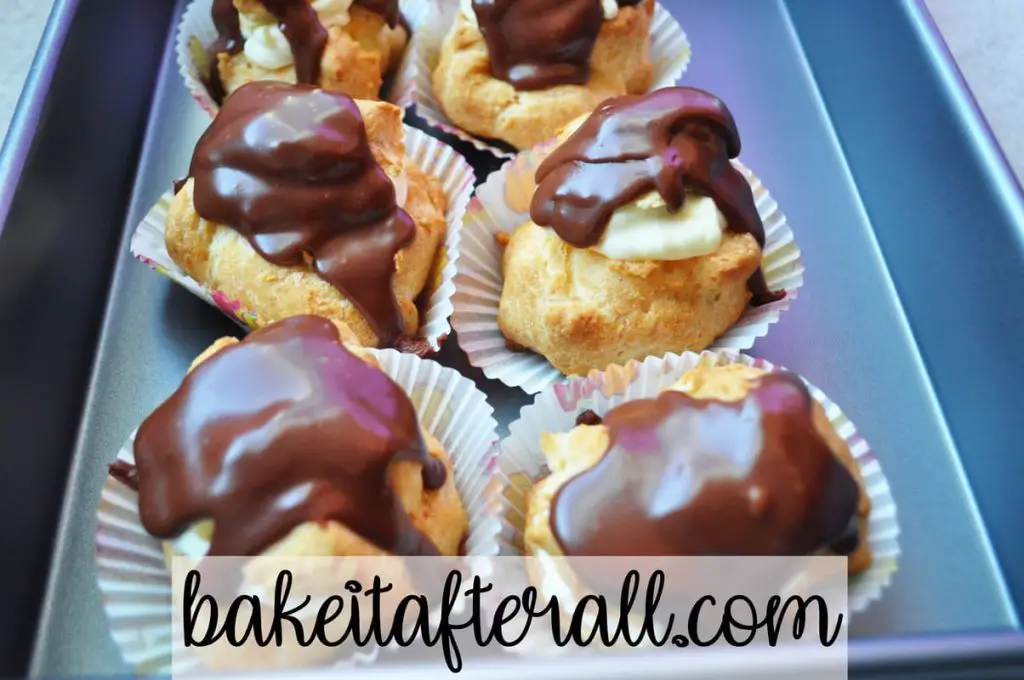
Also, thankfully for you, I make mistakes. I am not perfect in the kitchen, and I often have to troubleshoot things. This always reminds me of my lab days, having to repeat experiments again and again to get the optimized protocol. So what you have here is what I consider a fool proof method for making these cream puffs. It’s foolproof because I can do it. If I can do it, you can too.
Easy Homemade Cream Puffs Recipe Origin
This recipe is originally from this retro Betty Crocker Cookbook. See it in all it’s 1970’s glory:
I was curious if my newer edition of Betty Crocker has this recipe. They edited out some good recipes (like Apple Crumble Pizza Pie), but I never thought the Cream Puffs would be cut. But they were. My mom’s and my reactions were all Julia Roberts in Pretty Woman:

Seriously though. No Cream Puff recipe. Good thing we saved this recipe from extinction.
What Makes Easy Homemade Cream Puffs Different from Other Cream Puffs?
The basis of a cream puff is a choux pastry dough that puffs while it bakes and is filled with a creamy filling. A few things about this recipe that I notice being different from others:
1) The eggs are all added at once so the dough comes together faster.
2) The inside of the puffs is pulled out and discarded, leaving more room for the filling.
3) The filling is a fast, easy filling based on a secret ingredient listed below. It does not require cooking and literally can be made in 5 minutes. It is SO good too.
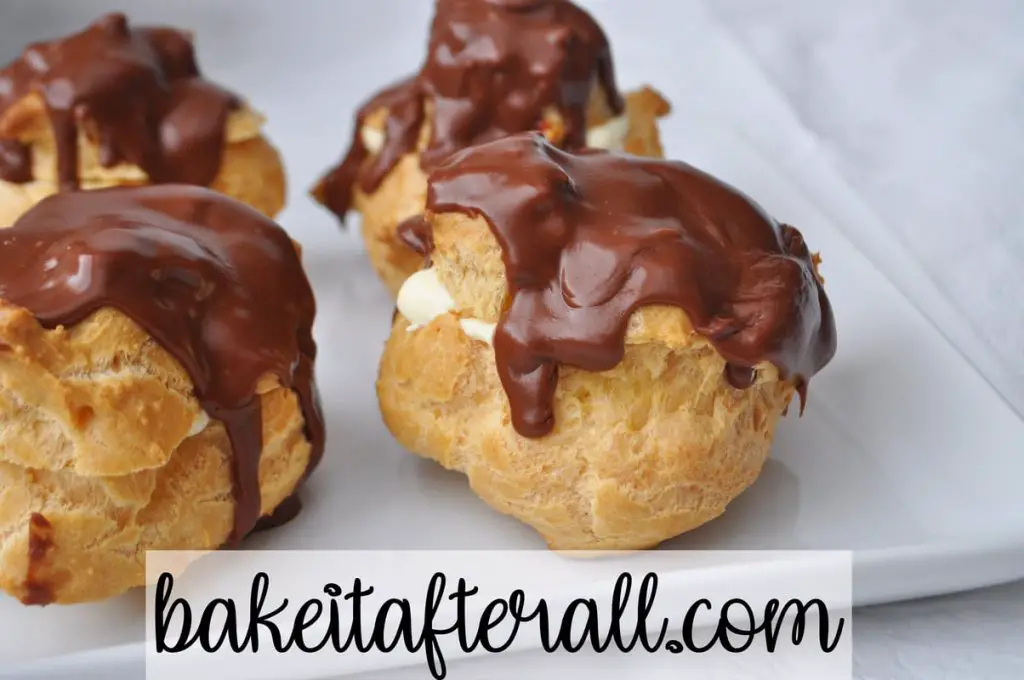
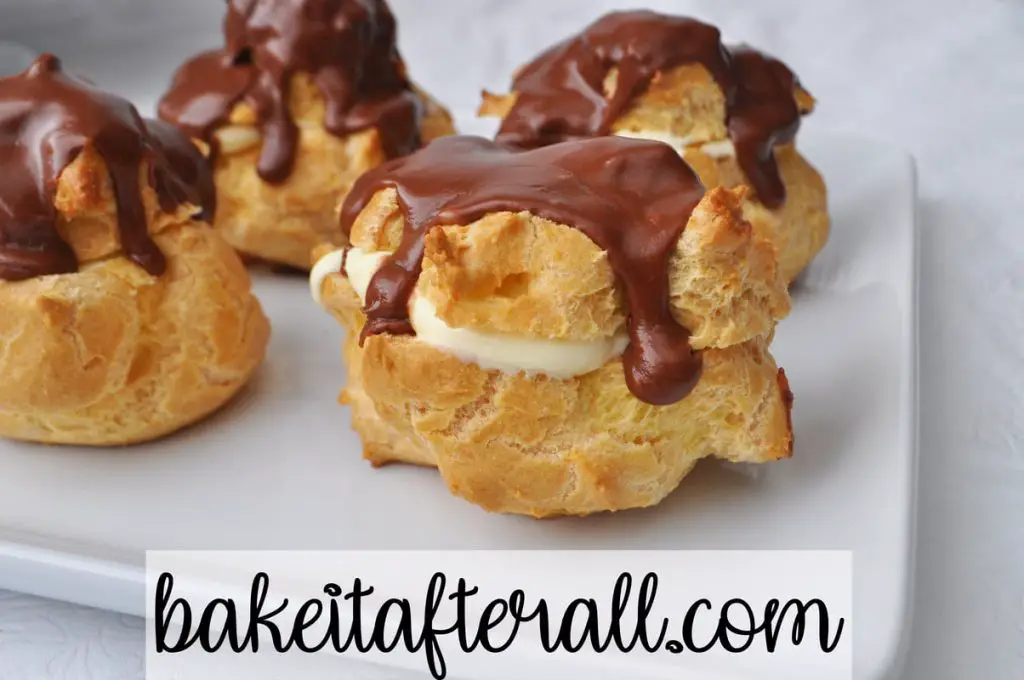
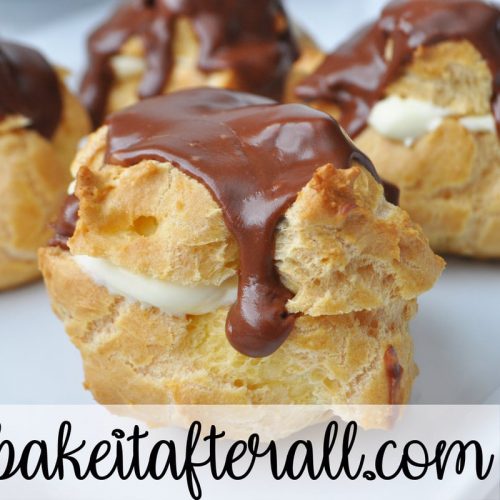
These Cream Puffs can be topped with a chocolate frosting or with a dusting of powdered sugar. It’s really a matter of personal preference. You’ll find that most people prefer the frosting, but some in our family are pro-powdered sugar, so it just depends on your crowd.
A few great thing about the Easy Homemade Cream Puffs recipe
1) It can be made in advance. Easy Homemade Cream Puffs are stored in the refrigerator and are actually better the next day. They keep for at least 2 – 3 days. Make sure not to cover them in the fridge (see note in recipe).
2) They are good any time of year. Holiday dinner or summer BBQ – cream puffs are appropriate. They literally go with any kind of food and any season of the year. These Cream Puffs can even be decorated on top with festive sprinkles or Wilton edible gold or silver stars like I’ve done for Christmas.
3) Easy Homemade Cream Puffs can be made smaller. This recipe makes 12 large puffs. You can make mini cream puffs simply by scooping smaller amounts of dough onto your baking sheet. Mini cream puffs are perfect for potlucks and Kids Tea Parties!
Recipe Note
For a full batch of the choux dough, you need 4 eggs. For this series of pictures, I made a half batch of regular puffs and a half batch of gluten free puffs, so the amounts show here are half of what is listed in the full recipe below.
Now let’s get started!
Make the puffs / pate a choux dough
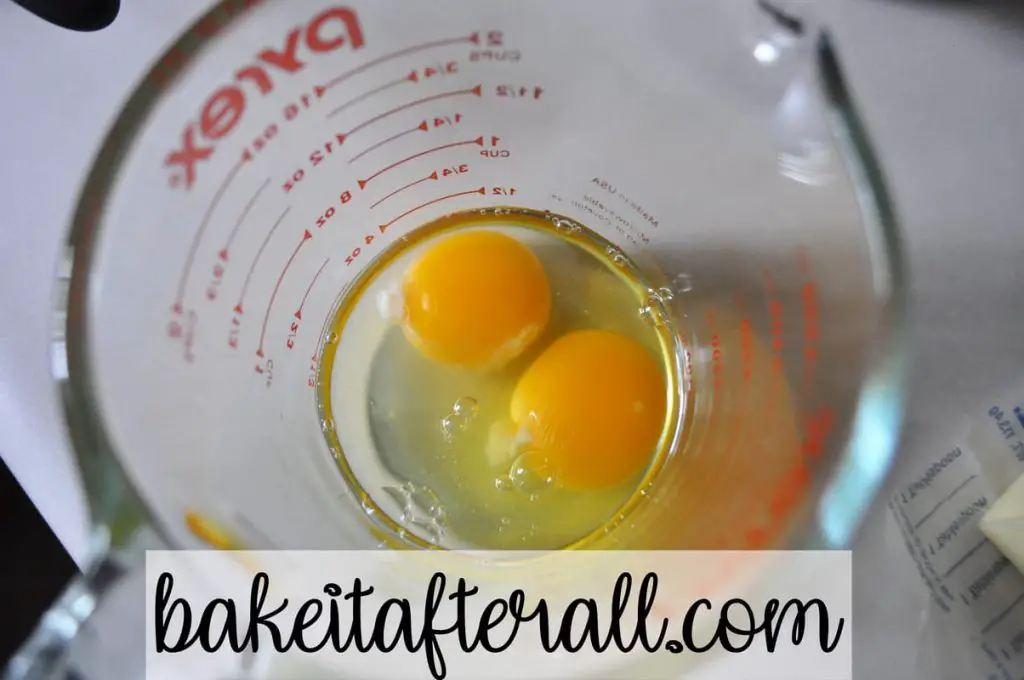
First preheat your oven to 400 degrees F. Next, get your eggs ready. Put them in a measuring cup or bowl, then beat them lightly and set them aside.
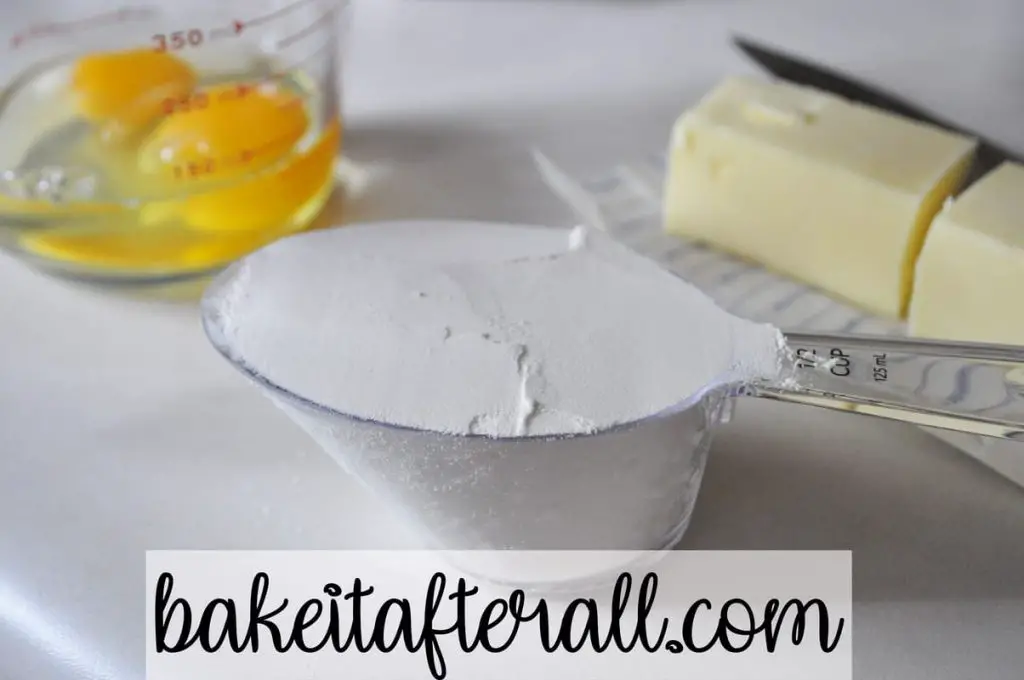
Get out your other dough ingredients. It’s basically 1 stick of butter, 1 cup of water, and 1 cup of flour. For a half batch, I used 1/2 stick of butter (4 tablespoons), 1/2 cup water, and 1/2 cup flour. Easy ratios.
Put your water and butter in a saucepan and melt over high heat.
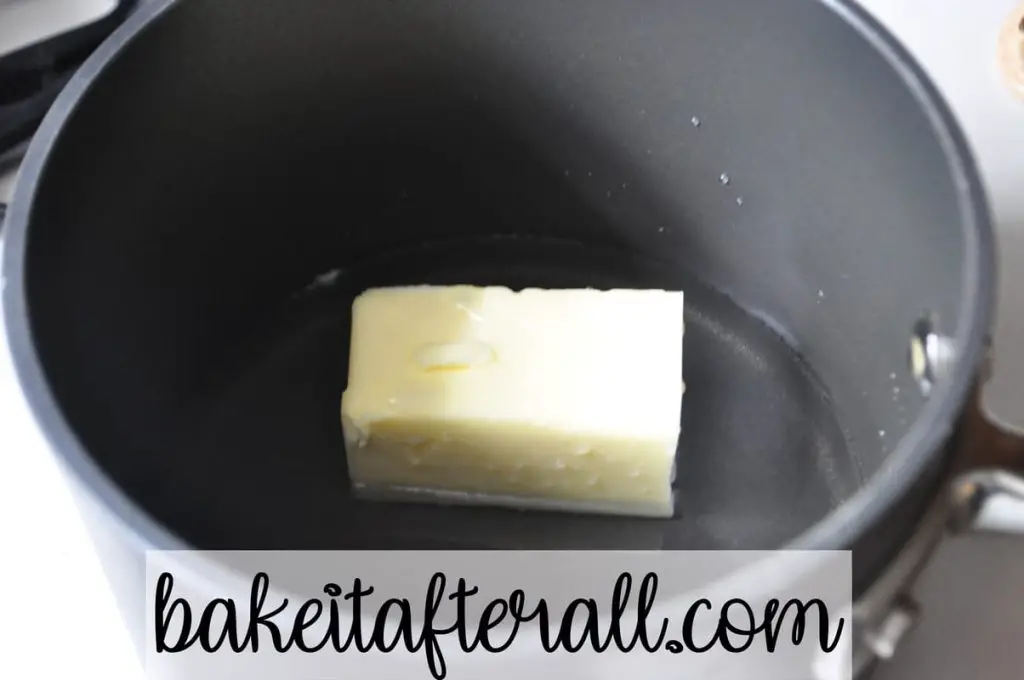
Heat this mixture to a rolling boil. (Out of focus pic, but I was working quickly in low light!)
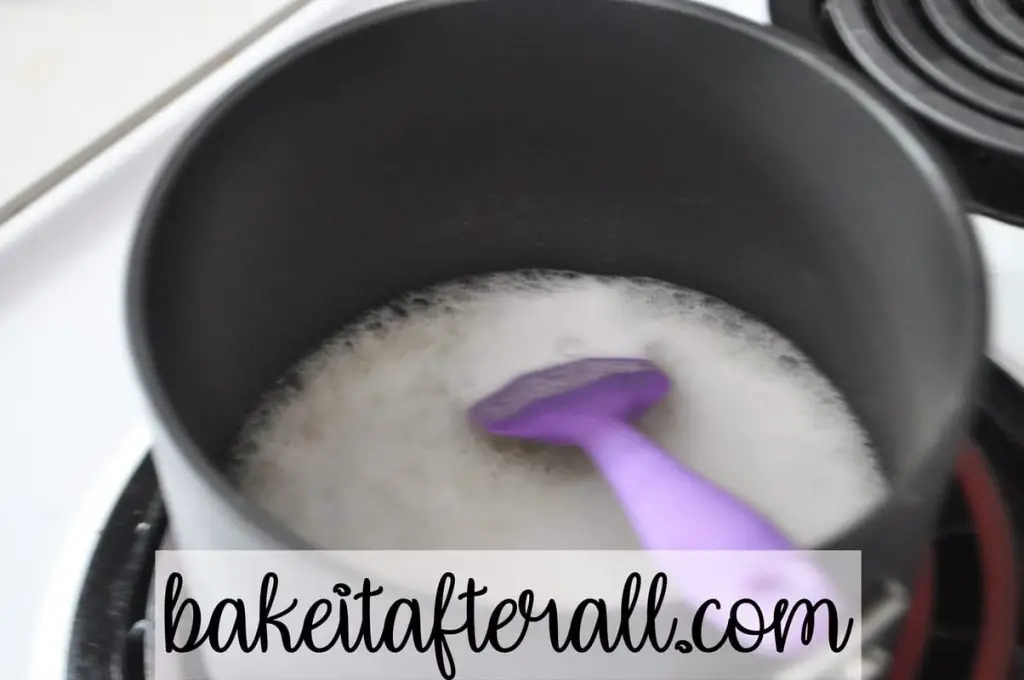
Stir in the flour vigorously over low heat for about 1 minute until the mixture forms a ball.

Remove the dough from heat. At this point, I move my dough to a mixer and mix it on low to cool the dough down for a few minutes. You can do this by hand if you prefer. My mom mixes hers by hand. If you add your eggs to hot dough, bad things will happen (trust me, I’ve done this . . . several times . . . ).
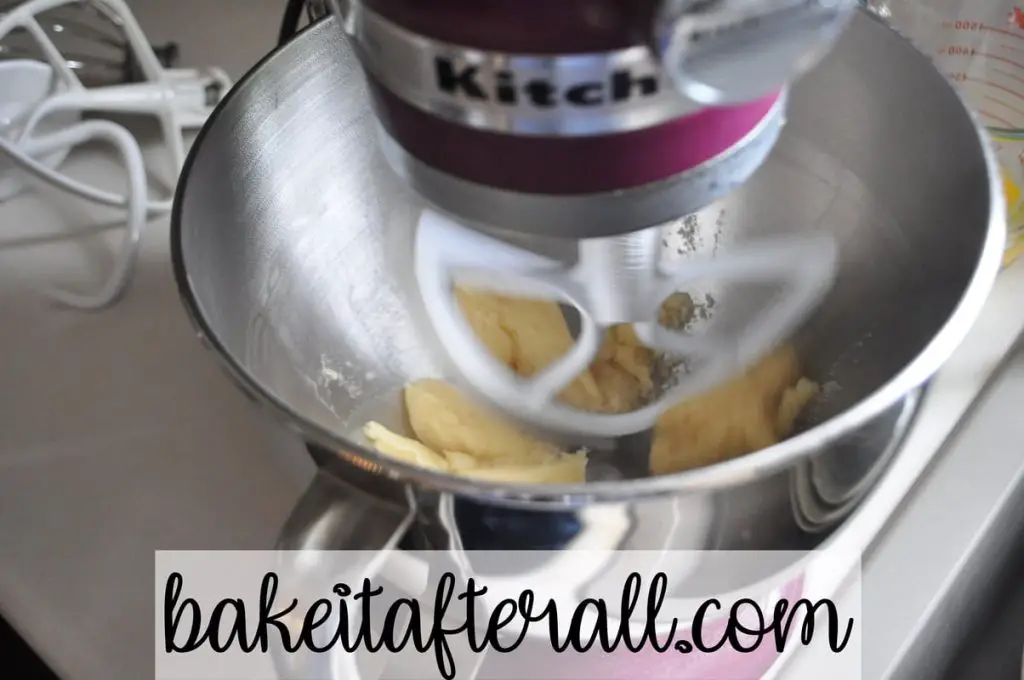
Once your dough looks like this, you add your beaten eggs all at once. Here is where this recipe differs from other choux pastry recipes, which typically have you add a little at a time.

Beat mixture until smooth and shiny and looks like this:
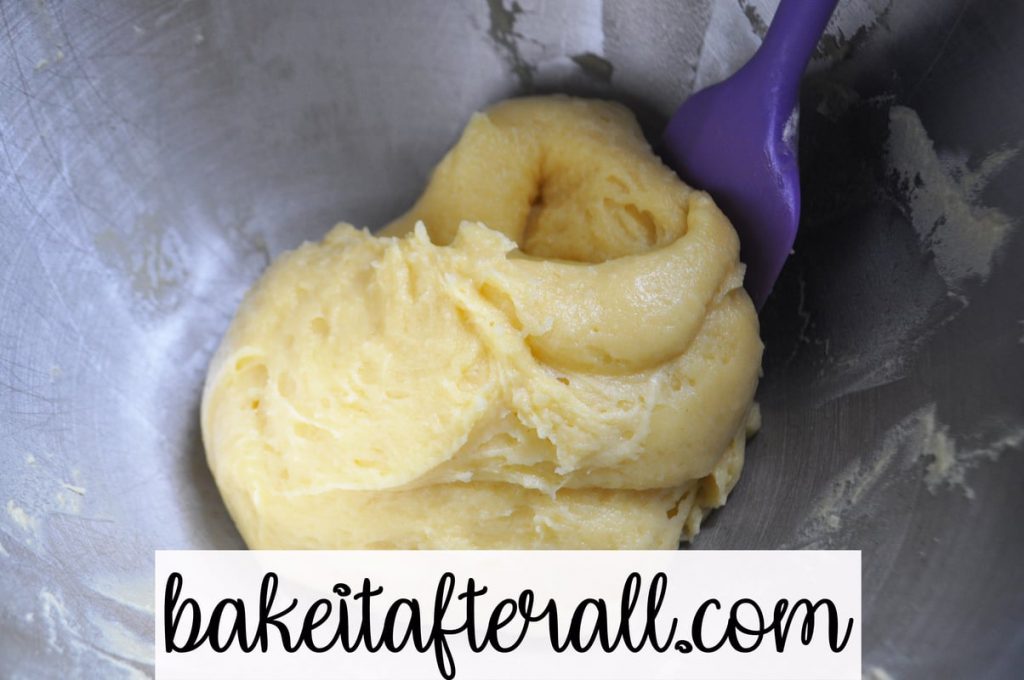
Drop dough by scant 1/4 cupfuls 3 inches apart onto an ungreased baking sheet. This is critical – do NOT grease your baking sheet. The dough needs to adhere to the baking sheet in order to rise properly.
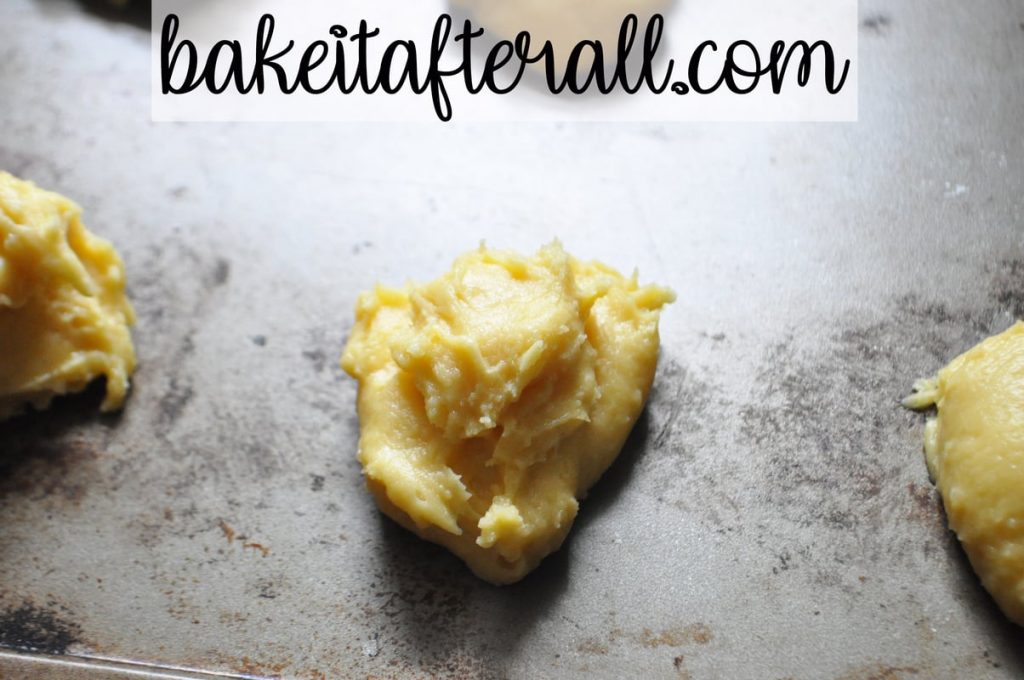
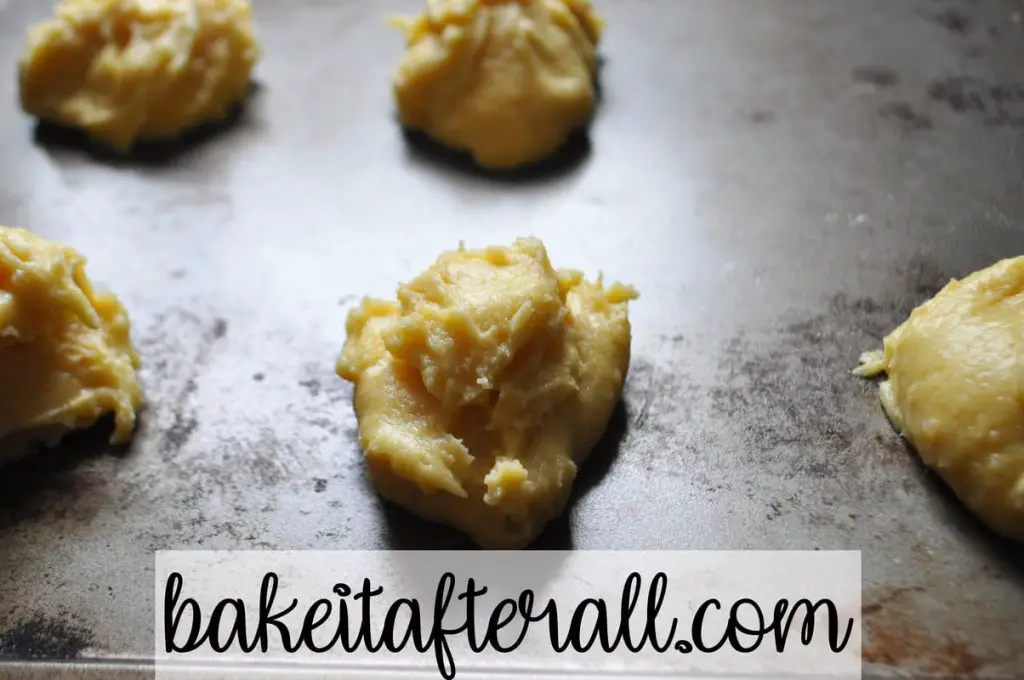
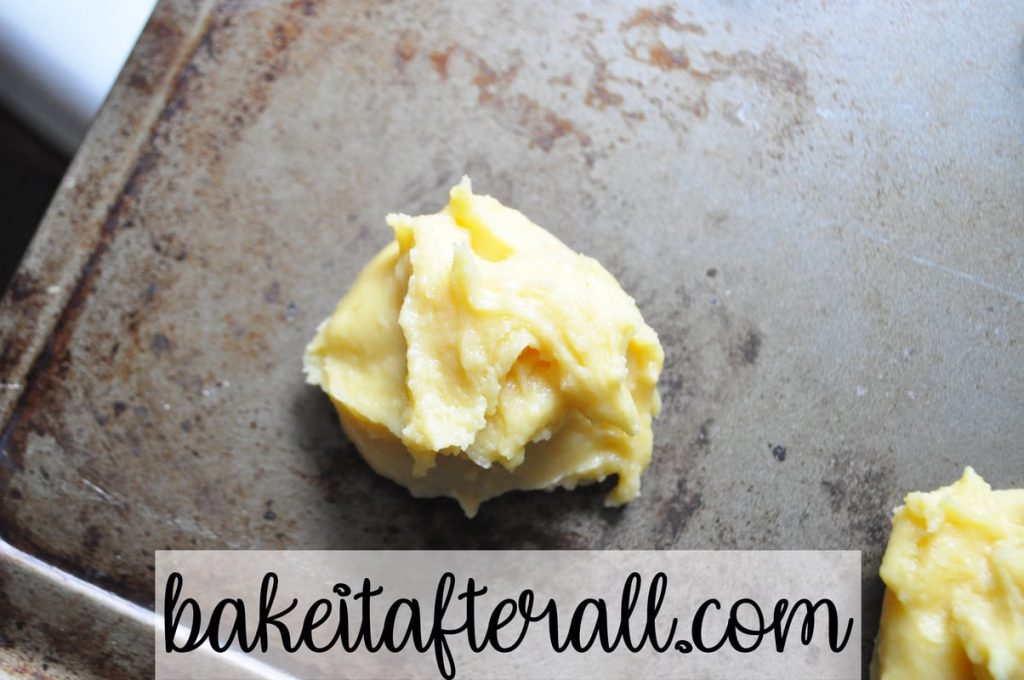
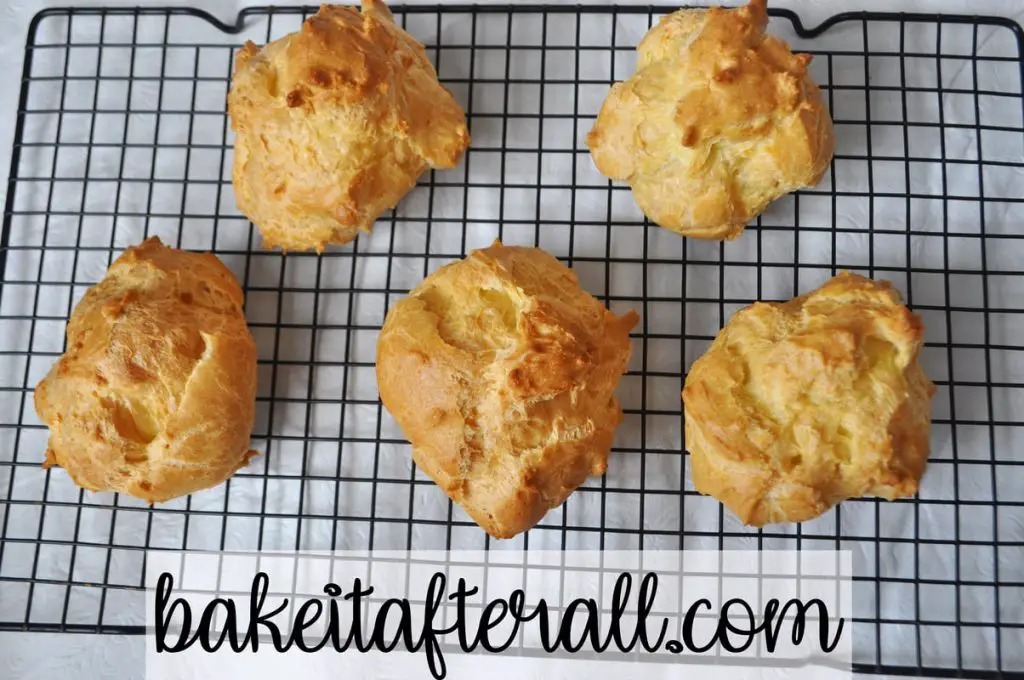
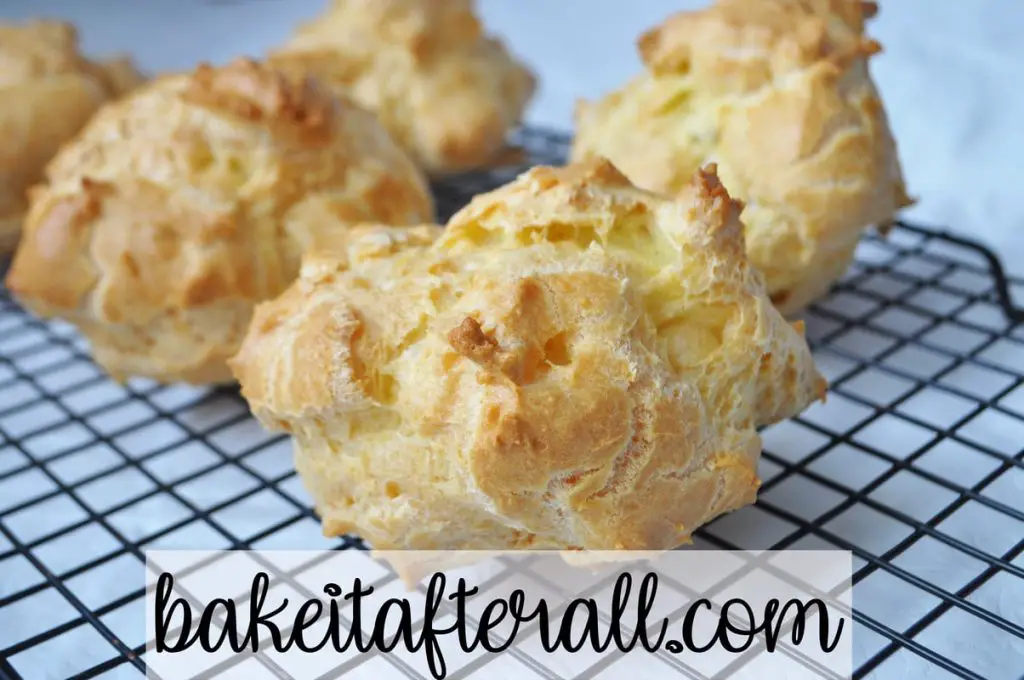
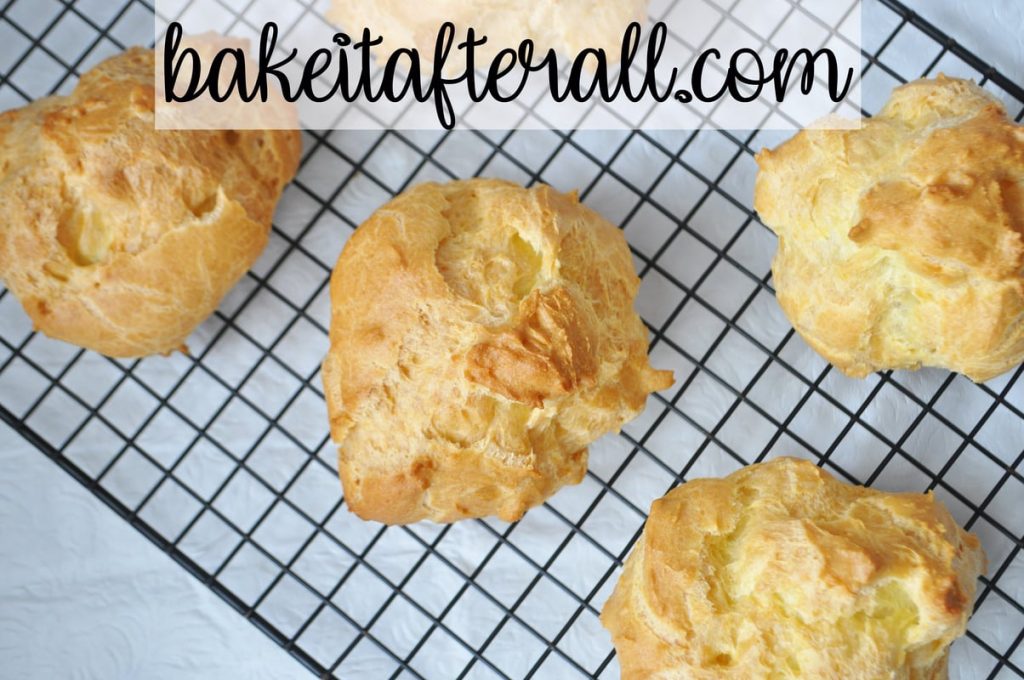
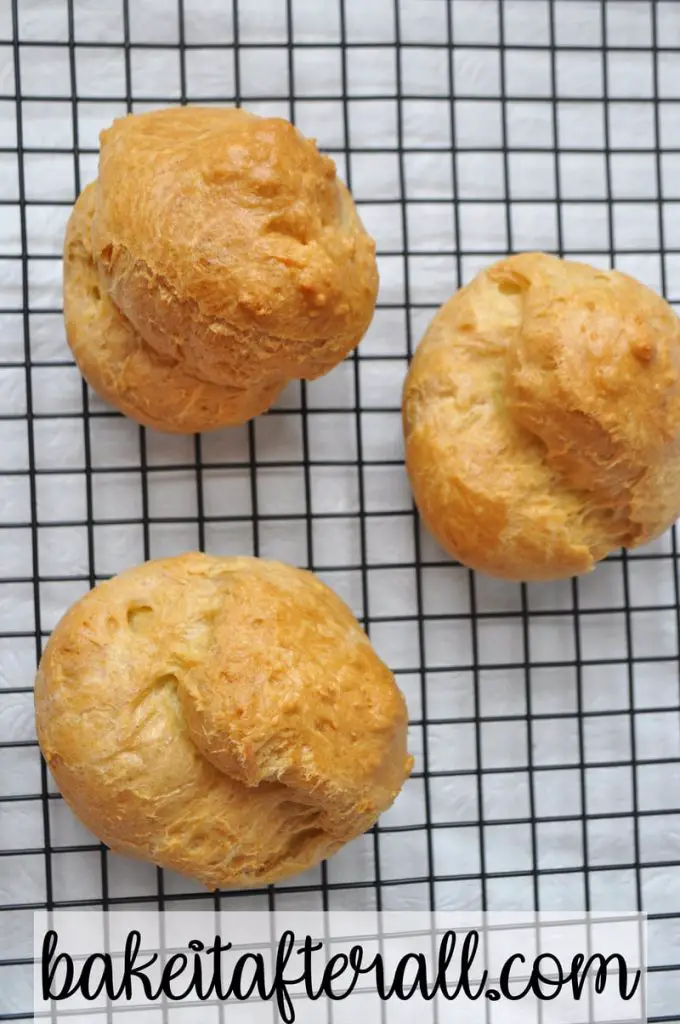
Bake the puffs for 35 – 40 minutes or until puffed and golden. You don’t want them to be yellow- they will be more tan in color.
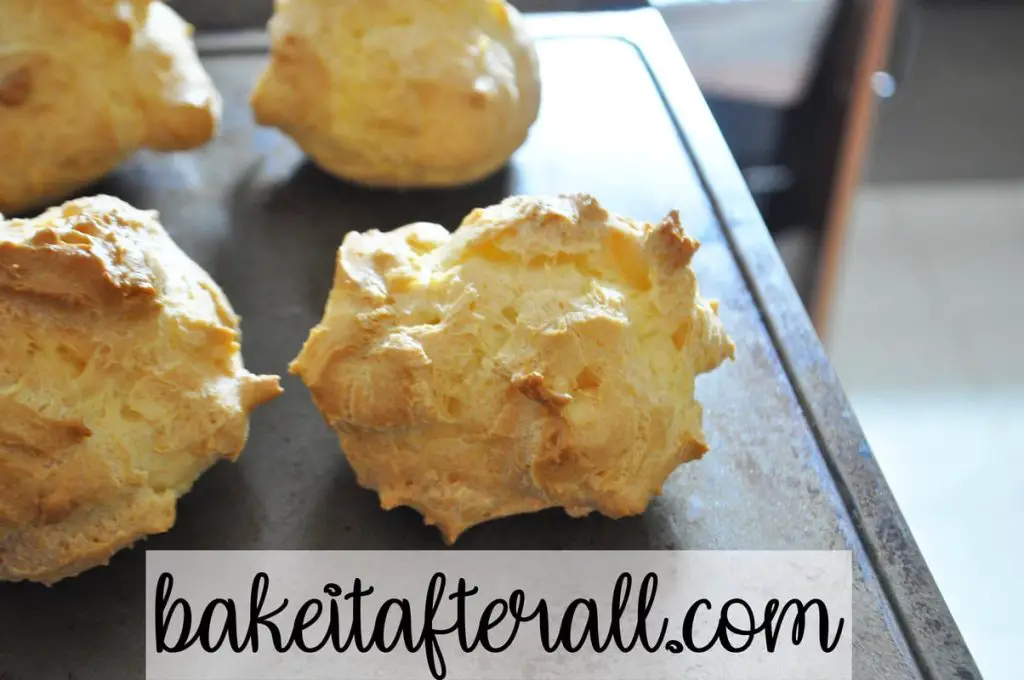
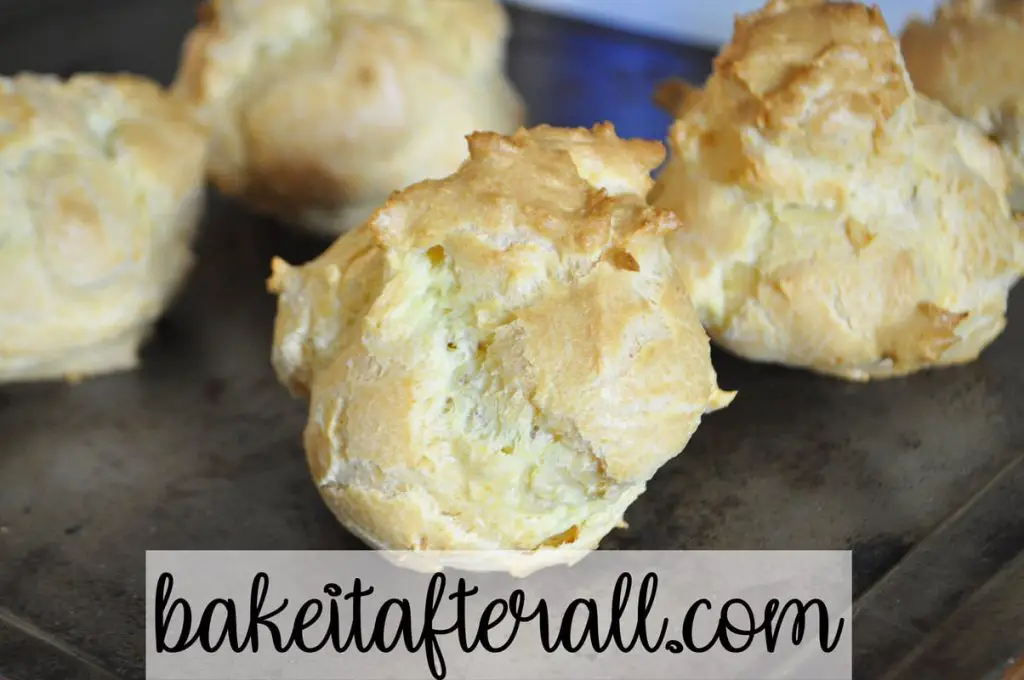
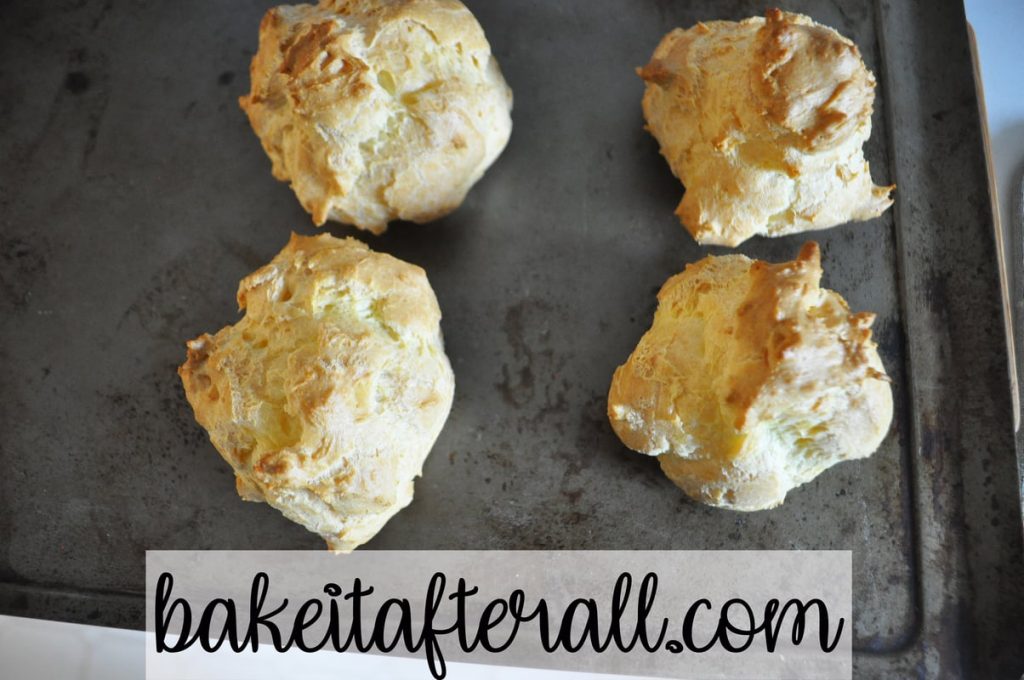
Cool the puffs away from a draft.
For more specifics on the gluten free puff dough, scroll down to the gluten free section.
Make the Vanilla Pudding cream filling
Now it’s time to make the vanilla pudding cream. Most cream puff recipes call for a cooked and cooled pastry cream, whipped cream, or custard. These are unique in that the filling is super quick, no cooking required, and REALLY delicious. The secret ingredient:
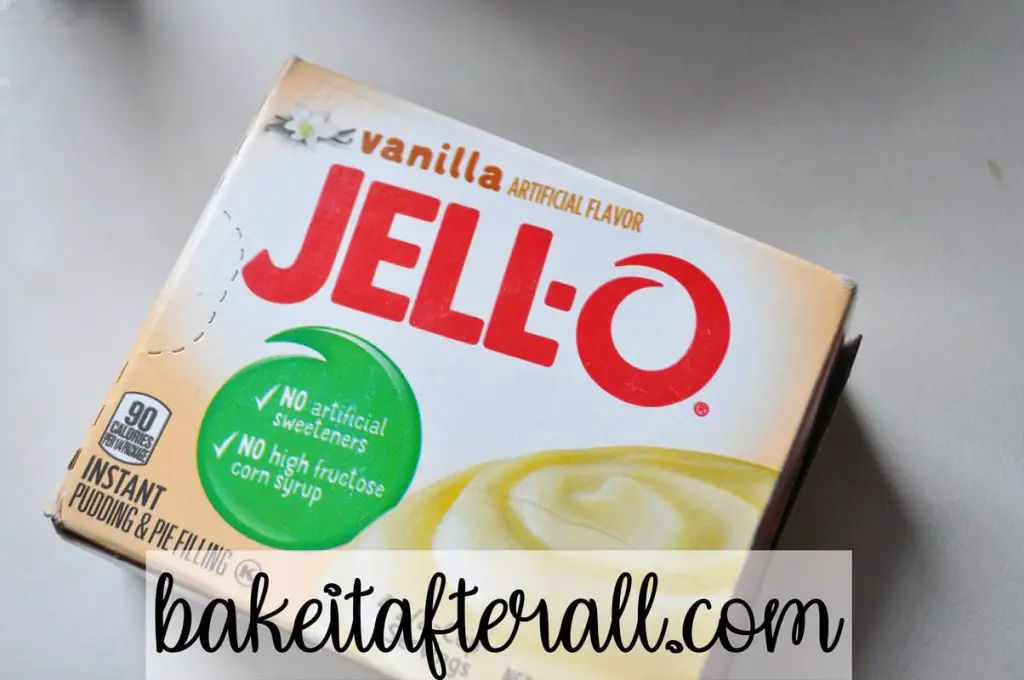
That’s right. Instant vanilla pudding. Culinary connoisseurs avert your eyes. If I could have given you a taste of the filling before I told you this, I would have. Just trust me. And anyone in my family who has had these before. And every one of my parents’ friends, neighbors, coworkers, acquaintances.
First you add 1 cup of milk to the pudding mix and beat on low speed.
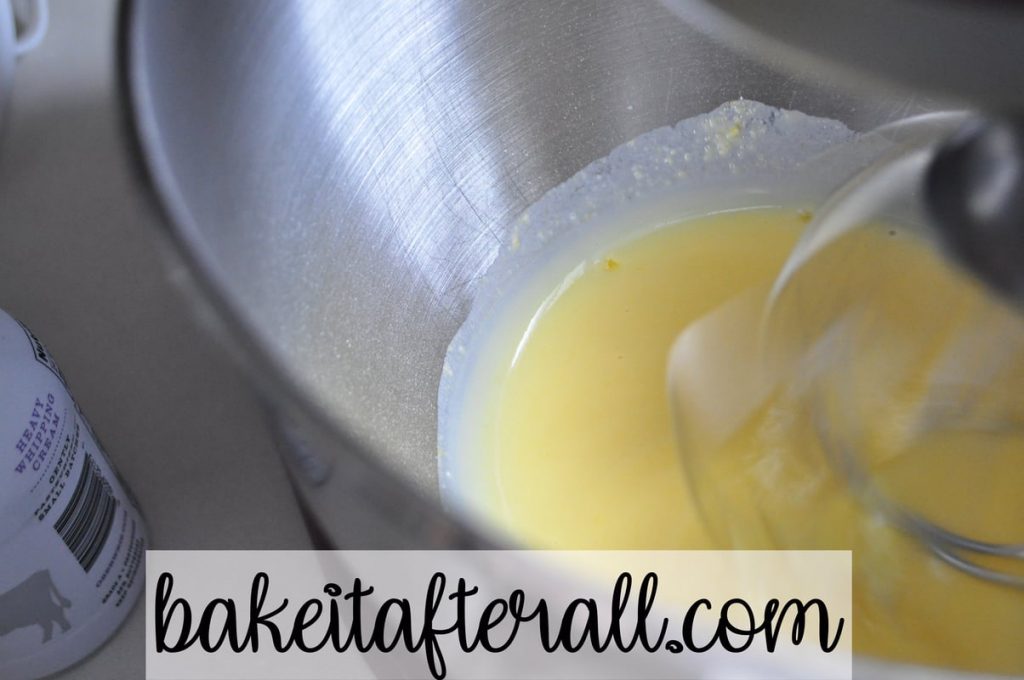
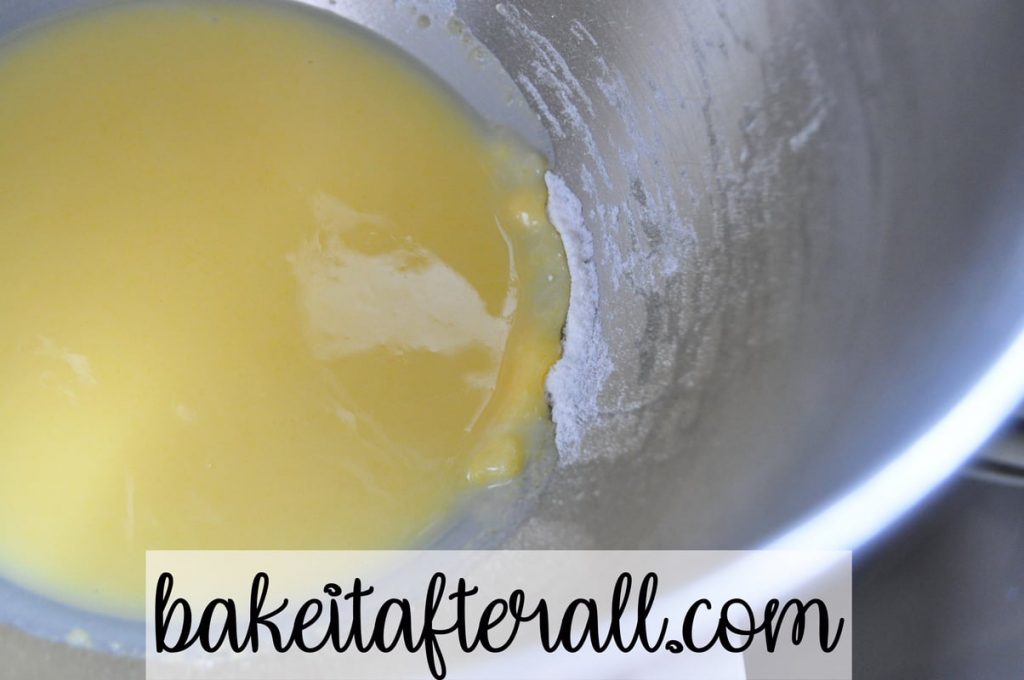
Make sure you scrape down your bowl to get that clumpy powder incorporated.
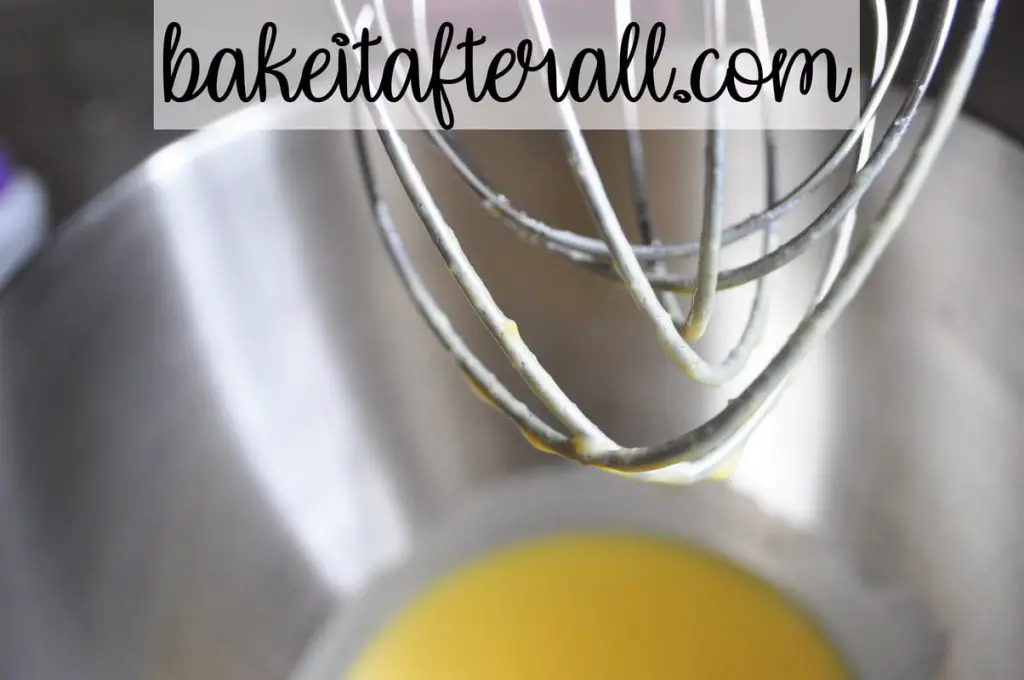
I like to use the wire whisk attachment for this part.
Then add 2 cups of heavy whipping cream and beat on medium speed until soft peak form, about 2 minutes.
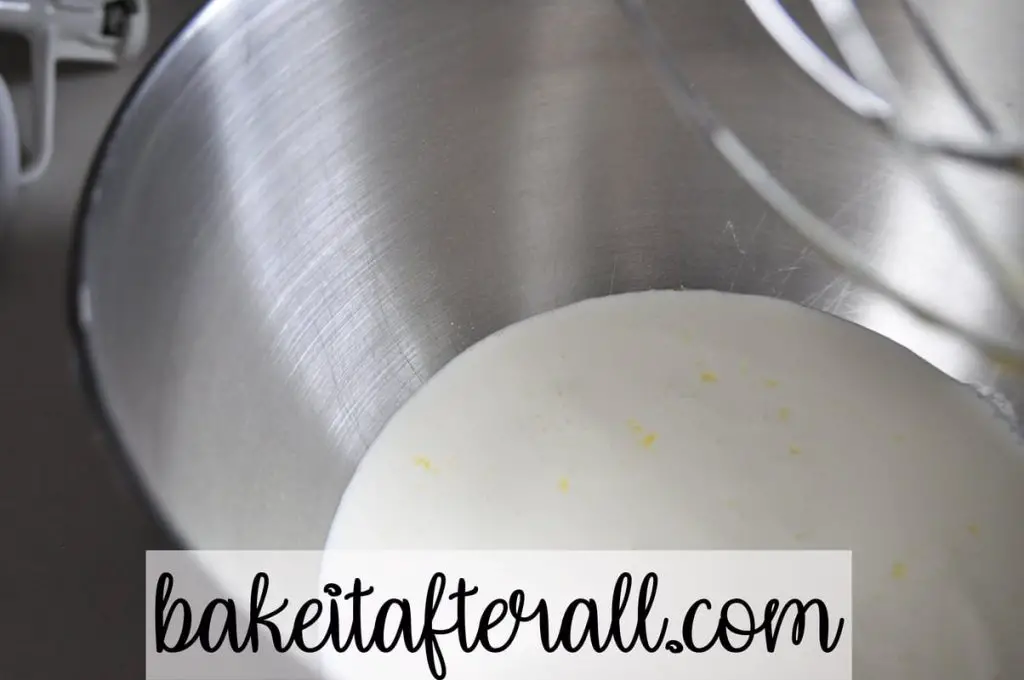
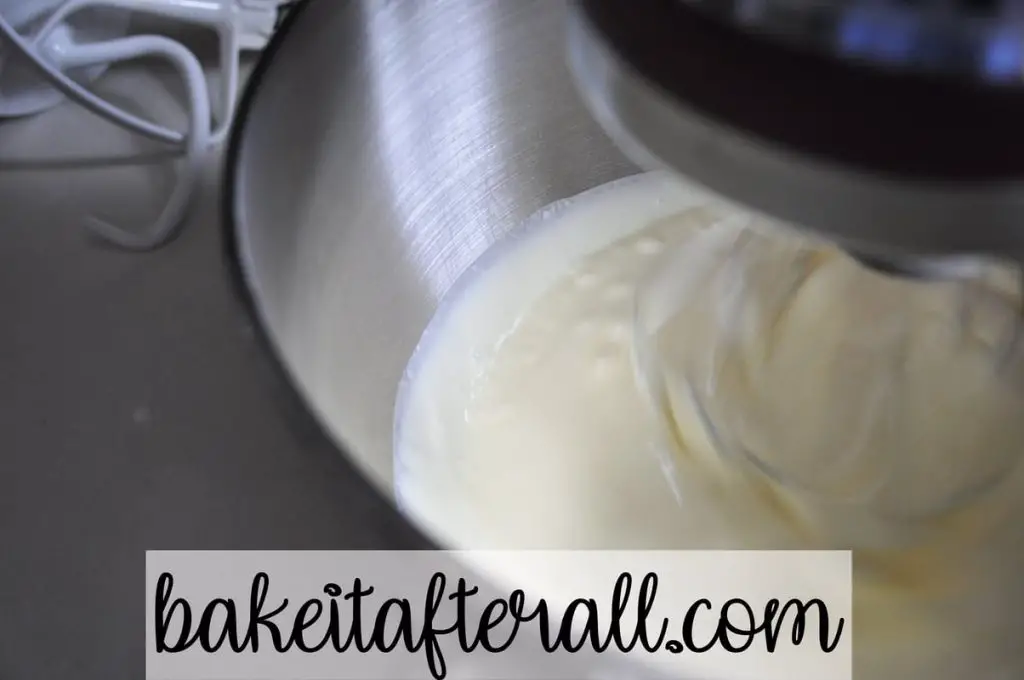
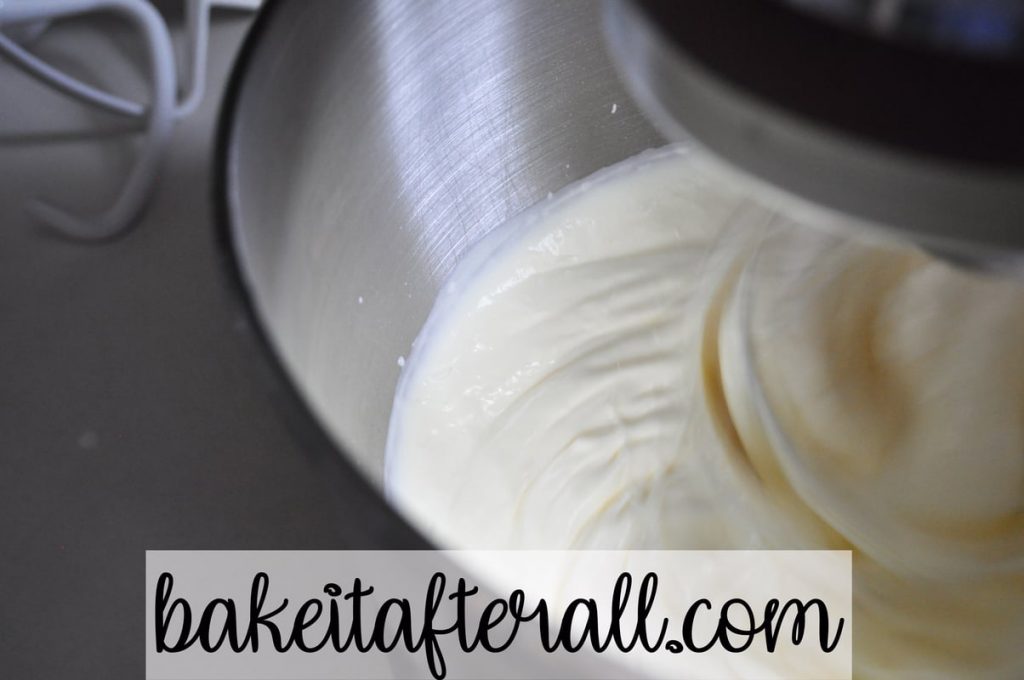
All done. Wasn’t that easy?!
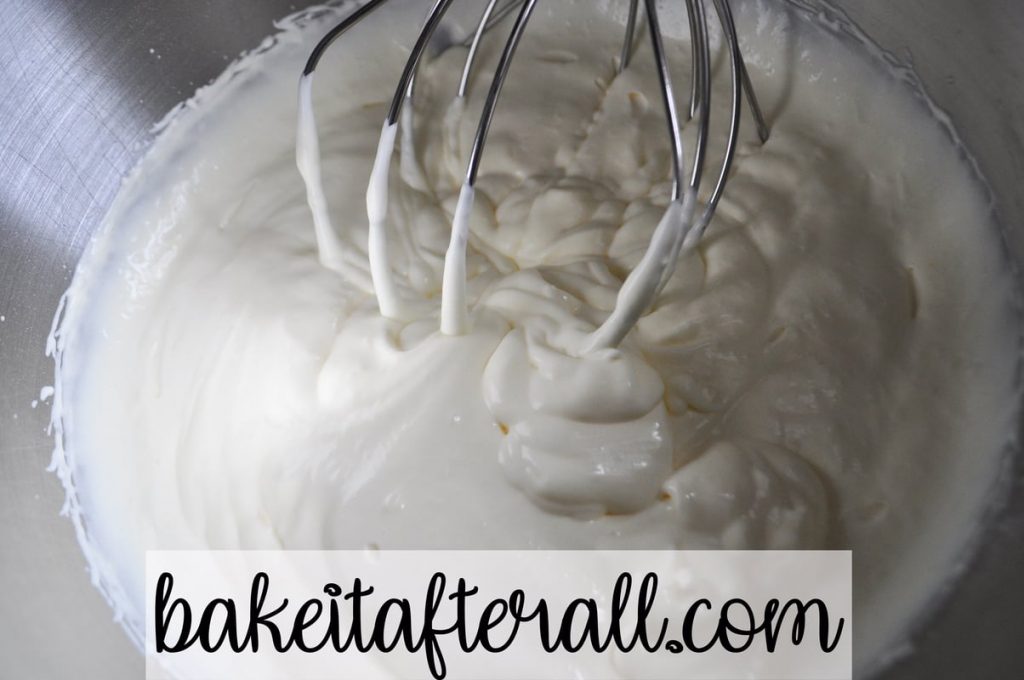
You can transfer it to a smaller bowl, cover with plastic wrap, and refrigerate until you’re ready to fill the puffs. Another job for my silicone spatulas.


I do wish you could taste this . . .
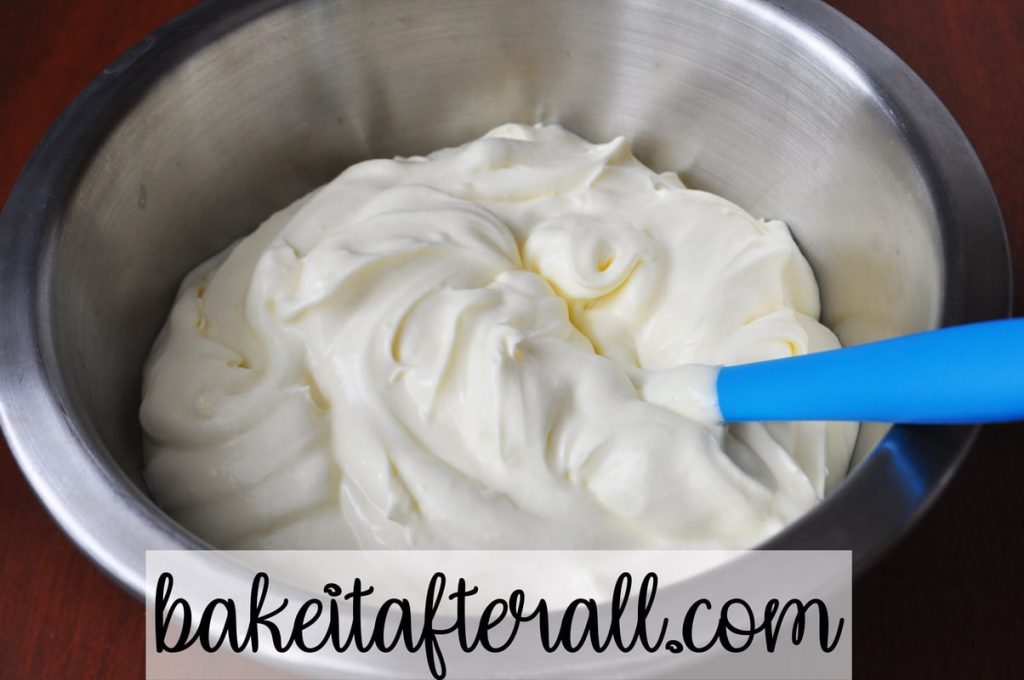
Fill and Frost the Easy Homemade Cream Puffs
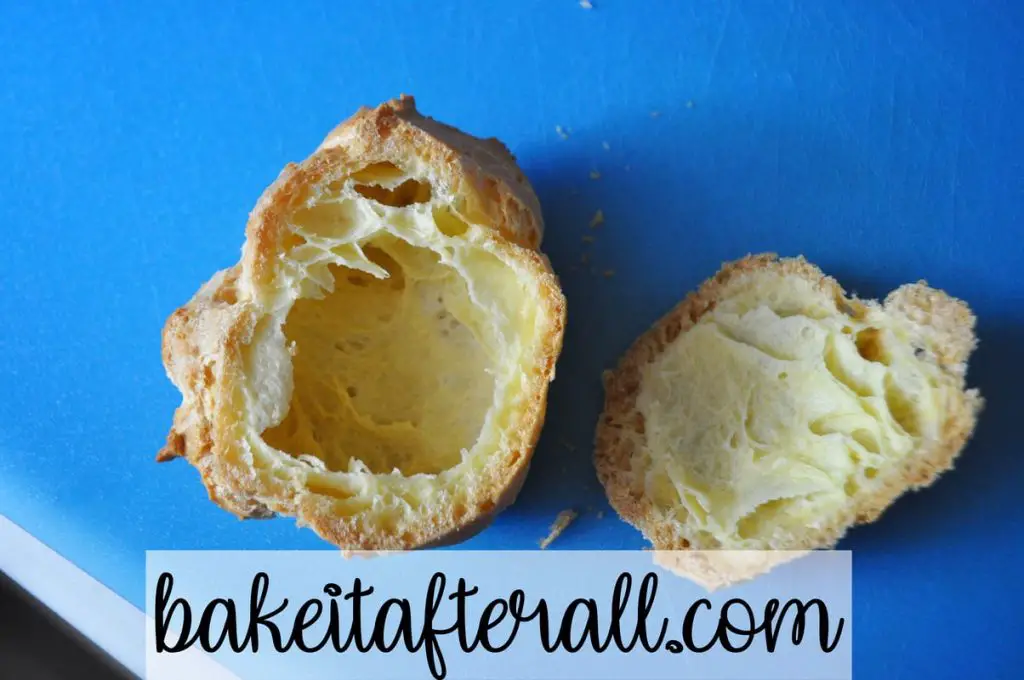
Once your puffs are completely cooled, you’re going to cut the top off each puff and scoop out the soft filaments of dough from the puff and from the top.
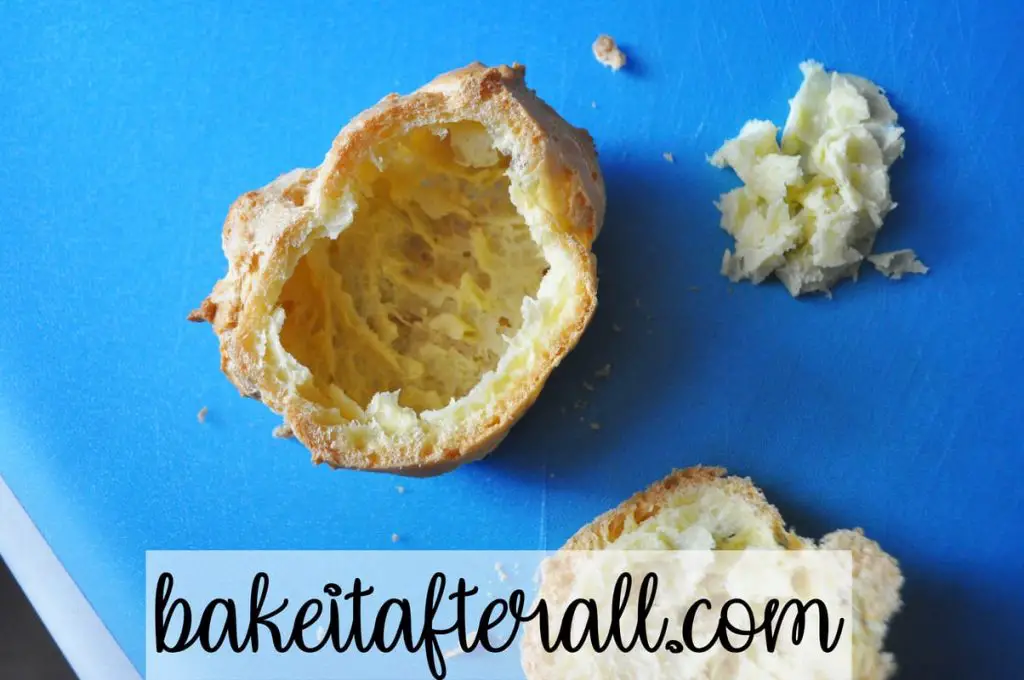
Here’s the soft dough filaments. This gets thrown away. Or eaten.

Fill your empty puffs with pastry cream and then add a sprinkling of powdered sugar or a chocolate frosting (recipe below). Both are really good. I used to only like the frosted ones, now I prefer the powdered sugar ones. But tomorrow I may go back to the frosting. When we make a batch, we usually do a mixture of both.

To make the gluten free Easy Homemade Cream Puffs
You will follow the same instructions as above for the gluten free puffs, just substituting Bob’s Red Mill Gluten Free 1 to 1 Baking Flour for the all purpose flour. Your dough is going to be stickier than it would with all purpose flour. That’s ok.
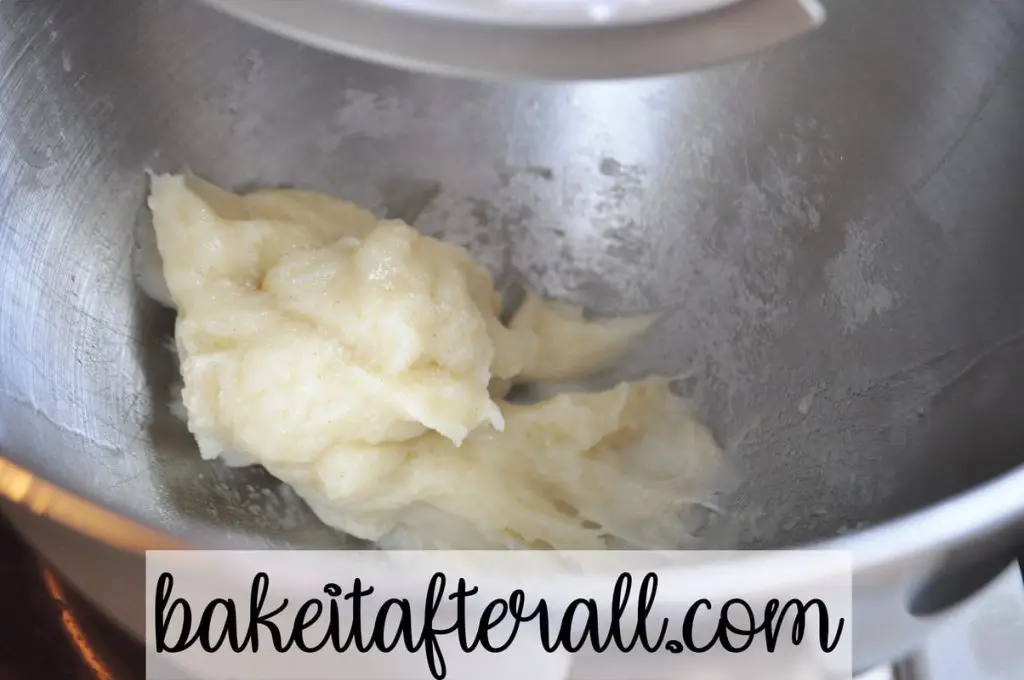
Here’s what it looks like before eggs:
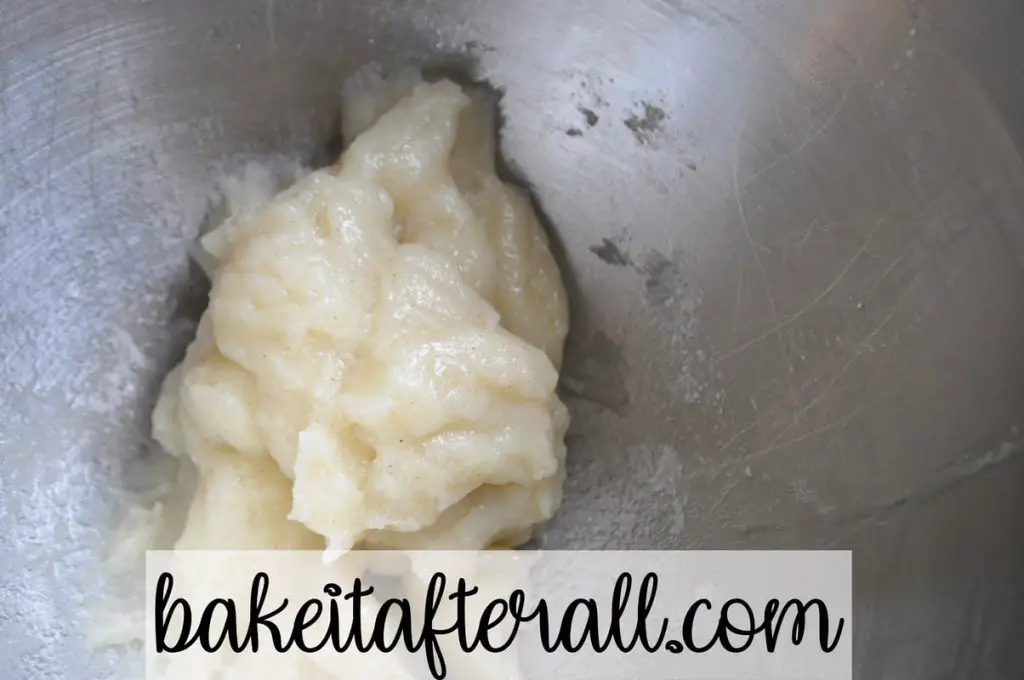
After you add eggs, even after it’s mixed a bit, it looks curdled and wrong. That’s still ok. Keep going.
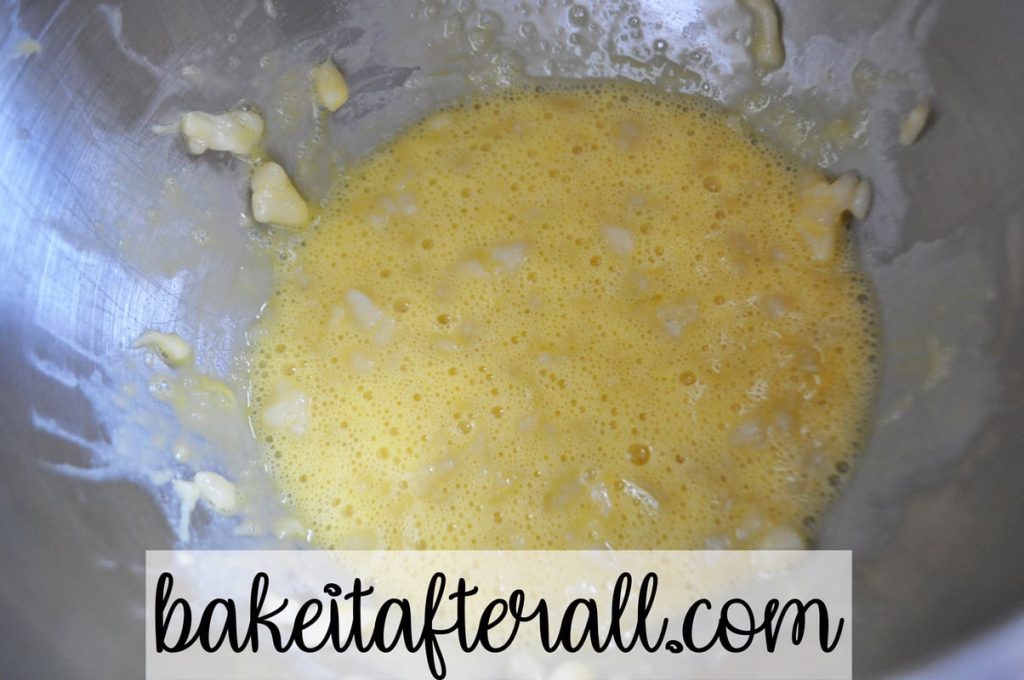
Your dough will come together. Just keep mixing. It will happen.
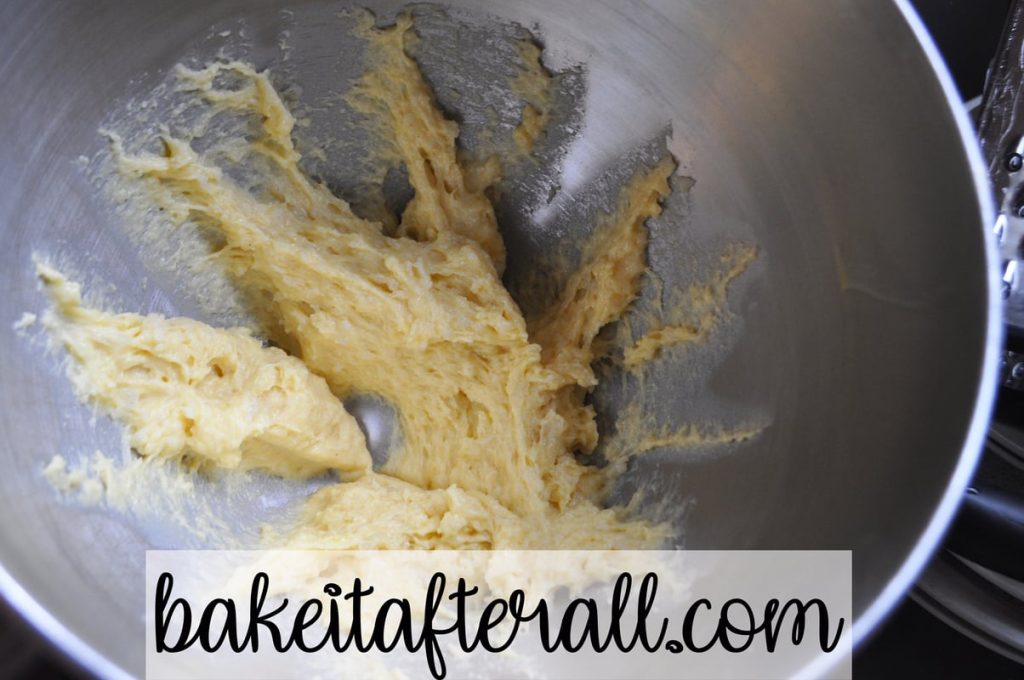
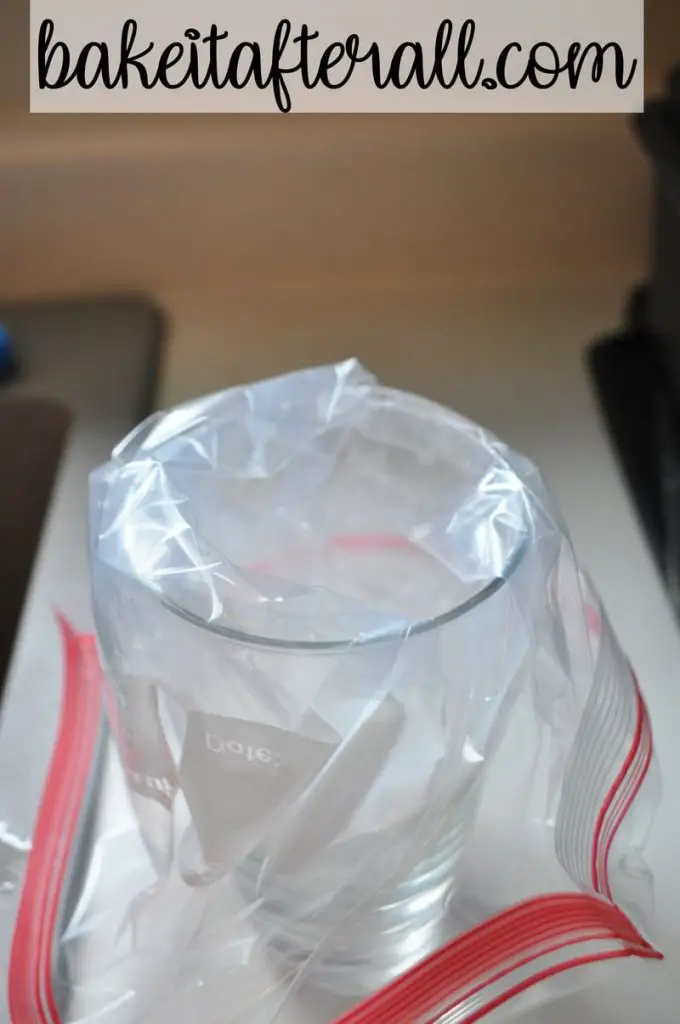
This dough is ready to put on the baking sheet. It is still stickier than the version with all purpose flour. For that reason, I put it into a resealable gallon sized bag with a corner cut off (or a disposable pastry bag).

I like to put the bag into a tall glass so that it’s easier to fill with dough.
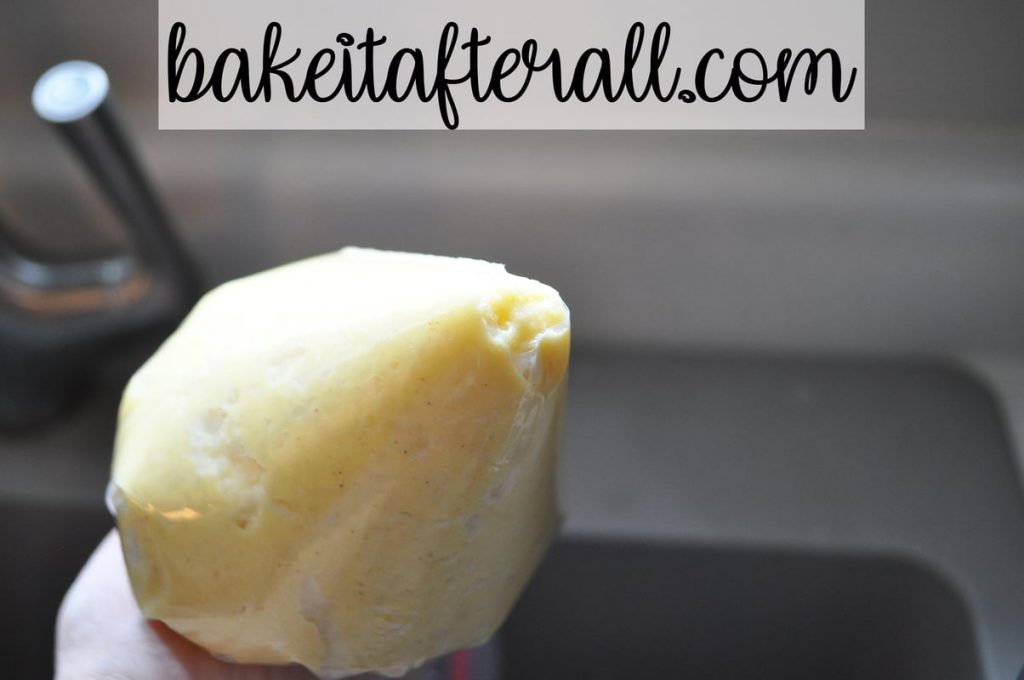
Here’s the filled bag with the tip cut off:
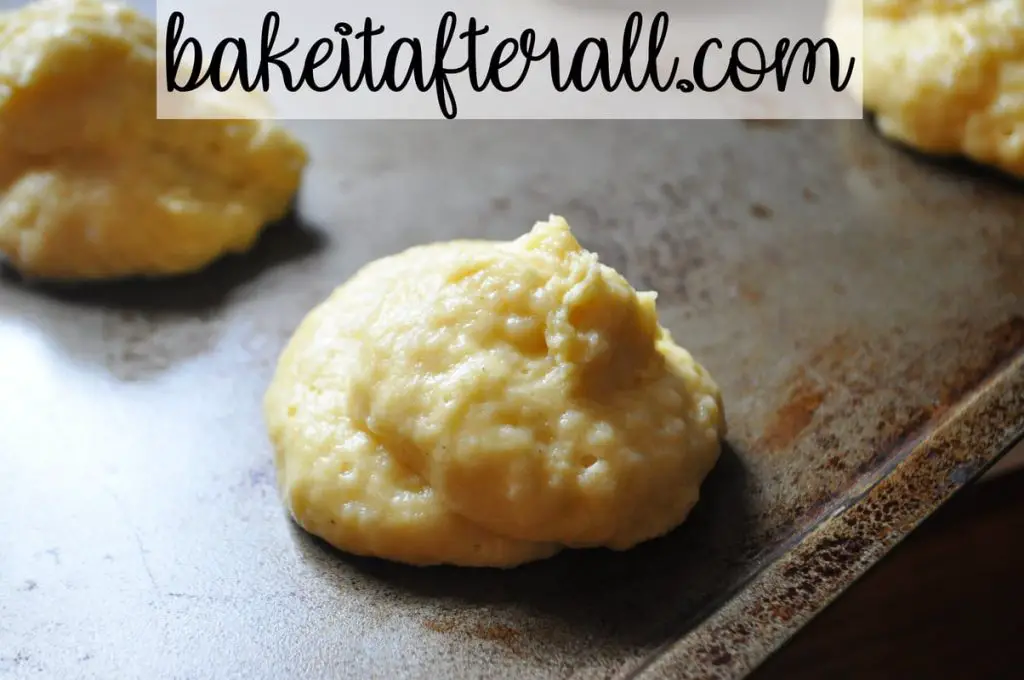
And here’s the piped dough on the baking sheet.
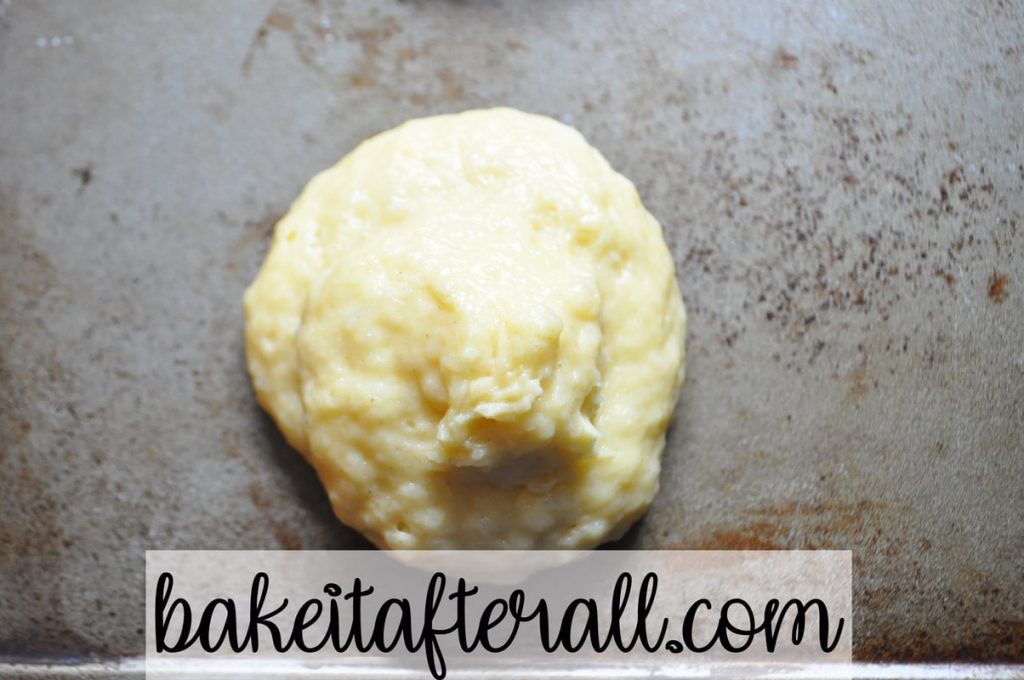
Ready for the oven! These may need a few more minutes to bake than all purpose dough. You don’t want the insides to be gooey.
Nice and puffed and golden brown.
Ready for some pudding cream filling.

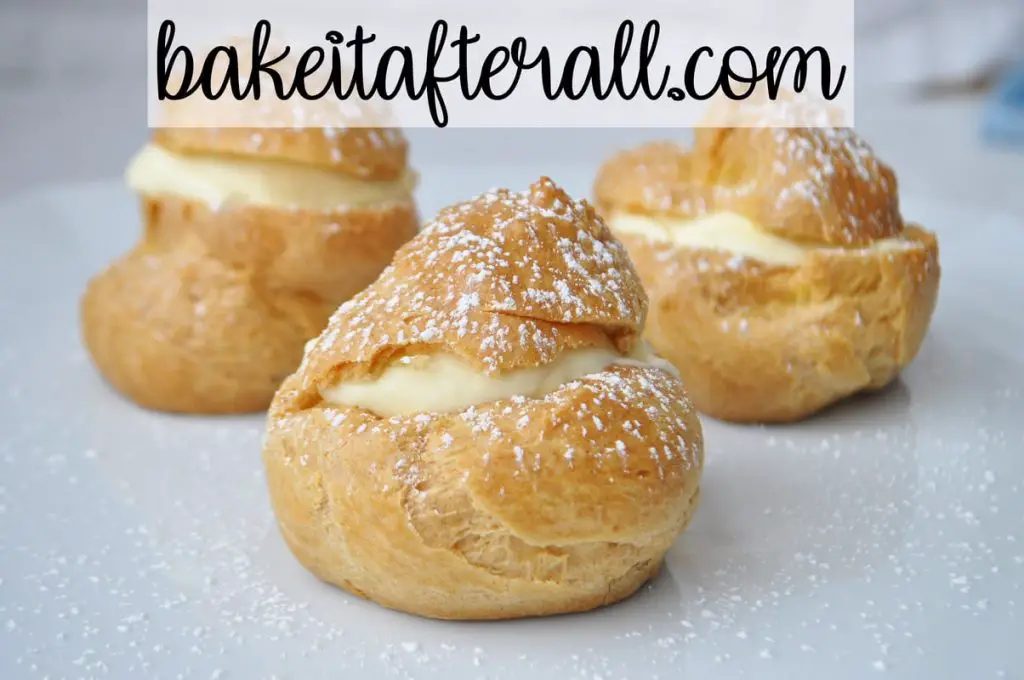
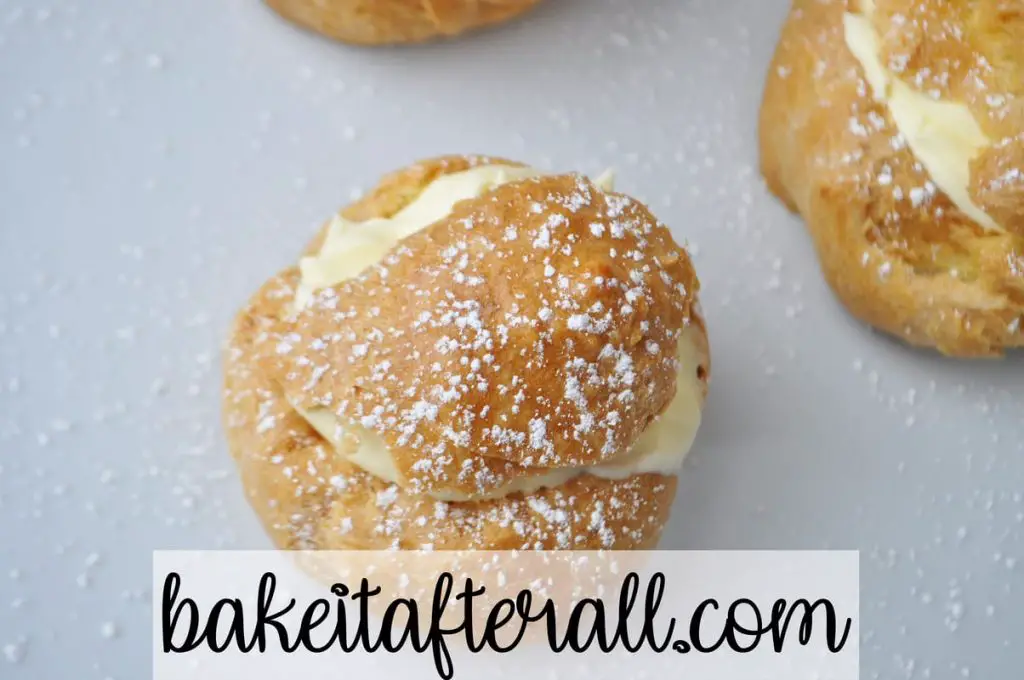
All filled and dusted with powdered sugar. Ready for the fridge to chill. You can frost them with the chocolate frosting instead of powdered sugar – just whatever you prefer.
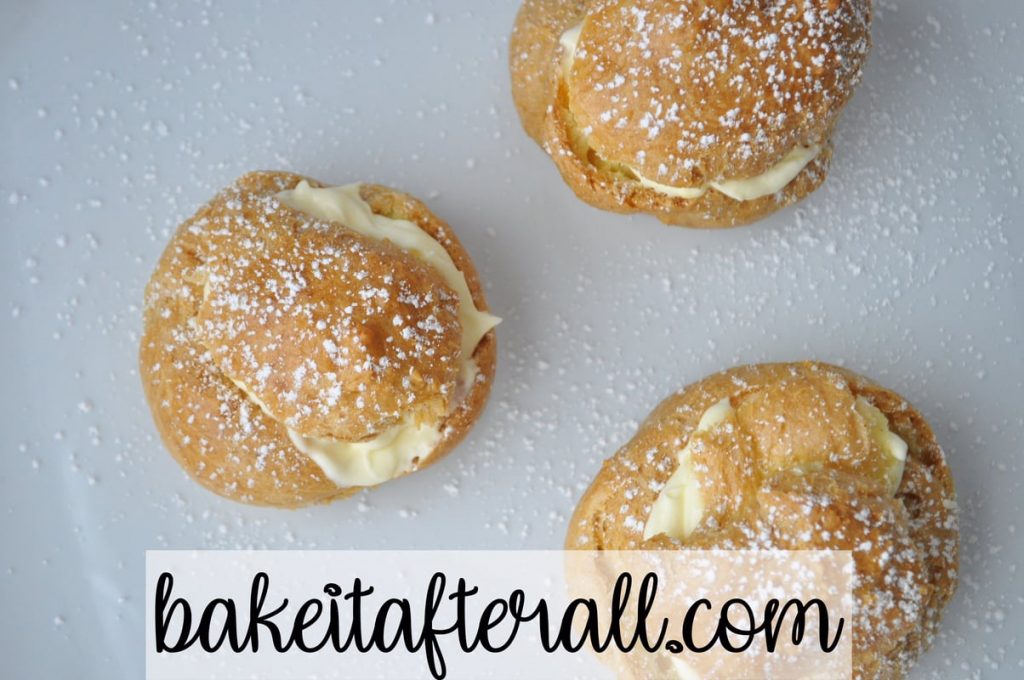
No one will ever know these are gluten free! Promise!
Gluten Free Option for Easy Homemade Cream Puffs
Use Bob’s Red Mill 1 to 1 Baking Flour in place of all purpose flour. I’ve indicated minor changes to the recipe for the gluten free version in the recipe card.

Want more chocolate?
Don’t we all?! Check out these other posts for chocolate lovers!
Bailey’s Irish Cream Mini Cheesecakes
Salted Caramel Chocolate Fudge Cake
Mocha Cream Cake
Samoa Bundt Cake
Samoa Bars
Graham Cracker S’mores Cookies
S’mores Cheesecake Bars
Chocolate Pear Tart
Chocolate Covered Strawberries
Easy Homemade Cream Puffs
Ingredients
For the puffs:
- 1 stick butter (8 tablespoons)
- 1 cup water
- 1 cup flour all-purpose or gluten free 1 to 1 baking flour
- 4 eggs
For the pudding cream:
- 1 3- oz box of vanilla instant pudding
- 1 cup milk
- 2 cups heavy whipping cream (chilled)
For the frosting:
- 1 ounce bittersweet or unsweetened chocolate
- 1 teaspoon butter
- 1 cup powdered sugar
- 2 tablespoons hot water
Instructions
Make the puffs:
- Preheat oven to 400 degrees F.
- Place the butter and water in a small saucepan over high heat. Stir to melt butter, and bring mixture to a rolling boil. Reduce heat to low. Dump in flour and stir with a wooden spoon or a silicone spatula, pushing the dough into the sides of the pan to continue to cook the flour for about 1 minute.
- Remove the saucepan from the stove and transfer the dough into a heatproof bowl or the bowl of a standing mixer. If using an electric mixer, mix the dough on low for a couple minutes to cool. If mixing by hand, stir dough around for a couple minutes to cool. Dump in the eggs all at once and mix until the dough is shiny and the eggs are incorporated. Note: if you are using gluten free flour, this will take longer to incorporate the eggs. Be patient, it will happen. Just keep mixing until a sticky dough forms.
- Once the dough has formed, drop dough by spoonfuls onto an ungreased baking sheet to form 12 mounds of dough. Alternatively, use a disposable pastry bag or a resealable gallon sized bag with a corner cut off to pipe the dough into the mounds. If making gluten free puffs, the dough is stickier and works better if you pipe it.
- Bake the puffs for 35 – 40 minutes. This is an important step – you want the puffs to be tan, not yellow. You may need to bake longer than you think. You are drying out the dough and if you don't bake long enough the inside will be gooey.
- Cool away from draft. When cool, cut off the tops and pull out the soft filaments of dough from the base and top. Fill puffs with vanilla cream filling and replace top.
Make the pudding cream filling:
- In the bowl of an electric mixer, add the pudding mix and 1 cup of milk. Mix for a minute on low, scrape down the bowl, then mix for another minute, then add the 2 cups of chilled whipping cream and beat on medium until soft peaks form, about 2 minutes.
- Refrigerate until ready to fill puffs.
Make the frosting:
- On the top of a double boiler or in the microwave, melt the chocolate and butter. If using the microwave only heat in 20 to 30 second intervals at 50% power to avoid overheating chocolate.
- Once chocolate is melted, stir in the powdered sugar and hot water. Whisk until smooth. Use immediately.
Finish the puffs:
- Either dust cream puffs with powdered sugar or top with chocolate frosting. We usually do some of each.
- Refrigerate puffs until ready to serve. IMPORTANT: do not cover puffs or they will get soggy. If you must cover, lightly cover with foil. These are good for at least 2-3 days when refrigerated.
Yummy!
You should seriously blog daily. This is awesome. I love reading this kind of content.
These are the most heavenly puffs. I have never attempted to make them myself. Just depend on my sister to make them for me.