Cherry Chocolate Cheesecake Bundt Cake
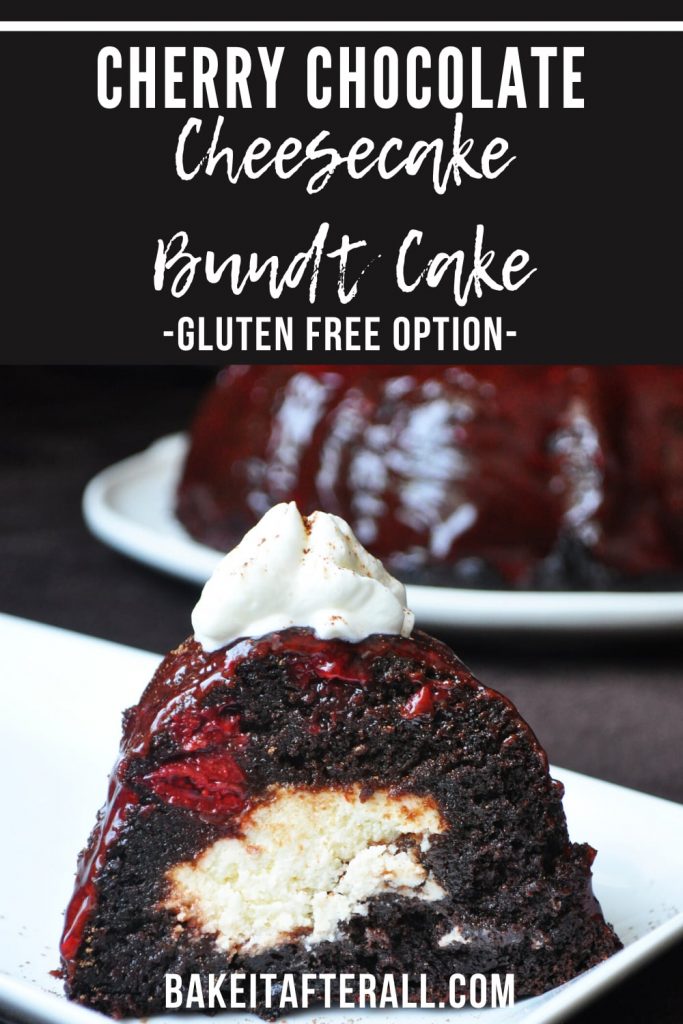
Cherry Chocolate Cheesecake Bundt Cake features the BEST chocolate cake, studded with cherries, filled with cheesecake and brushed with a cherry glaze. This is a must-make dessert, and it can be made gluten free!
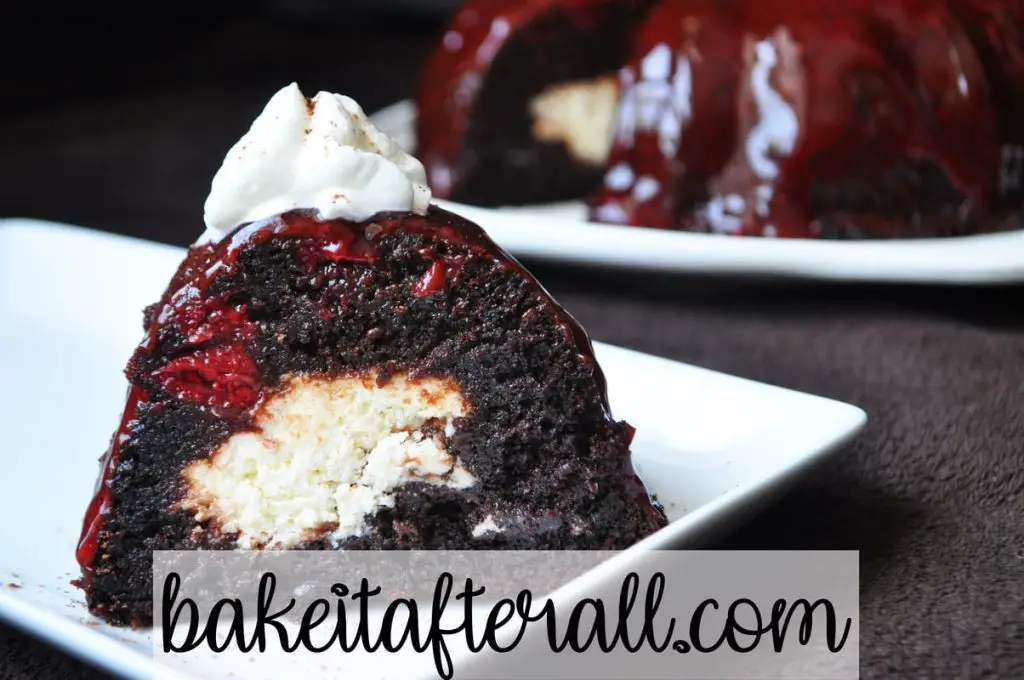
I first found this cake on Pinterest and texted my mom a picture saying that we needed to make it for my dad. He loves cherries and chocolate and cheesecake!
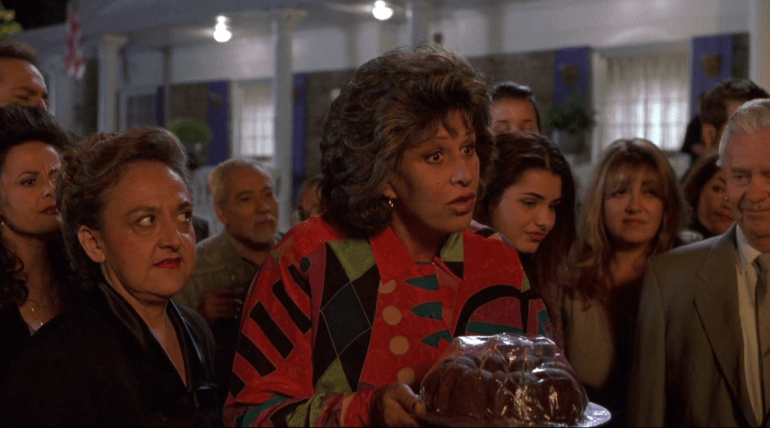
I don’t know about you, but every time I hear “Bundt” I think of “My Big Fat Greek Wedding” when Ian’s mom is trying to teach Toula’s mom to say “Bundt.”
The BEST Homemade Chocolate Cake
Normally, I’m leery of homemade cakes because I have had experiences with them turning out dry. When I looked more closely at this recipe, I noticed the cake is the same as my favorite chocolate cake: the Hershey’s Black Magic Cake AKA Beatty’s Chocolate Cake. It’s the cake I used for the Salted Caramel Chocolate Fudge Cake. I’ve also used it for the Samoa Bundt Cake.
Thinking back to another chocolate cake I made years ago that was VERY good, I looked up my post for Chocolate Layer Cake, which, at the time, was the most popular recipe on Epicurious.com. My photo was absolutely dreadful, but the cake was amazing.
I compared the Epicurious recipe to the Hershey’s Black Magic Cake, and it’s almost the same! The Epicurious cake has a small amount of melted chocolate added to the batter, but other than that, it’s very similar quantities of the same ingredients. Basically, if you see a chocolate cake recipe that calls for buttermilk, Canola/vegetable oil, and hot coffee, it’s likely a variation of this recipe.
While some people prefer not to use oil in baking, I find all butter cakes to be on the drier side. The oil component really helps with the moisture of the cake.
What about Gluten Free?!
I made this with my favorite gluten free flour: Bob’s Red Mill Gluten Free 1 to 1 Baking Flour. I have used it for the Hershey’s Black Magic Cake recipe before and had great results. It worked beautifully for this Bundt cake too! I challenge anyone to guess this is gluten free based on taste alone!
This is not a hard cake to make, but there are several steps, so I’m outlining them with photos to guide you through.
Prepare the Cherries
The original recipe calls for a 22-ounce can of cherry pie filling. I had a 30-ounce can, and I intended to hold back 1/3 of the cherries. But then I didn’t. This *may* be why my cake spilled over during baking – more on that later.
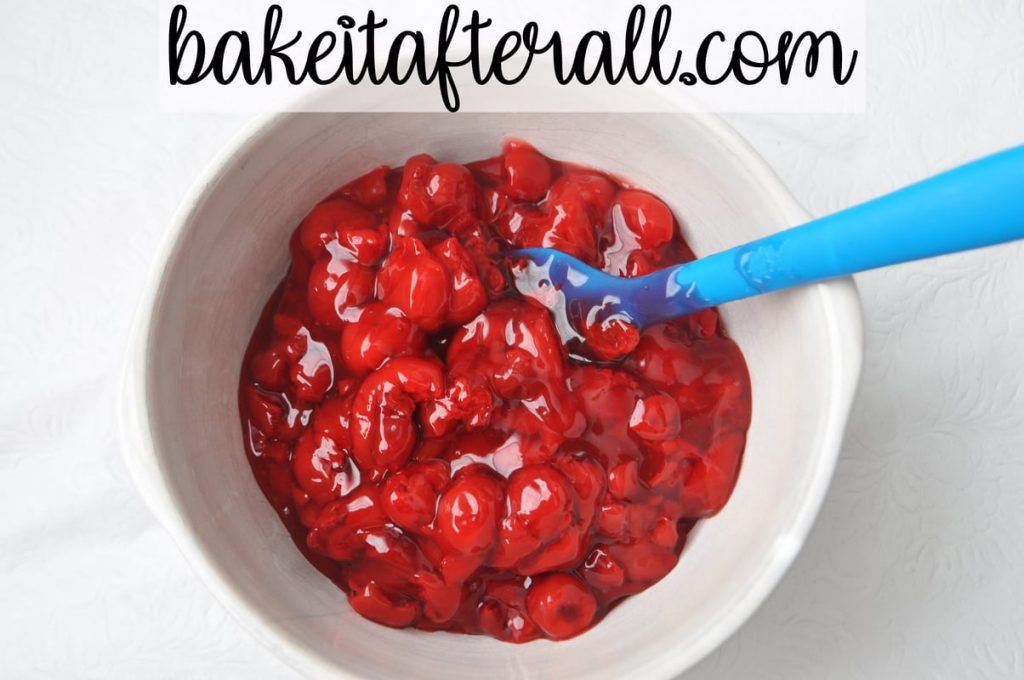
The cherries are strained with a pasta strainer to remove the glaze. Generally when I’m trying to sift or strain something, I will use a whisk to get it through the mesh of the strainer. I didn’t want to break up the cherries, so this time I used a small silicone spatula to carefully push the cherries around and try to gently force the glaze through the strainer. It takes a little patience, and you may have to scrape the underside of the strainer a few times to make sure the glaze can flow through.
I set aside the cherries and the glaze for later.
Prepare the Chocolate Cake Batter
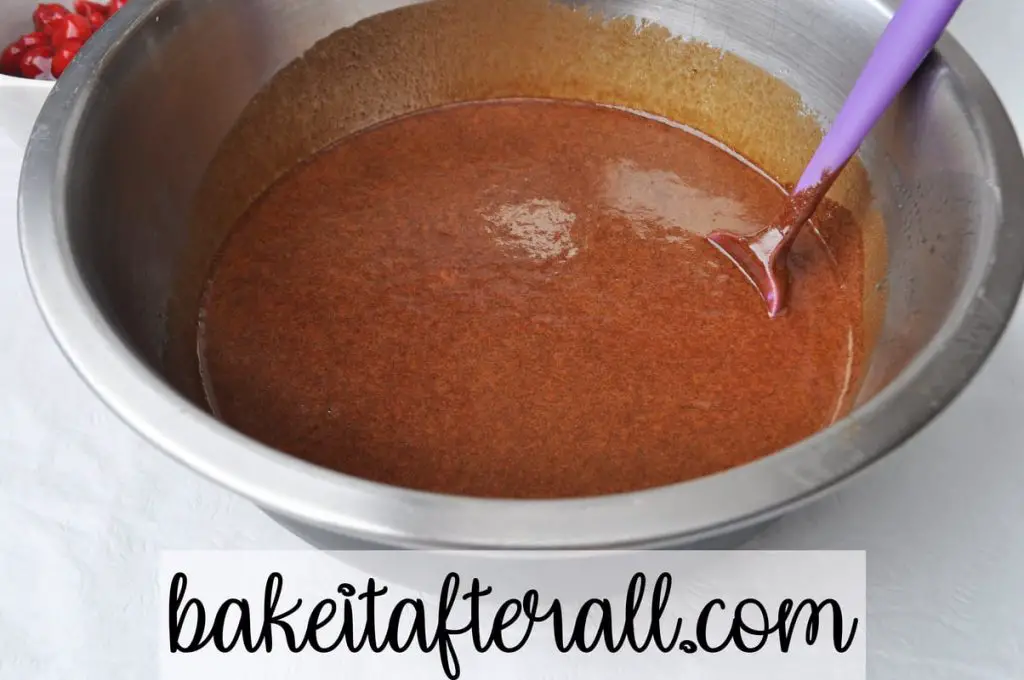
The next step is to mix up the cake batter. This is a very thin batter, so don’t be alarmed. It’s sort of the opposite of most cake recipes. First you’ll mix the dry ingredients and then add the wet ingredients to the dry rather than the other way around. The last step is a cup of hot coffee that is added to the batter.
You can brew a pot of coffee if you’d like, but I usually just microwave some water in a mug and then measure out exactly 1 cup after it’s hot. I add a heaping teaspoon of instant coffee to the water and that’s it!
At this point, I transferred the batter to a big bowl and set it aside to use the mixer bowl for making the cheesecake filling.
Make the Cheesecake Filling
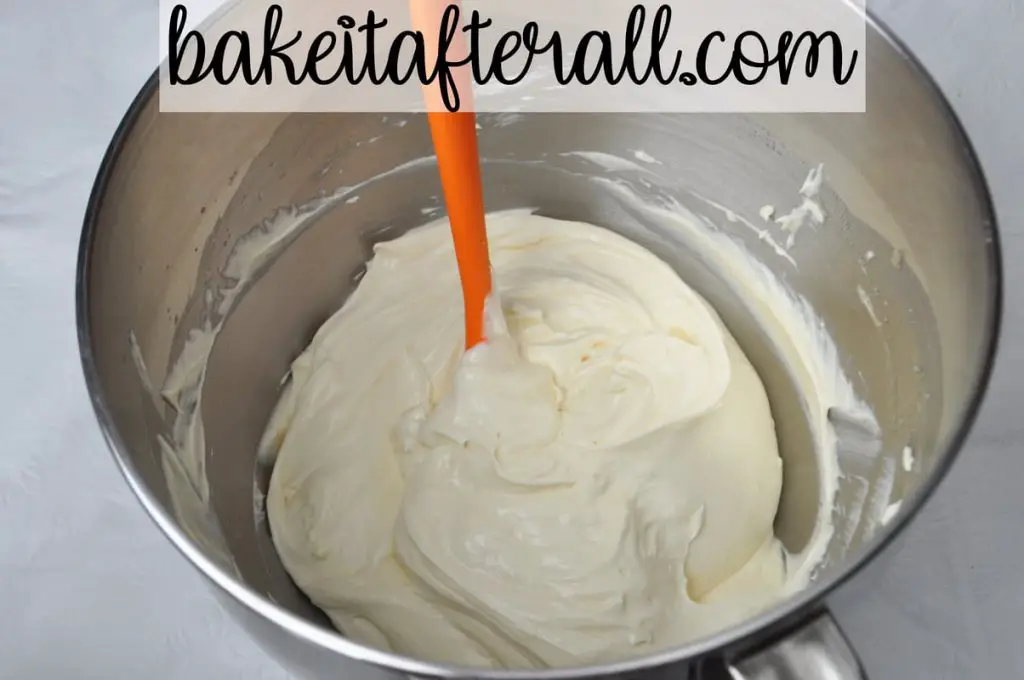
This is a very simple filling made with cream cheese, an egg, sugar, and vanilla. I used the whisk attachment on my stand mixer so that it whipped up nice and smooth.
Assemble the Cherry Chocolate Cheesecake Bundt Cake
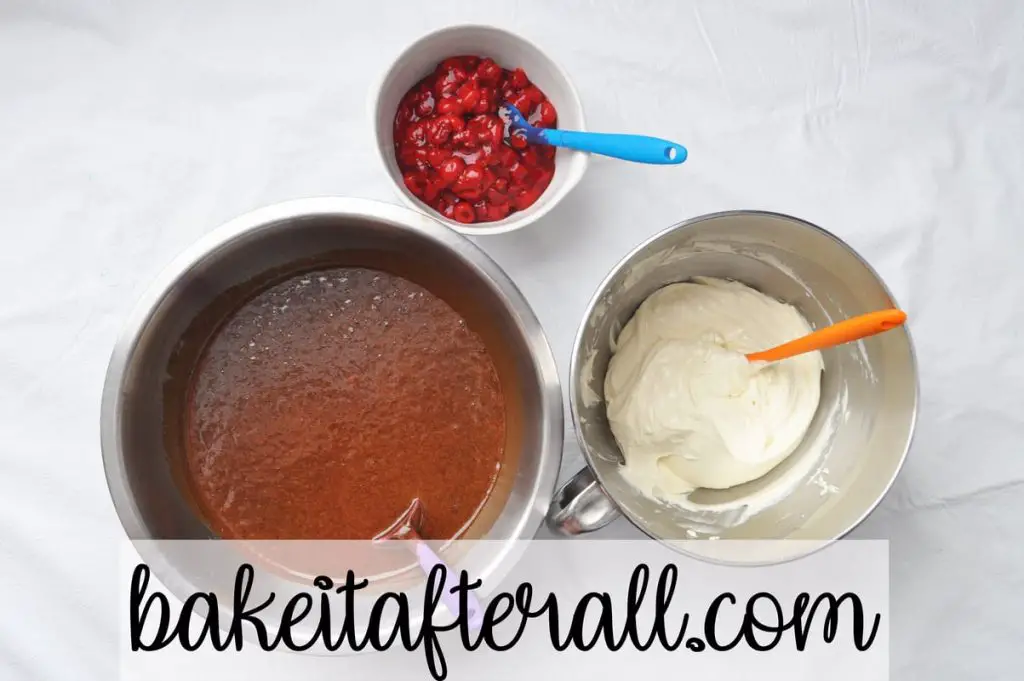
At this point, I had 3 bowls: strained cherries, chocolate cake batter, and cheesecake filling.
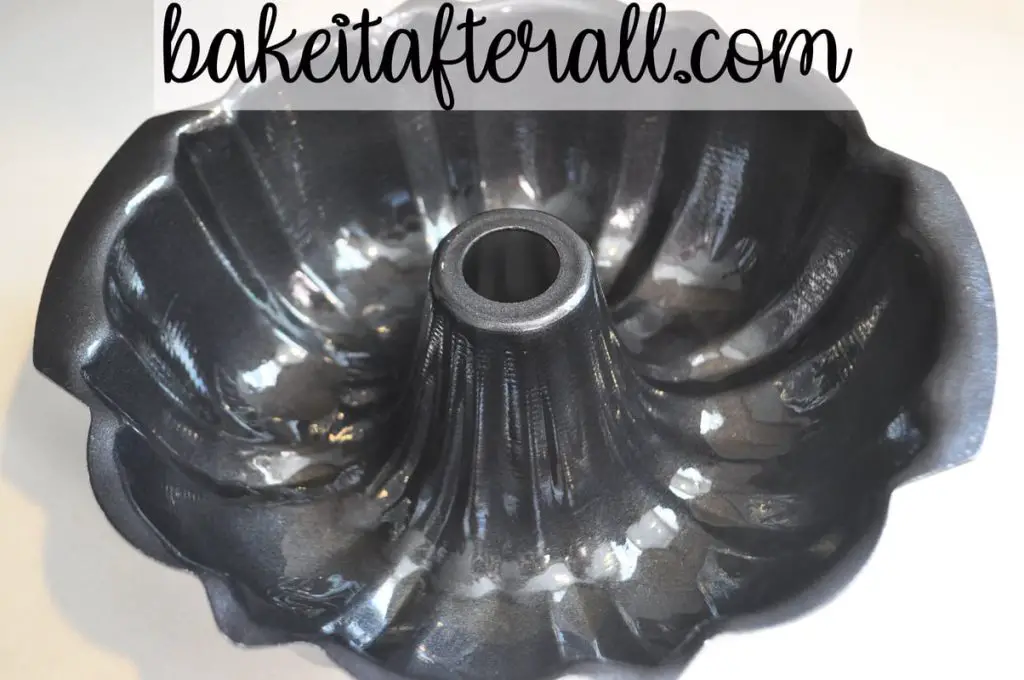
To prepare your Bundt pan, you can butter and flour it (or use cocoa powder instead of flour since it’s a chocolate cake). I prefer to use nonstick Canola cooking spray. I sprayed a lot and then wiped up areas where the spray had pooled using a paper towel. Don’t skip this step because you definitely don’t want your cake sticking to your pan after all your hard work!
Next, I carefully folded the strained cherries into the chocolate cake batter. I say carefully because the cherries are rather delicate, so if you’re stirring vigorously it might break them up into smaller pieces.
Because the filling is heavy compared to the thin cake batter, I filled the pan with 2/3 of the cake batter and then added the cheesecake filling on top. I used a ladle to add the cake batter to the pan. Then I used a silicone spatula to add the cheesecake filling. I did this very carefully because I wanted the cheesecake to be a ring inside the cake rather than a layer. I made sure not to have the cheesecake filling touch the sides of the pan, then gently smoothed the top of the filling down a bit.
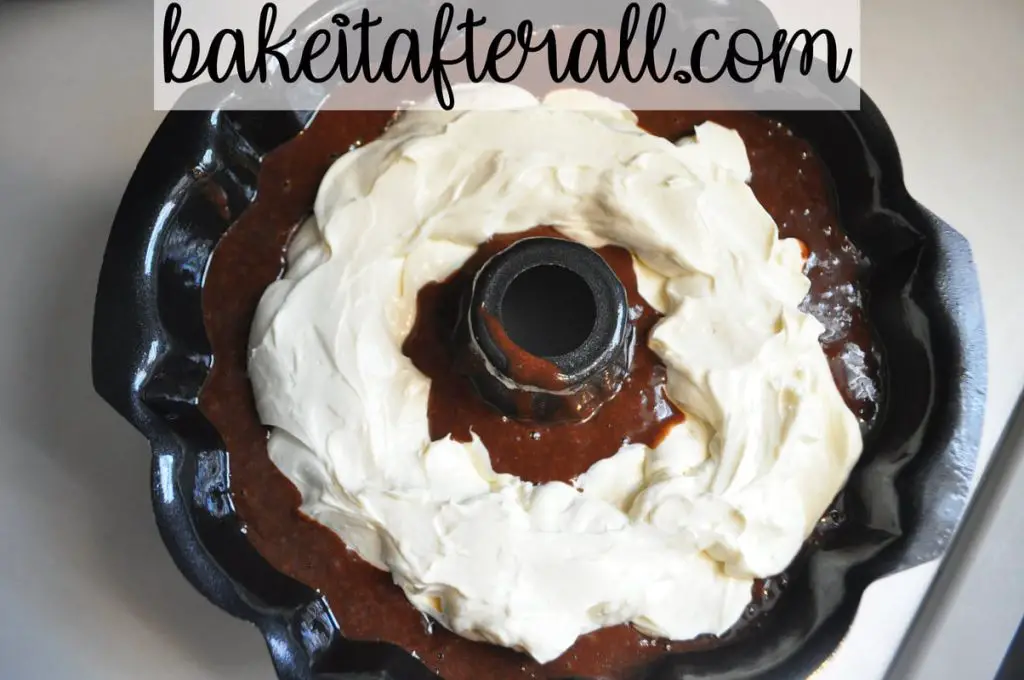
Then, I carefully ladled on the remaining 1/3 of the cake batter.
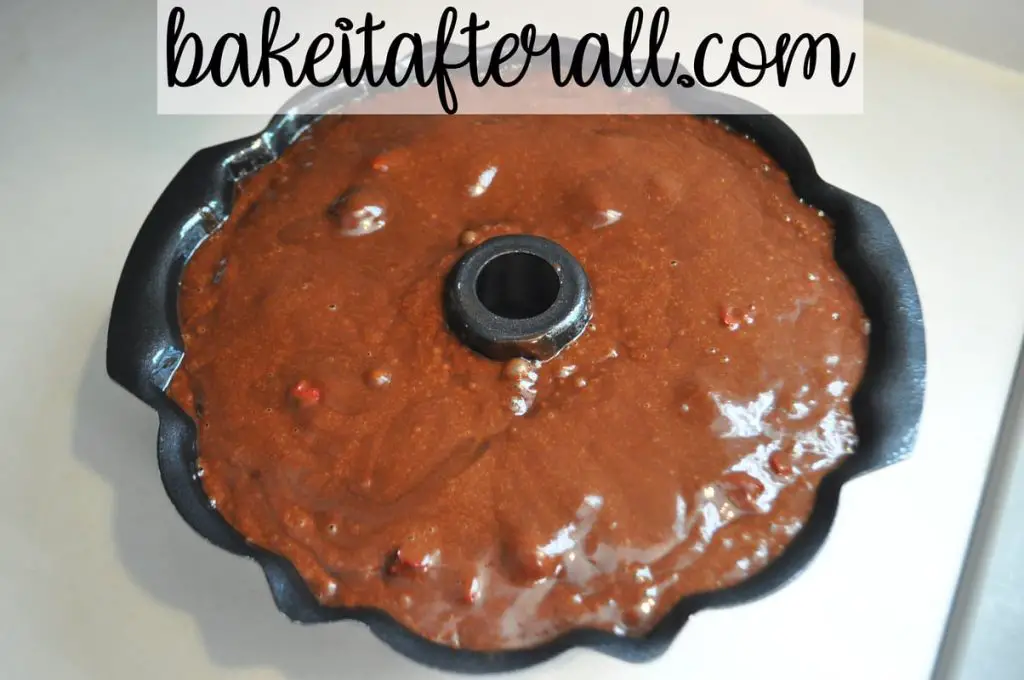
Bake the Cherry Chocolate Cheesecake Bundt Cake
The cake is ready to be baked. I have a note in the recipe card about placing an aluminum foil lined baking sheet in the lowest rack of the oven to catch any spill over. This may have only happened because I used the entire large can of cherries, but regardless it’s a good idea to do this in case any of the cake does rise up and spill over the sides. I was not happy to have to clean this out of my oven and off of my pizza stone that was on the lowest rack!
Here’s the baked cake. I was worried about how it would turn out since it rose up above the sides of the pan. It also looked like my cheesecake filling did not stay put. After the cake started to cool, it shrank down a little and looked just fine. I let it cool like this for 15 minutes.
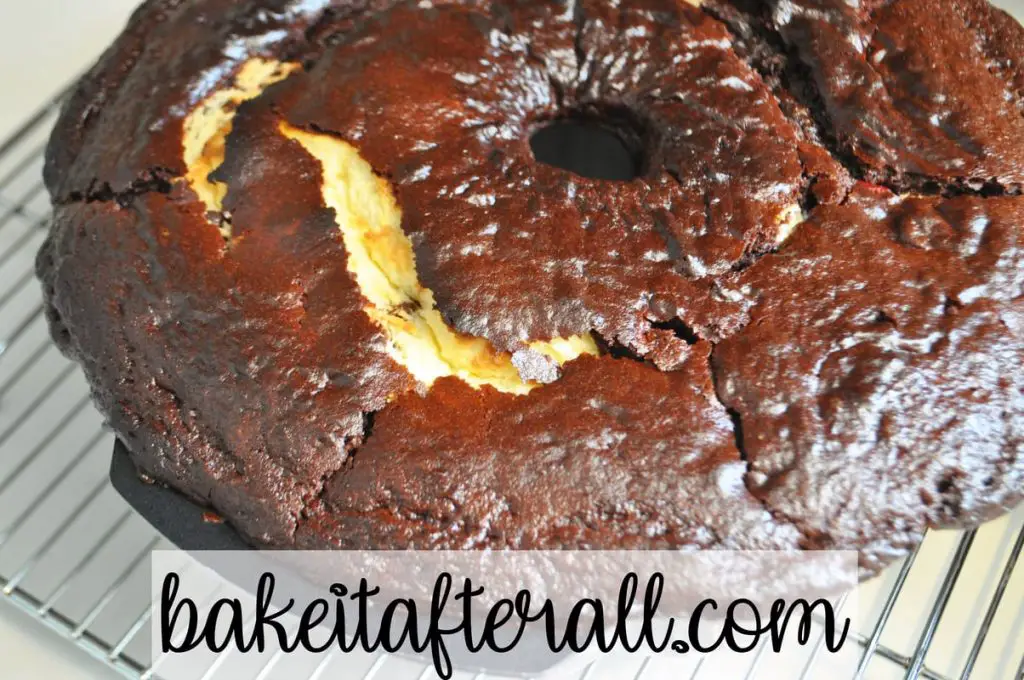
After 15 minutes, I wanted to remove the cake from the pan so it wouldn’t cool and stay stuck in the pan. I carefully pried the outer edges of the cake from the pan, then put another cooling rack on top of the cake. Don’t be confused by these pictures. I actually moved the cake from the silver cooling rack to the black one, then placed the silver one on top and inverted the whole thing, leaving the black one on top in this next photo.
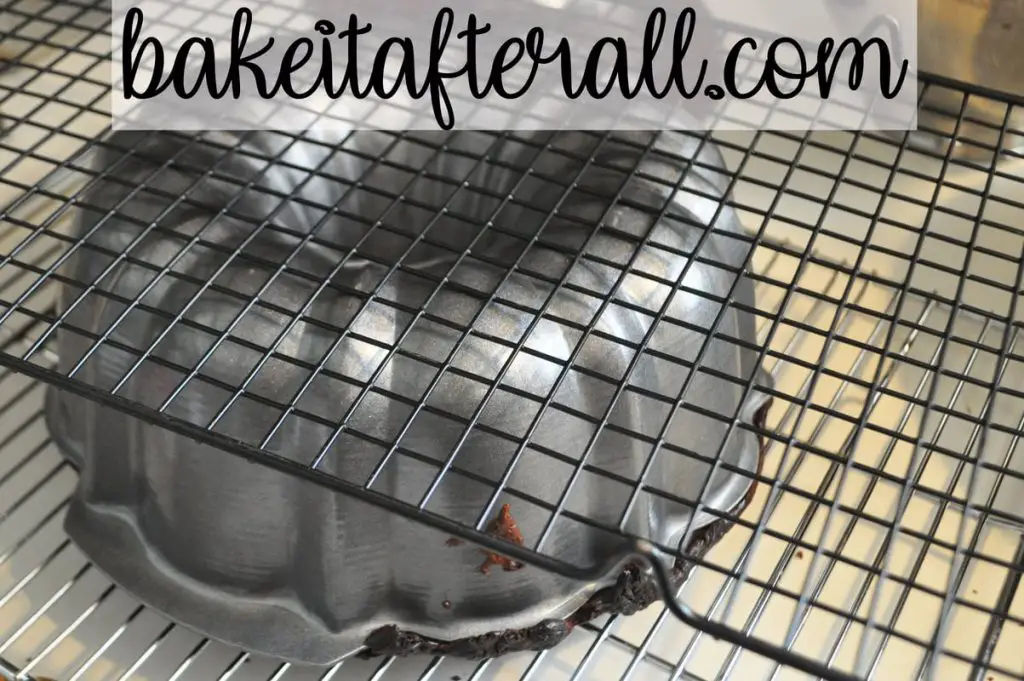
The moment of truth had arrived. This is always one of the most nerve racking parts of caking baking, particularly Bundt cake baking . . .
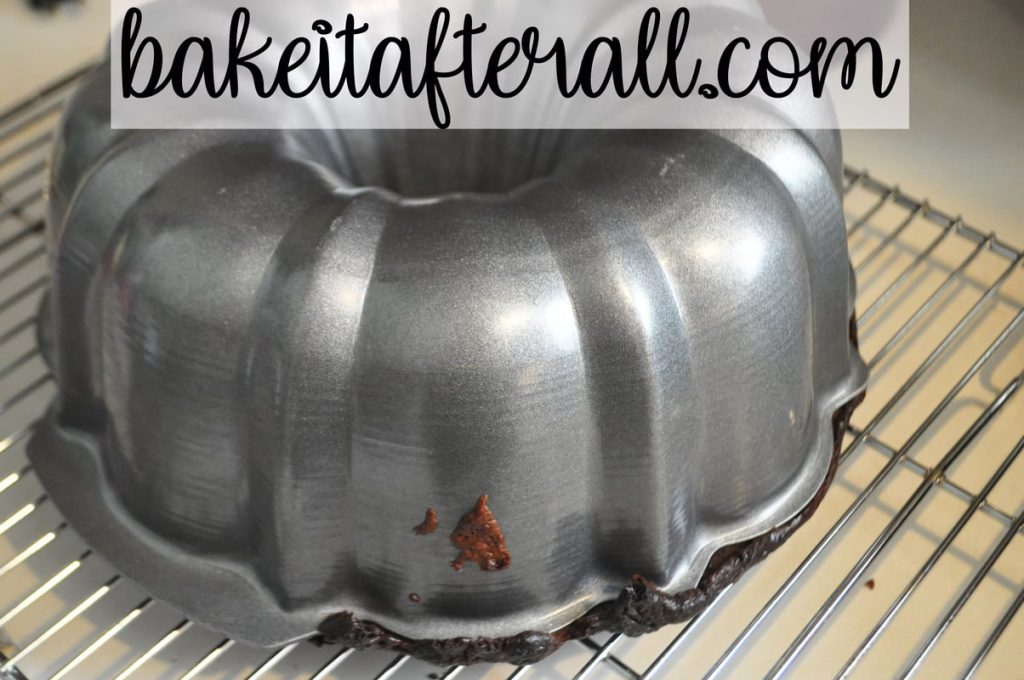
Ah! Relief! Success! Look at those pretty red cherries throughout that cake!

At this point, I let the cake cool until it reached room temperature. I wasn’t going to serve it until the next day, so I put it on a cake plate and wrapped it in plastic wrap, then stored it in the refrigerator. I also covered the bowl of glaze and stuck it in the fridge as well.
Glaze the Cherry Chocolate Cheesecake Bundt Cake
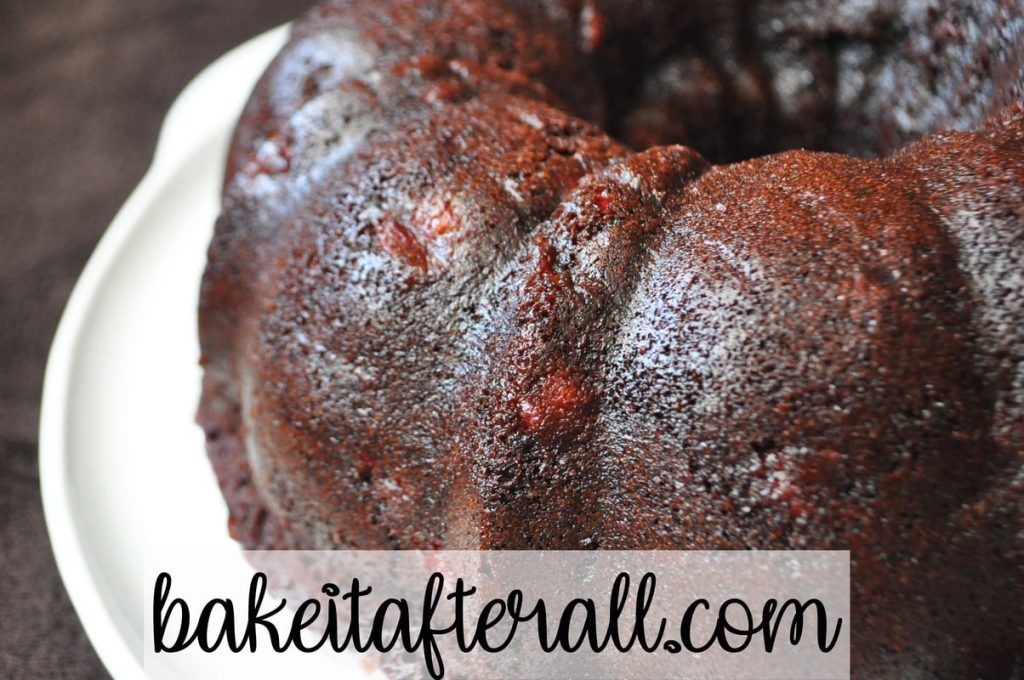
Before serving, I took both the cake and the glaze out of the refrigerator. I warmed up the glaze ever so slightly in the microwave so it was more spreadable.
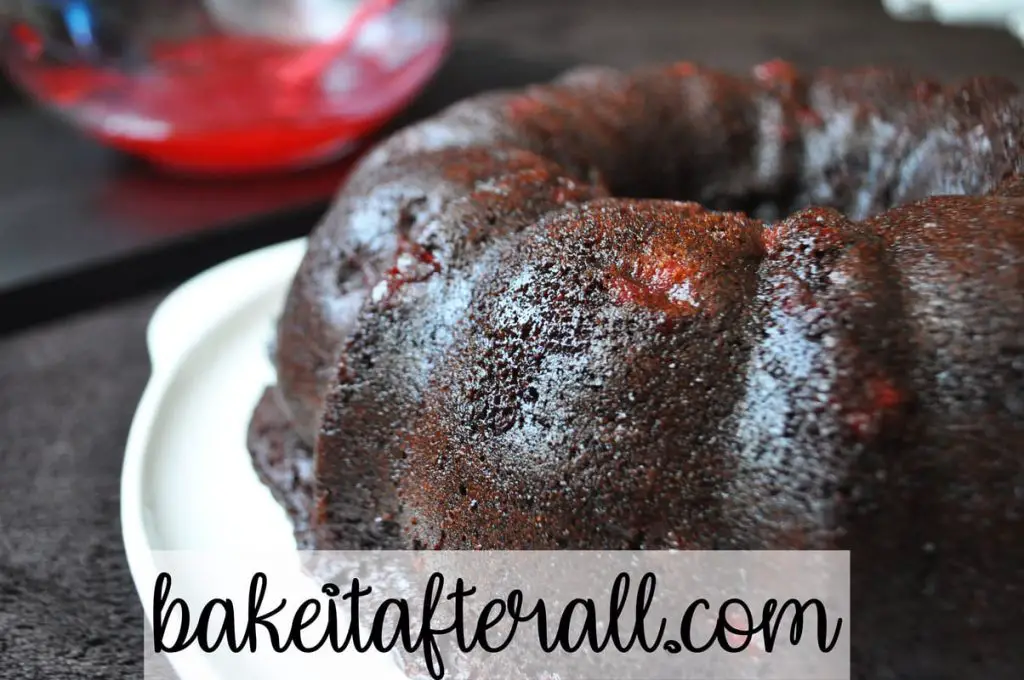
Using a silicone pastry brush, I brushed the glaze onto the cake.
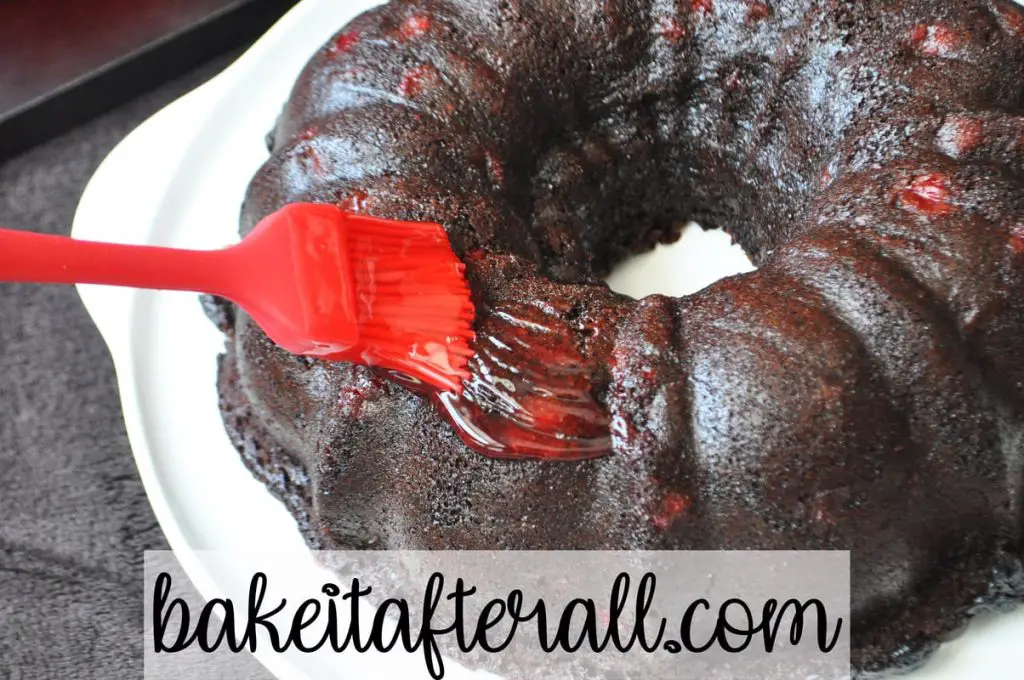
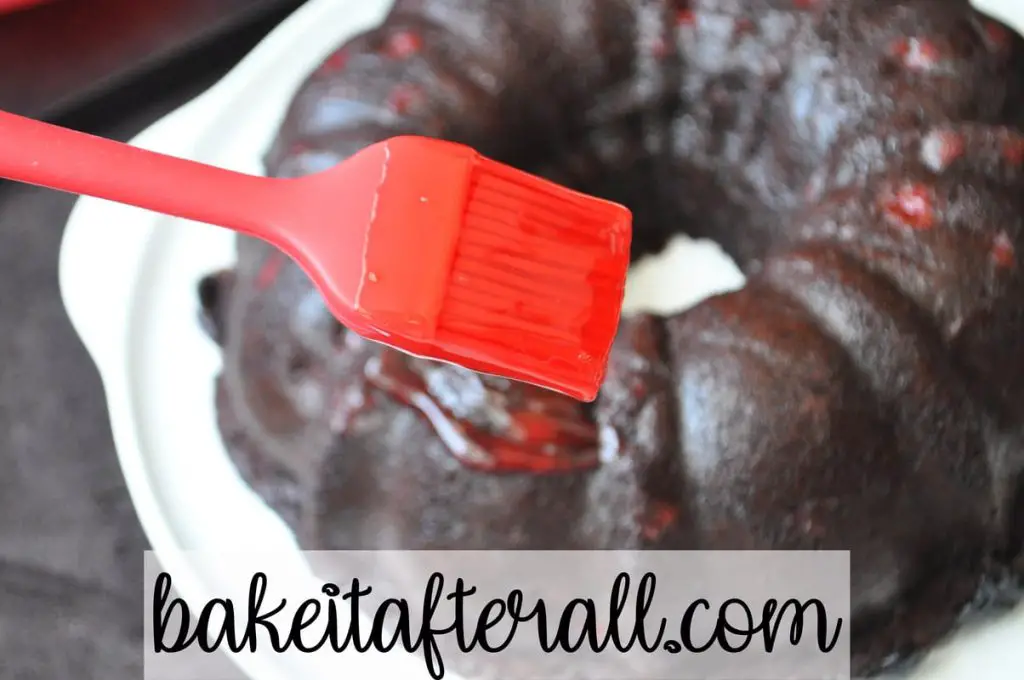
I covered the entire cake in glaze.
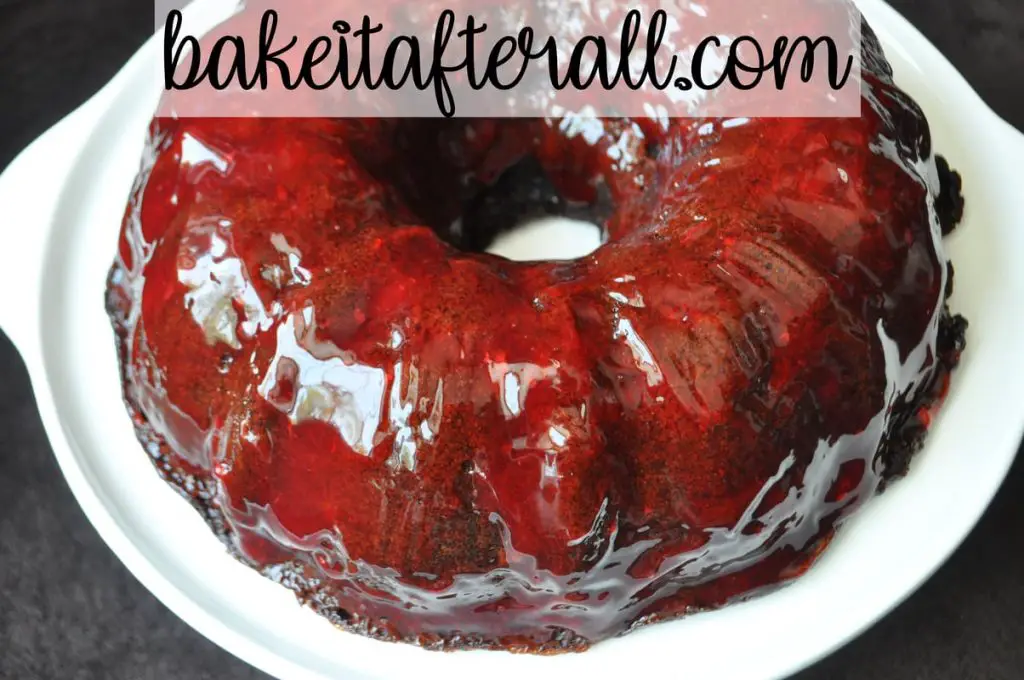
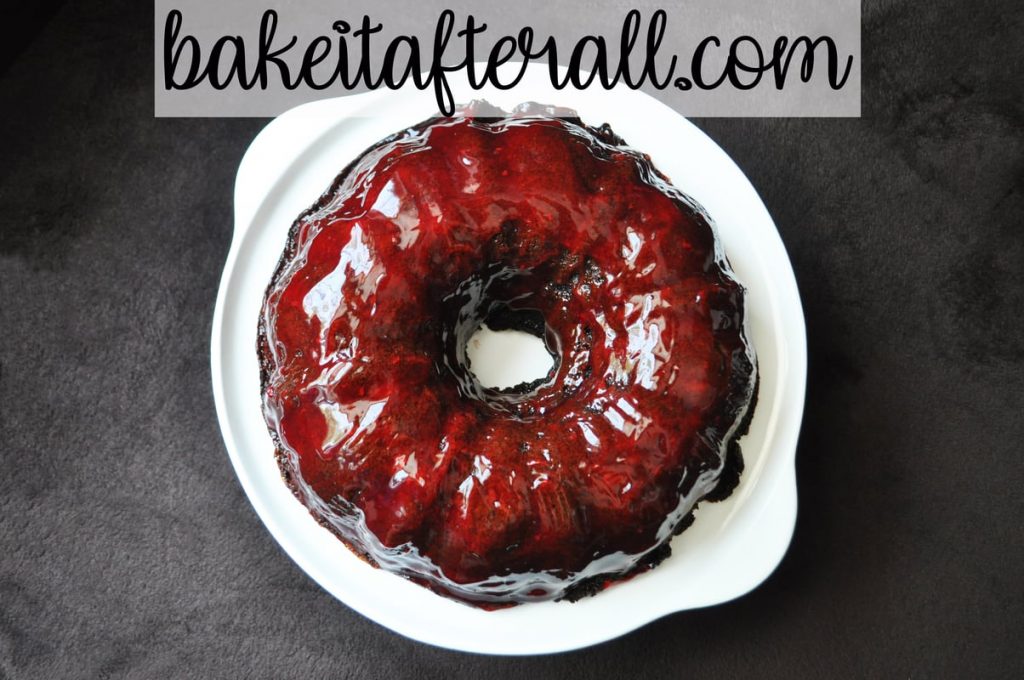
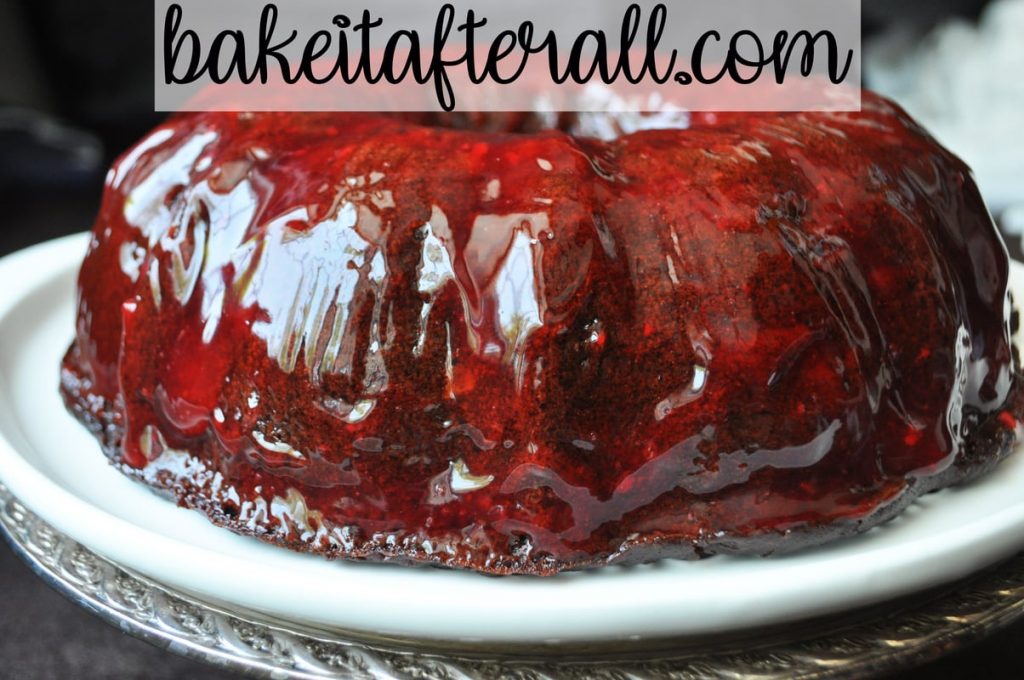
Serve the Cherry Chocolate Cheesecake Bundt Cake
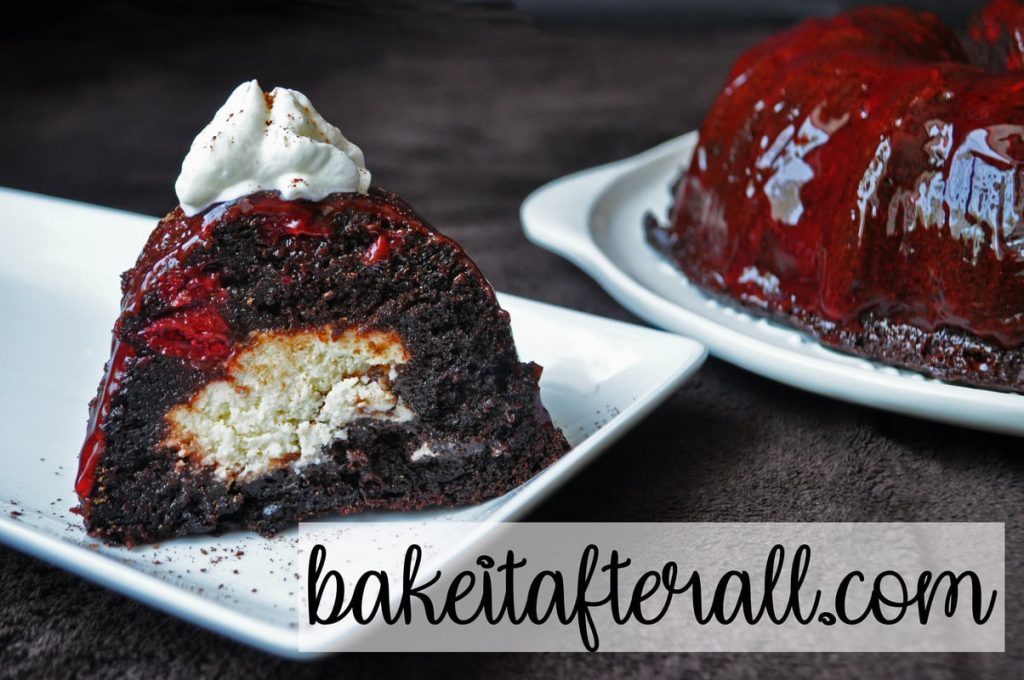
The second moment of truth: cutting the cake to reveal the cheesecake filling!
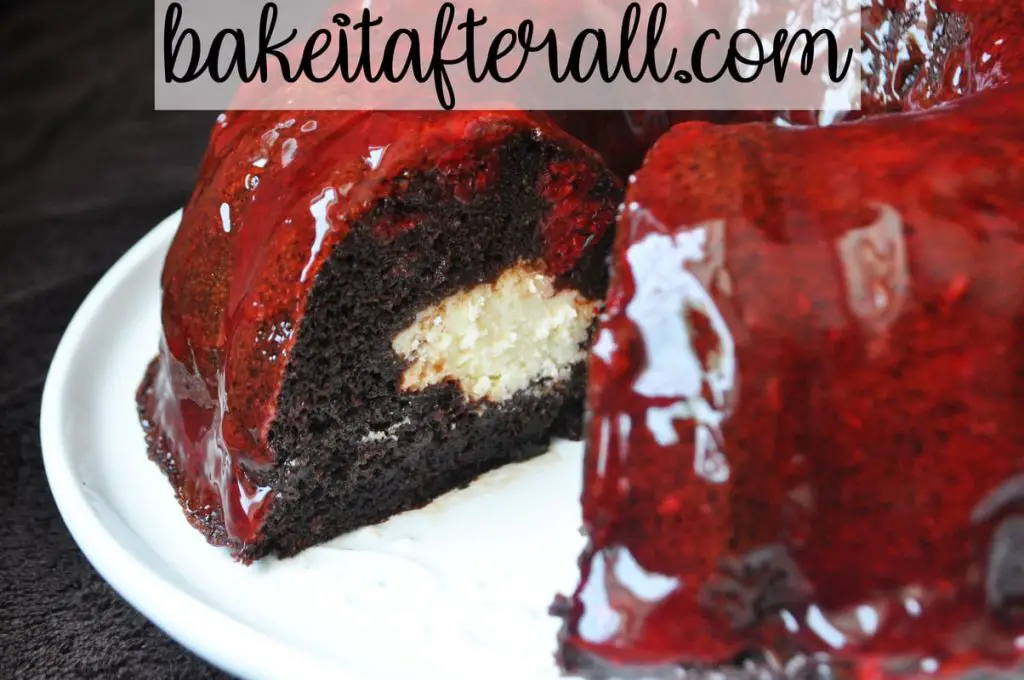
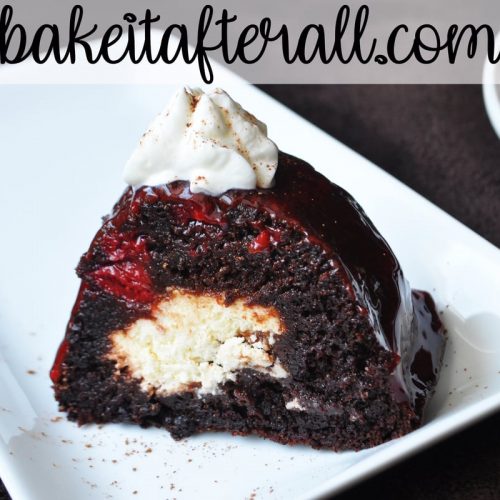
Just look at those cherries inside the cake! This cake was so moist and flavorful, and we all loved it. It’s not overly sweet, as the cheesecake nicely balances the cherry glaze. We served it with whipped cream. I know the girls will be asking for this over and over (they already have!)
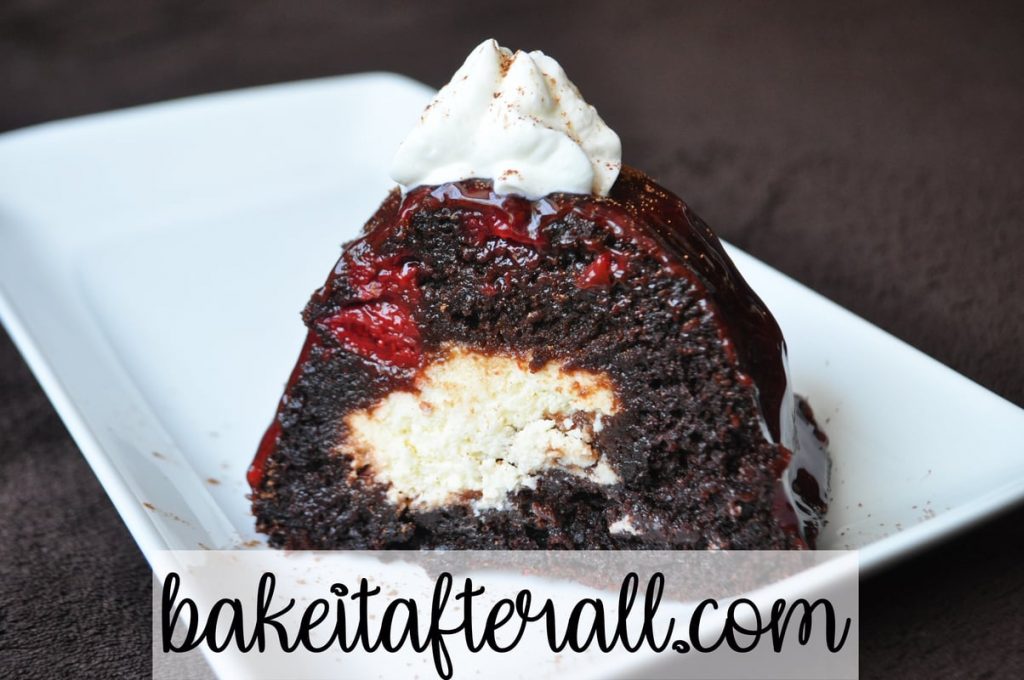
The red color of this cake is giving me all the holiday feels but also screams Halloween a la Vampire Cake with Blood Glaze. I can see this cake being perfect for Halloween, Christmas, or Valentine’s Day. We had it in the summer, and it was perfect then too!
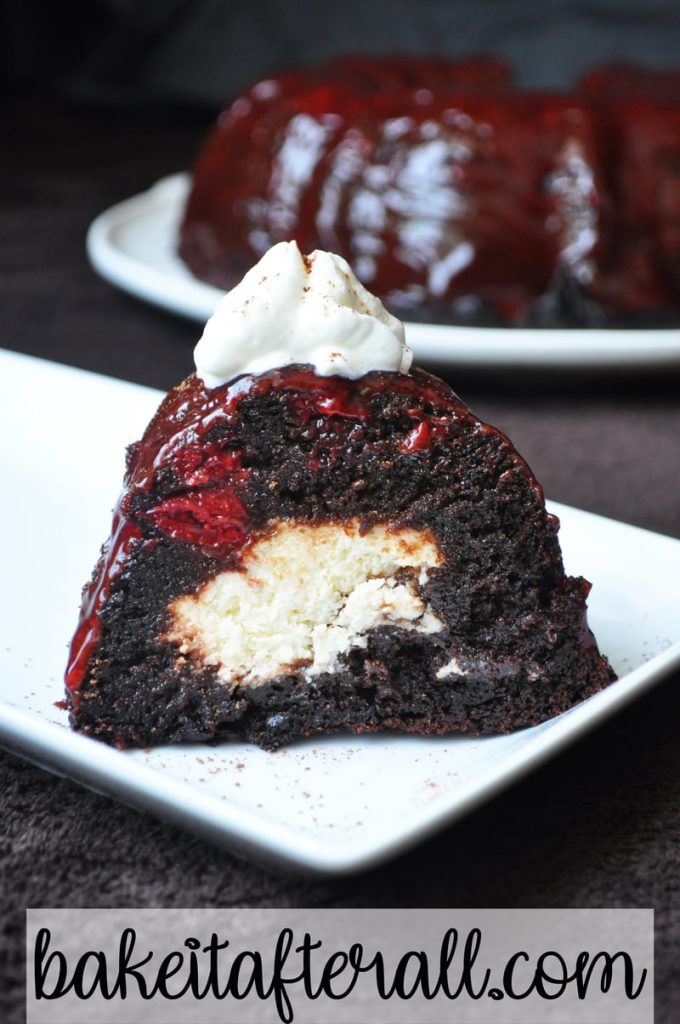

Want more Bundt Cakes?
Check out these other Bundt cakes:
Rich Chocolate Bundt Cake
Samoa Bundt Cake
More Desserts for Cherry Lovers!
Check out these other desserts featuring cherries:
Roasted Cherry Brownie Sundaes with Cherry Port Sauce
Sweet Cherry Pie
Dark Chocolate Covered Cherry Cookies
Gluten Free Option
Use Bob’s Red Mill Gluten Free 1 to 1 Baking Flour in place of all purpose flour for an entirely gluten free dessert!
Cherry Chocolate Cheesecake Bundt Cake
Equipment
- 1 Bundt pan
Ingredients
Chocolate Bundt Cake:
- nonstick Canola oil spray or butter (for greasing pan)
- 1 3/4 cup all purpose or gluten free flour
- 2 cups sugar
- 3/4 cup cocoa powder
- 2 teaspoons baking soda
- 1 teaspoon baking powder
- 1 teaspoon salt
- 1 cup buttermilk (or 1 cup milk mixed with 1 tablespoon white vinegar)
- 1/2 cup vegetable or Canola oil
- 2 large eggs
- 2 teaspoons vanilla extract
- 1 cup freshly brewed hot coffee
- 1 can cherry pie filling (21 or 30 ounce can)
Cheesecake Filling:
- 16 ounces cream cheese (two 8-ounce packages)
- 1 large egg
- 1/2 cup sugar
- 2 teaspoons vanilla extract
Instructions
Prepare the Cherries:
- Set a pasta strainer over a large bowl and empty the contents of the cherry pie filling into the strainer. Carefully mix the cherries around to promote the filling to filter through the holes of the strainer. Reserve the glaze for the final step and set cherries aside. Refrigerate glaze if serving the next day.
Make the Chocolate Bundt Cake:
- Preheat the oven to 350 degrees. Grease a Bundt pan with butter and flour or nonstick cooking spray. Canola oil spray works well.
- In the bowl of a stand mixer, combine the flour, sugar, cocoa powder, baking soda, baking powder, and salt. Mix on low until well combined.
- In a medium bowl, whisk together the buttermilk, oil, egg, and vanilla. If you do not have prepared buttermilk, you may use 1 cup of milk mixed with 1 tablespoon of white vinegar. Premix this before adding it to the bowl with the oil and eggs.
- Add the wet ingredients to the dry ingredients in the stand mixer bowl. Mix carefully on low.
- Add the cup of hot coffee to the batter and carefully mix. Batter will be very thin. If you prefer not to brew a pot of coffee, heat 12 ounces of water in the microwave until piping hot, then pour 8 ounces of that (1 cup) over 1 heaping teaspoon instant coffee and mix to combine.
- Transfer batter to a large bowl and clean mixer bowl to proceed with making the cheesecake filling. Carefully fold strained cherries into chocolate batter.
Make the Cheesecake filling:
- In the bowl of a stand mixer with a whisk attachment, combine cream cheese, egg, sugar, and vanilla. Whip until smooth, scraping down the bowl as necessary to evenly mix.
Assemble the Cake:
- Using a large ladle, transfer 2/3 of the cake batter to the prepared Bundt pan.
- Carefully scoop the cheesecake mixture on top of the chocolate cake batter, trying to keep the cheesecake in the center of the pan all the way around and carefully smoothing down the top.
- Ladle the remaining 1/3 of the chocolate cake batter on top of the cheesecake layer.
Bake the Cake:
- Line a large jelly roll pan or baking sheet with aluminum foil and place on lowest rack in the oven to catch any overflow batter.
- Place Bundt pan in oven on center rack and bake for 55 to 60 minutes until baked through.
- Remove pan and cool on a cooling rack for 15 minutes. Place a second cooling rack on top of the Bundt pan and carefully invert the pan so the exposed cake is facing down toward your work space on the second cooling rack. Carefully loosen cake from bottom edges of Bundt pan and lift it off. Allow the cake to cool completely before glazing. If serving the next day, refrigerate cooled cake until ready to serve.
Glaze the Cake:
- If the glaze has been refrigerated, heat in microwave until just warm.
- Using a pastry brush, apply the glaze to the outside of the cake.
- Refrigerate cake until ready to serve. Serve with extra cherry glaze and whipped cream, if desired.
This cake is just as amazing as it looks! Never enough cherries!
The cake is now one of my favorites! I love that it is such a rich dark chocolate and not too sweet. I think I’d also like to try it with strawberry filling. Hmmmmm???
Thanks for the bloody good cake! My kids were thrilled to see this as a centerpiece for our Halloween dinner tonight.
The only change I made was to add a chocolate glaze. I had floured my Bundt pan so the cherry glaze didn’t fully cover the flour residue. Lacked the visual effect I was going for so I added a drippy chocolate glaze over the cherry- extra yummy!!!
SO glad you liked it!! Such a fun Halloween cake! I bet your chocolate glaze was amazing!