Painted Rainbow Cookies
Painted Rainbow Cookies are the perfect St. Patrick’s Day Cookies! The edible paint and gold luster dust can be applied to royal icing or egg free icing. These hand painted cookies fit any rainbow themed event!
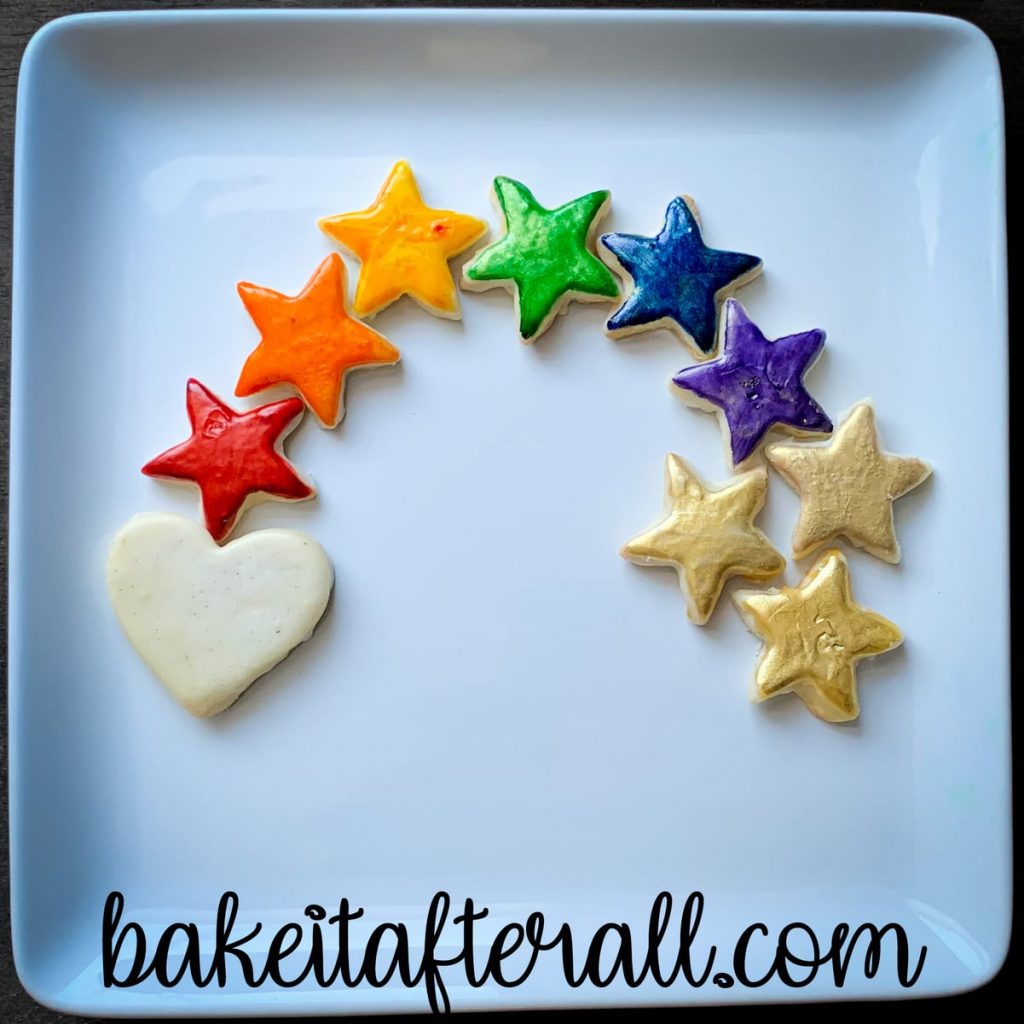
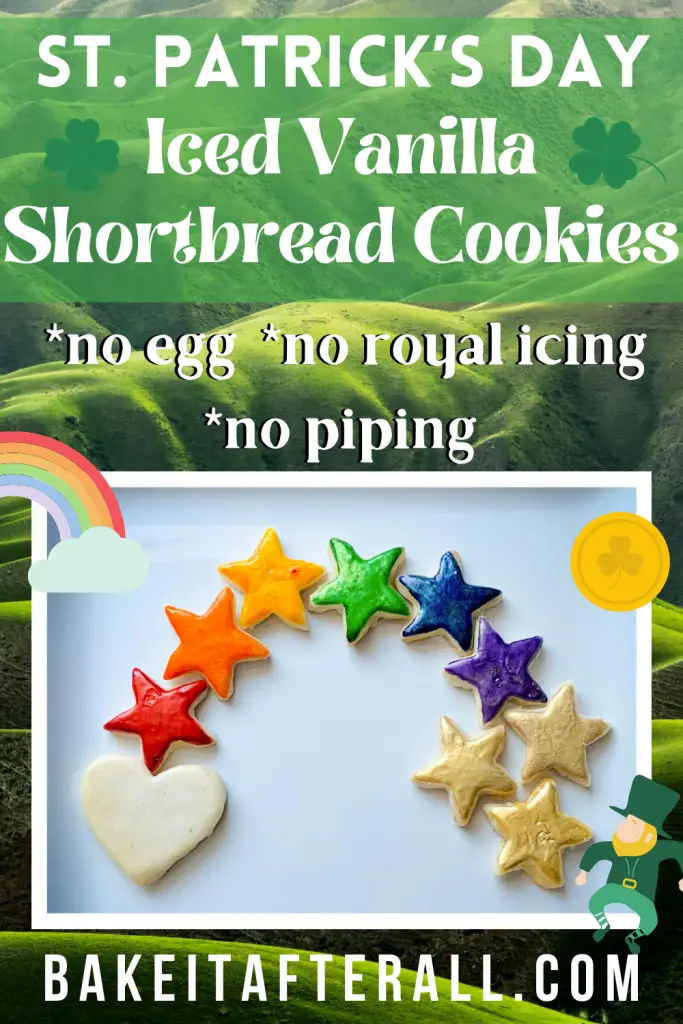
Recently I made some Iced Vanilla Shortbread Cookies, which are a naturally egg free cookie with a simple egg free icing. I played around with hand painting them with diluted food coloring gels. At the same time as making the Painted Watercolor Cookies, I painted some of the cookies in rainbow colors. I arranged them on a platter with an unpainted cookie at one end to represent a cloud and with some gold luster dust painted cookies at the other end to represent a pot of gold at the “end of the rainbow.”
I did another round of cookies using roll out sugar cookies as the base and icing with the simple powdered sugar icing.
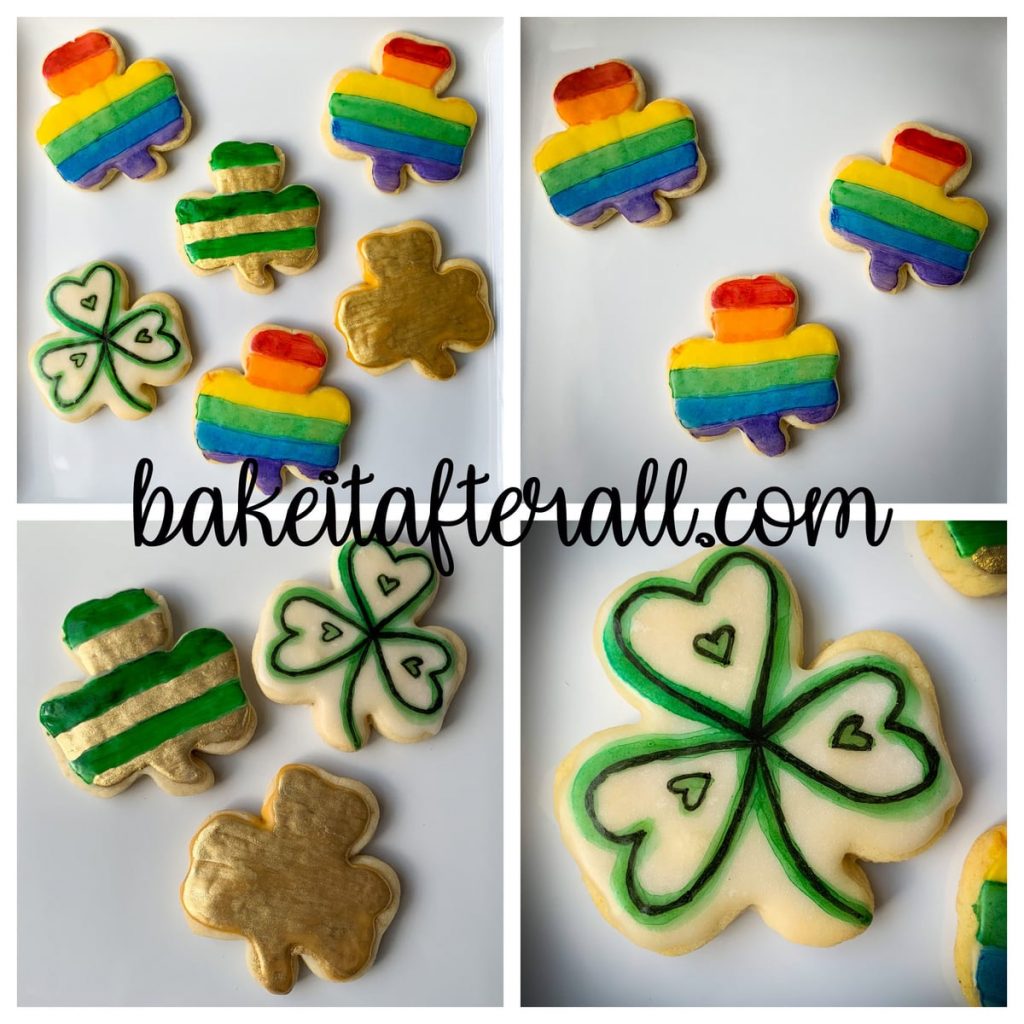
These cookies were surprisingly easy to make. Because I used a simple icing that doesn’t require piping, it took very little time to ice the cookies. This method would also work with royal icing, but you would need to pipe it on the cookies which is more time consuming.

I think these cookies are the perfect St. Patrick’s Day cookies! They would also be great for celebrating a Girl Scout Bridging event or for Pride Month.
Recipe Details
The first step is to make a batch of roll out sugar cookies or shortbread cookies, which are naturally egg free. You can use any shaped cookie cutter, but I prefer a mini star cutter, around 1-inch in diameter. For these I used the Iced Vanilla Shortbread Cookies recipe.
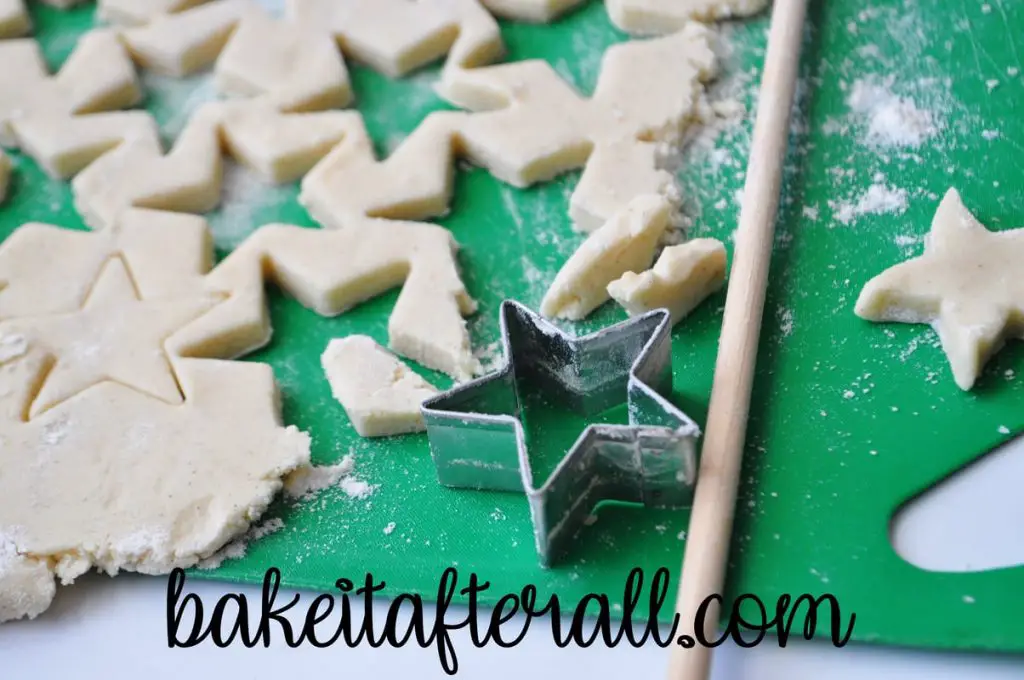
Once the cookies have been baked and cooled according to the recipe’s instructions, it’s time to ice them.
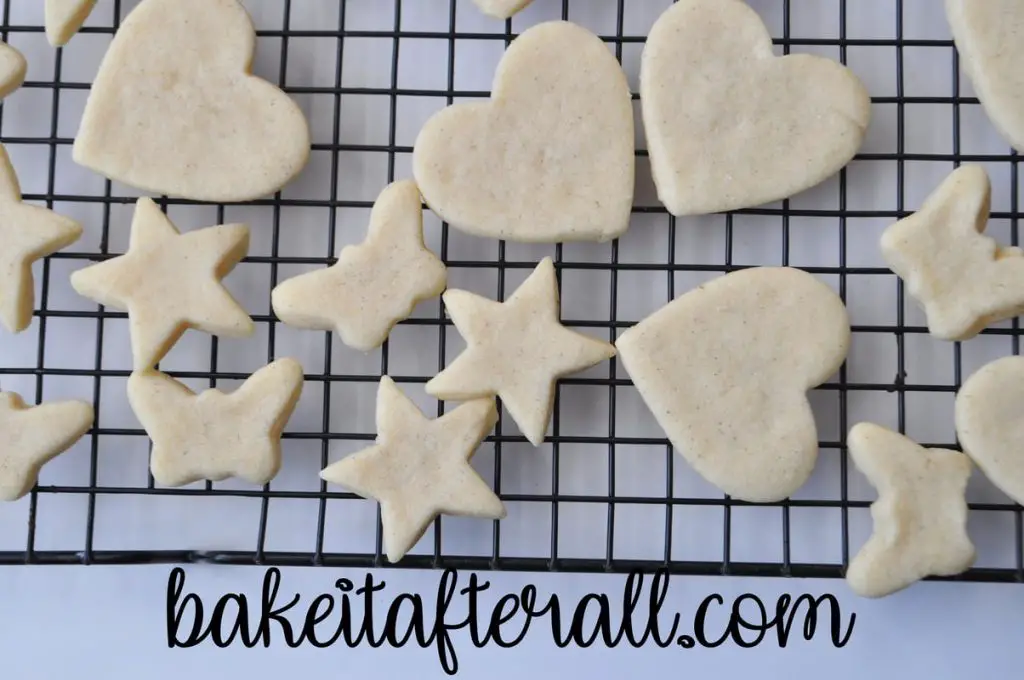
I iced mine with a simple egg free icing that does not require piping. You can also do this with royal icing. For the rainbow colors, you’ll leave the icing plain. For the gold cookies, see my sections below on how to apply the gold luster dust. For the most intense gold color, you’ll want to tint a portion of the icing for the gold cookies prior to applying the icing on the cookies.
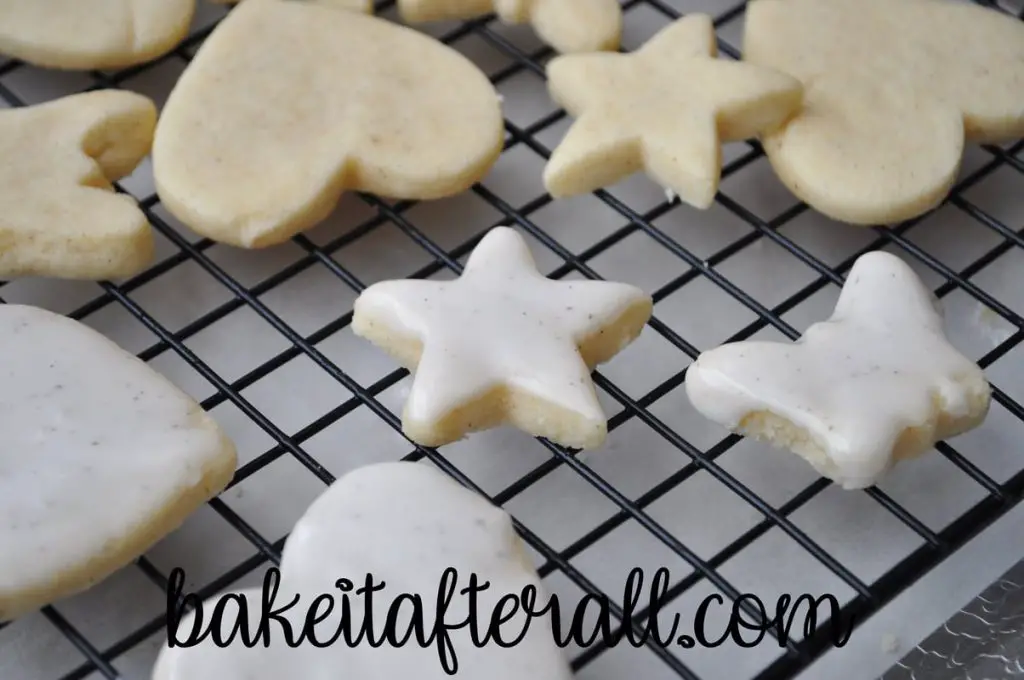
Rainbow Edible Paint
To make the edible cookie paint, first place a drop of food coloring gel in the well of a paint palette dedicated to food/cookies or in a small dish. I love these AmeriColor gels because they come in squeeze bottles.
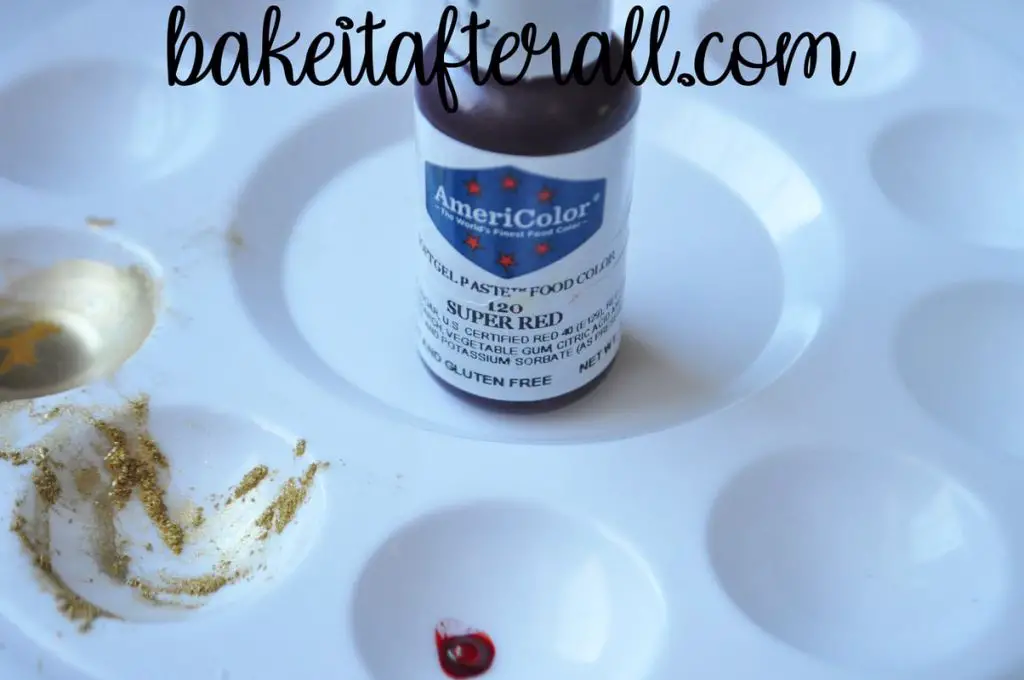
Add a few drops of a grain alcohol, such as Everclear, to the food gel. I do this with a disposable pipette. Some people recommend using clear vanilla extract or vodka to dilute the food gel, but I have had issues with these pitting my icing due to their higher water content than grain alcohol. The grain alcohol evaporates so quickly it does not disrupt the icing.
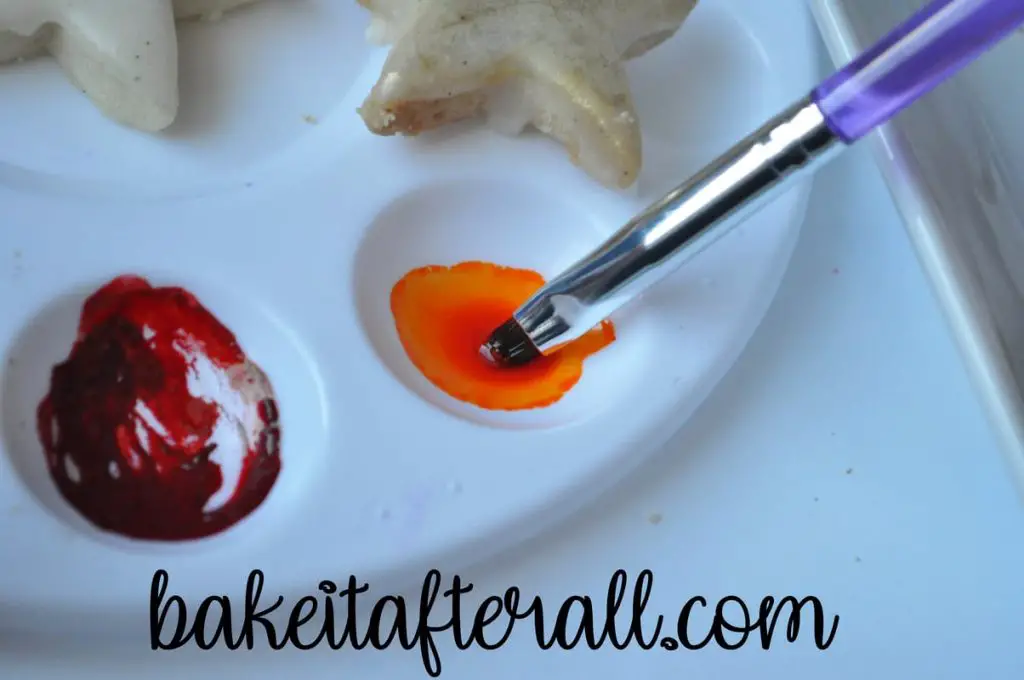
Once you have added the alcohol to the gel, mix it well with a food grade paintbrush. At this point, decide whether you like the color. You may need to add more gel or more alcohol. Once you are happy with the color, submerge your brush into the liquid, then press the bristles against the inside of the well or dish to allow the excess to run off.
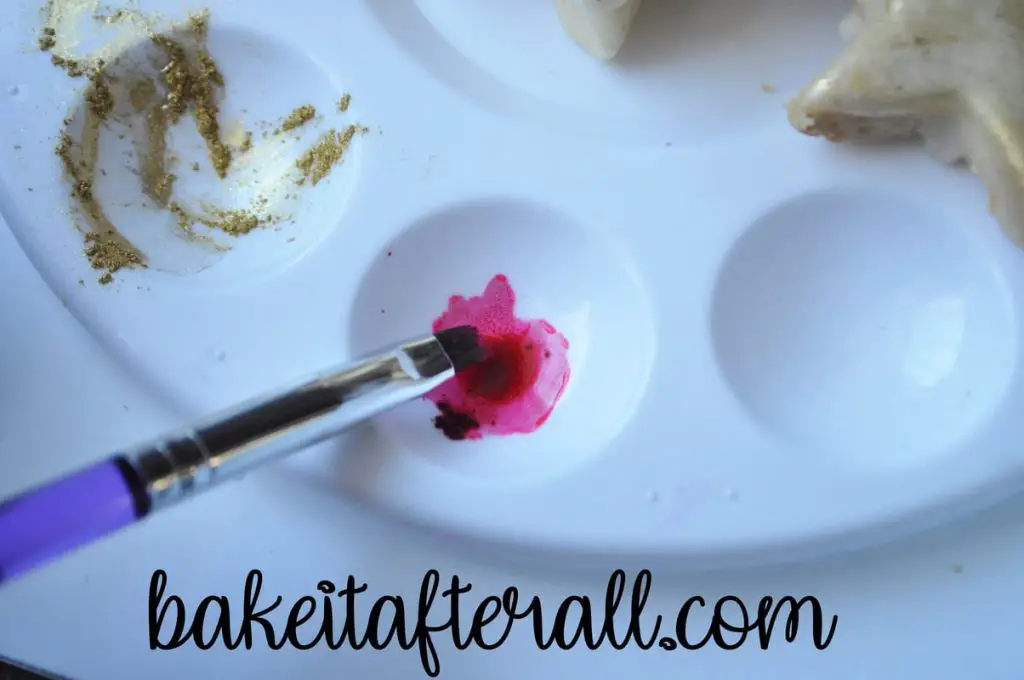
Brush the color across the icing in long brush strokes. Add another layer of color if desired. Alternatively, you can allow the color to dry and apply another layer of color.
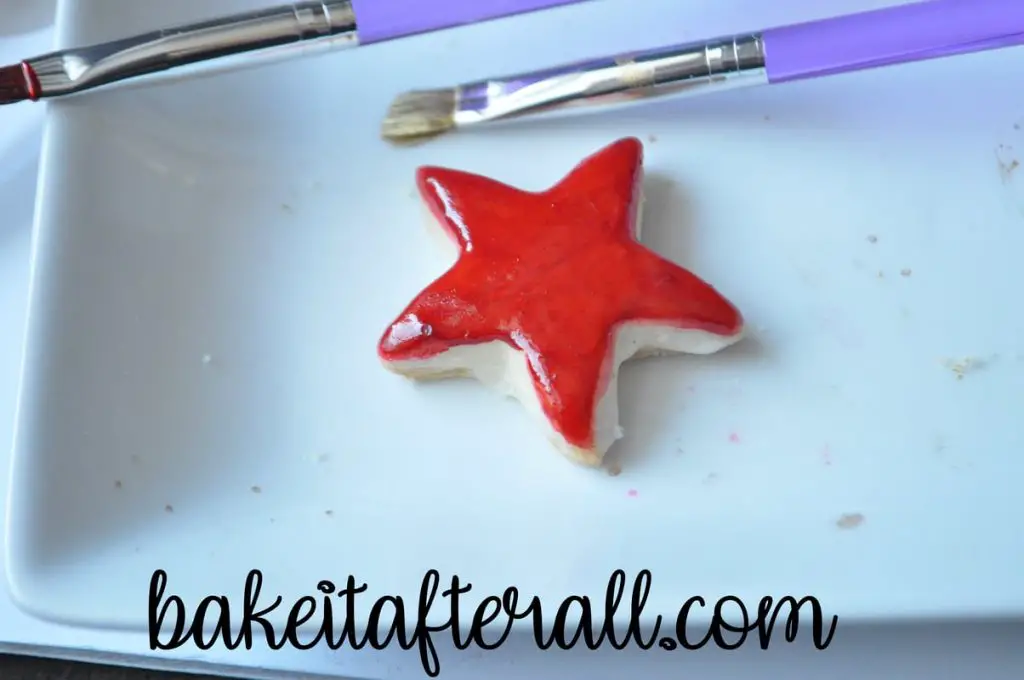
After having gone through the process with the first color, simply repeat for each color of the rainbow. I love this Wilton neon food gel kit because the gels come in squeeze bottles rather than little tubs like other Wilton gels. I have used the purple, magenta, and teal for SO many baking projects and homemade ice cream cakes for the girls’ birthdays, including Ella’s Unicorn Cake and Unicorn Cookies.
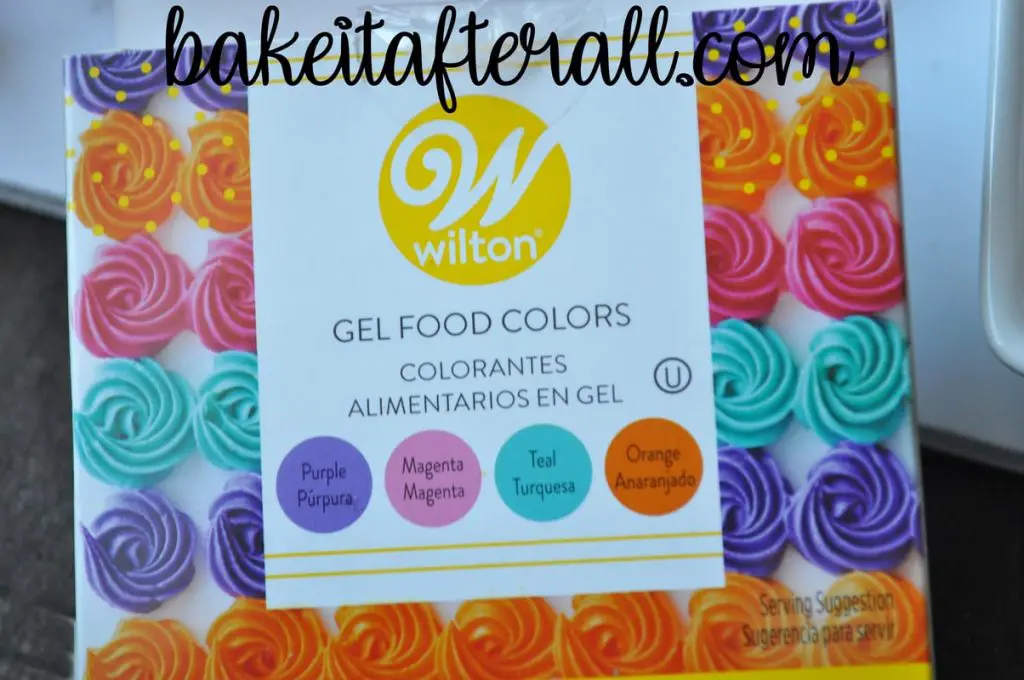
I used the orange for these rainbow cookies.
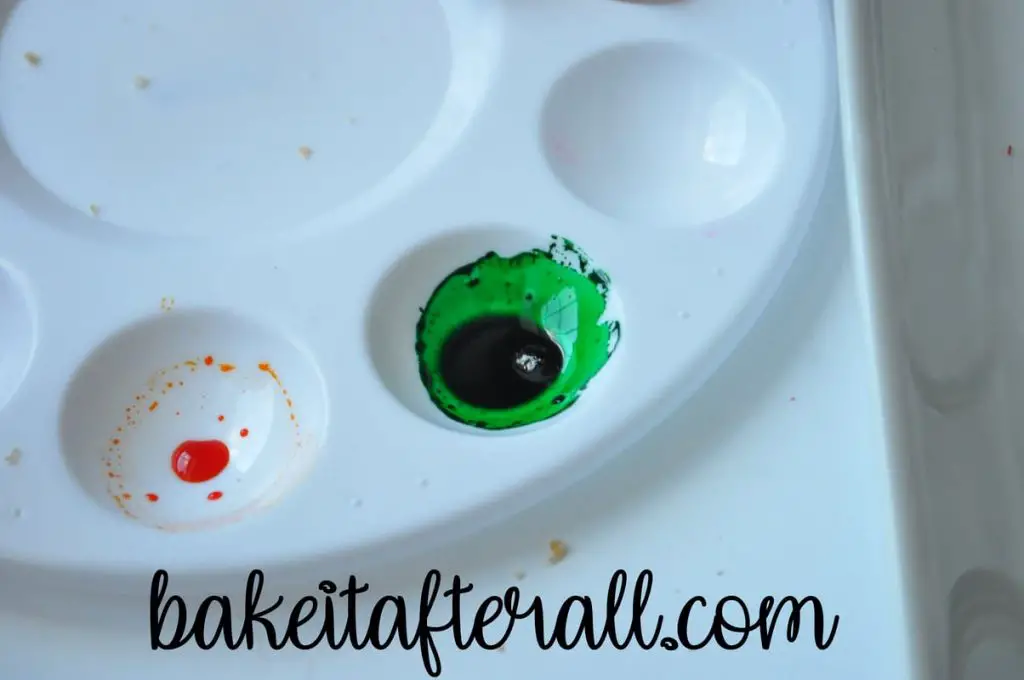
For the green paint, I used Wilton green food gel. Because it comes in a lidded container, I use toothpicks to transfer the gel into the paint palette well.
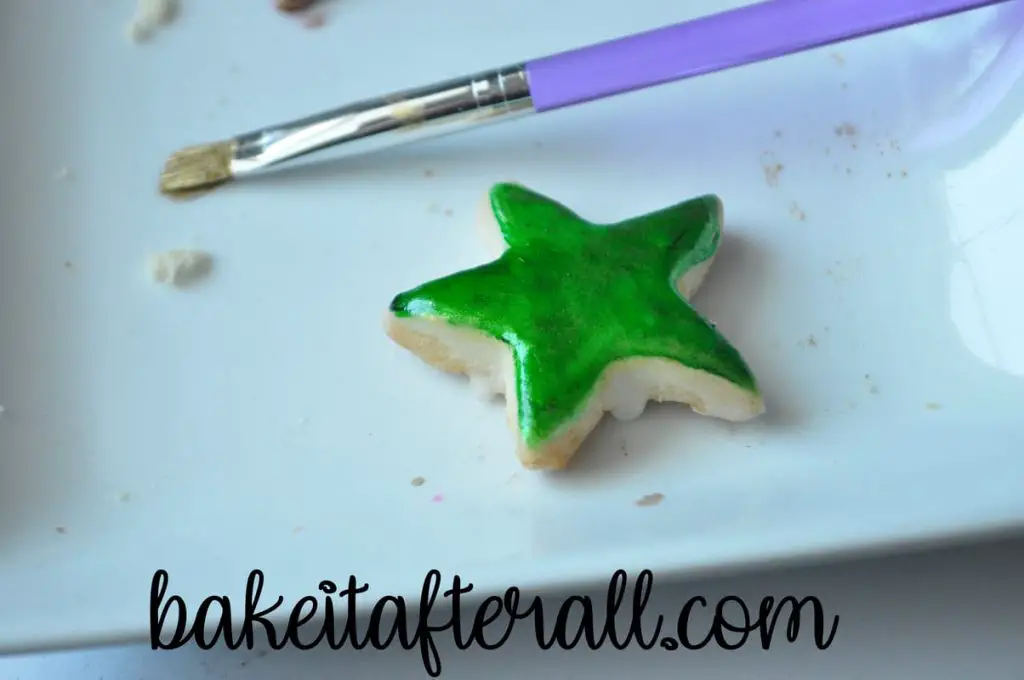
For a little extra shimmer, once the rainbow painted cookies have dried completely, dry brush some gold luster dust across the surface each cookie.
You can make a rainbow of colors on a single cookie using the same technique.

Gold Star Cookies
You have several options for making the gold star cookies. I’ll go through the methods, as well some potential benefits and pitfalls.
First, we’ll assume you’re starting with an iced cookie that has white icing that has dried or set completely. The easiest way to apply the gold is to brush on the dry gold luster dust with a food grade paintbrush. This will give the cookies a hint of shimmer but not impart much gold color to the cookies.
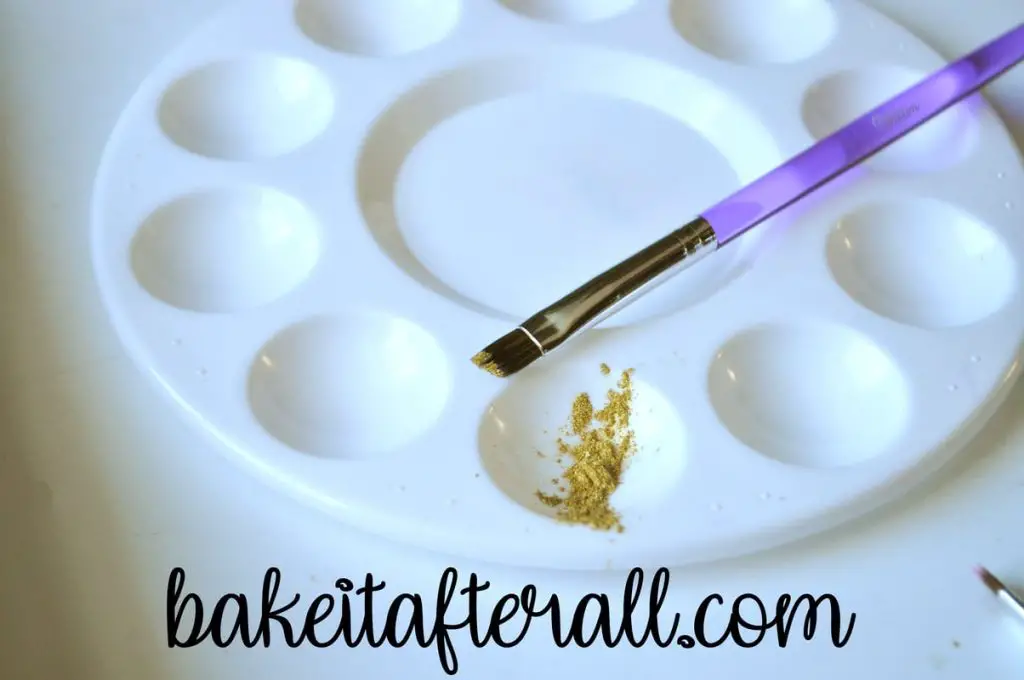
You second option is to make a liquid gold suspension by adding a highproof clear alcohol to the gold dust drop by drop. I recommend grain alcohol, such as Everclear. Use your paintbrush to mix well and paint your cookie with the liquid gold.
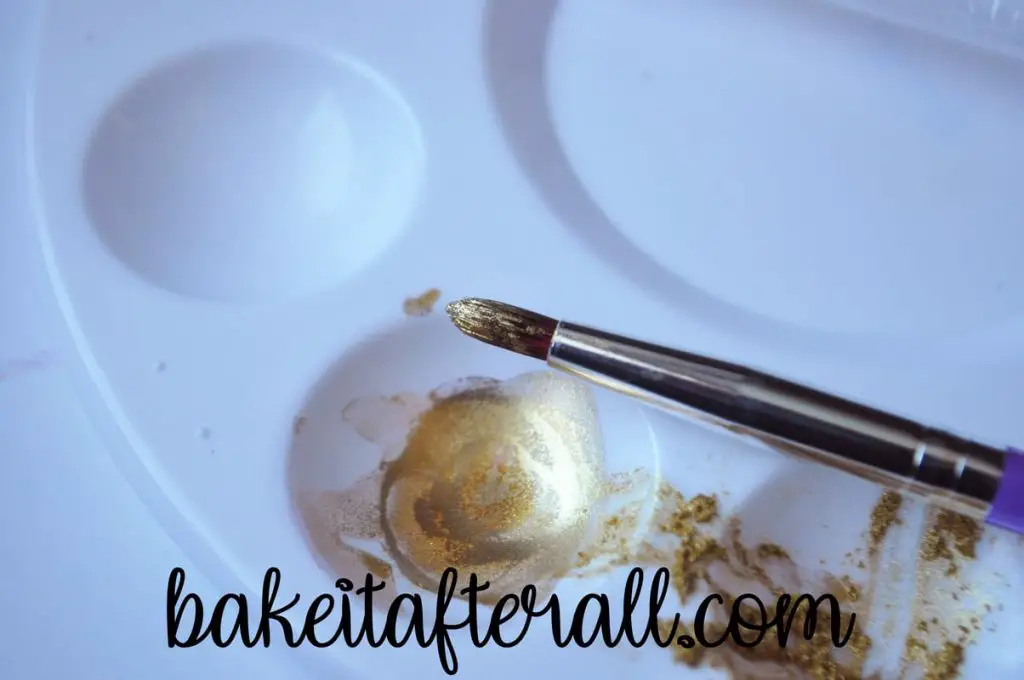
This will give your cookie a more intense gold than simply brushing on dry luster dust. If the gold is too muted with one round of dust, you can apply multiple rounds of liquid gold, waiting for the liquid to dry in between applications.
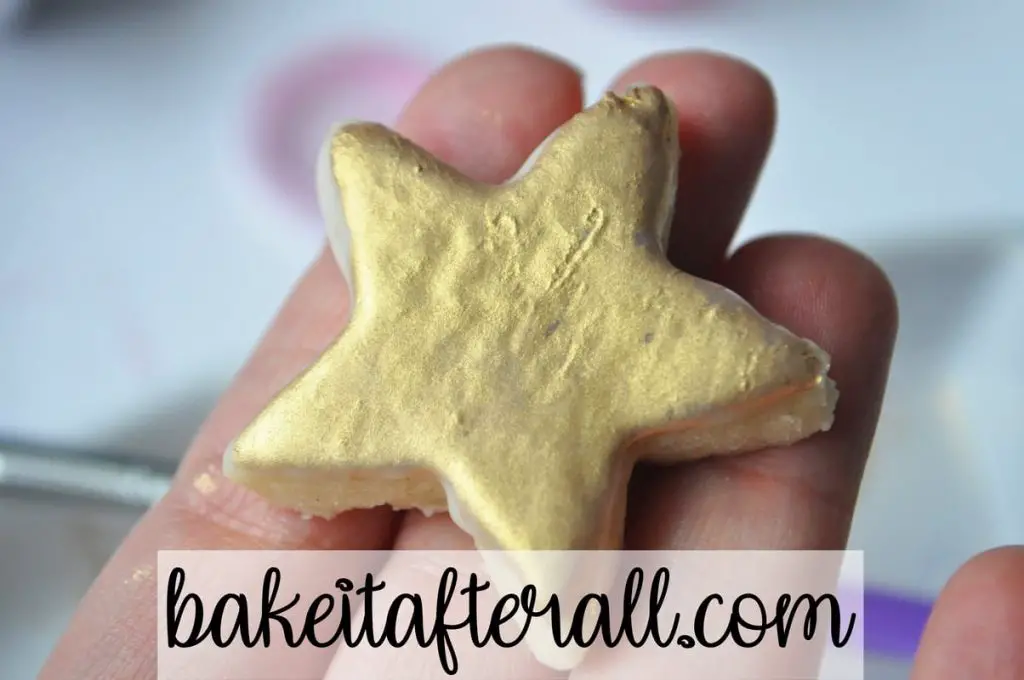
If this is still not giving you the gold color you desire, you’ll need to use gold food coloring gel.
Gold Food Coloring Gel
You may want an even deeper gold, in which case you’re going to need to use gold food coloring gel. You have a number of ways to do this.
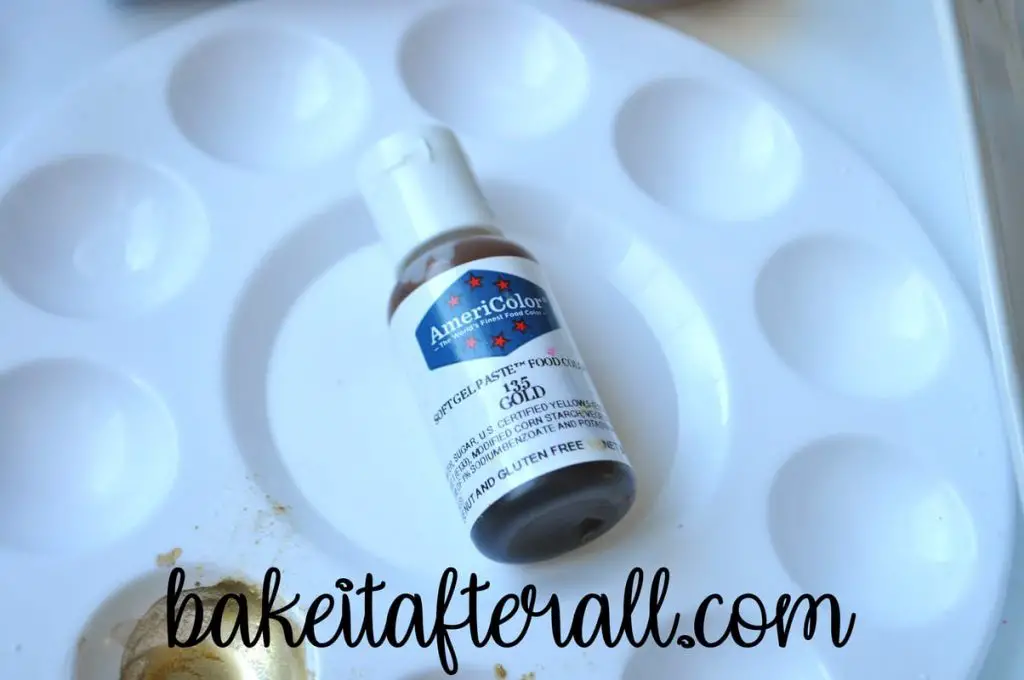
Single Step Painting
First dilute your gold gel food coloring in alcohol the way you did for the rainbow colored gels. Then add gold dust directly to this mixture, and paint it on the cookie. This can be tricky to get a good ratio of gold food gel, which is actually a muted yellow, to gold dust. The benefit of this method is that it’s a single step that does not require extra drying time.
Multiple Step Painting
The second way involves multiple steps of dry time but avoids the ratio issue. First, mix up some gold gel in alcohol the way I outlined for the rainbow colors. Paint this on the cookie and allow it to dry completely. Then come back with a gold luster dust/alcohol suspension to paint on the liquid gold. With this method, you run the risk of your gold suspension causing your gold food coloring to smear a bit and not be a completely even gold application.
Tinting the Icing with Gold Gel
The best way to achieve the most intense gold color is to first color your icing with gold food coloring gel before applying it to the surface of your cookie. This can be done with egg free icing or royal icing. The icing will not look gold but rather a muted yellow color, as the gold gel has no actual metallic in it. The purpose is to just give a base background color that will be layered with the gold dust. I do NOT recommend mixing gold dust directly into icing. You would end up using way too much dust, and I don’t think the result would be what you are envisioning.
Once the gold tinted icing has completely set or dried, you can apply the gold dust. You may brush it on dry with a paintbrush, but I recommend making a suspension of the dust with drops of the grain alcohol and painting this liquid gold across the icing. For best results, use long brush strokes and don’t overlap where you’ve already brushed. You may apply multiple layers of liquid gold if 1 is not shiny enough, but let each layer dry in between applications.
Where to Buy Gold Luster Dust
I usually buy my luster dust locally at Karen Ann’s. If you don’t live in the St. Louis area, I have heard great things about the gold from Truly Mad Plastics. Not all gold dust is created equal! Some are more yellow and some do not readily form a suspension in liquid as well as others. If you have trouble, you may consider trying a different brand.
How to Store Painted Cookies
You should allow the edible paint or liquid gold to dry completely before you attempt to store the cookies. Once dry, place the cookies in a single layer in an airtight container. A single layer is important or you run the risk of damaging the surface of your cookies. Even when I have added aluminum foil or parchment between layers, I have had some issues, so a single layer is best. Store your cookies at room temperature for up to a week.
For longer storage, place the cookies in a freezer storage bag or a sealed container in a single layer in the freezer. Thaw cookies at room temperature before eating.
Looking for More St. Patrick’s Day Recipes?
Check out these other recipes perfect for St. Patrick’s Day:
Oreo Shamrock Shakes
Bailey’s Irish Cream Mini Cheesecakes
Bailey’s Irish Cream Cheesecake
Grasshopper Ice Cream Pie
Easy Homemade Cream Puffs with tinted green filling or choux pastry
Turkey Pastrami Reuben Sandwiches
St. Patrick’s Day Sugar Cookies with Royal Icing
Looking for More Decorated Cookies?
Check out these other decorated cookie posts:
Painted Watercolor Cookies
Butterfly Sugar Cookies with Royal Icing
Monkey Face Sugar Cookies with Royal Icing
Sugar Cookie Gender Reveal
Penelope Bird Cookies
Butterfly and Dragonfly Sugar Cookies with Royal Icing
Snowflake Gingerbread Cookies
Brown Sugar and Spice Winter Mitten Cookies
St. Patrick’s Day Sugar Cookies with Royal Icing
Bridal Shower Sugar Cookies with Royal Icing
Baby Shower Sugar Cookies with Royal Icing
Halloween Sugar Cookies with Royal Icing
Pastel Christmas Sugar Cookies with Royal Icing
Easter Cookies with Royal Icing

Painted Rainbow Cookies
Equipment
- plastic pipette
- paint palette dedicated for food or small dishes
- food grade paintbrushes
Ingredients
- 1 batch small (1 inch) star shaped sugar cookies or shortbread cookies (iced with royal icing or simple egg free icing, see note)
- gel food coloring in rainbow colors
- grain alcohol (such as Everclear)
- gold luster dust
Instructions
For Rainbow Painted Cookies:
- Place drop of food coloring gel into the well of a paint palette or small dish. Add alcohol drop wise and mix well with paintbrush. Add additional drops of food coloring to achieve desired color.
- Brush color across surface of the cookie in long brush strokes. If color is not as deep as desired, allow to dry and apply a second coat.
- Repeat with all colors desired, rinsing and drying paintbrush well between each color or using a new paintbrush for each color.
Dry Application of Gold Dust:
- For just a hint of shimmer, brush gold dust onto icing. This can be done on the plain iced cookies and the rainbow painted cookies after the paint has fully dried.
Wet Application of Gold Dust:
- Add some gold luster dust to the well of a paint palette or small dish. Transfer a few drops of alcohol and mix well with a paintbrush. Add more dust or alcohol depending on how thick the liquid is. You want an intense gold color but it should still be liquid, not a crumbly mixture.
- Submerge paintbrush in gold suspension then tap it to the inside of the well or dish to allow excess liquid to run off. Sweep the gold across the surface of a cookie in long strokes, trying not to overlap brushstrokes.
- For a deeper gold color, allow to dry completely and add a second coat of liquid gold.
For Most Intense Gold Color:
- Before icing the cookies that will be painted gold, add gold gel food coloring to the wet icing.
- Ice cookies as normal and allow to dry completely.
- Either brush cookies with dry gold dust, or for optimal gold color, follow instructions for making a liquid gold suspension to paint across surface of cookie.
To Store Painted Cookies:
- Allow edible paint to dry completely before storing. Store in a single layer in an airtight container at room temperature.
- To freeze, place in a freezer storage bag or container in a single layer. Thaw at room temperature before consuming.