Butterfly Sugar Cookies with Royal Icing
These Butterfly Sugar Cookies with Royal Icing are so fun to make! I provide step by step instructions and my favorite Royal Icing recipe.
Are you ready for some photos?
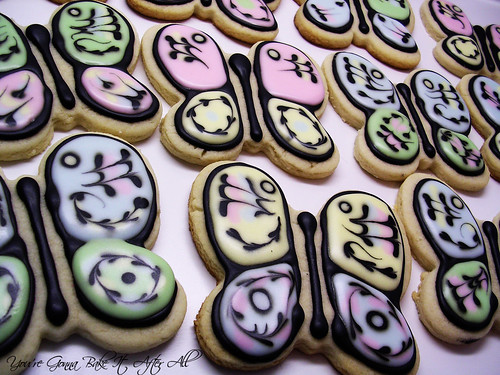
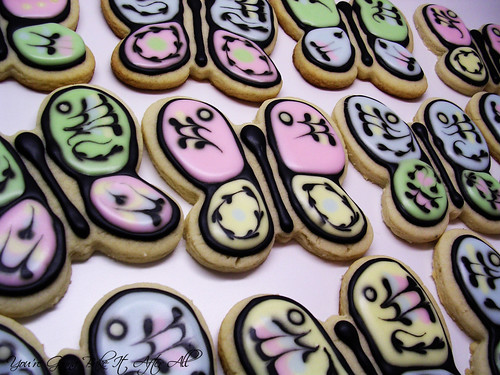

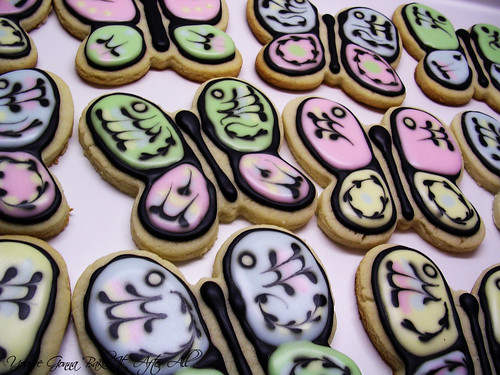


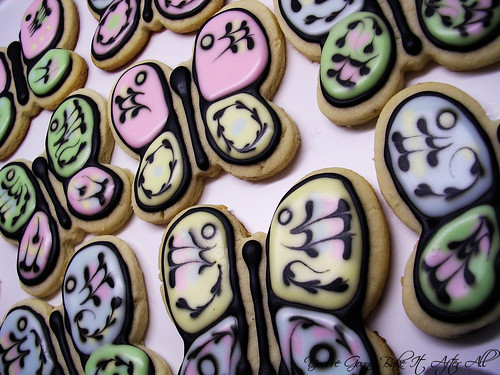
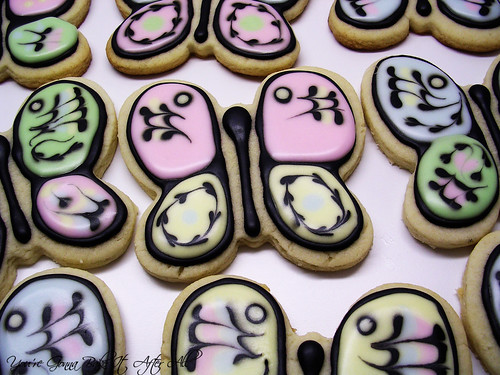
These were just SO much fun to photograph! After discovering the amazing blog Sweetopia and then making these fun Easter Cookies using the techniques I learned, I couldn’t wait to take on another project using this method – Butterfly Cookies! They are actually pretty simple to make, and I think the outcome is stunning. These may just be my favorite cookies I’ve made so far (though the Monkey Face Cookies and Easter Cookies are close!) I definitely hope to make these again. I love the look of the pastels with the black; I’d also like to try some bolder colors in the future.
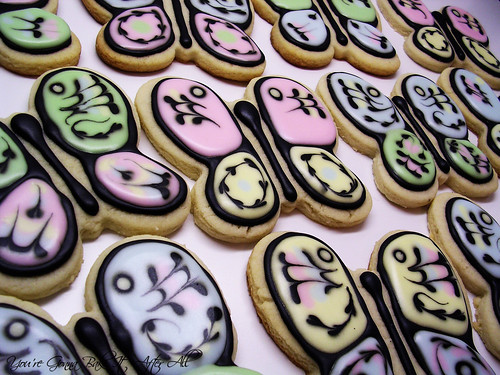
As far as the cookie recipe goes, use whatever recipe you like. I always like to try to top my favorite recipe, and I think the recipe I used this time does (shown in recipe card below). UPDATE: My go to sugar cookie for Royal Icing cookies is now this Sugar Cookie Recipe! It’s been in my family for years, and we keep coming back to it!
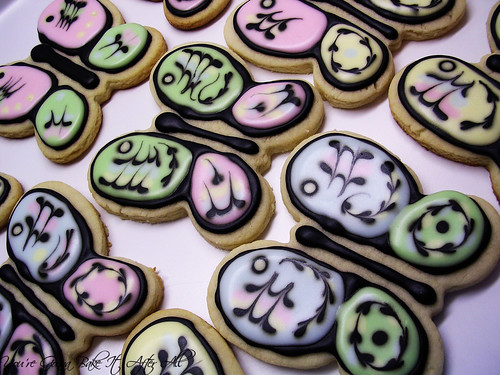
Butterfly Sugar Cookies with Royal Icing
Ingredients:
1 batch sugar cookies (see below)
1 batch Royal icing (see below)
Equipment:
5 pastry bags 5 twist ties or rubber bands
5 plastic couplers
5 piping tips (I used #2, but #1 would work as well)
5 glasses or cups, with damp paper towels in the bottom (or tip covers) Toothpicks
Gel icing colors (red, blue, yellow, green, black, brown (optional))
Paper towels
Wax paper
Directions:
1. Prepare black royal icing – I do this by adding brown to the thinned white base (see royal icing recipe below for how to thin), and then adding black until desired darkness is achieved. I use toothpicks to add color to the icing.
2. Transfer icing to a pastry bag fitted with #1 or #2 tip. The easiest way to do this is to fold over the top of the bag and place it in one of the glasses with a wet paper towel at the bottom. Fill bag with icing, then unfold the top, push out any air, and twist the bag, securing with a twist tie or rubber band. At this point, I like to line up my sugar cookies on a large piece of waxed paper.
3. Pipe the body of the butterfly and the outline of the wings:
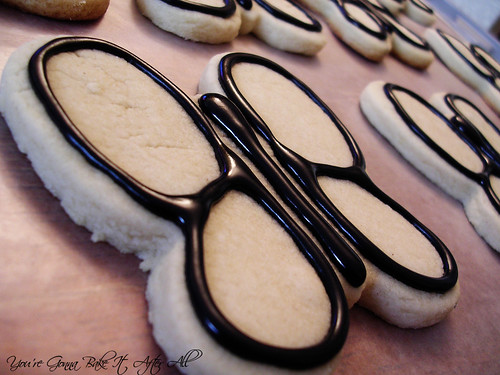
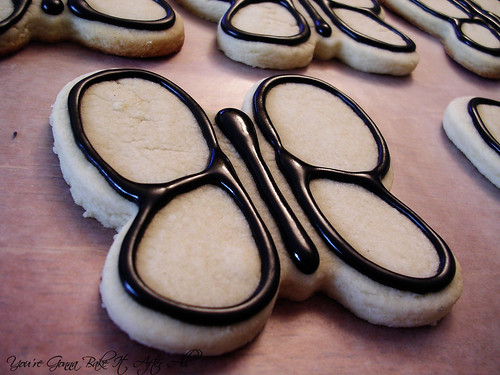
TIP: Make sure to keep paper towels nearby to wipe the piping tip if icing leaks out, otherwise the tip can get messy. I also like to test each tip before piping by squirting out a little icing on the corner of the waxed paper or into the paper towel as I wipe the tip. Sometimes you’ll find some of the moisture from the paper towel has gotten into the tip or that the bit of frosting at the tip has dried out a little and needs to be removed.
4. Allow to dry for at least 1 hour.
5. Meanwhile, prepare each of the colors and add to pastry bags fitted with #2 size tips. I used pastels: green, pink, yellow, and blue. Not sure why I didn’t think to make purple, but I sure will next time! Make sure to place each of the filled bags into a glass with a damp paper towel in the bottom.
6. Working 1 section at a time (i.e. the top left wing), fill a color inside the black outline, using a toothpick to guide the icing to the edges if necessary. Immediately add lines or dots of other colors into the newly filled icing, then quickly and carefully run a toothpick through to create patterns.
Note: Dragging the toothpick through dots yields the heart-shapes! See this step-by-step tutorial for more information on how to make the patterns. The reason you must only do 1 section at a time is because the icing sets rather quickly. How fast the icing sets will depend on the humidity of the room and whether there’s a draft. My apartment was very hot and humid and the icing set FAST.
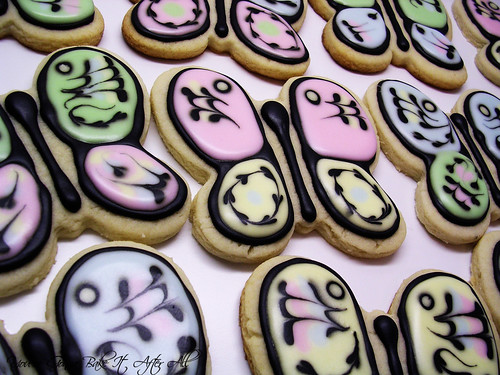
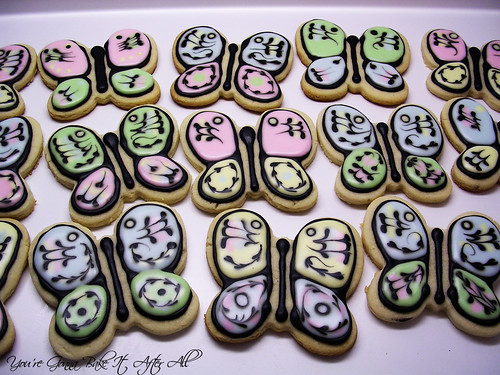
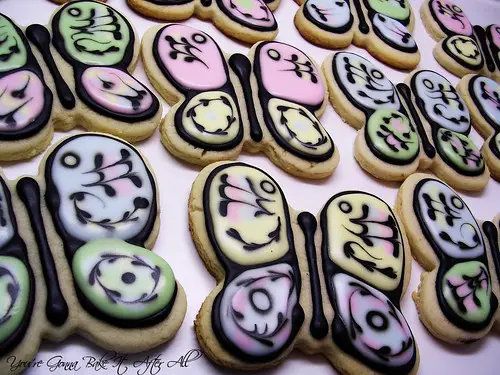
7. Allow the cookies to dry uncovered, at room temperature, at least overnight or up to 24 hours before packaging.
Source: Adapted from Sweetopia
Tips to make the process faster and run more smoothly
Rolling the Cookie Dough
I like to use dowel rods as guides for the cookie thickness; see this Monkey Face Cookies post for pictures.
Making Ahead
I made the sugar cookie dough in advance and froze it. I then thawed it in the fridge overnight and set it on the counter until it reached room temperature before rolling and baking.
I baked the cookies a few days before icing them and stored them in an airtight container.
Although I did not do this, you can always prepare the royal icing in advance and even color it, as long as you store it in airtight containers.
Looking for More Royal Icing Cookies?
Check out my other Royal Icing Cookie posts:
Butterfly and Dragonfly Cookies with Royal Icing
Penelope Bird Sugar Cookies with Royal Icing
Pastel Christmas Sugar Cookies with Royal Icing
Brown Sugar and Spice Winter Mitten Cookies
Snowflake Gingerbread Cookies with Royal Icing
Easter Cookies with Royal Icing
Halloween Cookies with Royal Icing
Monkey Cookies with Royal Icing
St. Patrick’s Day Cookies with Royal Icing
Sugar Cookie Gender Reveal
Bridal Shower Sugar Cookies with Royal Icing
Baby Shower Sugar Cookies with Royal Icing
Royal Icing
Ingredients
- 6 ounces warm water (3/4 cup )
- 5 tablespoons meringue powder
- 1 teaspoon cream of tartar
- 2.25 pounds powdered sugar
- 1 teaspoon clear vanilla extract or almond extract (or extract of choice, optional)
Instructions
- In the bowl of an electric mixer, pour in the warm water and the meringue powder. Mix it with a whisk by hand or with the whisk attachment until it is frothy and thickened, about 30 seconds.
- Add the cream of tartar and mix for 30 seconds.
- Pour in the powdered sugar and, using the paddle attachment, mix slowly on the lowest speed for a full 10 minutes. The icing will get thick and creamy.
- Cover the bowl with a dampened tea-towel to prevent crusting and drying.
- Remove some of the icing to a small bowl and add small amounts of warm water (~ 1 teaspoon at a time) to reach the desired consistency – run the icing off the back of a spoon back into the bowl, and if the drips disappear into the icing in 5-10 seconds, it’s good. If you have gone too far and it’s too thin, add more of the original “stock” to make thicker. Color as desired.
Notes

Roll-out Sugar Cookies
Ingredients
- 2 1/2 cups all purpose flour (12 ounces )
- 1 teaspoon baking powder
- 1 egg
- 1/2 teaspoon vanilla extract
- 1/4 teaspoon almond extract
- 16 tablespoons unsalted butter, at room temperature (2 sticks )
- 1/2 teaspoon salt
- 1 cup granulated sugar (7 ounces )
- 1/4 teaspoon lemon zest
Instructions
- In a medium bowl, mix (or sift together) the flour and baking powder. In a one-cup measuring cup, lightly beat the egg with the extracts.
- In the bowl of a standing mixer (or in a large bowl with a handheld mixer), beat the butter and salt on medium speed until smooth. With the mixer running, gradually pour in the sugar; add the lemon zest. Beat on medium until fluffy, about 1 minute.
- With the mixer running, pour in the egg mixture and continue beating until incorporated. Scrape down the sides of the mixer bowl. With the mixer on low, gradually add the flour and mix just until evenly blended.
- Lightly knead the dough to form a ball, press it into a disk 1-inch thick, and wrap tightly in plastic wrap. Refrigerate for 2 hours or overnight. You can also freeze the dough at this point!
- Line a baking sheet with parchment paper or a silicone baking mat. Adjust an oven rack to the middle position and heat the oven to 375 degrees F. If you’ve chilled the dough overnight, it’ll need to sit at room temperature for half an hour or so to soften slightly. If you've frozen the dough, thaw it in the fridge overnight then allow it to soften at room temperature.
- On a very lightly floured sheet of wax paper with a sheet of plastic wrap on top of the dough, roll the dough out to ¼-inch thick. You can use rolling pin guides or wooden dowel rods as guides for achieving even cookie thickness. Cut cookies using a floured cookie cutter. Re-roll scraps, always using as little flour as necessary.
- Bake the cookies, one sheet at a time, for 5-9 minutes, until they no longer look wet on top. The baking time will depend on the size of the cookies you’ve cut. You don’t want the bottoms to be browned, except for maybe just a bit on the edges.
- Let the cookies rest for a couple minutes on the sheets before transferring them to cooling racks to finish cooling.
Simply put–amazing!
These are so pretty Meghan – better than anything you could find in a bakery! I'm eager to hear what your favorite sugar cookie recipe ends up being because I'm still trying to figure that out myself!
Those are the coolest cookies EVER!
Meghan… wow!!! These are absolutely gorgeous. You did an amazing decorating job.
I love them! You did an excellent job. Your so inspiring!
These are beautiful!
These are BEAUTIFUL!
These are breath taking! You did an awesome job on them!
WOAH!! I have so much cookie envy right now girl!
I love butterflies and these look amazing. I can't stop staring. I want to try that!
Do you know what kind of cookie cutter you used, or what size you used? They are absolutely beautiful
Awesome cookies!
Hi Daniella,
I used a Wilton Comfort Grip Butterfly Cookie Cutter – the body of the butterfly is approximately 2 inches long and the wings measure about 3 inches from top to bottom. I got the cutter in a 4-pack, but if you search online you can find it by itself. Really any butterfly shaped cookie cutter should work; a larger one will be easier to outline though 🙂
We nicknamed my Mom…Madame Butterfly (no relation to the movie). She just exemplifies the qualities of this beautiful creature.
I will be sending her this gorgeous post of your creativity. Thanks for sharing and flavourful wishes, Claudia
Awesome cookies! Beautiful.
Beautiful cookies!