
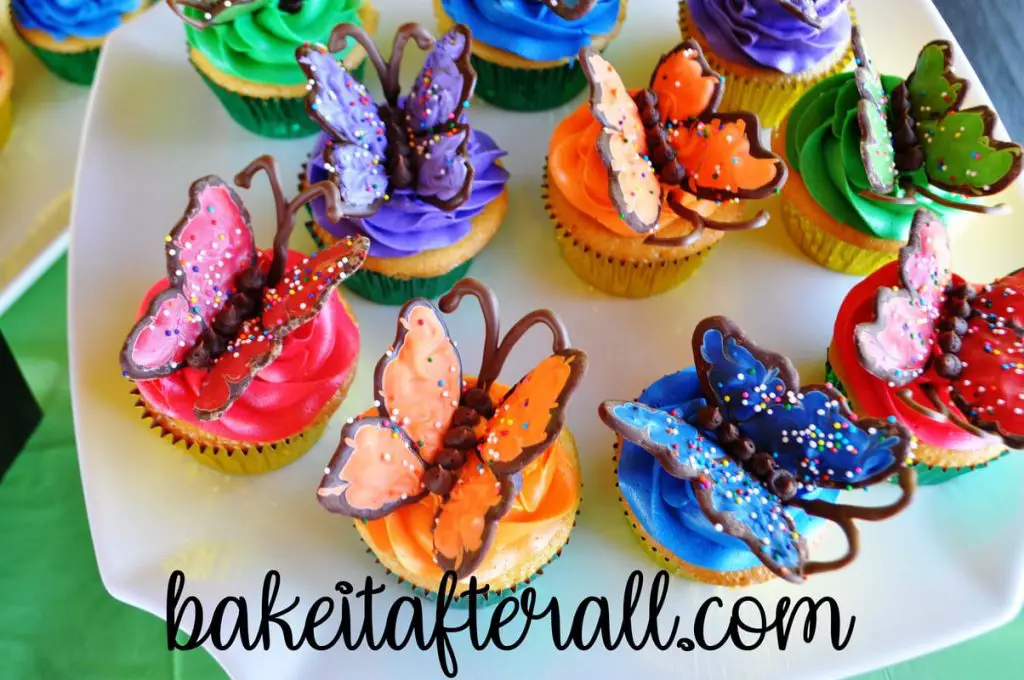
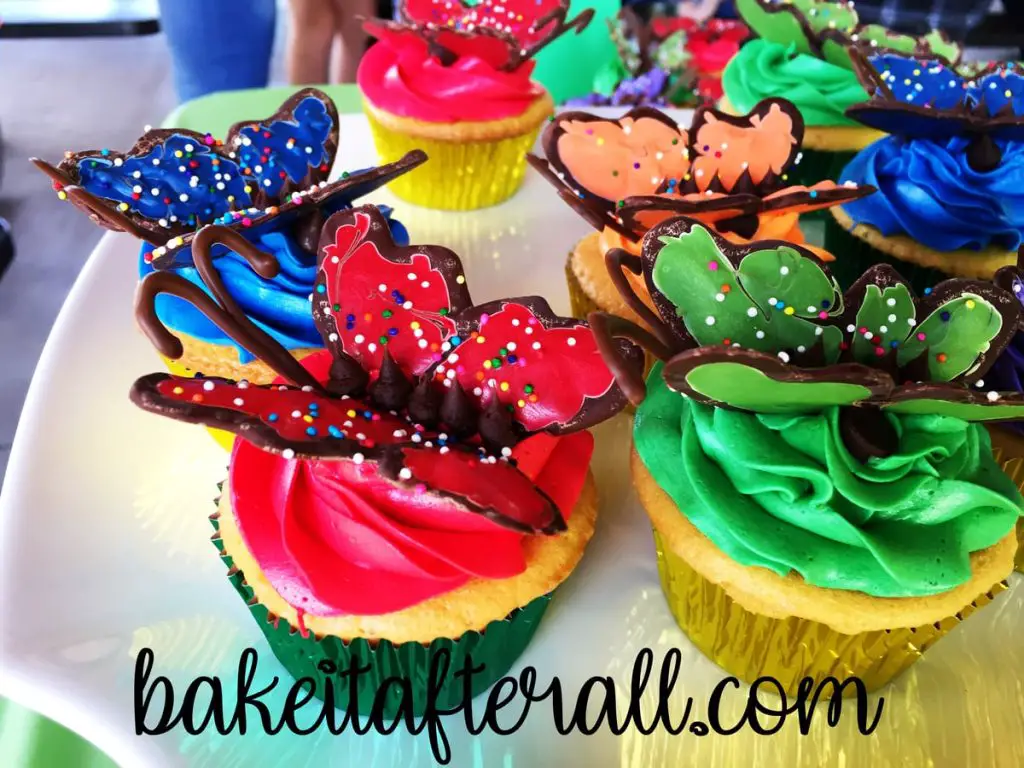
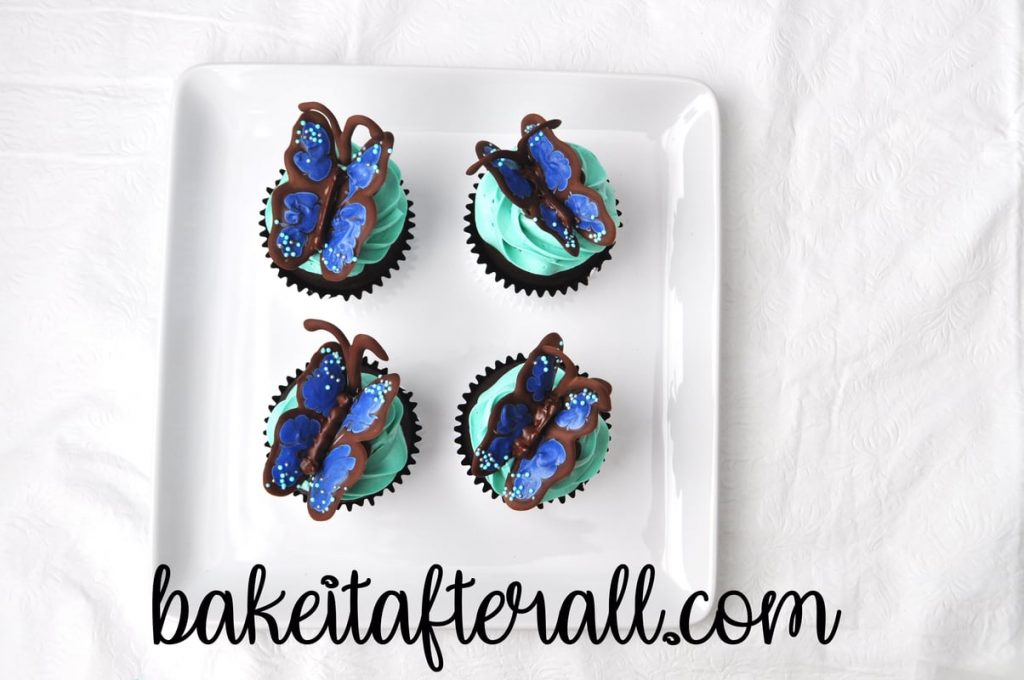
I served these Butterfly Cupcakes at my daughter's The Very Hungry Caterpillar themed 1st birthday party. I've included step by step photos to show you how to make edible butterfly cupcake toppers with coordinating buttercream frosting. These are also perfect for a butterfly birthday or spring themed party.
I first saw these Butterfly Cupcakes on Annie's Eats many years ago from the book Hello, Cupcake! I immediately wanted to make them, but never had the perfect occasion to do so.
Fast forward 8 years and the perfect occasion arrived! I was throwing my third daughter a Very Hungry Caterpillar Birthday Party for her 1st birthday.
The classic children's book ends with the caterpillar emerging as a butterfly. What fits the theme better than finishing off the party with Butterfly Cupcakes?!
While I served these cupcakes at a Very Hungry Caterpillar Birthday, these would be perfect for a Butterfly Birthday party, just like my Butterfly Sugar Cookies.
They would also make cute spring cupcakes, like these Baby Bluebird Cupcakes, Spring Chick Cupcakes, and Carrot Cupcakes.

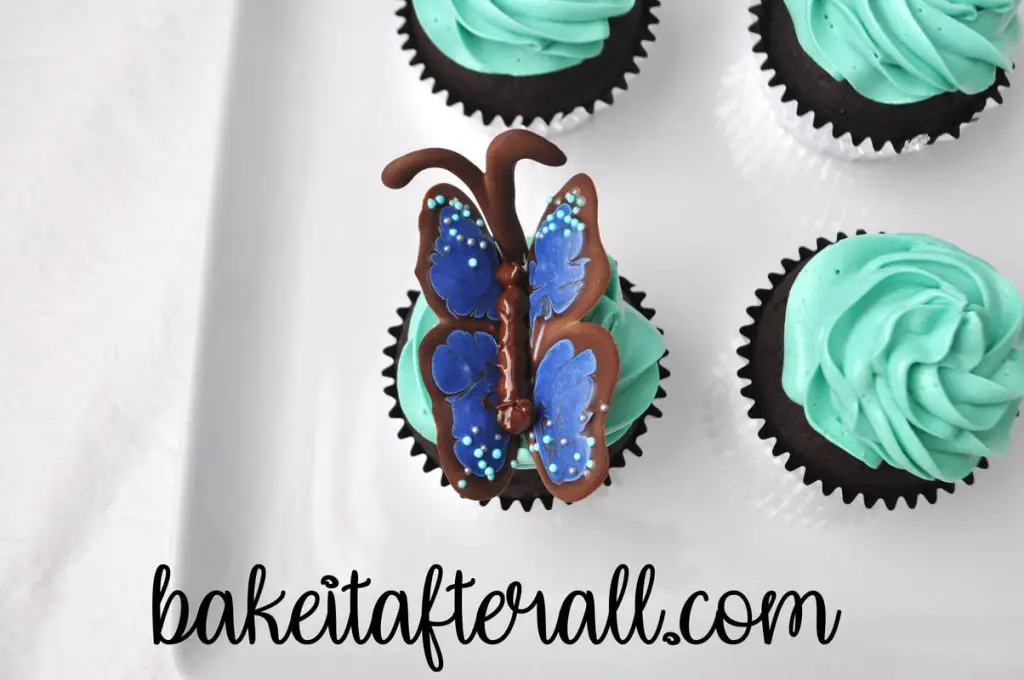
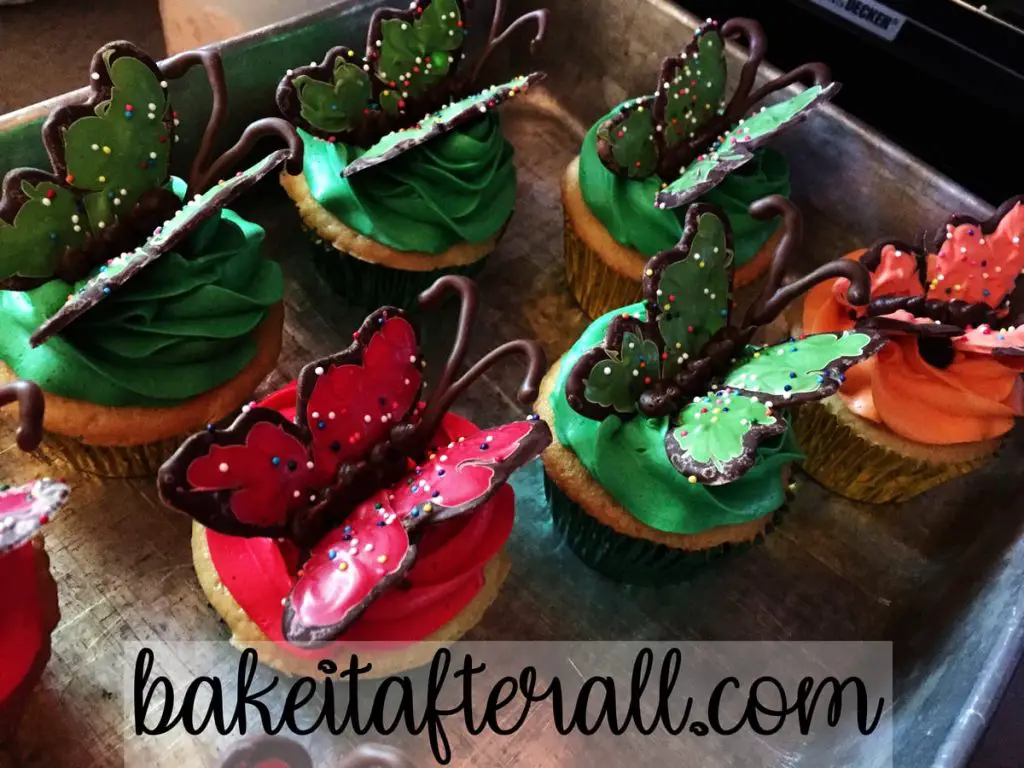
These cupcakes look like they might be complicated to make, but they really aren't. They consist of a cupcake frosted with your choice of colored buttercream and topped with an edible butterfly made out of the chocolate and candy melts.
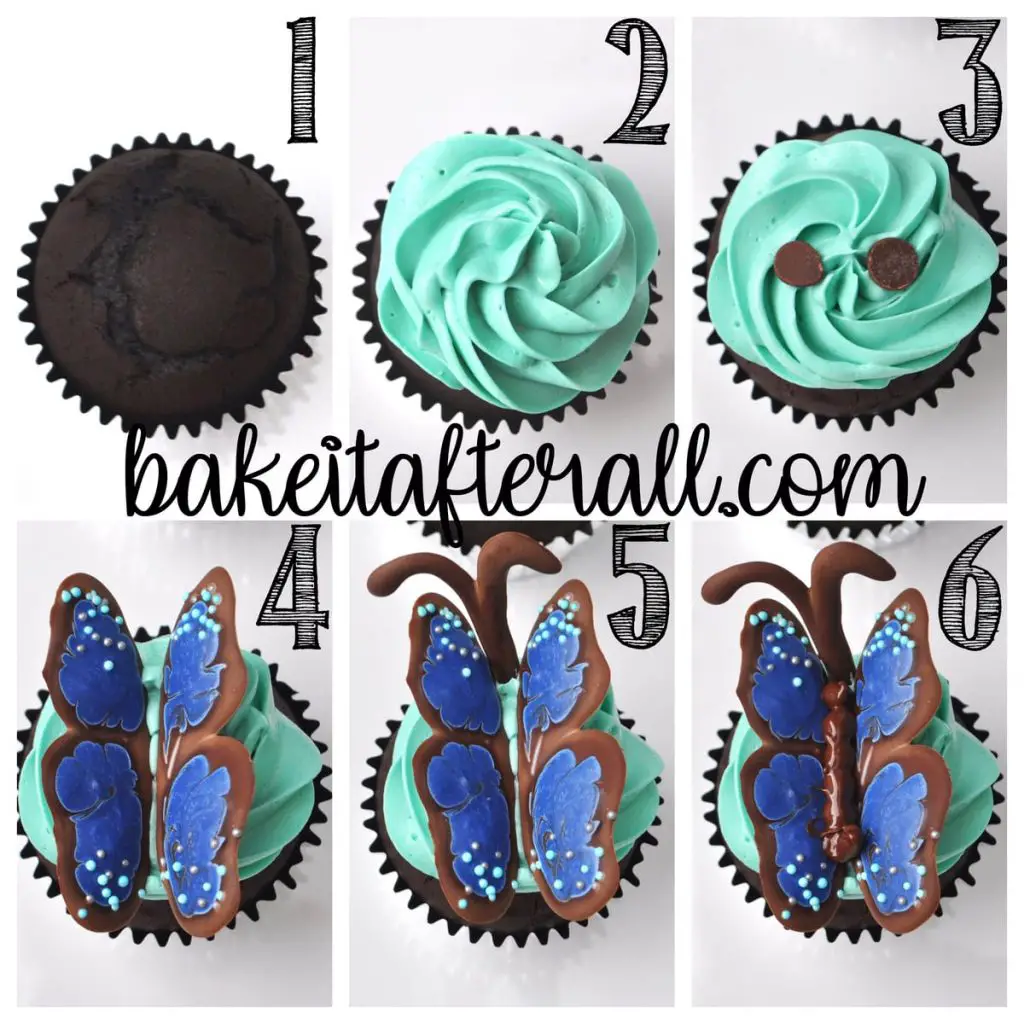
This photo tutorial will take you through each step of how to make the edible butterfly cupcake toppers. First, you'll make a paper template for the wings and antenna, then you'll pipe the chocolate and candy melts on waxed paper. Once set, the candy can be removed from the paper, and you will assemble an easy butterfly on top of each frosted cupcake.
Jump to:
Make the Wing and Antenna Templates
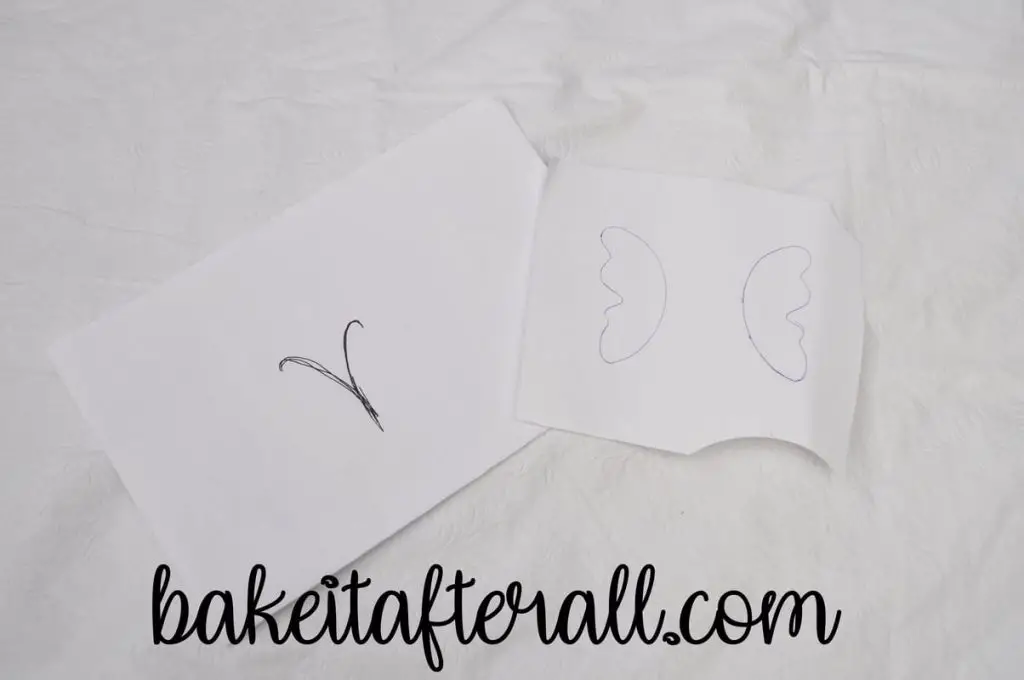
On piece of white cardstock, draw a wing shape. Cut out the wing to make a stencil.
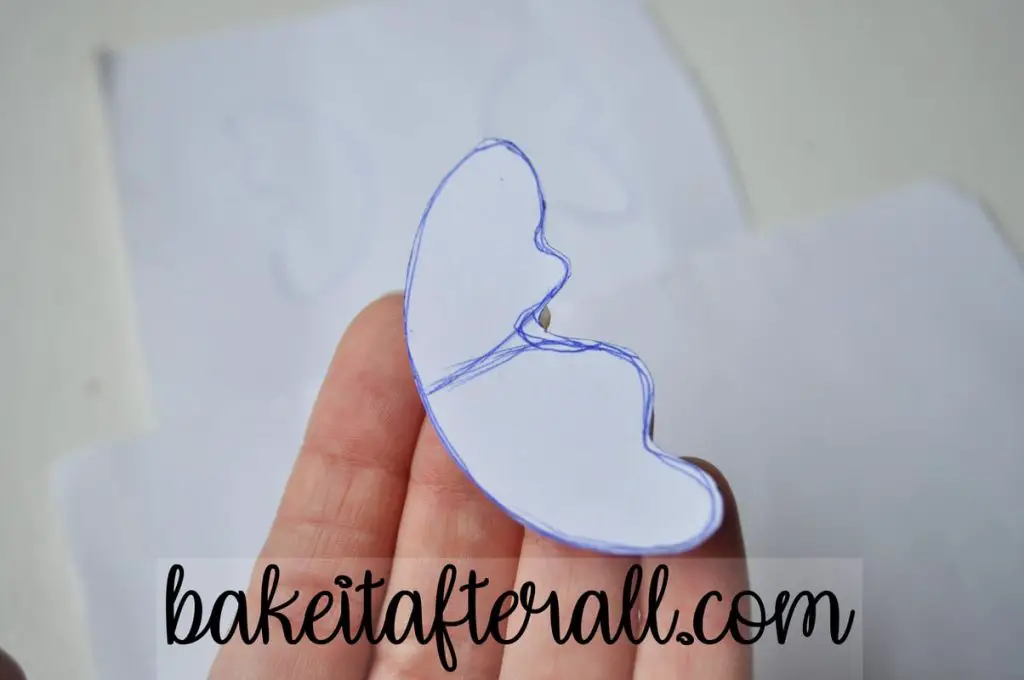
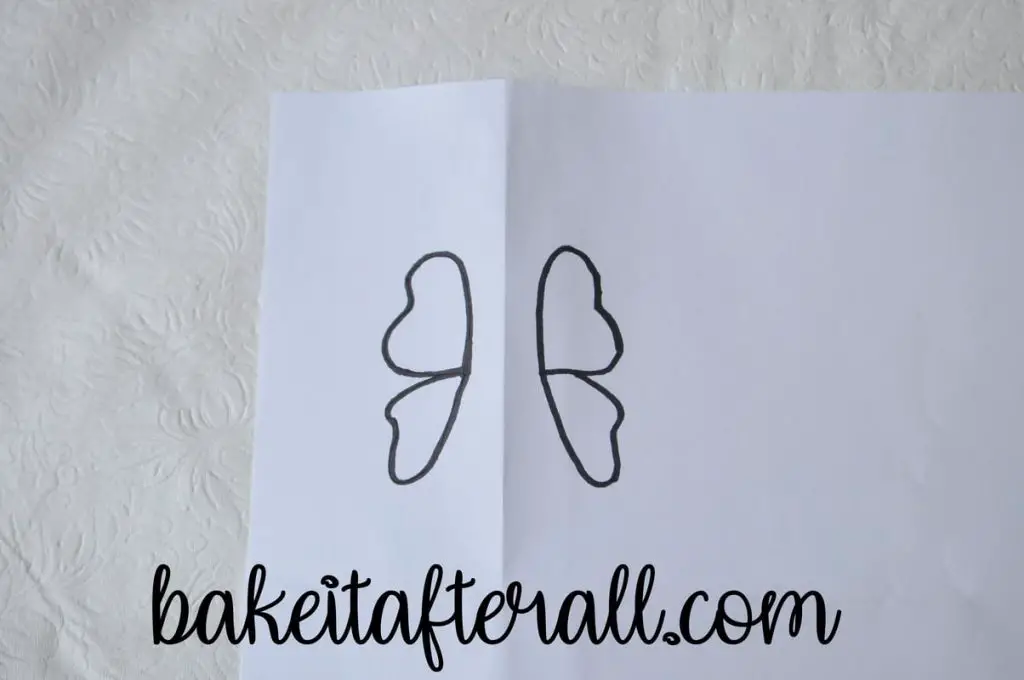
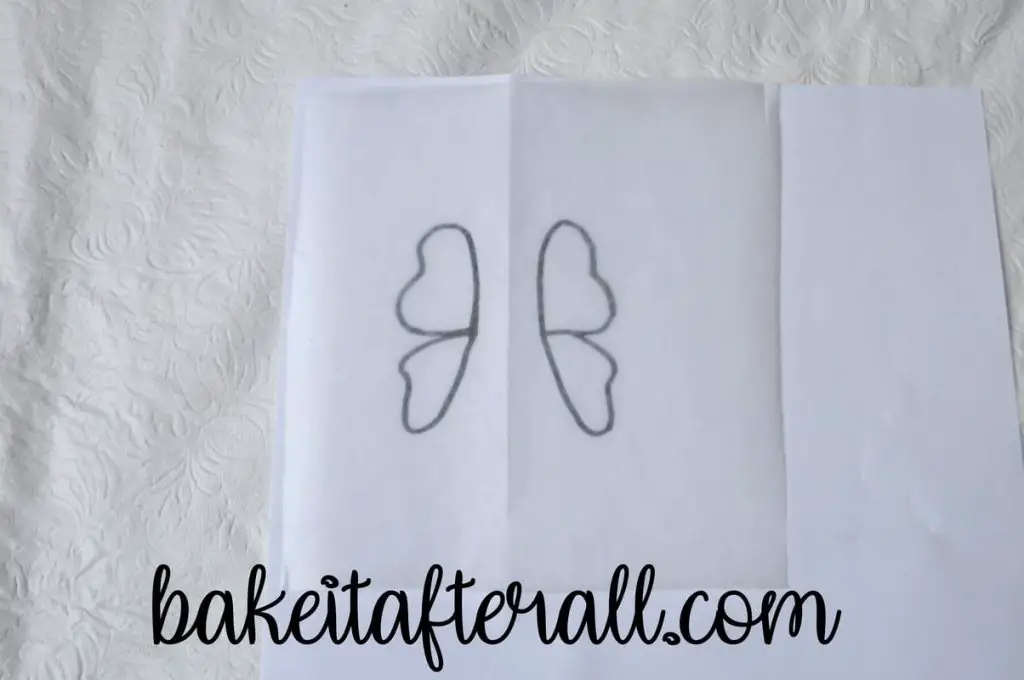
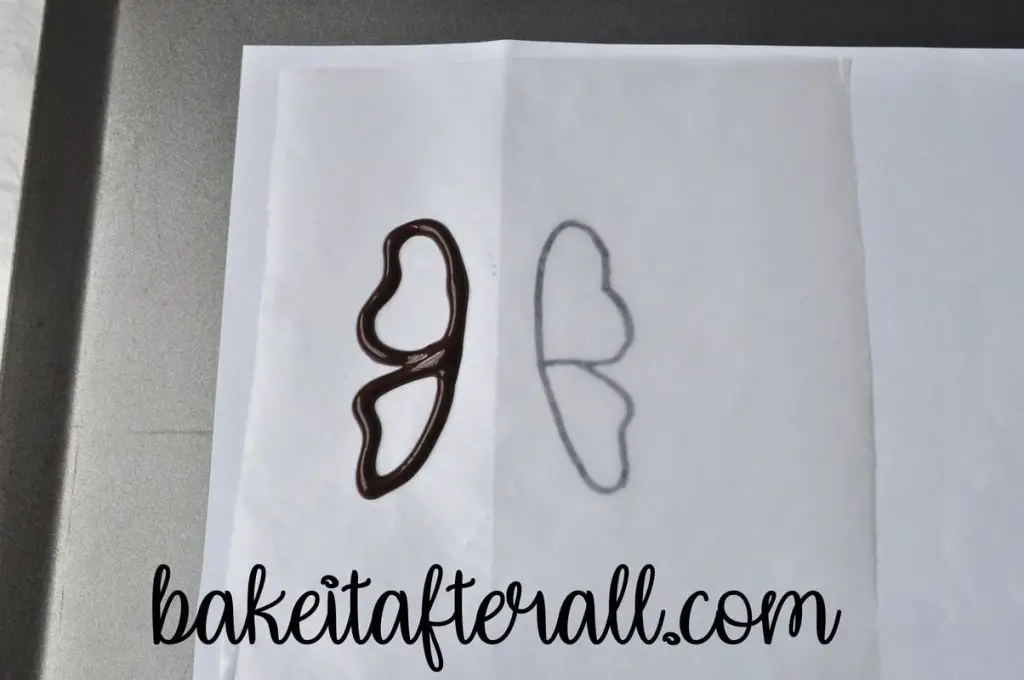
Trace a wing onto the cardstock using the stencil. Flip the wing shape over and trace the mirror image of the wing next to the first wing to make a pair of wings.

You may trace over the wings with black permanent marker to make them darker if you want. This will make them easier to see through the wax paper when you pipe the chocolate.
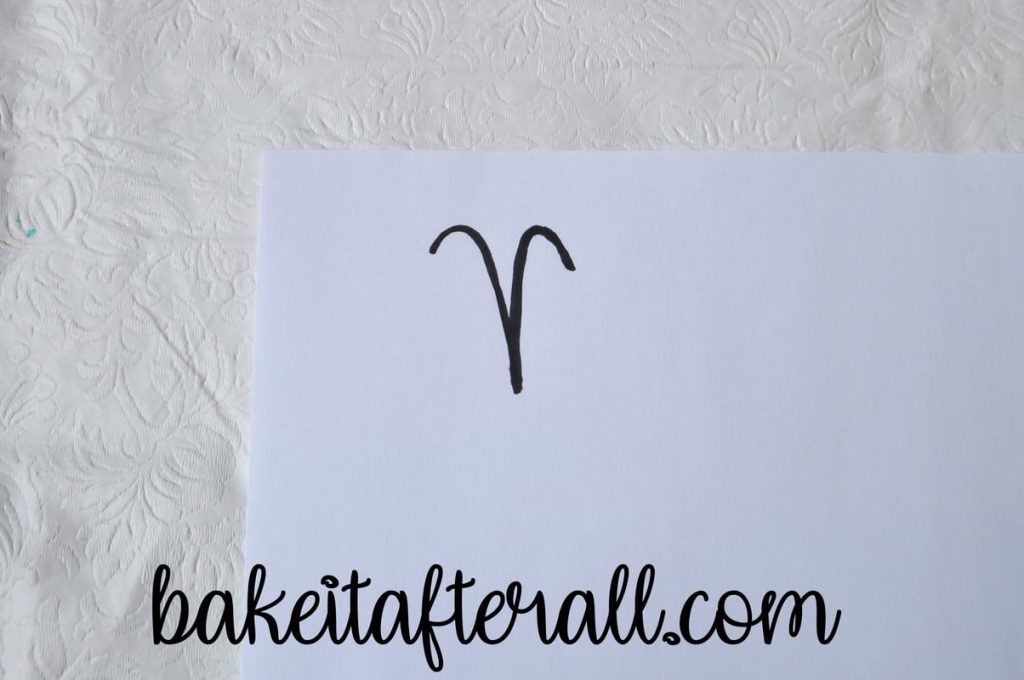
Draw an antenna shape on a separate piece of white cardstock or paper.
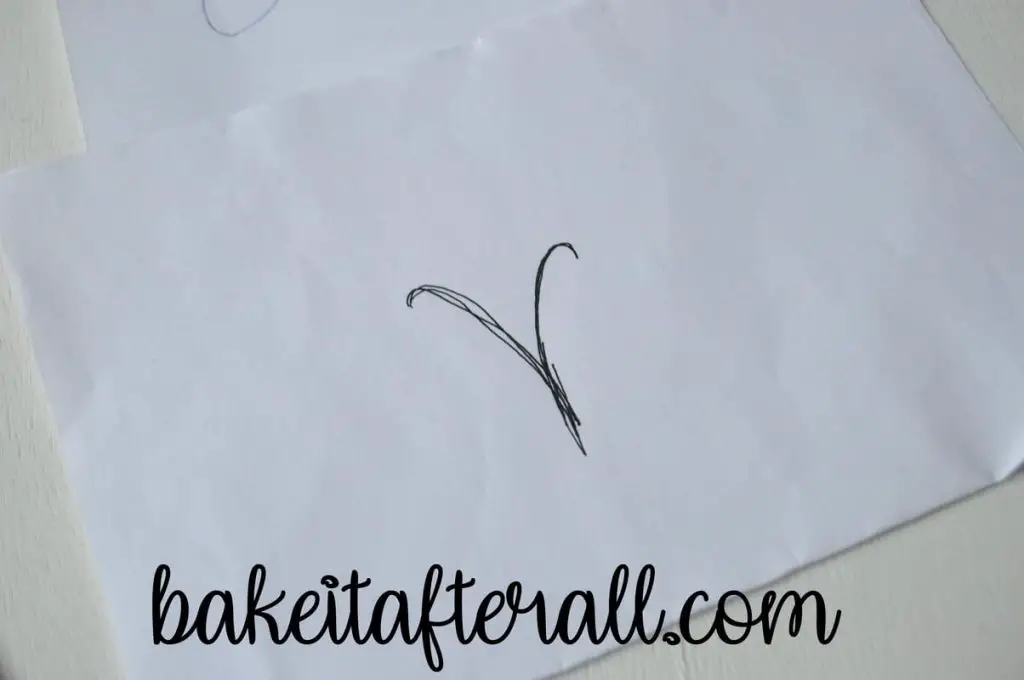
You may trace over the antenna with a black permanent marker to make it darker if you want.
Make the Butterfly Wings
First, you'll need to cut a bunch of squares of waxed paper. Each set of wings will need a square.
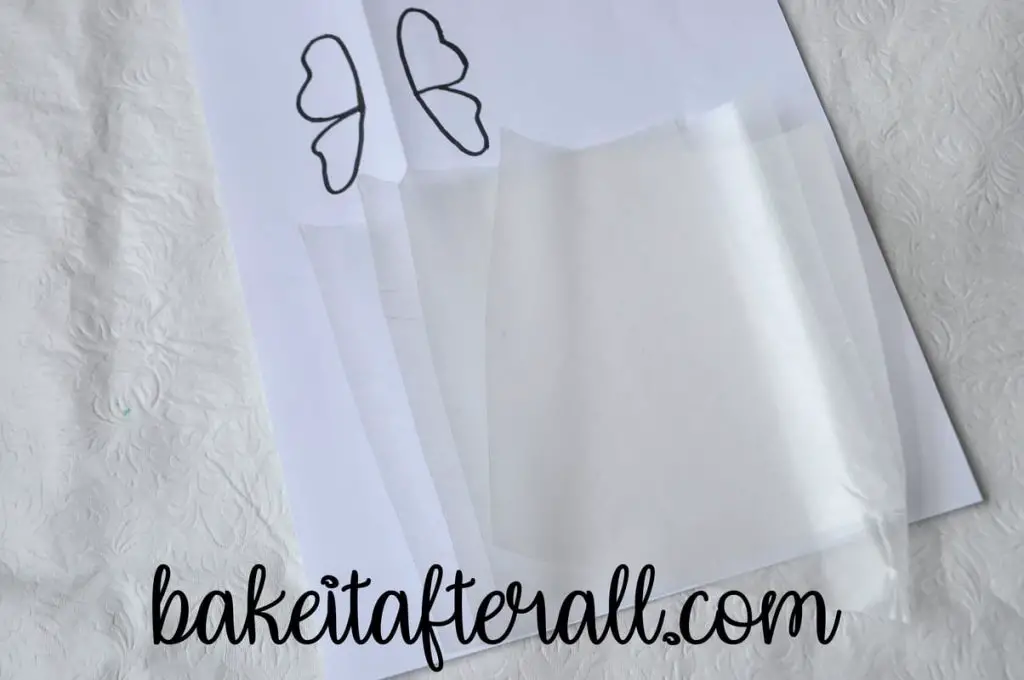
Place a square of waxed paper on top of the wing pair template.
Melt the semisweet chocolate by microwaving in 30-second intervals at 50% power until just melted. Melt the colored candy melts according to package directions.
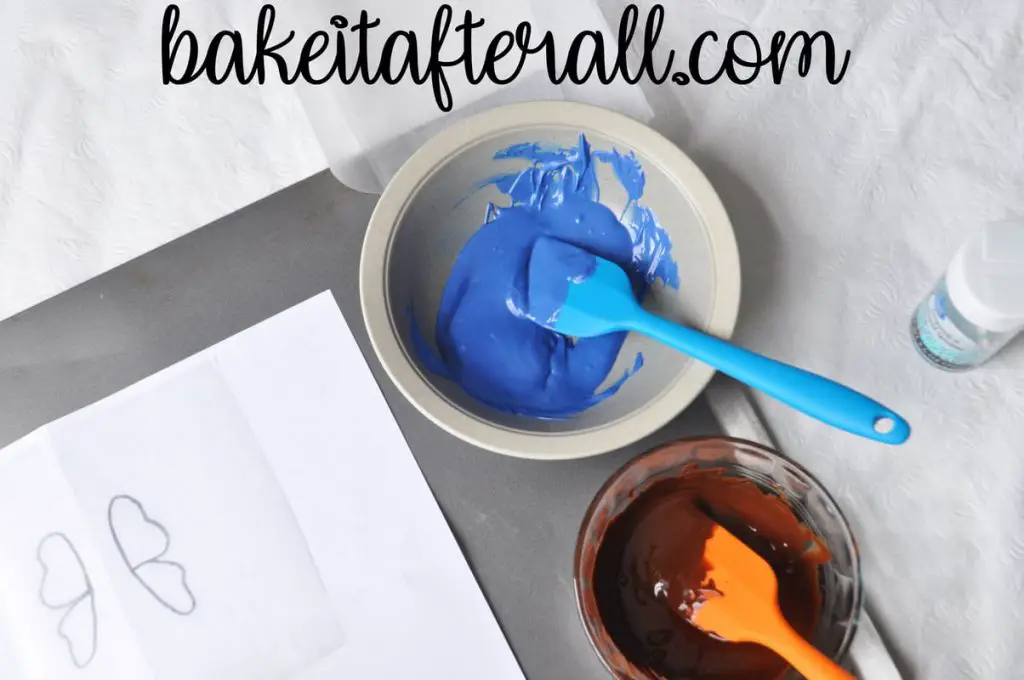
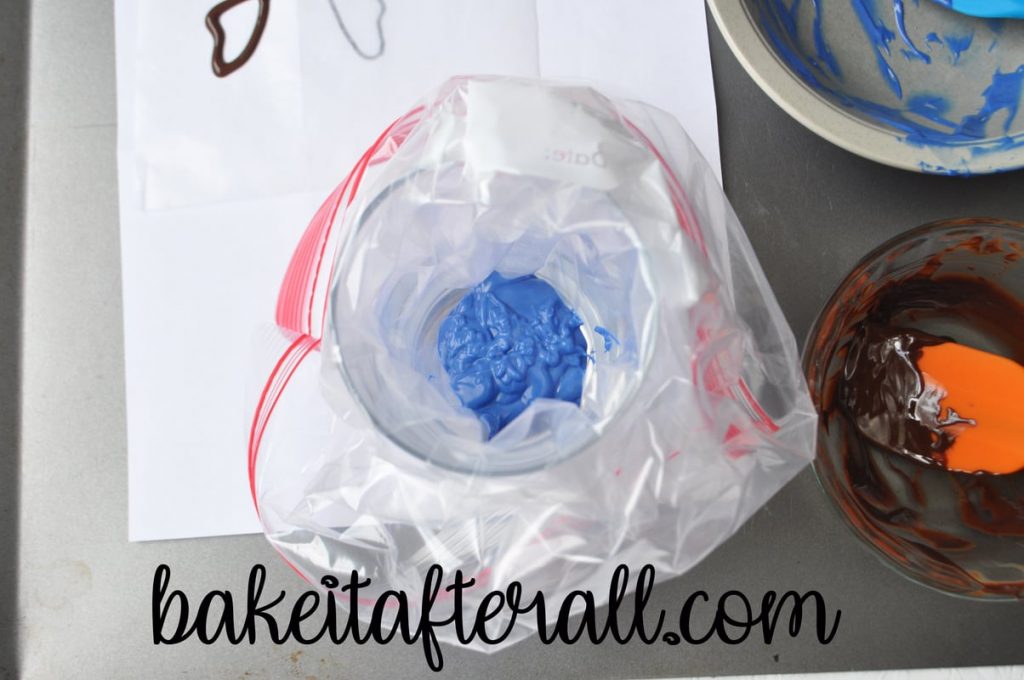
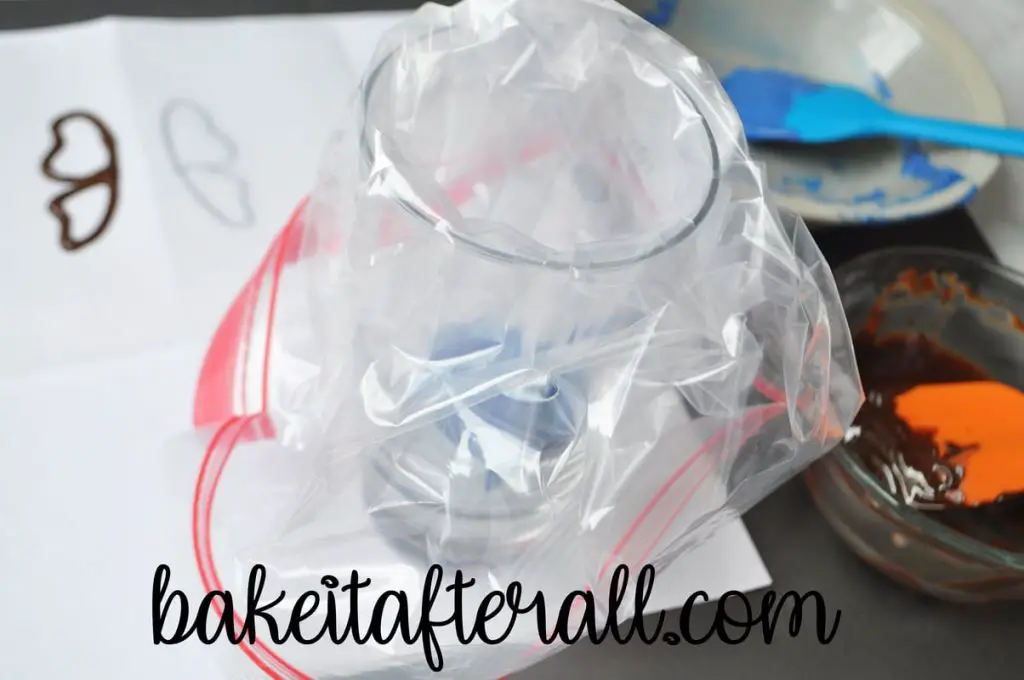
Transfer melted chocolate and candy melts to separate resealable plastic bags or disposable piping bags with a corner or tip cut off. This can be easily done by lining a tall glass with the bag to fill it with the melted chocolate or candy.
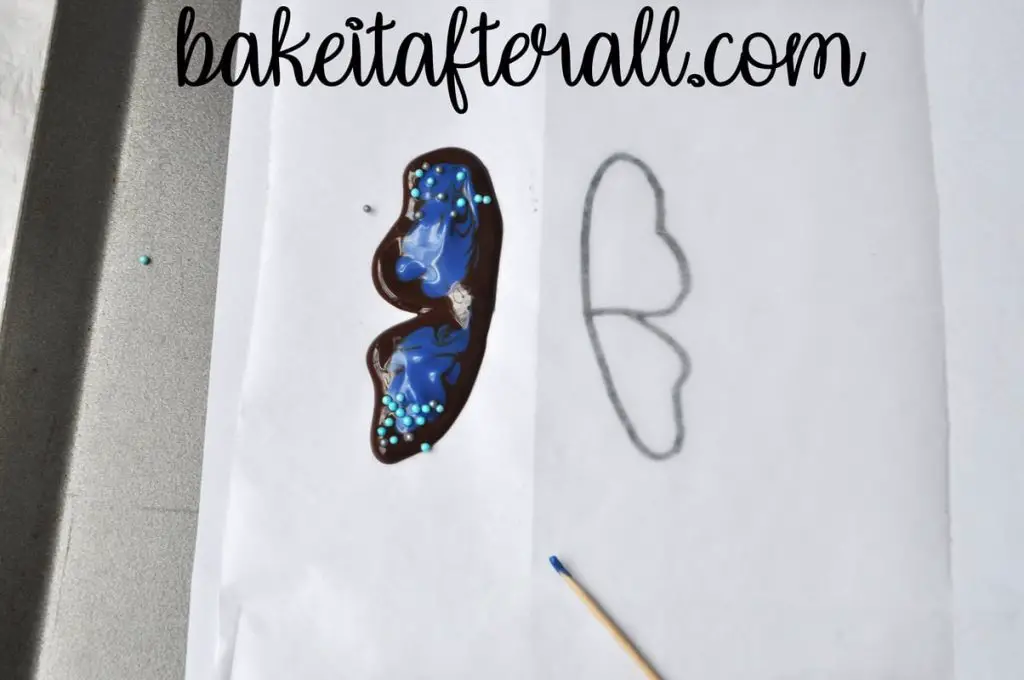
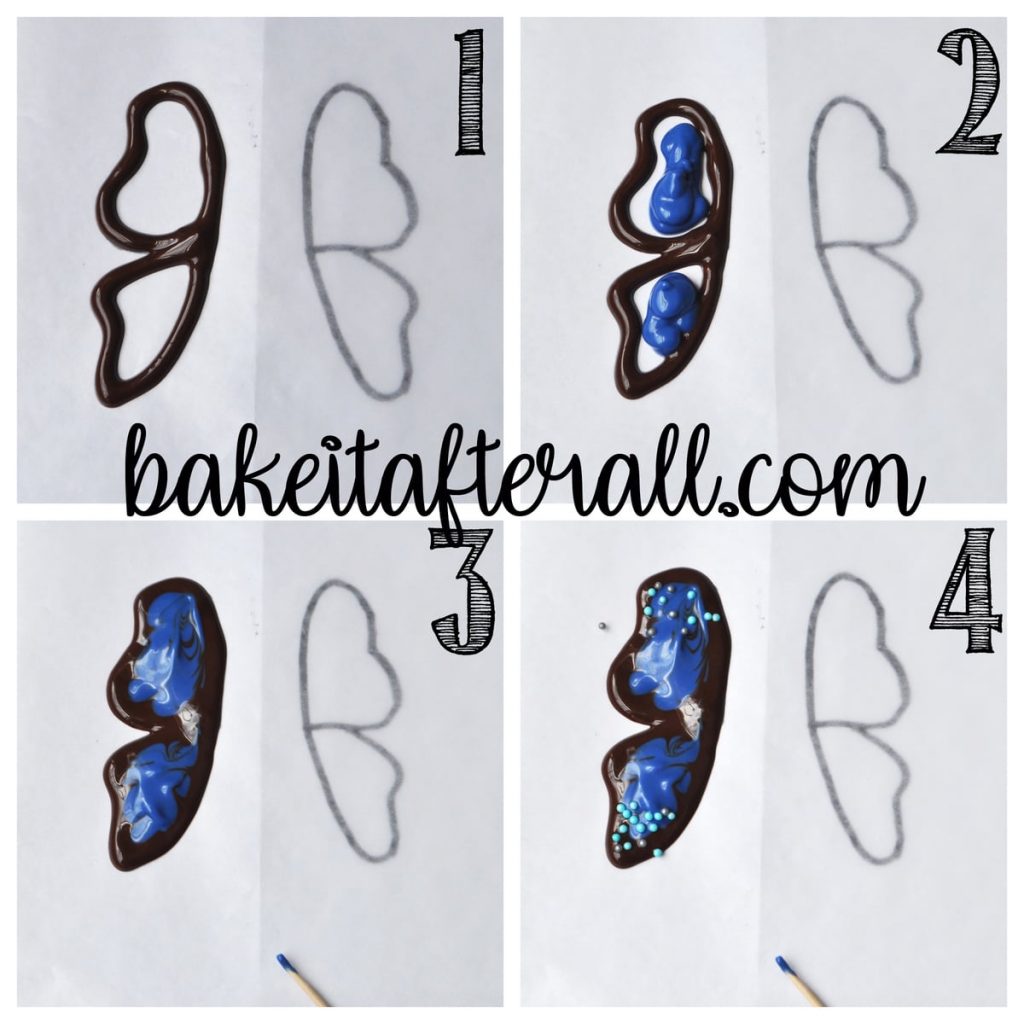
Pipe an outline of each wing using the chocolate.
Fill in the center with the melted colored candy melts.
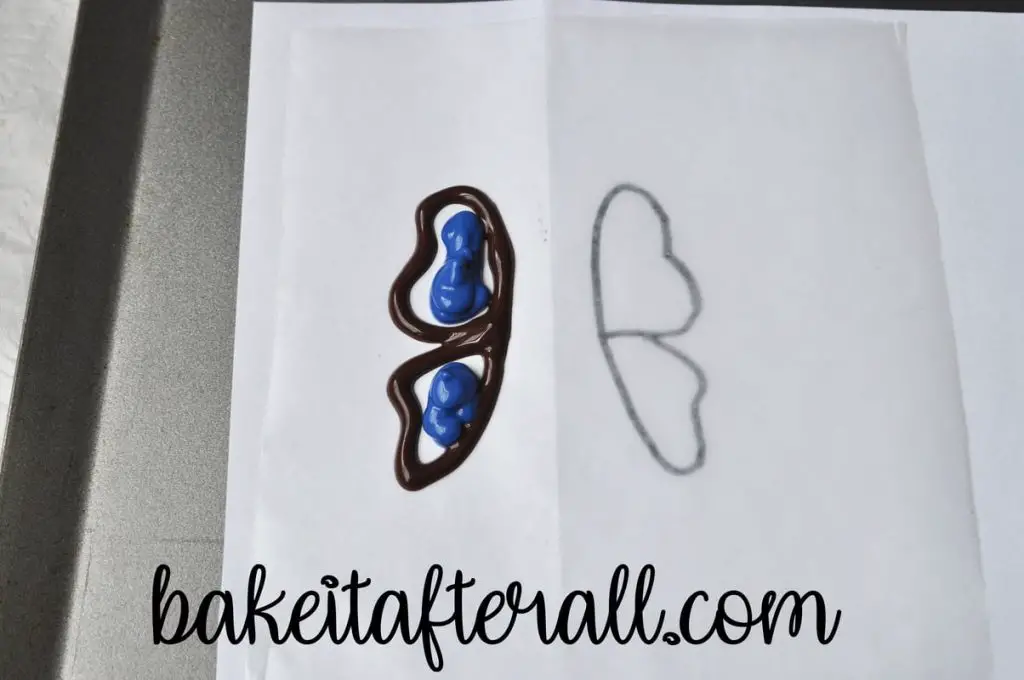
Use a toothpick to swirl the guide the candy melts to fill in the outline and to swirl the colored portion a bit.

Then sprinkle the surface with nonpareil sprinkles while the candy is still wet.
Repeat the same process on the other wing.
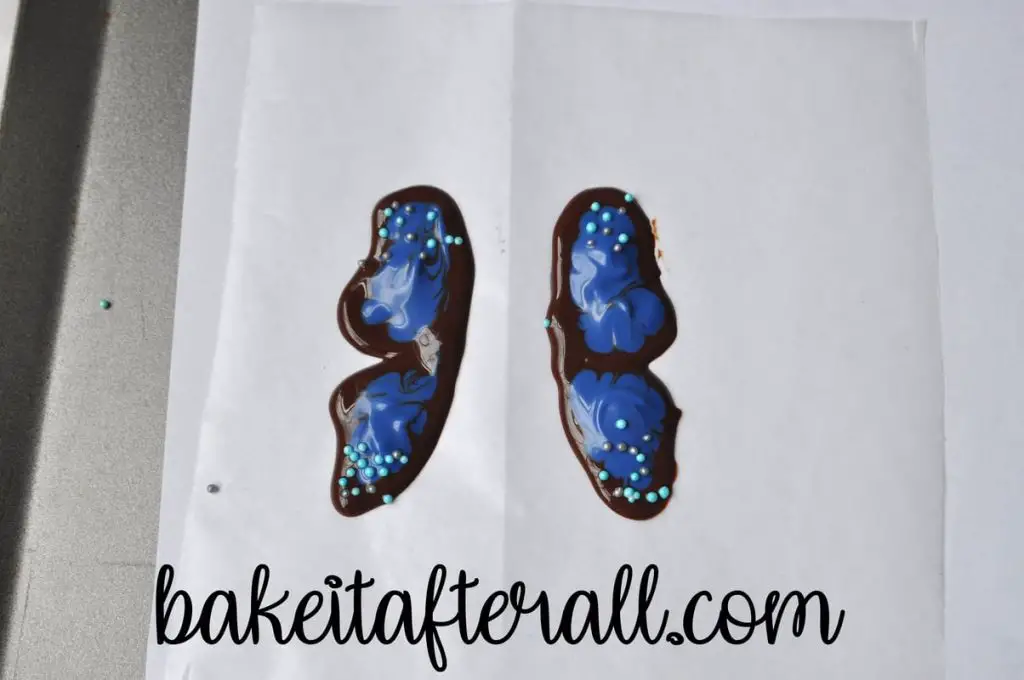
Repeat process until you have enough wing pairs for the number of cupcakes desired, switching colors of candy melts as necessary.
Allow all of the wings to set at room temperature.
Make the Butterfly Antennae
Place a square of waxed paper on top of the antenna template. Alternatively, you can use a larger piece of waxed paper and move the template around underneath it while piping.
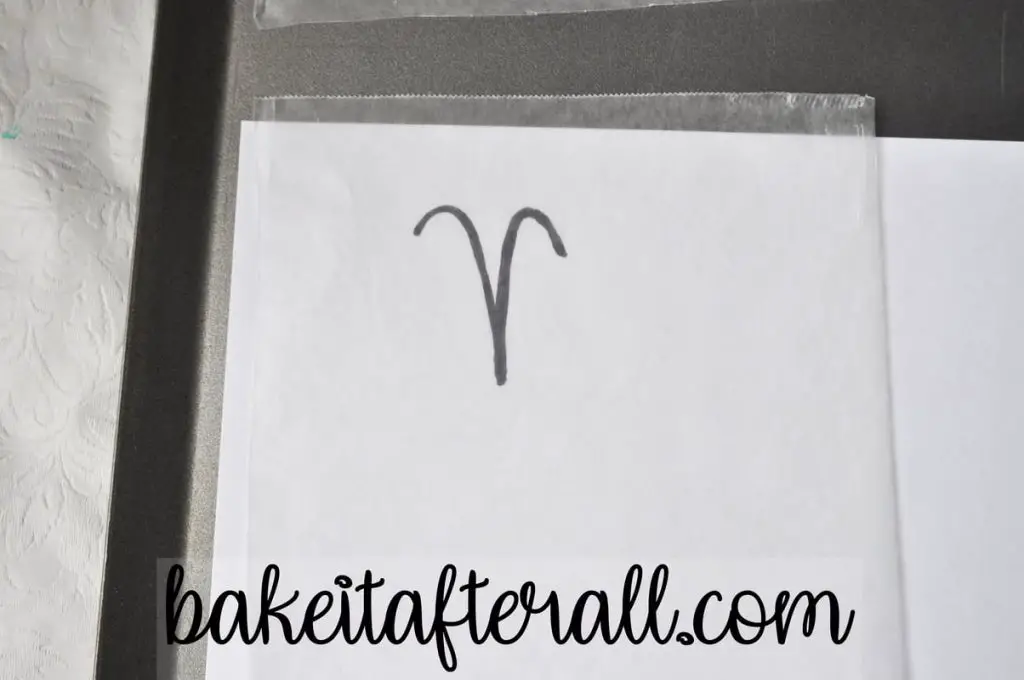
Use the melted chocolate in a plastic bag or pastry bag (previously used to outline the wings) to trace an antenna on the waxed paper.
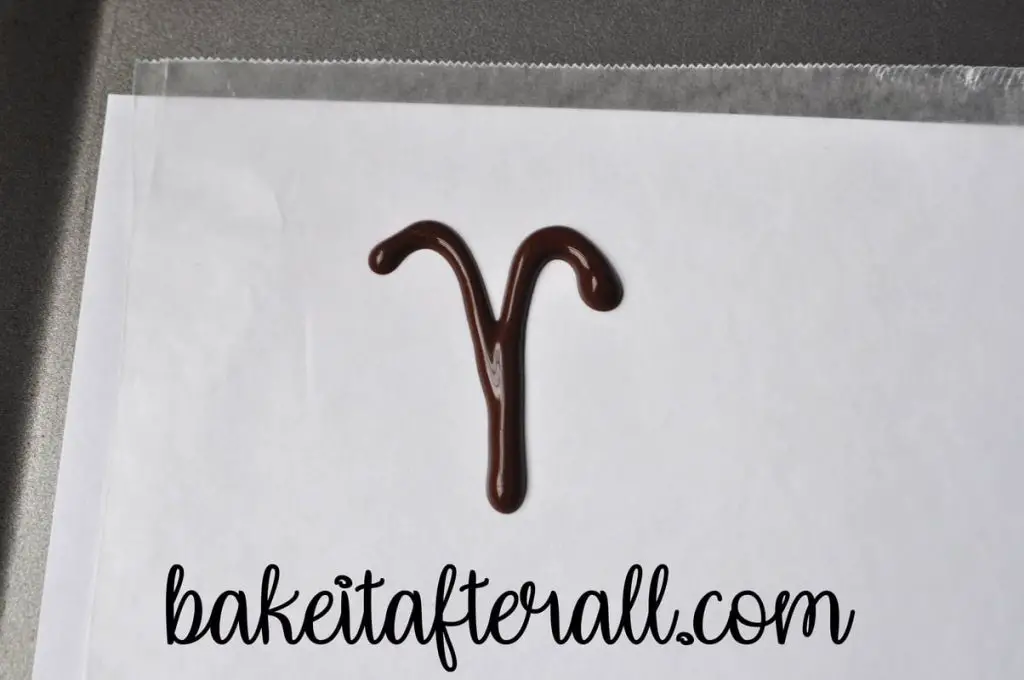
Repeat for as many cupcakes as you have. Due to how thin the antenna is, it is fragile and may break easily. For that reason, I recommend making a few extras in case some break when you're inserting them into the buttercream during cupcake assembly.
Assemble the Cupcakes
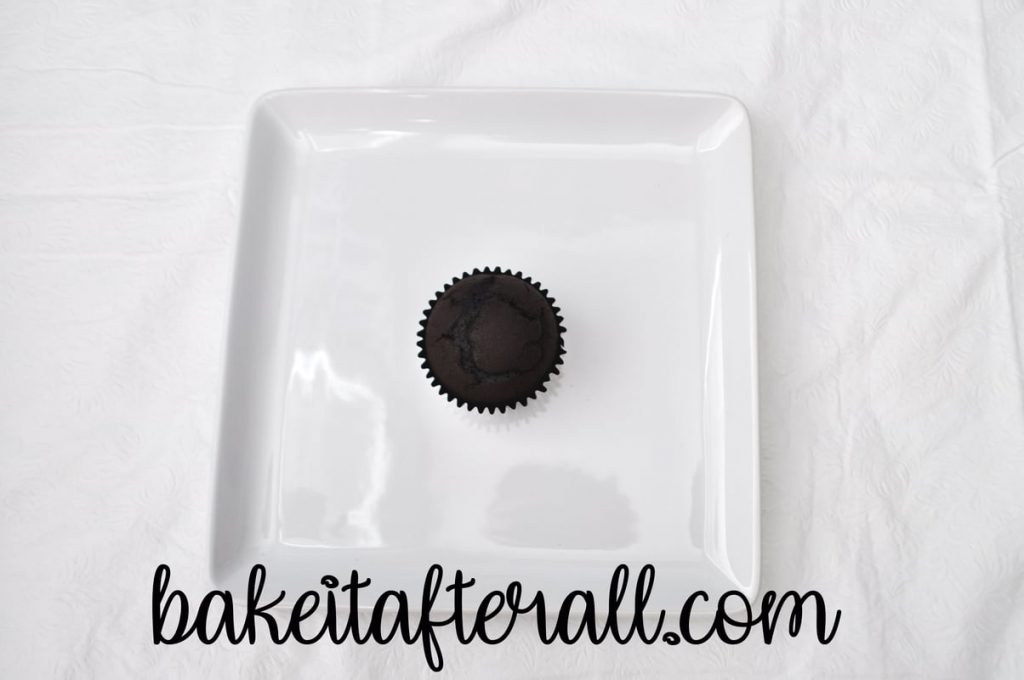
Bake a batch of your favorite cupcakes. My favorite homemade chocolate cake is the cake portion from Salted Caramel Chocolate Fudge Cake or Chocolate Layer Cake. These can each be made with all purpose flour or gluten free flour blend. I like to use aluminum cupcake liners to prevent grease from soaking through a paper liner.
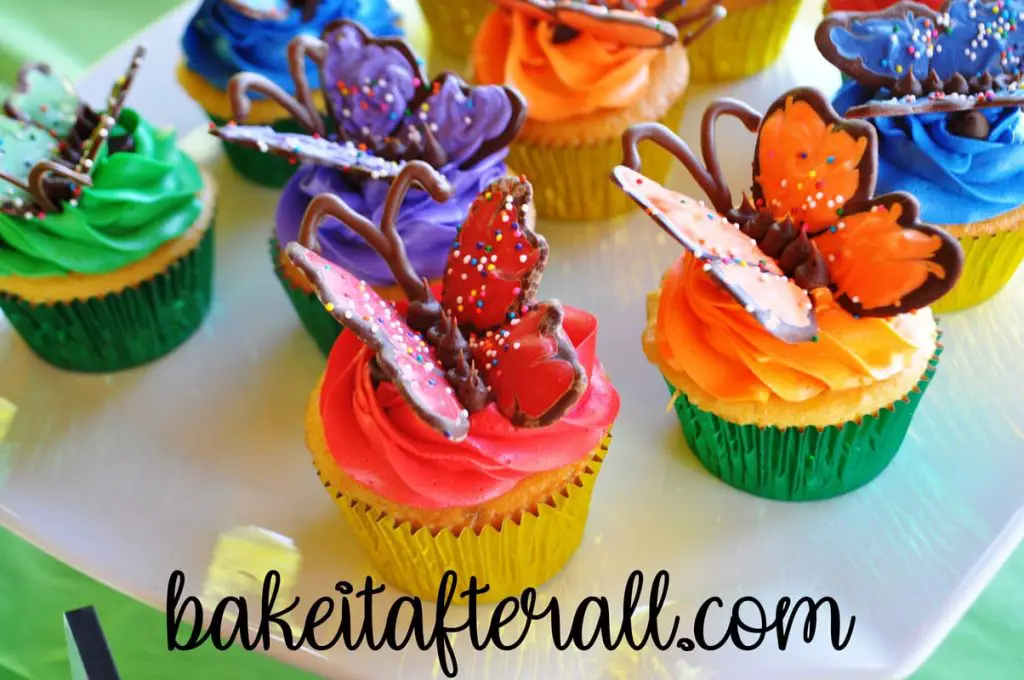
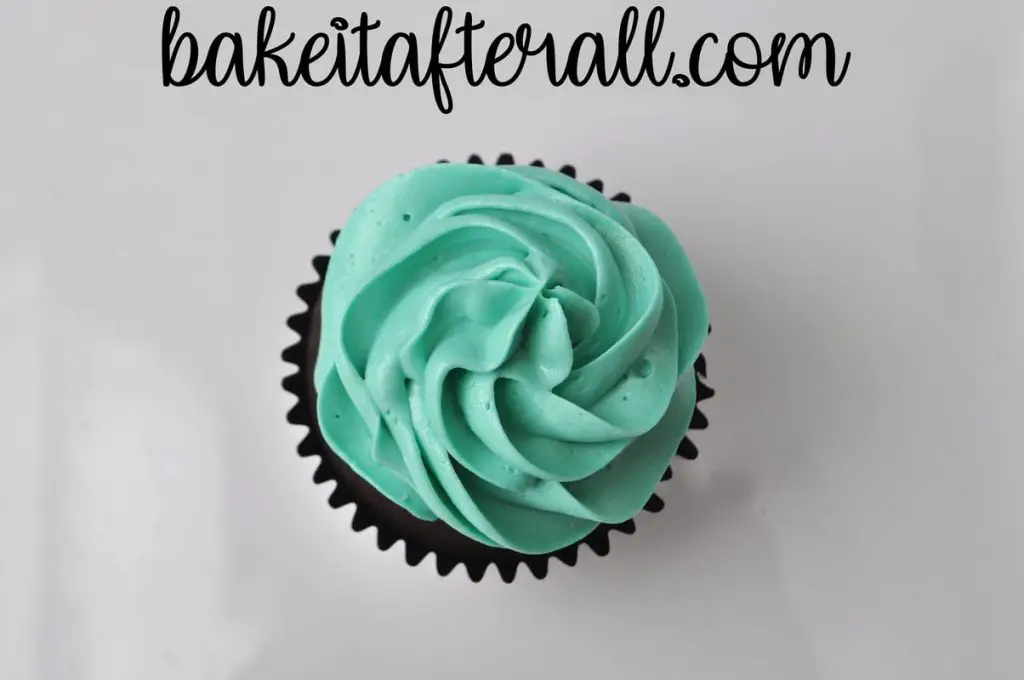
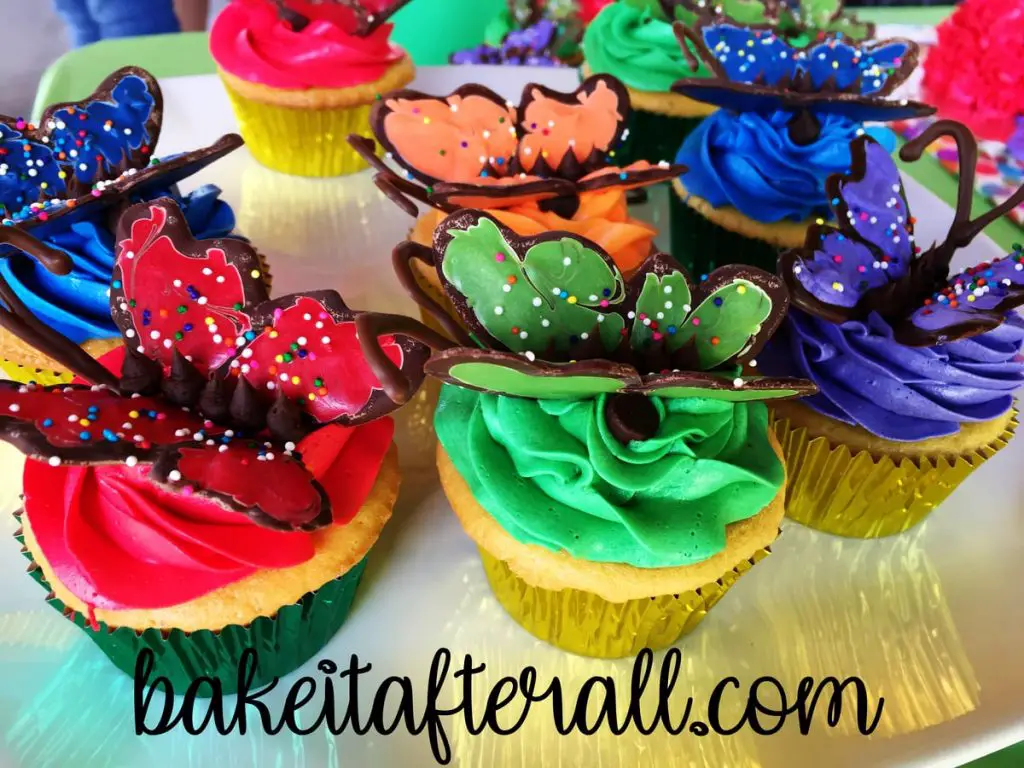
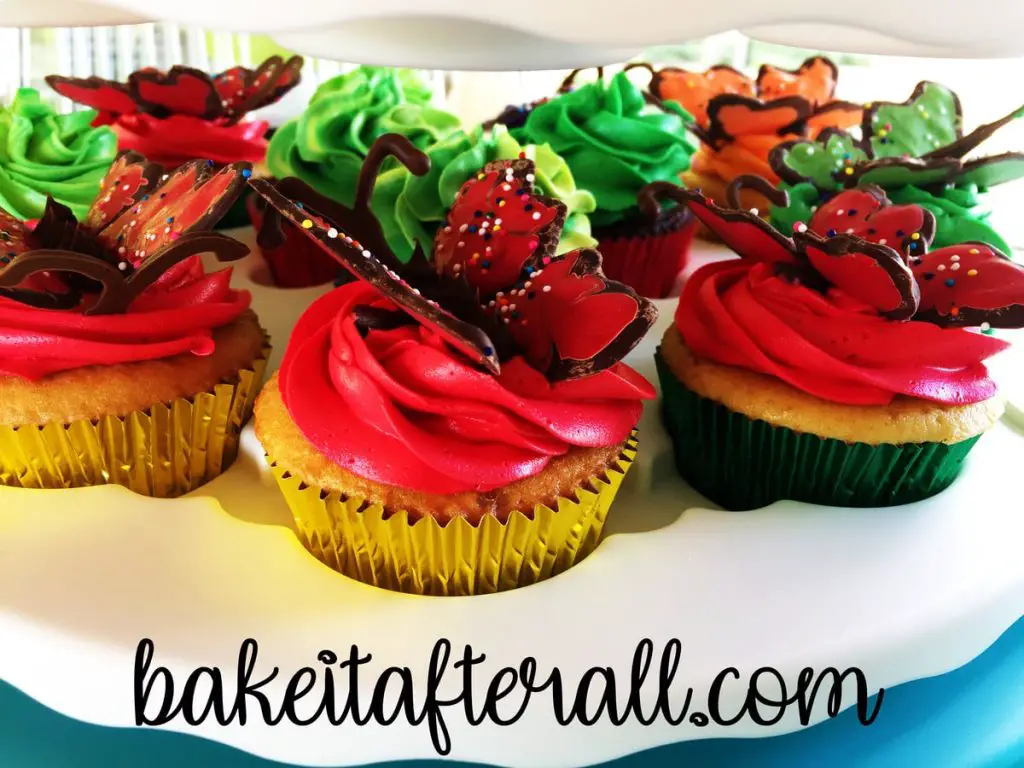
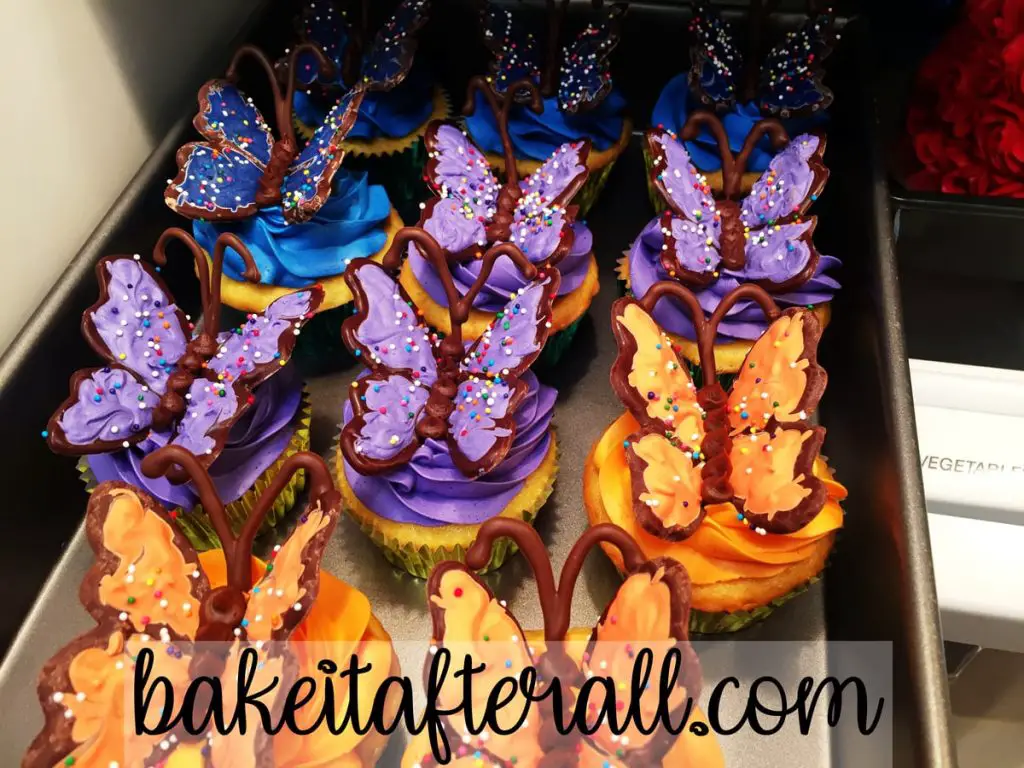
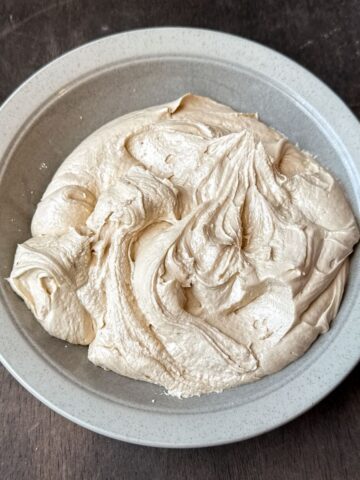
Next, tint your favorite buttercream as desired with food coloring gel. I used Easy Vanilla Buttercream. For a super smooth buttercream, try Vanilla Swiss Meringue Buttercream. You can do as many colors as you'd like. For The Very Hungry Caterpillar Birthday Party, I made red, green, orange, purple and blue. Then pipe the colored buttercream onto each cupcake using a disposable piping bag fitted with a large star tip, like a 1M or 2D piping tip.
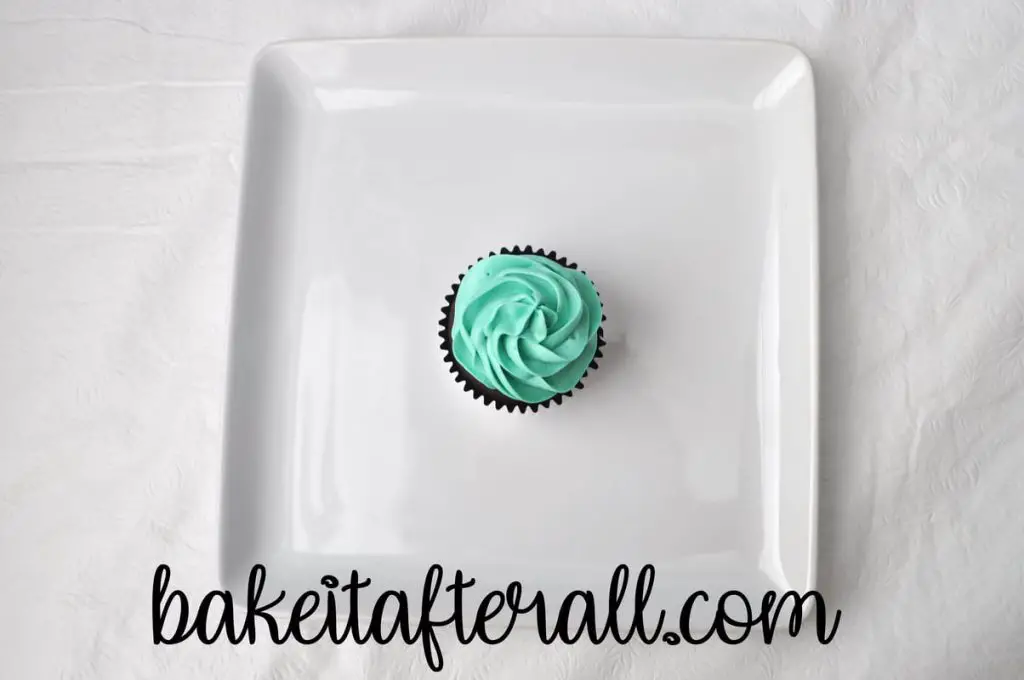
If you need to know how to frost butterfly cupcakes with a ziplock bag, it's rather simple. Insert the piping tip into a corner of the bag, snip off the corner just enough so the bottom of the tip can fit through. Fill the bag using the same method show above with the tall drinking glass. Make sure to watch the tip as you're piping to ensure it stays in place. Also, don't squeeze the bag too hard, or the tip may pop out of the bag. Piping bags are made of a thicker material to prevent this from happening.
Place two chocolate chips, upside down, into the top of the frosted buttercream. These will serve to help hold up the wings.
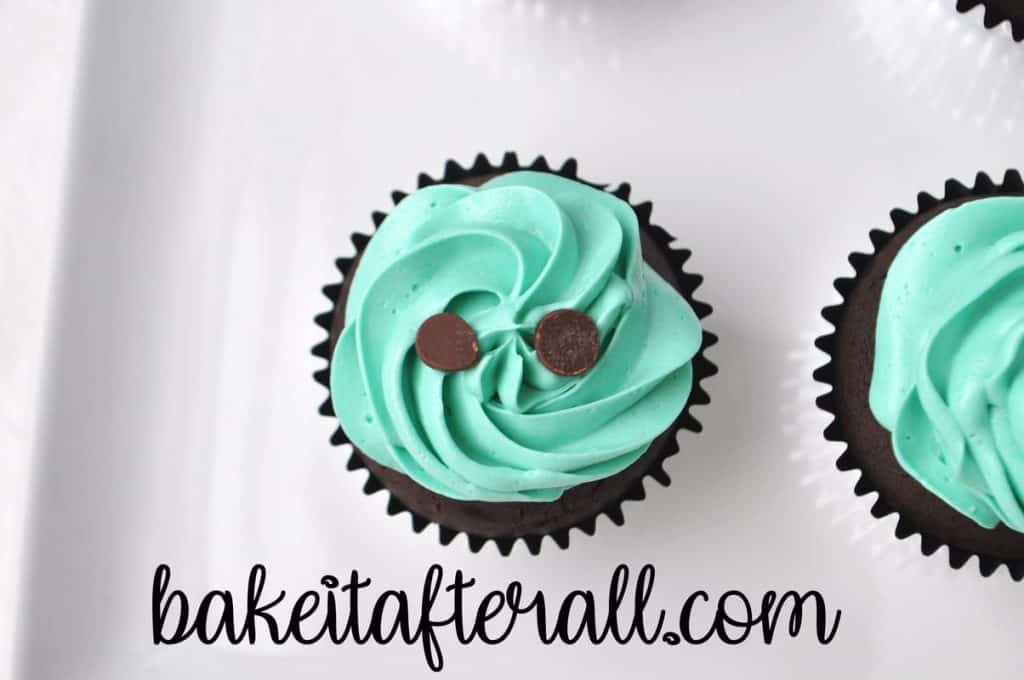
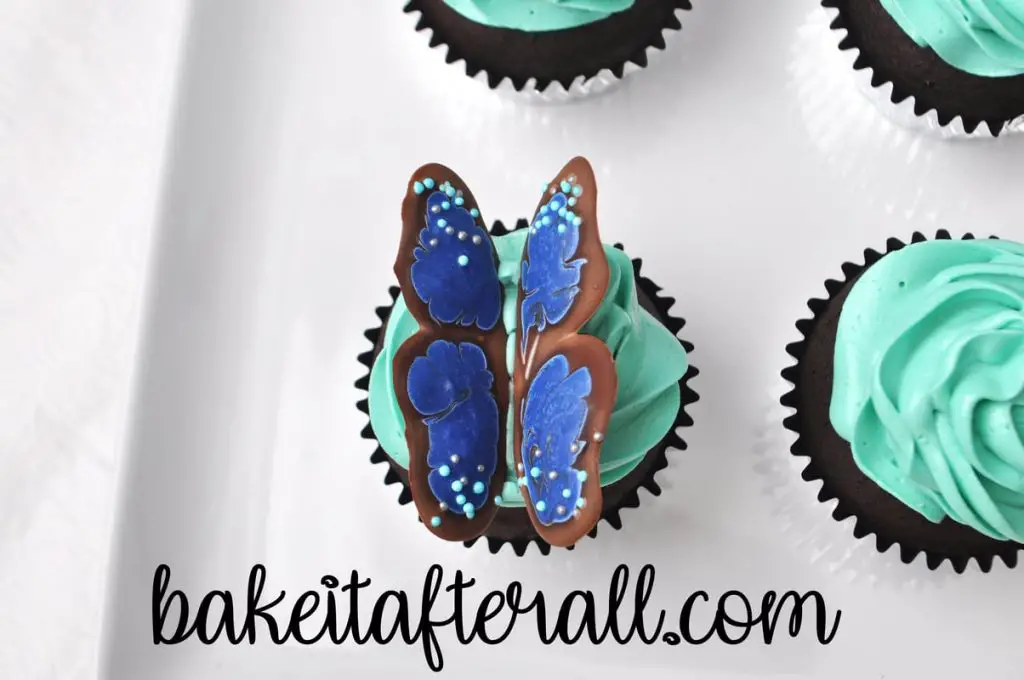
Insert the wings into the buttercream, allowing each wing to be supported by a chocolate chip.
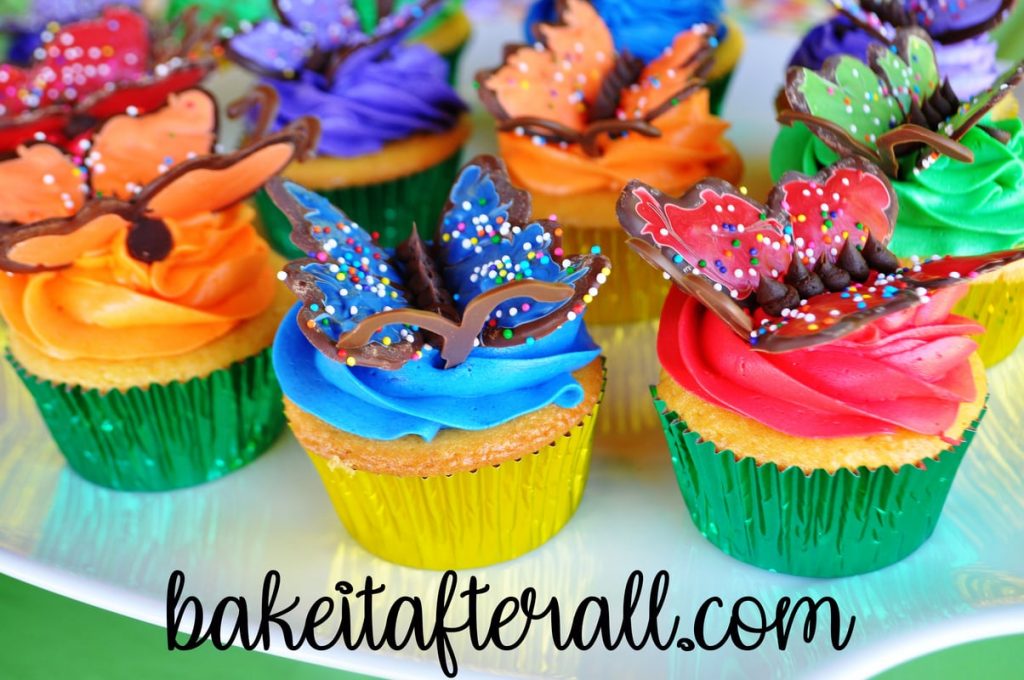
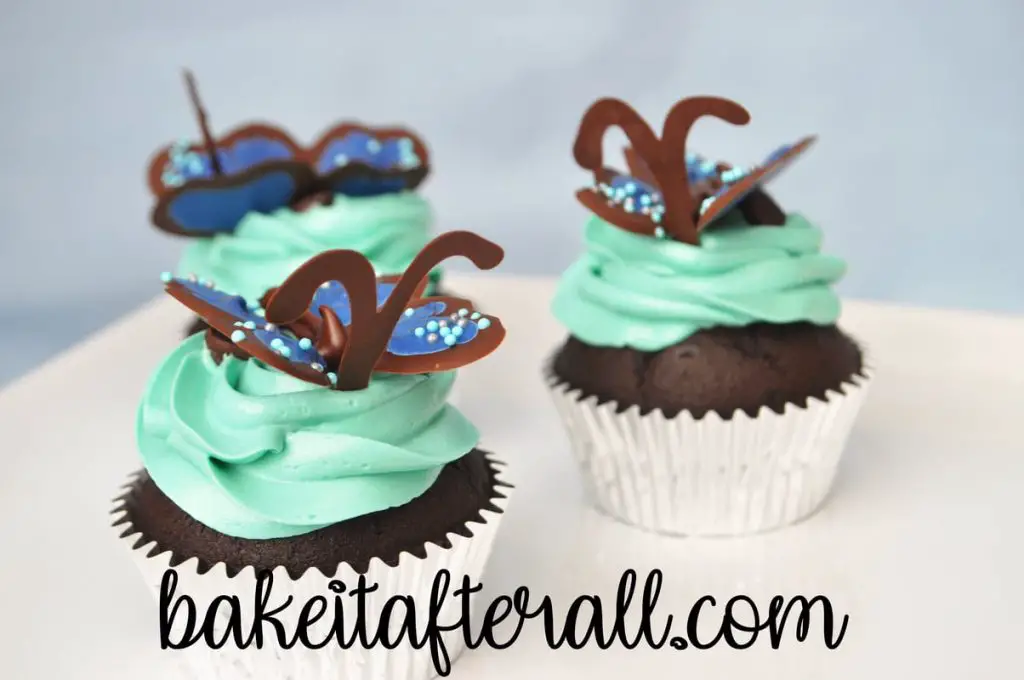
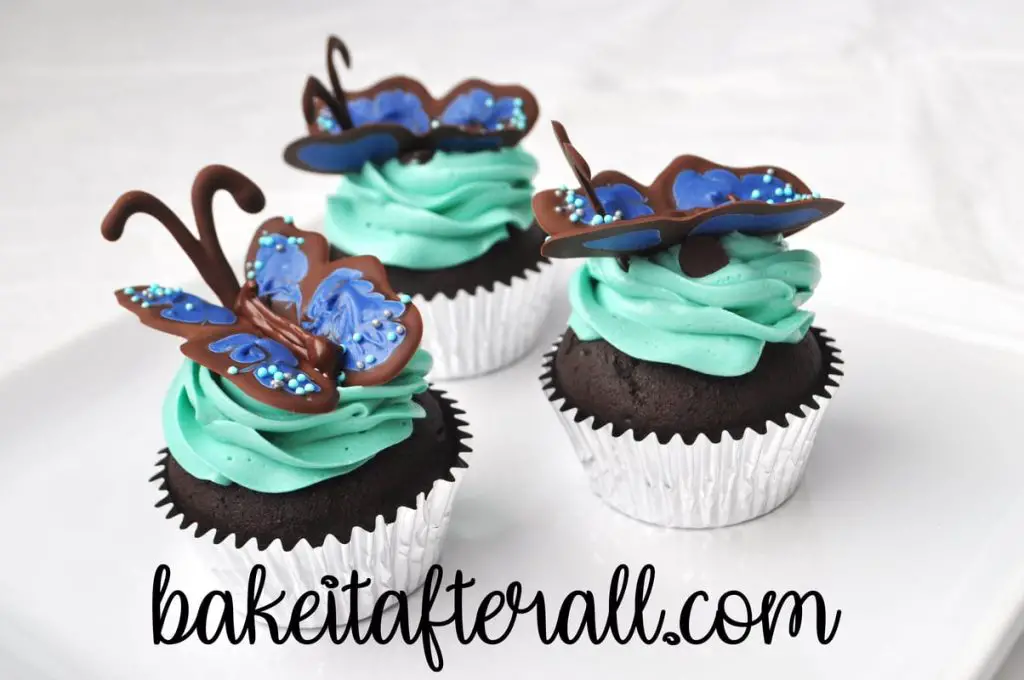
In these fully assembled cupcakes, you can see from the side how the chocolate chips help provide support to the wings to stand up.
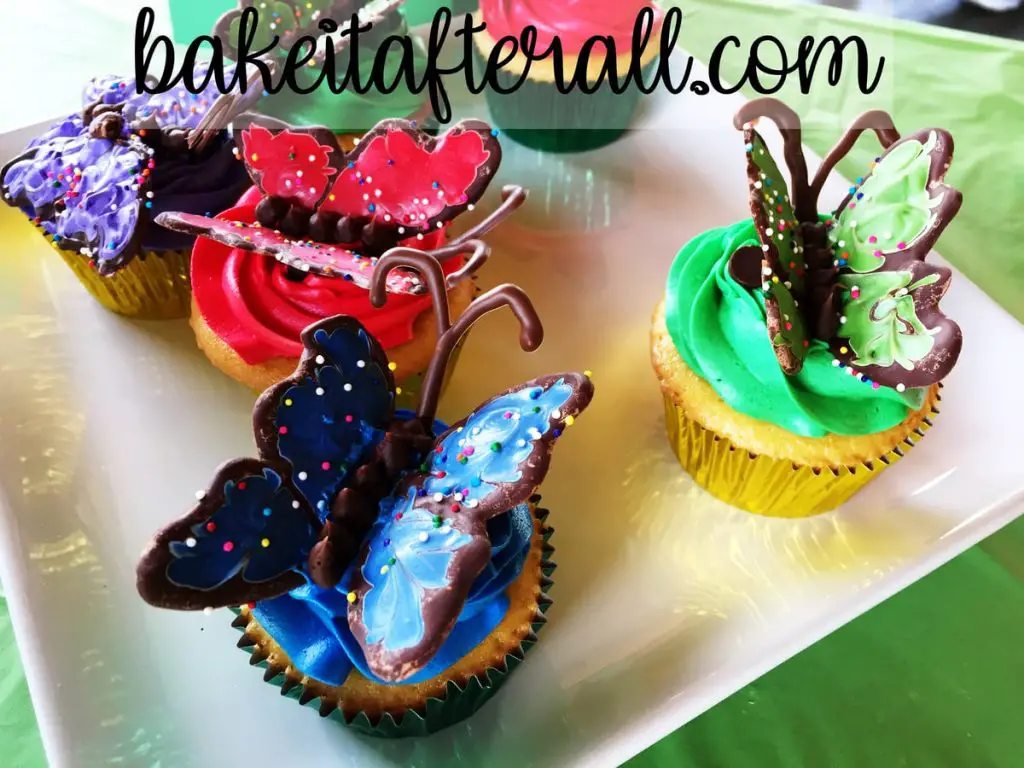
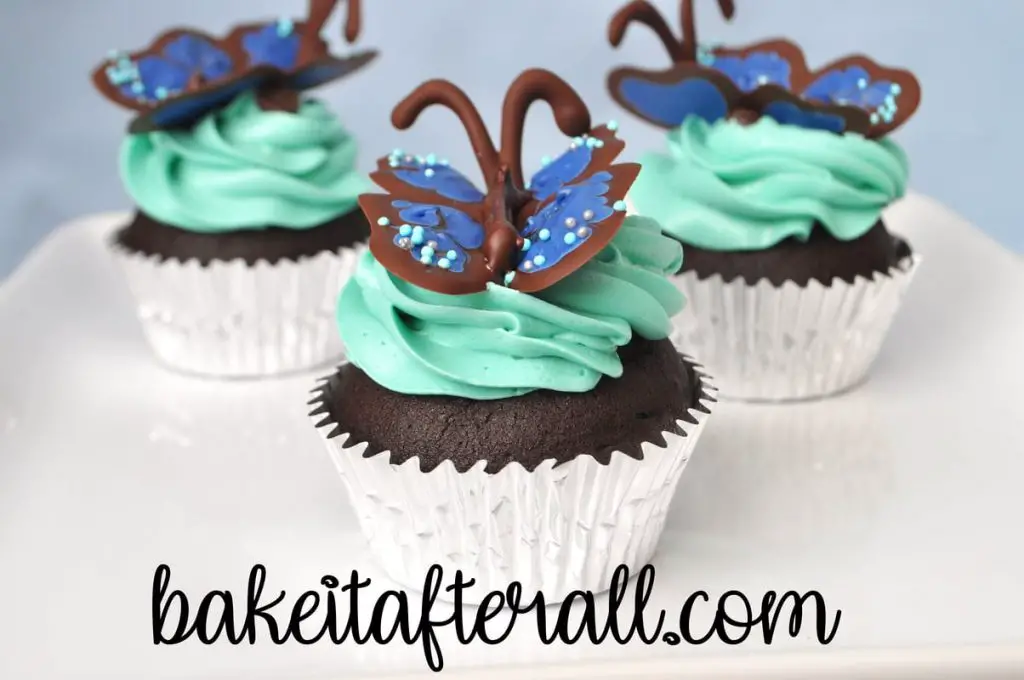
Insert antenna into the buttercream near the top portion of the butterfly.
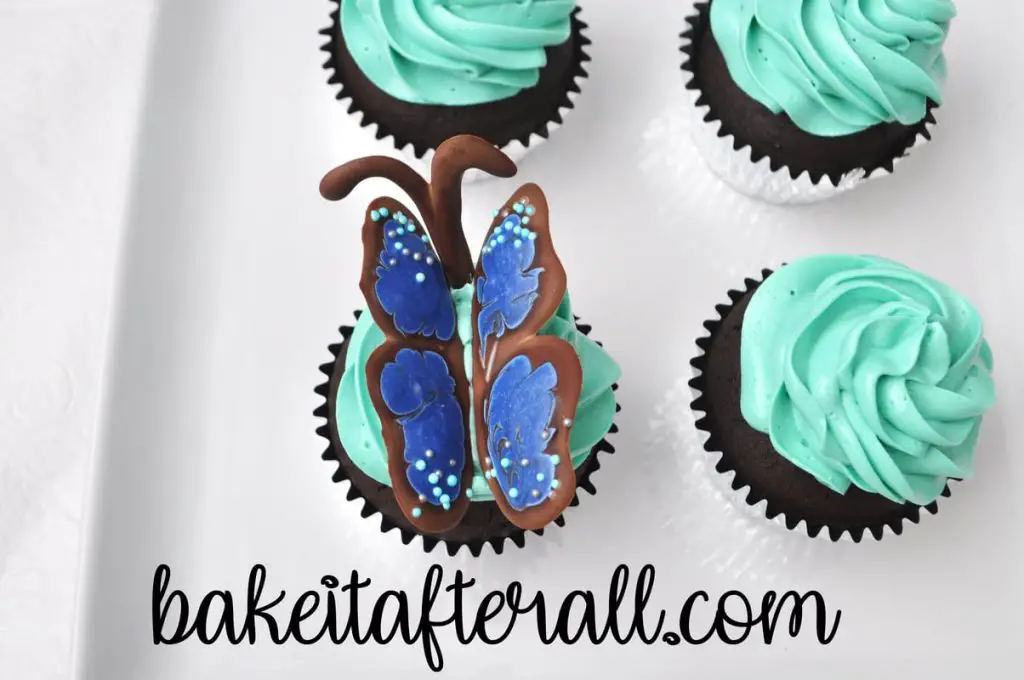
Pipe dots of chocolate frosting between the wings to represent the body of the butterfly. When I made the cupcakes for The Very Hungry Caterpillar Birthday Party, I used canned chocolate frosting. You need such a small amount, even when making a lot of cupcakes, that it wasn't worth it to me to have to make another frosting. In addition, getting the right color brown would have been another challenge. You'd almost need to make a ganache and refrigerate it until it is thick enough to pipe and hold shape.
You may use the melted chocolate for the body if you prefer. It's harder to pipe dots with melted chocolate, so a line works too.
Repeat process until all of the cupcakes are assembled.
Now you have a beautiful butterfly topper for cupcakes that can be customized to fit any color scheme!
Transporting the Cupcakes
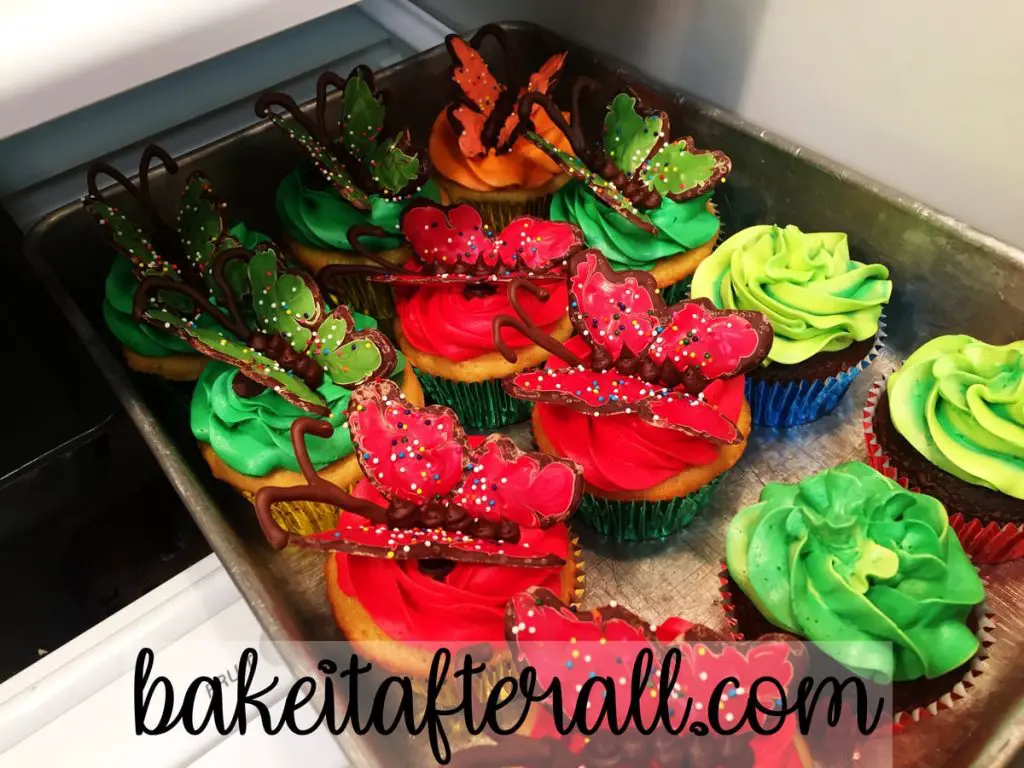
I use a cupcake carrier with 2 tiers to transport cupcakes.
In this case, that wasn't enough space for all of these plus The Very Hungry Caterpillar Cupcakes, so I had to put the cupcakes in metal cake pans as well. Disposable cupcake carriers are another option for transporting cupcakes to another location.
You can also see some of the plain green cupcakes used to make The Very Hungry Caterpillar Cupcake Cake.
Gluten Free Option
Use a gluten free cake mix or homemade cake (I recommend this gluten free chocolate cake made with Bob's Red Mill Gluten Free 1 to 1 Baking Flour).
Any buttercream recipe should be gluten free. My favorite is Easy Vanilla Buttercream. Check your packaging on your chocolate and candy melts for gluten contamination. Most brands are gluten free.
Looking for More Party Desserts and Ideas?
Check out these other posts:
Very Hungry Caterpillar Cupcake Cake
Very Hungry Caterpillar 1st Birthday Party
Rainbow Brownie Ice Cream Sandwiches
Painted Rainbow Cookies
My Little Pony Rainbow Unicorn Ice Cream Cake
Butterfly Sugar Cookies with Royal Icing
Butterfly and Dragonfly Royal Icing Cookies
Penelope Bird 1st Birthday Party
Winter ONEderland 1st Birthday Party
Under the Sea Birthday Party
Mermaid Ice Cream Cake
Daniel Tiger Birthday Party and Cake
Sesame Street Birthday Party and Cookie Monster Smash Cake
Disney’s FROZEN Birthday Party
Cinderella Birthday Cake and Party
Thomas the Train Smash Cake
📖 Recipe

Butterfly Cupcakes
Equipment
- waxed paper squares
- white cardstock or paper
- resealable gallon sized plastic bags
- pastry bag fitted with a large star tip
- toothpicks
Ingredients
- semisweet chocolate chips
- candy melts, colors of your choice
- nonpariel sprinkles
- 12 of your favorite cupcakes (see note)
- 2 batches your favorite buttercream (recommend Easy Vanilla Buttercream, see note)
- gel food coloring, colors of your choice
- chocolate frosting (store bought canned or homemade)
Instructions
Construct the Paper Wing and Antenna Templates:
- On piece of white cardstock, draw a wing shape. Cut out the wing to make a stencil.

- Trace a wing onto the cardstock using the stencil. Flip the wing shape over and trace the mirror image of the wing next to the first wing to make a pair of wings.

- Draw an antenna shape on a separate piece of cardstock.

Pipe the Butterfly Wings:
- Place a square of waxed paper on top of the wing pair template.
- Melt the chocolate by microwaving in 30-second intervals at 50% power until just melted.
- Melt the colored candy melts according to package directions.
- Transfer melted chocolate and candy melts to separate resealable plastic bags or disposable pastry bags with a corner or tip cut off.
- Pipe an outline of each wing using the chocolate.

- Fill in the center with the melted colored candy melts.

- Use a toothpick to swirl the colored portion a bit, then sprinkle with nonpareil sprinkles while still wet.

- Repeat process until you have enough wing pairs for the number of cupcakes desired, switching colors of candy melts as necessary.
- Allow all of the wings to set at room temperature.
Pipe the Butterfly Antennae:
- Place a square of waxed paper on top of the antenna template.
- Use the melted chocolate in a plastic bag or pastry bag (previously used to outline the wings) to trace an antenna on the waxed paper. Repeat for as many cupcakes as desired, making a few extras in case some break.

Assemble the Butterfly Cupcakes:
- Color buttercream as desired and pipe onto each cupcake using a large star tip.

- Place two chocolate chips, upside down, into the top of the frosted buttercream. These will serve to help hold up the wings.

- Insert the wings into the buttercream, allowing each wing to be supported by a chocolate chip.

- Insert antenna into the buttercream near the top portion of the butterfly.

- Pipe dots of chocolate frosting between the wings to represent the body of the butterfly. You may use the melted chocolate for the body if you prefer.

- Repeat process until all cupcakes are assembled.

Suey says
These cupcakes are so beautiful. What a wonderful birthday party for your daughter. Very impressive.
Meghan says
Thank you!!