
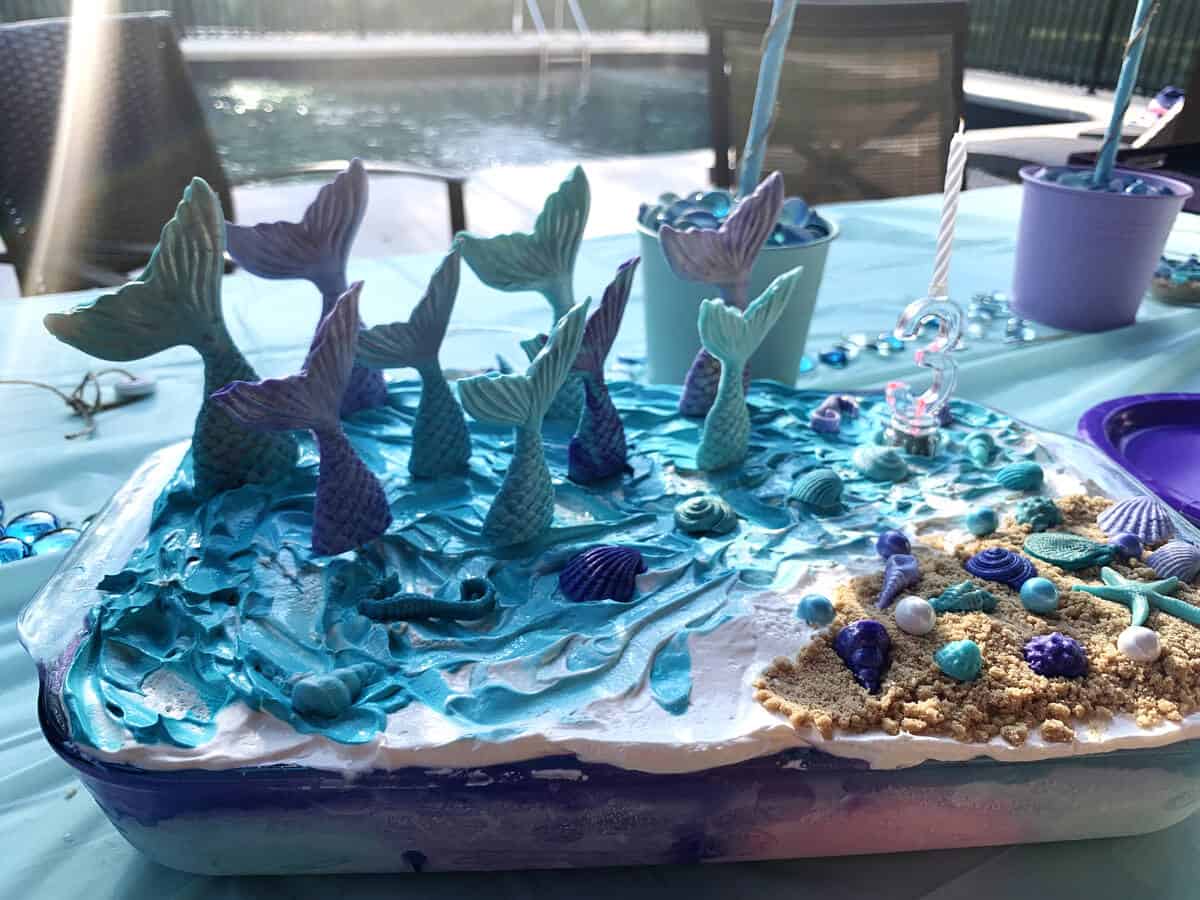
A Mermaid Ice Cream Birthday Cake featuring fondant mermaid tails and edible seashells, starfish, and seahorses. Perfect for a mermaid, beach, or ocean themed birthday party!
For my youngest daughter's 3rd birthday, we were having an outdoor pool party. She really liked mermaids, so the theme of Mermaids for her cake seemed obvious! She was begging for an ice cream cake after having it at her sisters' birthdays, and this seemed fitting with the warmer weather.
After scouring Pinterest for ocean themed birthday cakes, I came up with a design for her cake. As I've mentioned before, I love decorating ice cream cakes because the Cool Whip/whipped cream top gives a literal blank canvas for any theme or design.
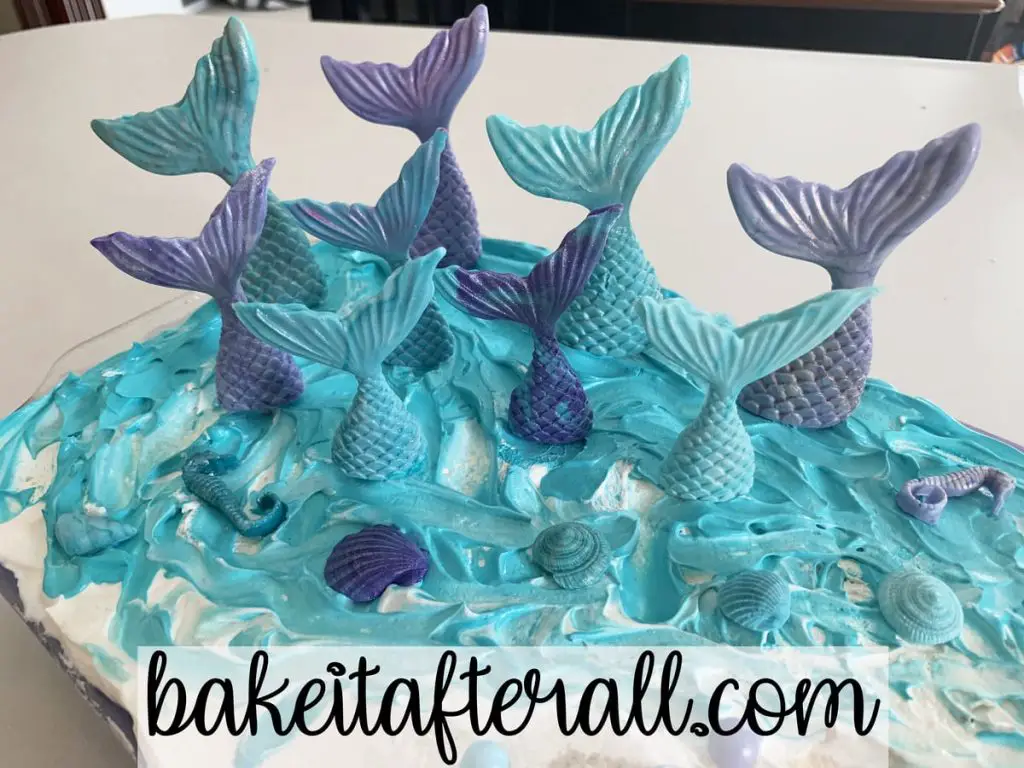
Since the theme of the party was Under the Sea, I wanted the top of the ice cream cake to be an ocean/beach scene with mermaid tails coming out of the water. The easiest way to do this was to color fondant and put it in molds. I found these adorable mermaid tail and seashell/starfish silicone molds. This allowed me to make fondant mermaid tails and fondant sea creatures and shells for a beach scene on one end of the cake.

The cake turned out so cute, and Charlotte was thrilled with the result!
LOOKING FOR MORE OCEAN THEMED DESSERTS? Check out these Oyster Pearl Cookies and Starfish Cookies!
Jump to:
- Edible Seashells and Fondant Sea Creatures
- How to Make Fondant Seashells
- How to Make Fondant Starfish
- How to Make Fondant Seahorses
- How to Make a Mermaid Tails Out of Fondant or Gum Paste
- Ice Cream Cake Assembly
- No Bake Crust
- Color the Ice Cream
- Make the Hot Fudge Sauce
- Color the Cool Whip
- Decorating the Mermaid Cake and Beach Scene
- Gluten Free Option
- Looking for More Under the Sea Party Ideas?
- Looking for More Party Ideas?
- 📖 Recipe
Edible Seashells and Fondant Sea Creatures
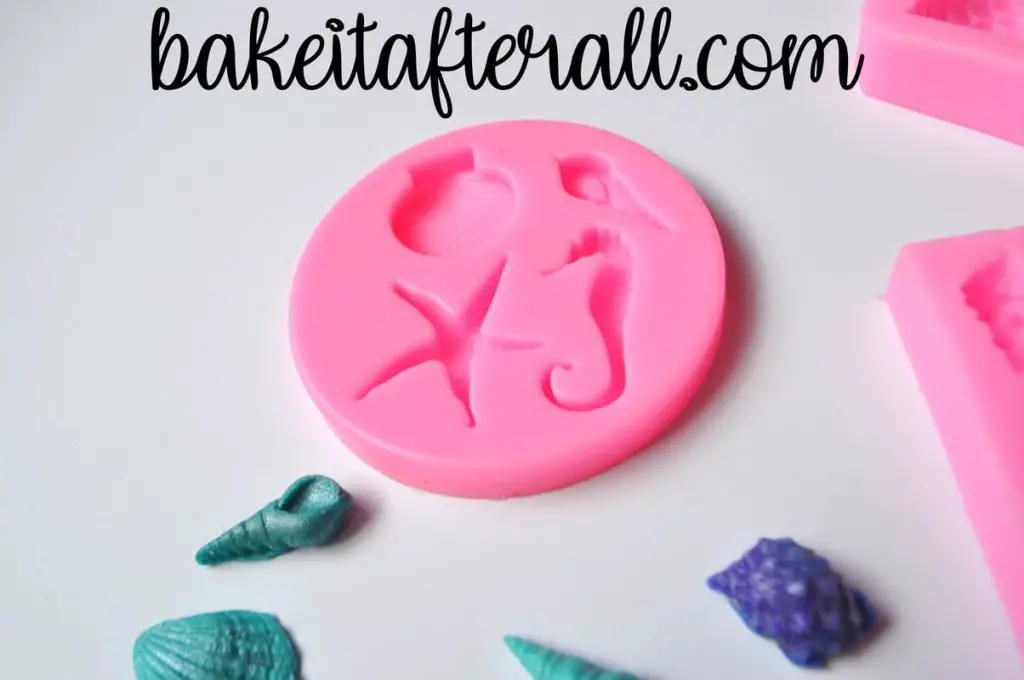
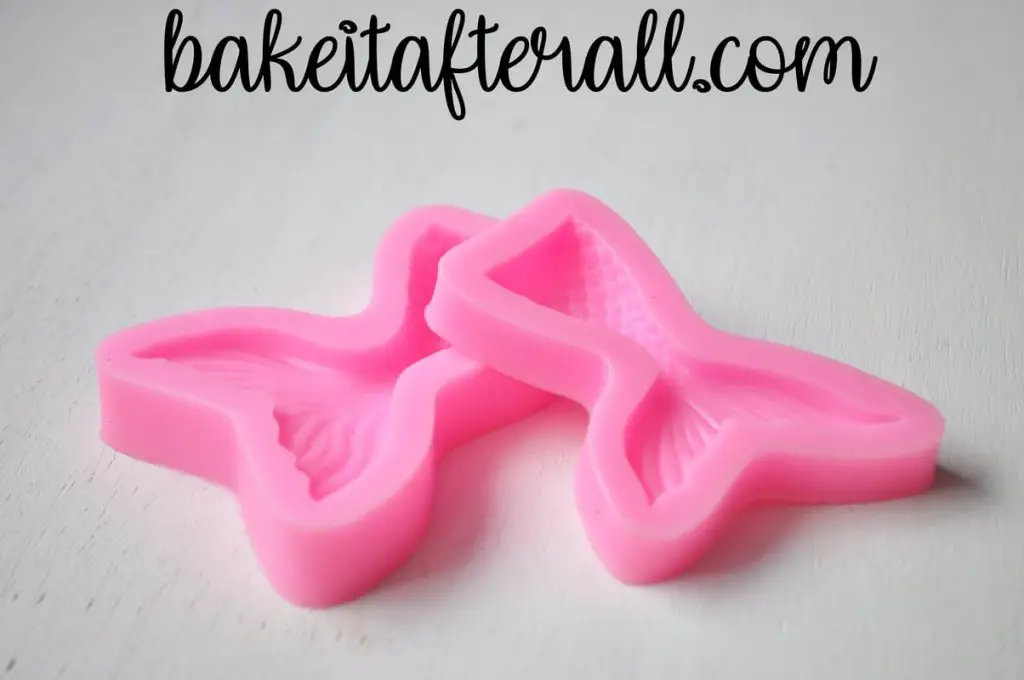
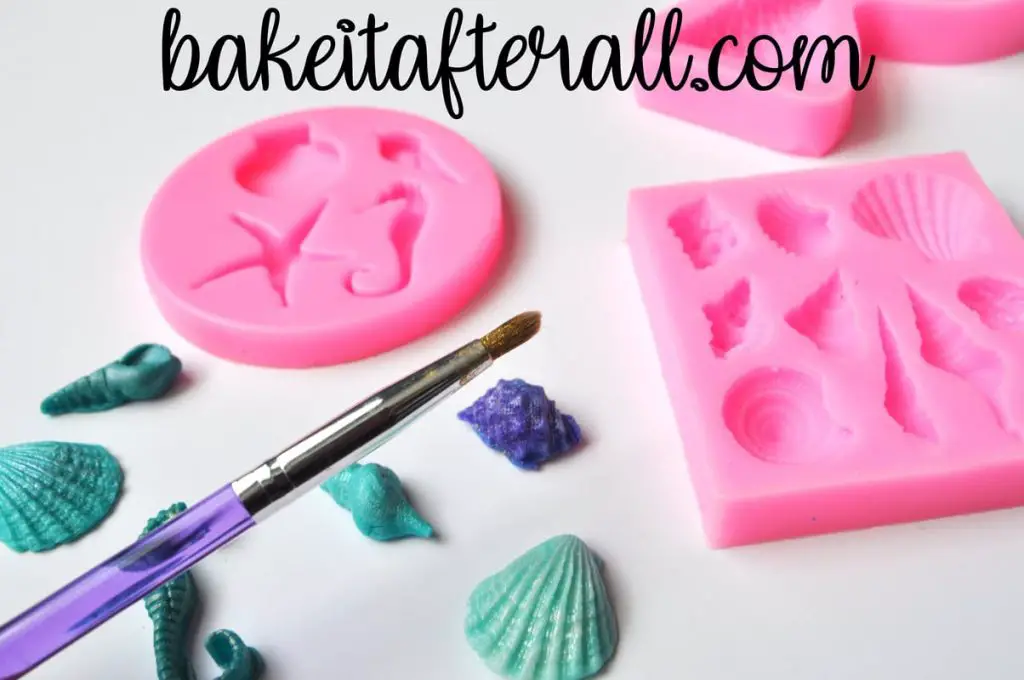
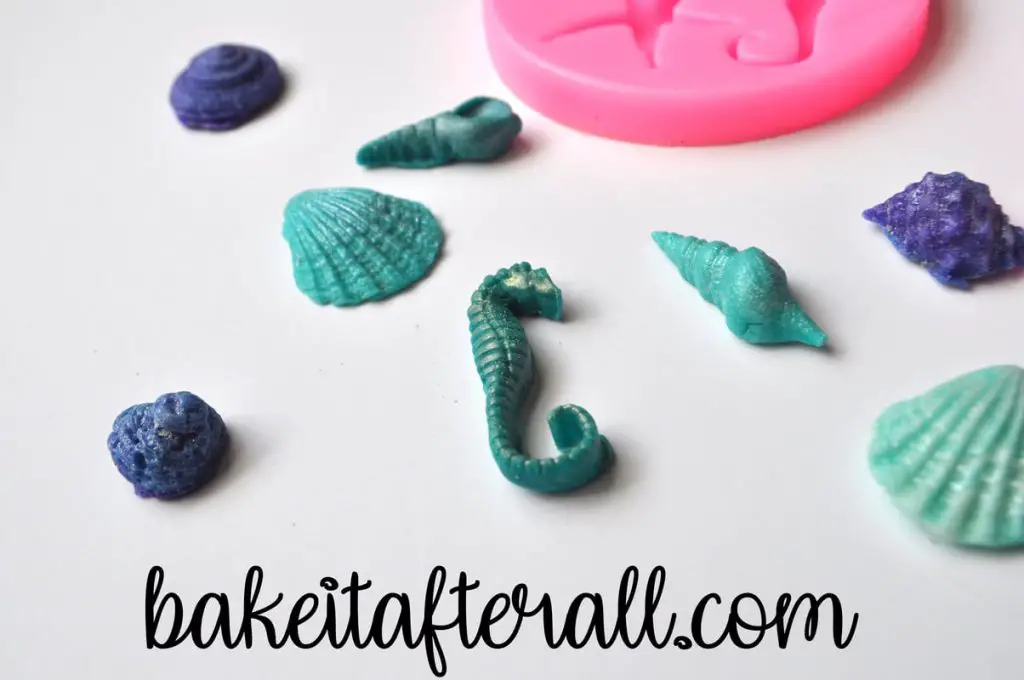
To make the edible seashells and sea creatures, I ordered silicone molds of ocean shapes and mermaid tails. They are perfect for any Under the Sea cake decorating. The exact one I ordered is no longer available, but it looks very similar to this one or this one.
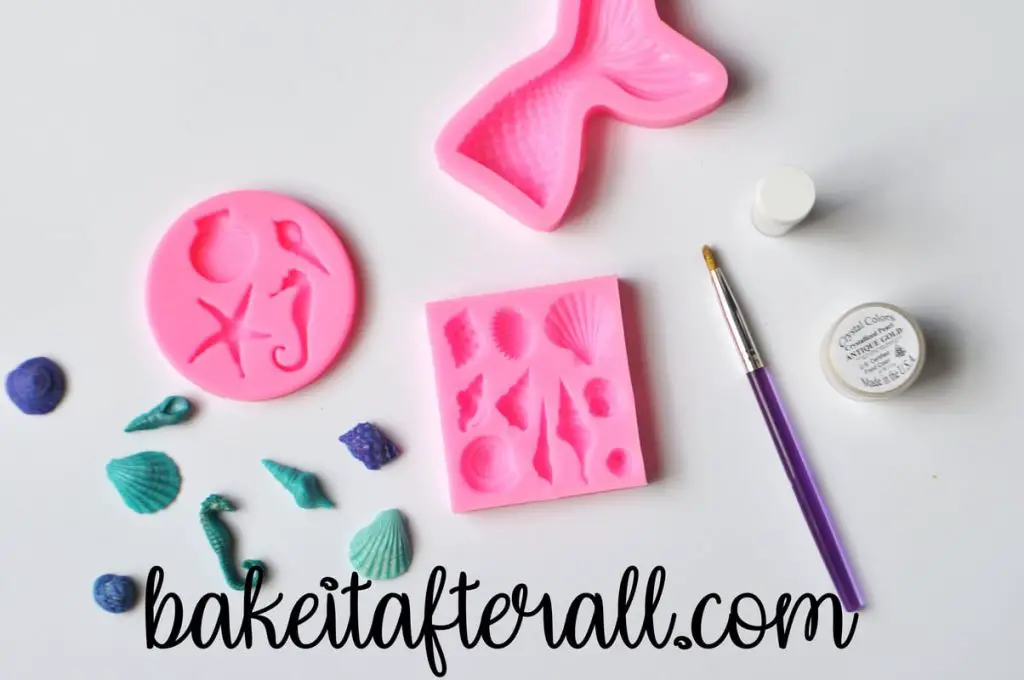
You can use candy melts, fondant, or gum paste with these molds. I first tried using candy melts, and I had some problems. When I unmolded the chocolate shapes, there were bubbles and areas of the mold that were not filled with the candy so it did not take on that part of the design. I was frustrated with the candy melts, so I turned to fondant.
How to Make Fondant Seashells
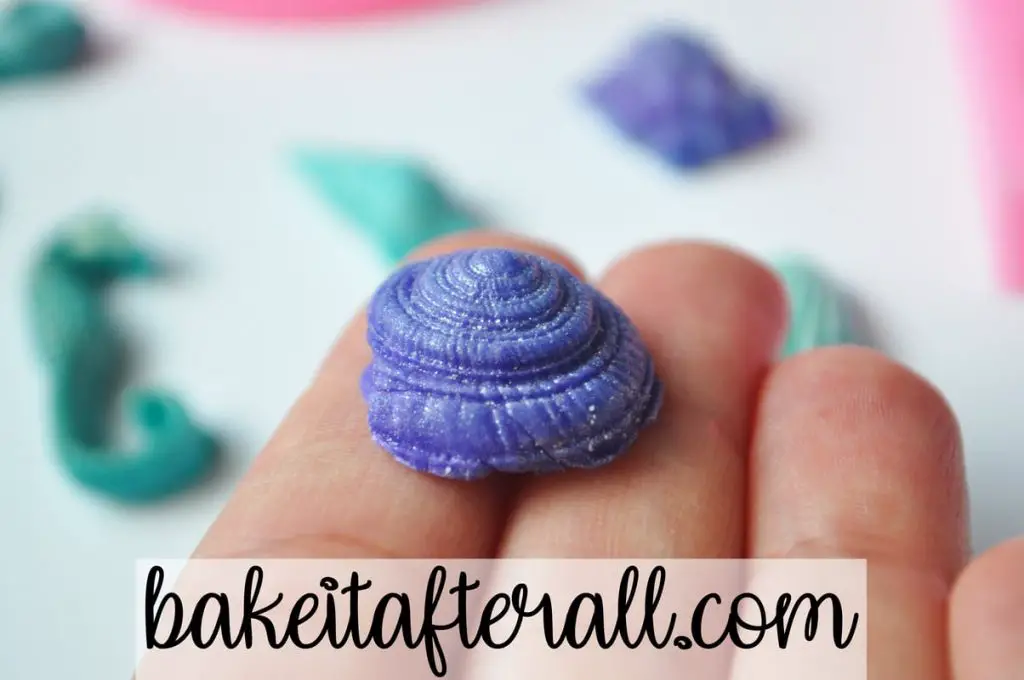
These came out SO cute! I was really happy with them. I colored white fondant with food coloring gel and then put it into the molds. It's just like putting Play Doh or silly putty into a mold.
The easiest way to color the fondant in small batches is to add a little bit of food coloring gel directly to the fondant and roll it around in your hands to mix completely. You can use a toothpick to just transfer a small amount of food gel to the fondant. I always wear food grade disposable food prep gloves when I do this to avoid getting food coloring all over my hands.
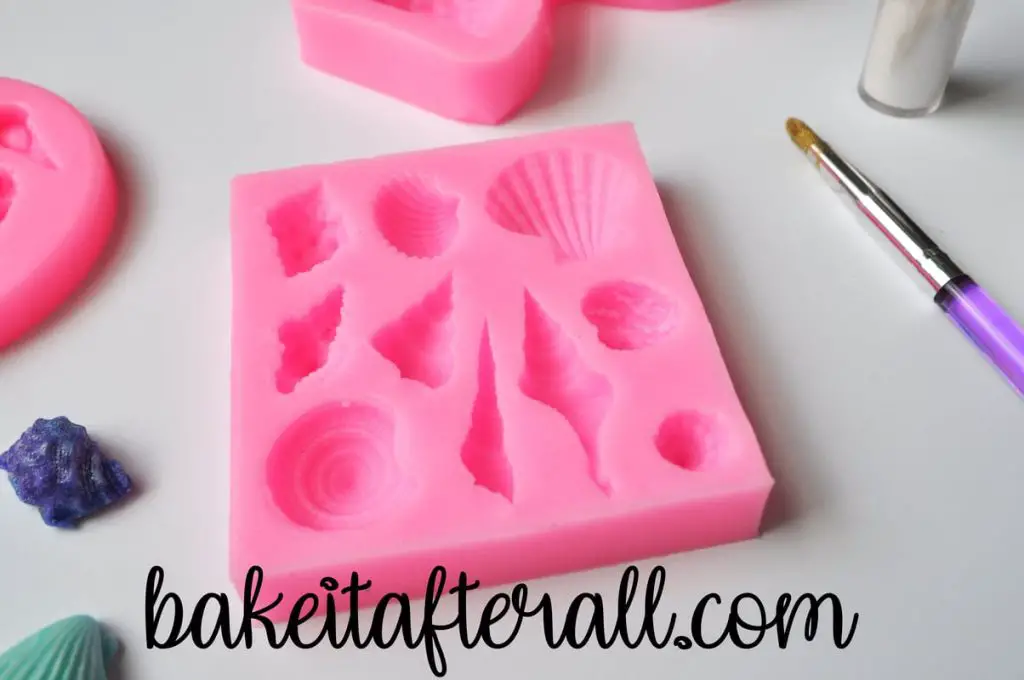
To make the shapes, I found the best method was to squish it in, then place the mold in the freezer for a few minutes. This way, the fondant hardened a bit so that it popped out of the mold really easily. Sometimes fondant can get really soft, especially when it's warmed in your hands, so the cold helps it become stiffer and it won't stick to the mold as easily.
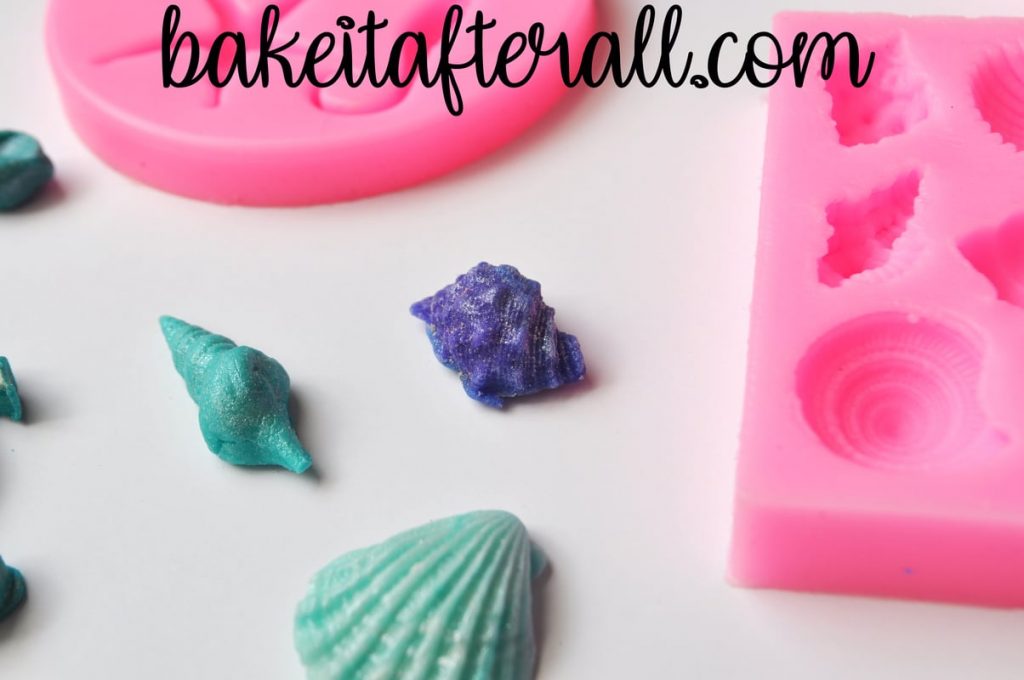
The only downfall of this it that it makes the process of making a bunch of mermaid tails and shells take longer. I just got into a routine of adding fondant to one of the molds and putting it into the freezer, then filling up another mold with fondant while the other mold was chilling, and so on. As soon as I popped the shapes out of the silicone mold, I placed them on a baking sheet lined with waxed paper to harden. You're just going to let them sit out at room temperature to dry out. They will become hard eventually.
Once they are dry, you can apply dry luster dust with a paintbrush to give them a little sparkle.
How to Make Fondant Starfish
Making the fondant starfish takes a little more practice because of the delicate points of the star. I used the same method for squishing the fondant into the mold, but I took tiny pieces of fondant and rolled them with both hands like you would to make Play Doh snakes. I squished those pieces into the points of the starfish.
The freezer method was very important for the starfish because the fondant was warm after being rolled and needed the cool air of the freezer to set up before being popped out of the mold.
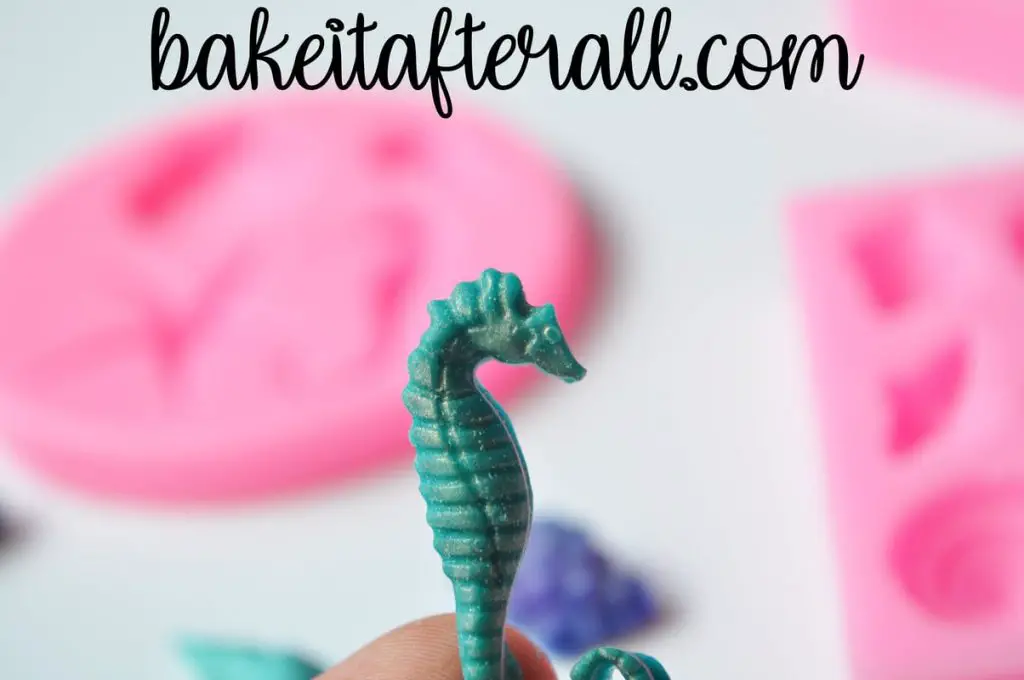
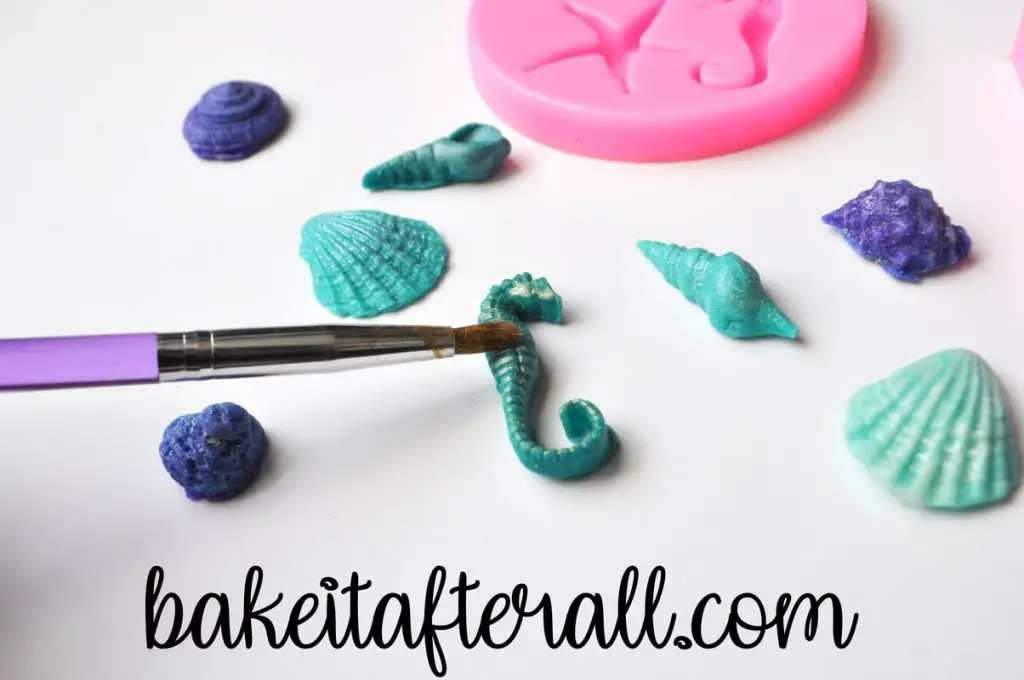
How to Make Fondant Seahorses
The fondant seahorses were made using the same technique as the shells. Roll the fondant in your hands to warm it and make it more pliable, then squish it into the mold. You'll really want to press it down to make sure it takes on the full shape and details of the seahorse. This same method works for gum paste seahorses as well. The gum paste will harden quicker than fondant, but both will look the same.
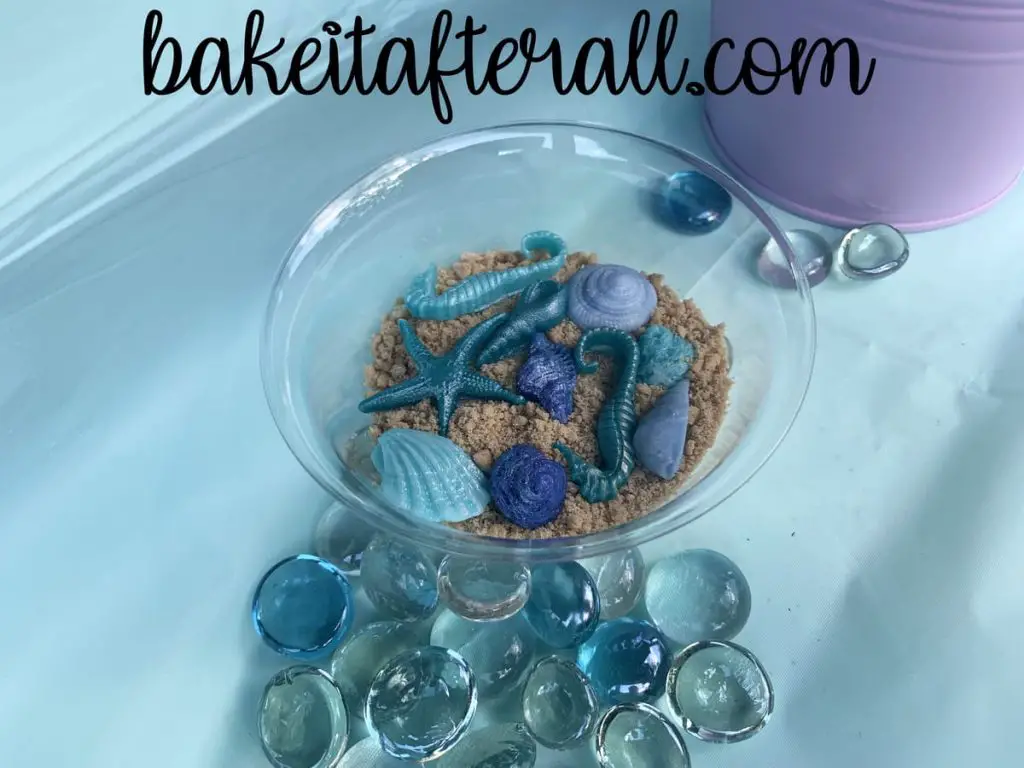
I put the extra fondant decorations in bowls of crushed graham crackers to put on the tables as centerpieces.
How to Make a Mermaid Tails Out of Fondant or Gum Paste
I made the mermaid tails out of fondant as well. I tried using the candy melts and had the same problem as with the shells, where bubbles formed and the candy did not take on all of the details of the design. The fondant mermaid tails turned out so much better with nice, crisp design details.
My only problem with the fondant is that it can take a long time to harden with certain shapes. The fondant mermaid tails took longer to harden than the shells because of how thick they are. If I had to do it over, I would make gum paste mermaid tails because gum paste hardens more quickly than fondant. Both fondant and gum paste behave the same before they harden, so the results will look the same.
If you're using fondant, I recommend making the mermaid tails several days in advance if you'd like them to stand up. Even letting mine sit out a few days they were still a little soft and I worried about them bending or falling over. For the shells and starfish that I just placed on the cake, they didn't need to be that hard, but it was not a problem making them in advance.
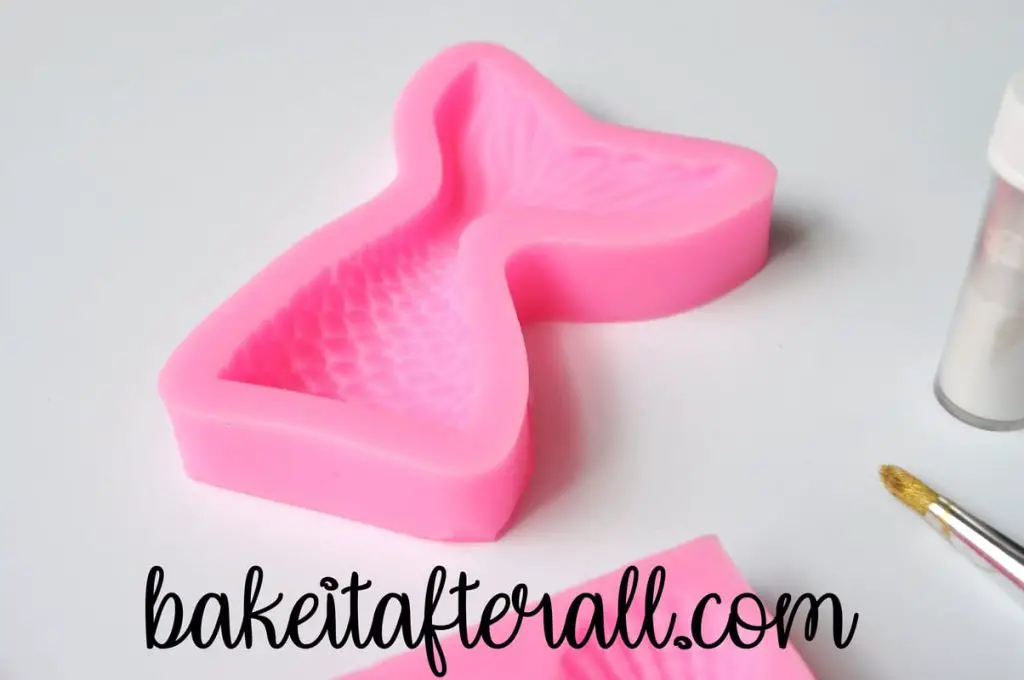
The method for making the mermaid tails is similar to the other shapes. First, color the fondant with food coloring gel and work it in your hands to soften it. Press it into the mold making sure to squish it down and in every crevice. Place the mold in the freezer for a few minutes, then unmold the tail.
I made small and large tails with my two sizes of molds. After the tail is unmolded, carefully insert a toothpick into the bottom (the flat part). Keep the toothpick in while the tails dry on a waxed paper lined baking sheet at room temperature for several days. This will will allow you to stick the tails down into the cake and have more support.
Adding Shimmer Dust to Fondant Decorations
Once the shapes started to harden, I used a food grade paintbrush to apply edible shimmer dust and luster dust to the surface of the mermaid tails and shells/starfish/seahorses. This made them really sparkle and look nice and iridescent.
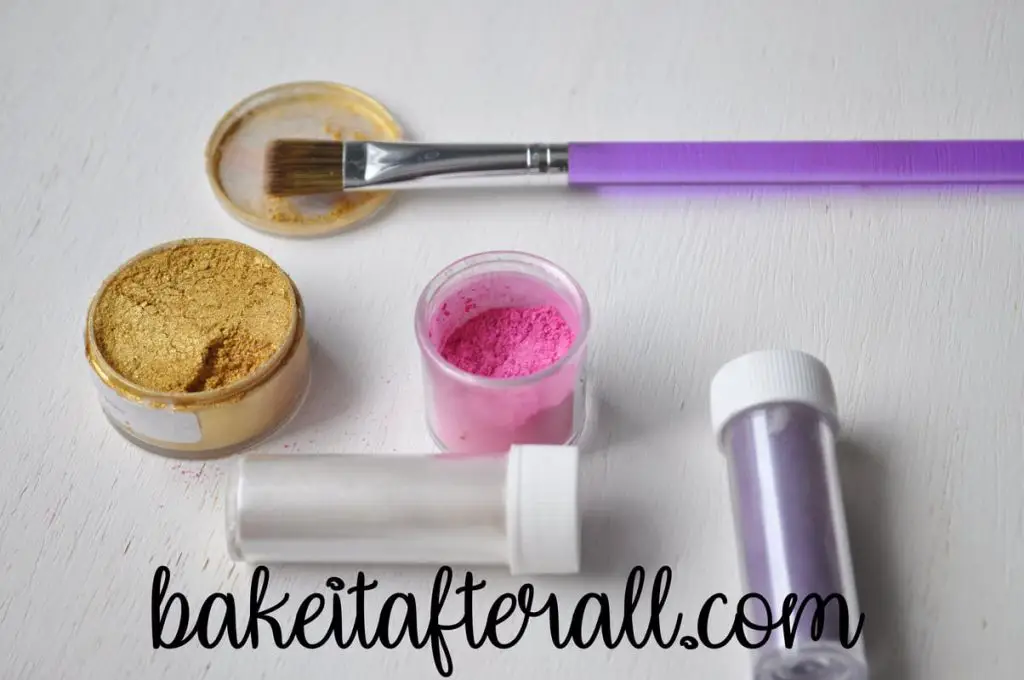
You can use any kind of gold or colored luster dust.
Ice Cream Cake Assembly
The nice thing about an ice cream cake is that you can make it several days in advance if you have the freezer space. I generally don't decorate the top until the night before, and some items I don't place on top until right before serving the ice cream cake.
No Bake Crust
For the Mermaid Ice Cream Cake, I used my typical no bake Oreo crust. It's simply crushed Oreo cookies (or gluten free chocolate sandwich cookies) mixed with sugar and melted butter. It's pressed into a 9x13-inch pan and frozen for 15 minutes to set.
If you prefer a brownie crust, try the recipe from my Brownie Peppermint Ice Cream Cake, or for a chocolate chip cookie cake crust, try this Chocolate Chip Cookie Ice Cream Cake!
Color the Ice Cream
Rather than using chocolate and vanilla ice cream like in my Dairy Queen Copycat Homemade Ice Cream Cake, when I color the inside of the ice cream cake, I use all vanilla ice cream.
For this mermaid theme, I chose to color the inside blue, purple, and pink. I started with softened ice cream and divided it into 3 bowls. I added gel food coloring to each bowl and mixed the ice cream well with a small silicone spatula. Then I added the colors on top of the crust, alternating their location.
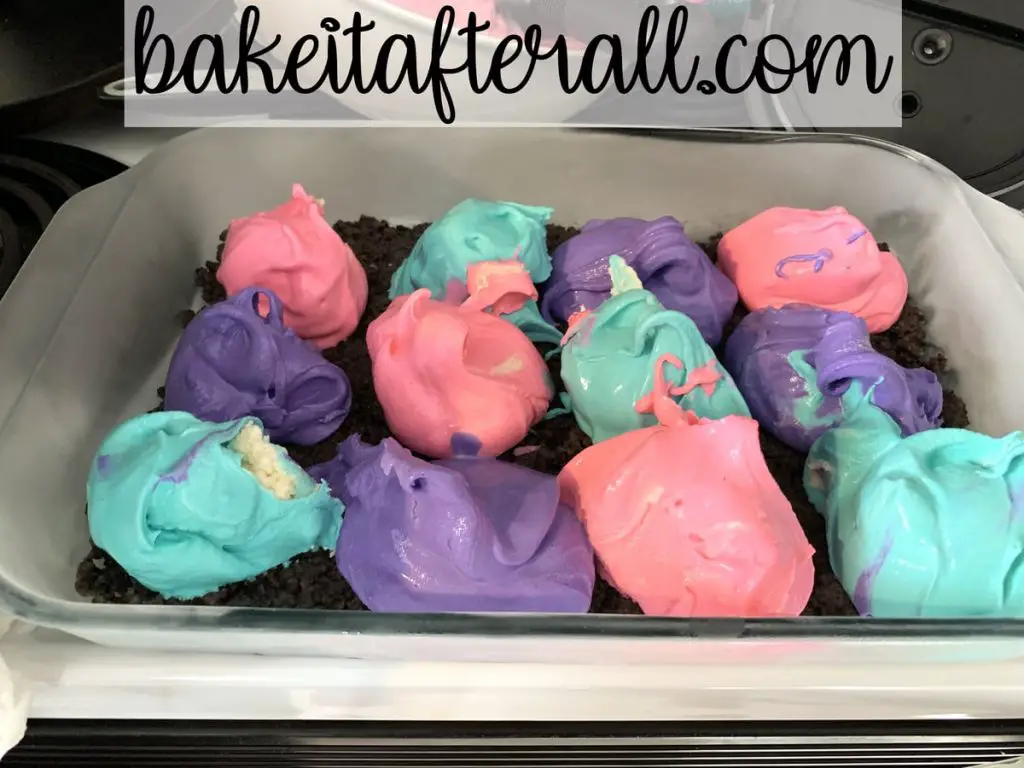
Next, I smoothed them together to make an even layer and frozen the cake for at least 3 hours to set the ice cream. Meanwhile, I made the hot fudge sauce.
Make the Hot Fudge Sauce
This is a simple hot fudge sauce that stays soft even when frozen. It is perfect for ice cream cakes!
The ingredients are boiled together for 8 minutes. Off heat, the vanilla extract is stirred in and the sauce is set aside to cool. Once the fudge reaches room temperature, it can be spread over the ice cream layer of the cake. The cake is then frozen until firm.
Color the Cool Whip
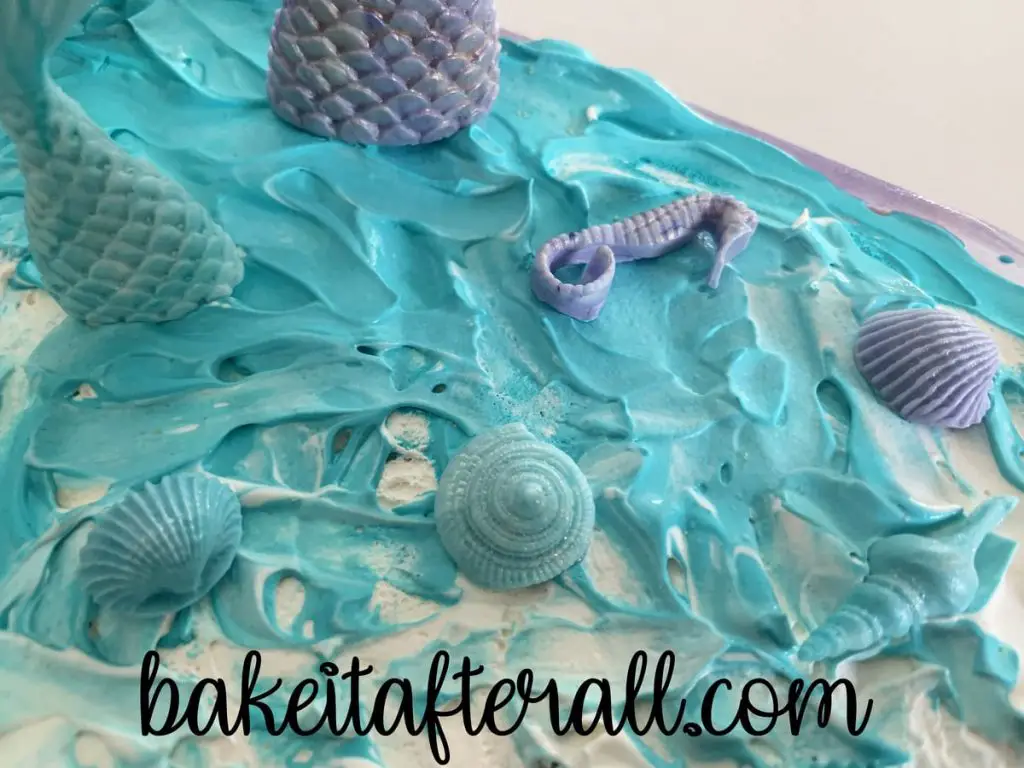
For the topping, I added an even layer of Cool Whip whipped topping. You can use whipped cream if you prefer, but I like knowing that Cool Whip is stabilized and won't break down or start running. After adding a thin base layer, I put a small amount of Cool Whip in a bowl and colored it bright blue, then I added it to the "ocean" side of the cake and sort of swirled it into the white as I got closer to the shore to give the effect of the water becoming shallow.
After adding the topping, I placed the cake in the freezer until just before I was going to serve it. I did not want to add the graham cracker crumbs or fondant decorations in advance to prevent the crumbs from getting soft or the fondant from bleeding into the whipped topping.
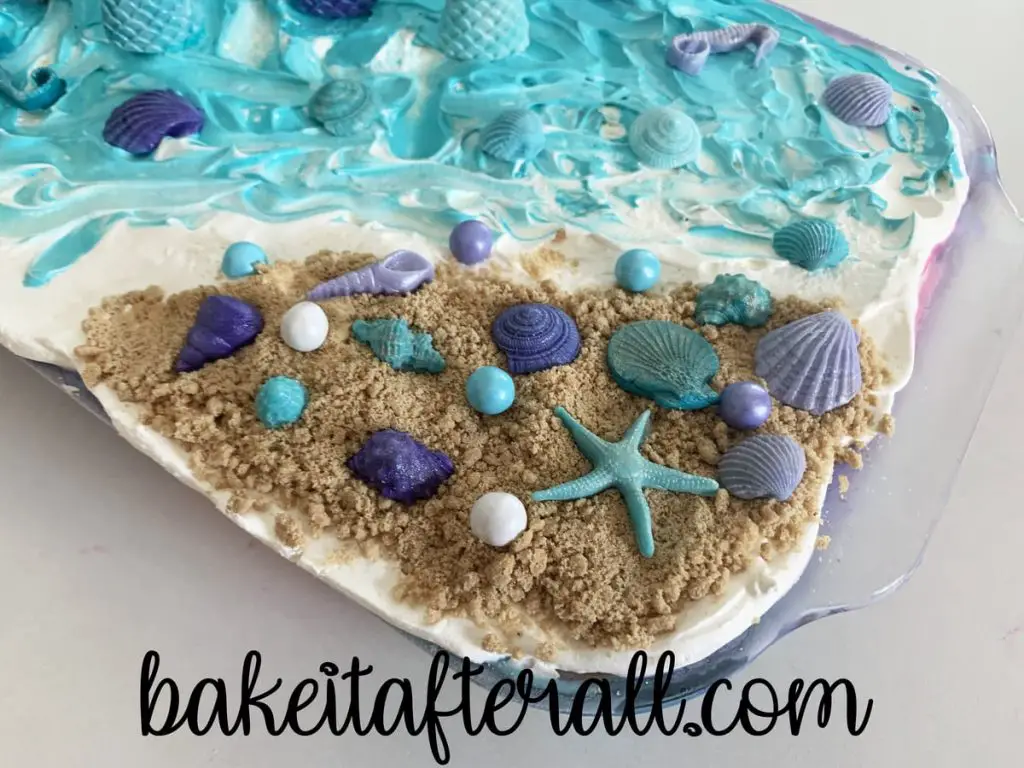
Decorating the Mermaid Cake and Beach Scene
I wanted "sand" on the shore of the beach scene, so I ground up some graham crackers (you can use traditional honey graham crackers or gluten free graham crackers).
Right before serving the cake, I put on the graham cracker crumbs and topped with the fondant starfish and shells. I also had some pearlized Sixlets candies left from making the Oyster Pearl Cookies that I put in the "sand."
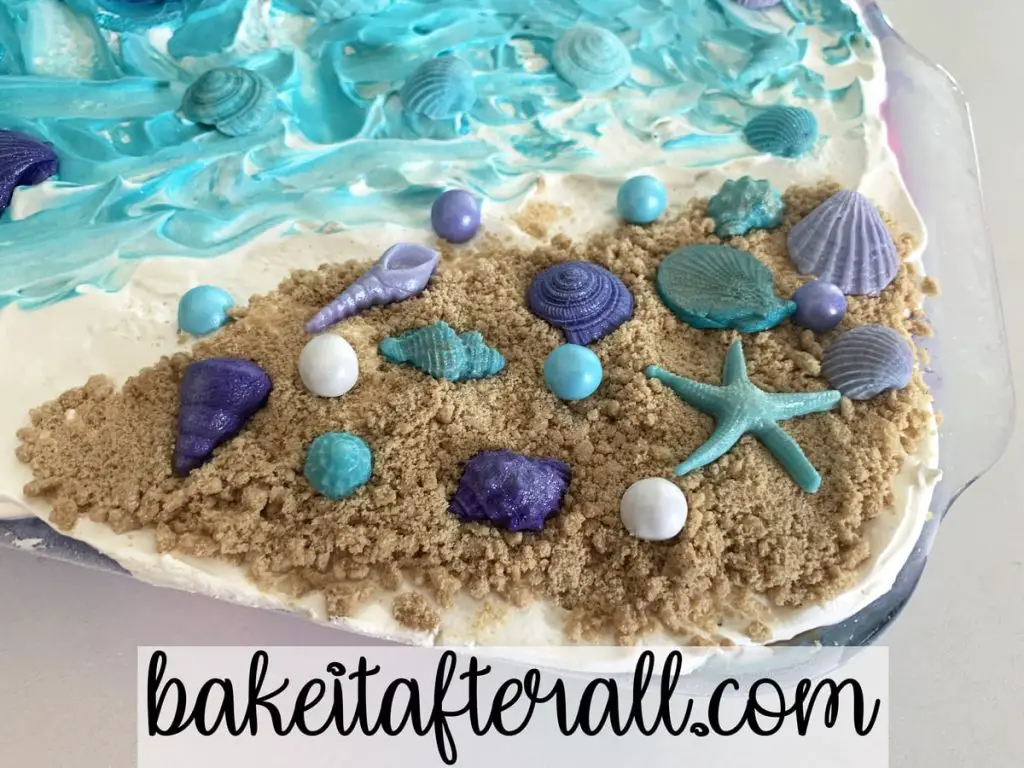
In the blue "ocean," I added some of the seahorses and shells and inserted the fondant mermaid tail toothpicks.
I had made so many of those molded fondant shapes that I may have gone a little overboard with decorating the cake with them. But for a 3 year old, is there really such a thing as overboard?!
Gluten Free Option
Use gluten free chocolate sandwich cookies, such as Glutino, in place of Oreos for an entirely gluten free dessert. Also consider using a brownie crust that can be made gluten free.
Looking for More Under the Sea Party Ideas?
Check out these ideas for an ocean or mermaid themed party:
Under the Sea Birthday Party
Oyster Pearl Cookies
Starfish Cookies
Looking for More Party Ideas?
Check out these other party ideas:
Very Hungry Caterpillar Birthday Party
Daniel Tiger Birthday Cake and Party
Sesame Street Birthday Party
My Little Pony Rainbow Unicorn Ice Cream Cake
FROZEN Birthday Cake and Party
Cinderella Birthday Cake and Party
Tea Party Ideas for Kids
Penelope Bird Birthday Party
Winter Wonderland Birthday Party
Chocolate Chip Cookie Ice Cream Sandwiches
These Rainbow Brownie Ice Cream Sandwiches and Painted Rainbow Cookies were just for fun but would be perfect for a Rainbow Birthday Party!
📖 Recipe

Mermaid Ice Cream Birthday Cake
Equipment
- 9x13-inch glass dish or metal pan
- silicone molds for mermaid tails and ocean shapes
- toothpicks
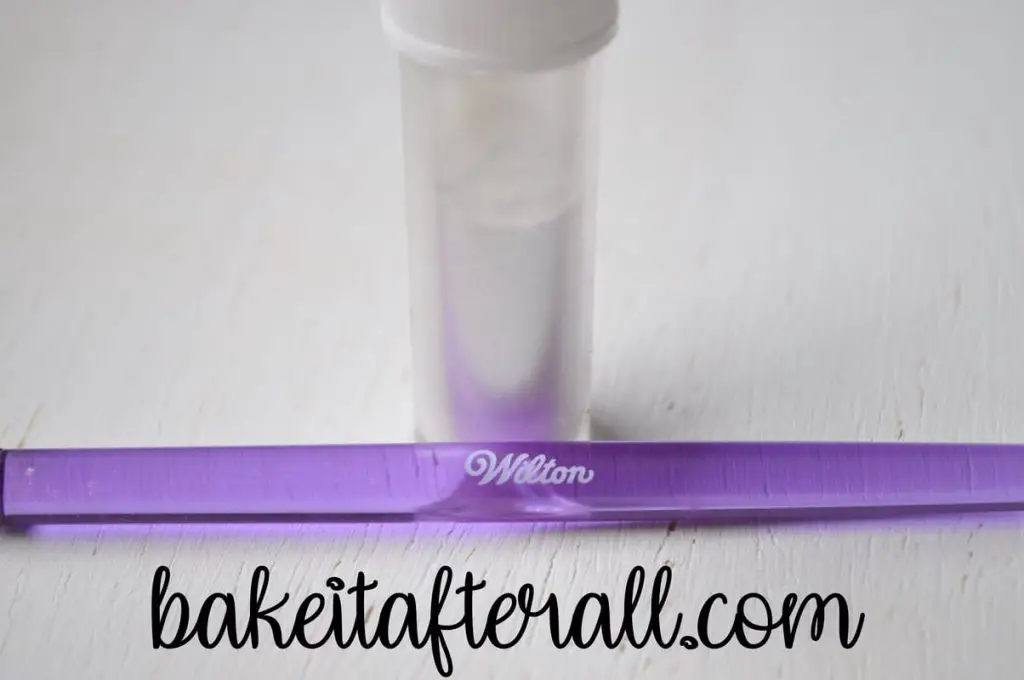
- food grade paintbrushes, paint palette
Ingredients
For the Fondant Mermaid Tails and Ocean Shapes:
- white fondant or gum paste
- Food coloring gel
For the Crust:
- 2 ½ cups crushed chocolate sandwich cookies (such as Oreos)
- ½ cup melted butter (1 stick )
- ½ cup granulated sugar
For the Ice Cream:
- 1-1 ½ gallons vanilla ice cream, softened (depending on the depth of the pan)
- Food coloring gel (if desired)
For the Hot Fudge:
- 2 cups powdered sugar
- ⅔ cups semisweet chocolate chips
- 12 ounce can evaporated milk
- 8 tablespoons butter (1 stick)
- 1 teaspoon vanilla extract
For the Topping:
- 8 ounces of Cool Whip (thawed per package directions)
- Food coloring gel
For the Decorations:
- graham crackers (crushed to crumbs)
- pearlized Sixlets candies
Instructions
Make the Fondant Mermaid Tails and Ocean Shapes:
- Tint the white fondant or gum paste with food coloring gel as desired. Press fondant into silicone molds. Slip molds into freezer for several minutes before removing the shapes from the molds.
- Set shapes aside to dry out at room temperature. For the mermaid tails, insert a toothpick into the flat bottom before allowing them to dry so they will stick into the cake better.
- When shapes have dried, brush with luster dust using a food grade paintbrush, if desired.
Make the Crust:
- Combine 2 cups crushed cookies with melted butter and sugar.
- Press into a 9x13-inch pan. Freeze for 15 minutes.
Color the Ice Cream:
- Divide ice cream into 3 medium bowls. Color as desired.
- Scoop alternate colors on top of crust until all ice cream has been scooped. Carefully spread the ice cream evenly, smoothing the surface with a silicone spatula. Freeze for 3 hours.
Make the Hot Fudge:
- Combine the powdered sugar, chocolate chips, evaporated milk, and butter in a saucepan and bring to a boil for 8 minutes, stirring frequently. Remove from heat and stir in the vanilla. Cool to room temperature.
- Spoon the fudge sauce on top of the ice cream layer and smooth with a silicone spatula. Freeze until firm.
Add the Topping:
- Spread a layer of Cool Whip across the surface of the cake.
- Place a portion of the Cool Whip in a small bowl. Gently fold in blue or teal food coloring gel. Spread the colored Cool Whip on one corner of the cake and swirl it into the white toward the corner diagonal to the colored Cool Whip.
- Carefully spread the two sides until the meet in the middle and then swirl them together to create the illusion of waves.
Decorate the Cake:
- Immediately before serving, add some graham cracker crumbs in one corner (on top of the white Cool Whip) to represent the sand on the beach.
- Place fondant seashells and starfish as well as Sixlets on the crumbs. Arrange the seahorses in the water at the shore. Insert mermaid tails in the deeper part of the ocean.

Leave a Reply