
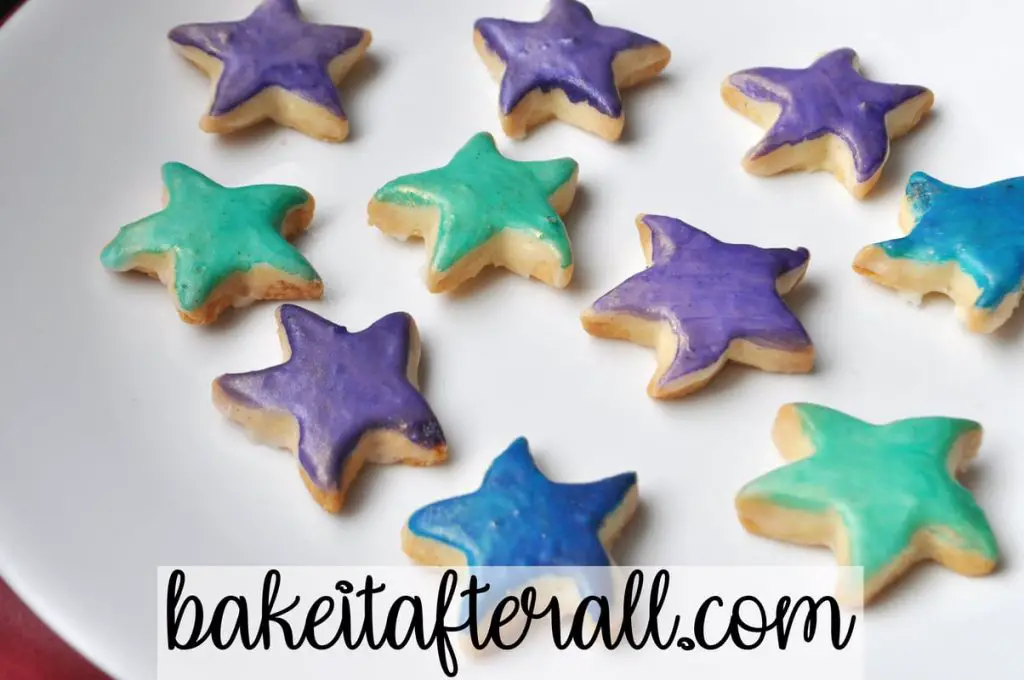
These easy Starfish Cookies are mini shortbread cookies iced with a simple egg free icing and hand painted with food coloring edible paint. They are perfect for a beach or ocean themed birthday party!

When I was making some Iced Vanilla Shortbread Cookies in the shape of stars, I overheard my middle daughter's virtual art teacher talking about seascapes. She was listing off the sea creatures they could include: fish, crabs, seashorses, starfish . . . As she said "starfish," I was picking up a star shaped piece of dough and realized that the points of the star were started to droop over and look like a starfish!
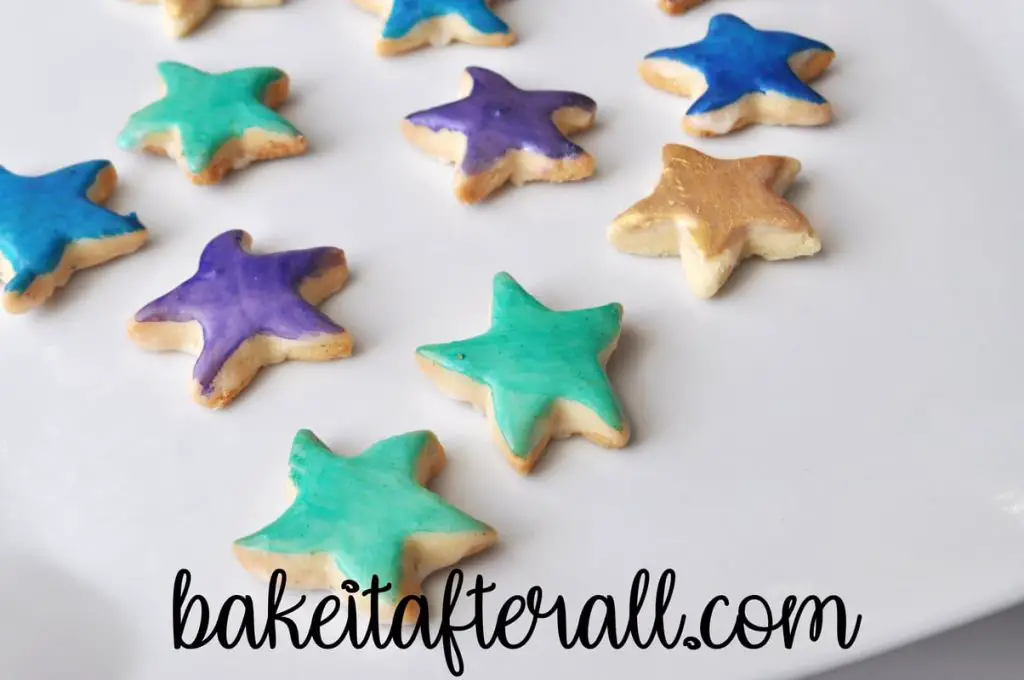
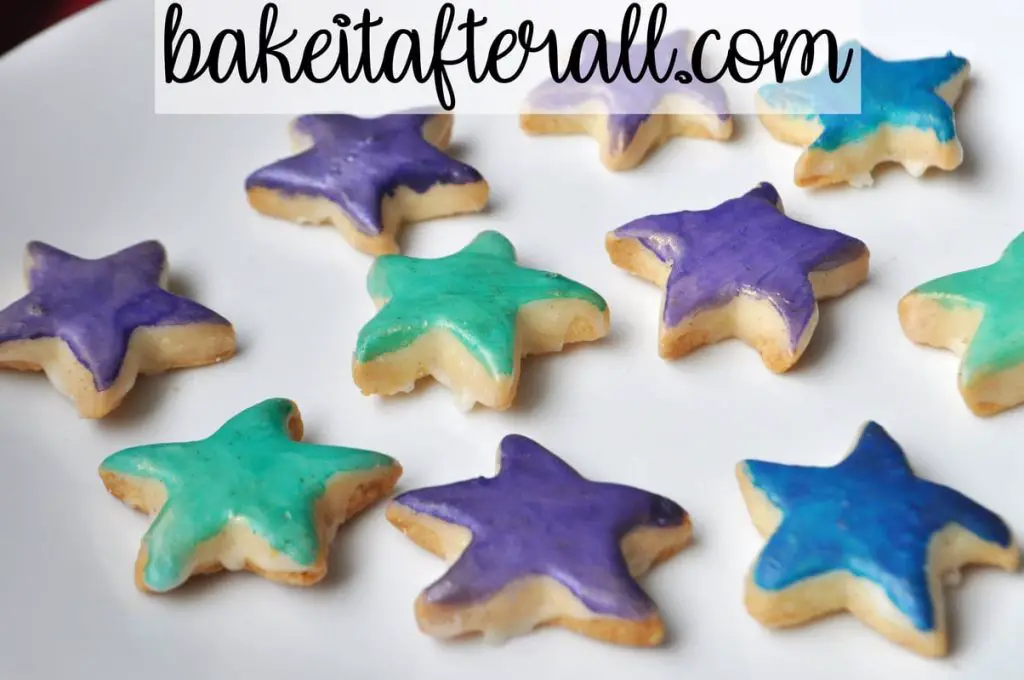
I decided to make a portion of the batch in starfish shapes. After icing them with the simple icing, I painted them with ocean themed colors: blue, purple, and teal. These cookies would have been perfect for my youngest's Under the Sea Birthday Party! I made these at the same time as the Painted Watercolor Cookies and Painted Rainbow Cookies. They were so much fun to make!
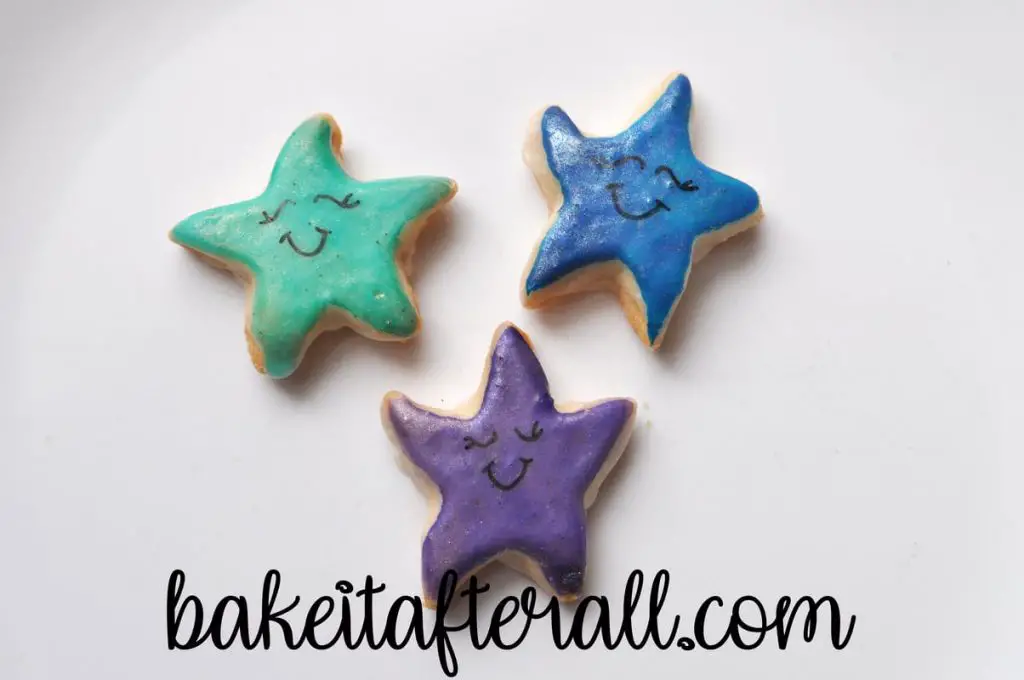
After the food color "paint" dries, I played around with adding luster dust and also little faces to the starfish. My girls really loved these cookies! It's amazing how a cookie smiling at you can immediately make you smile back!
Jump to:
Make the Starfish Shaped Cookies
First you'll need to decide what kind of cookie base you want to use. I prefer using a shortbread cookie as the base because they have less sugar than traditional roll out sugar cookies which helps balance the sweetness of the icing. The shortbread cookies do not contain eggs, so this is a good choice if you have any allergy concerns. Any roll out shortbread or sugar cookie dough recipe will work!
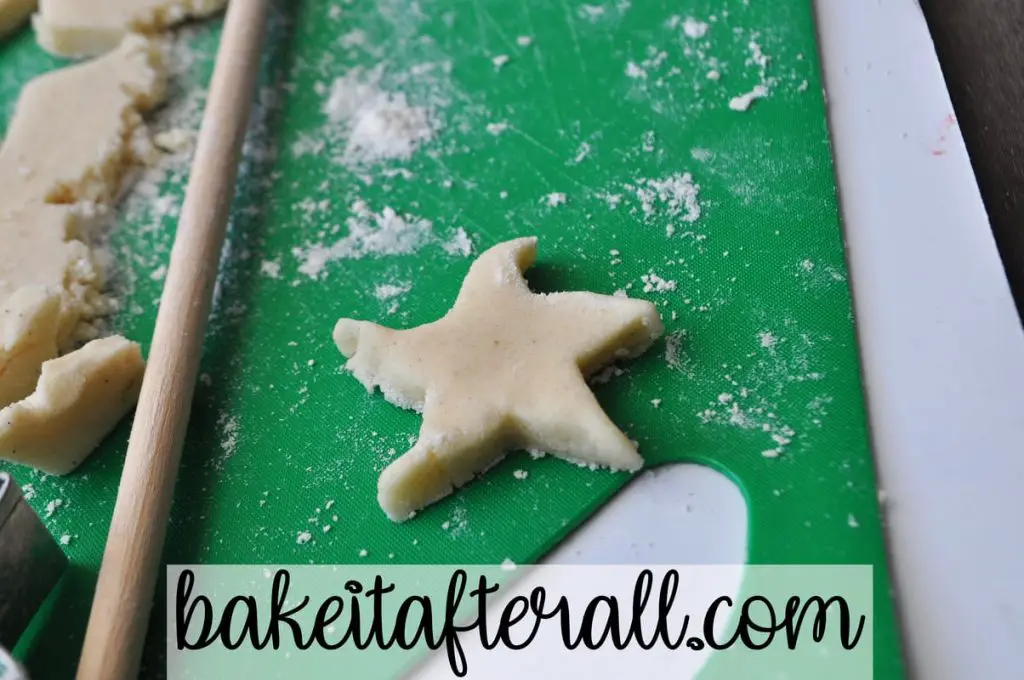
Roll the dough to ¼-inch thick. I use wooden dowel rods as rolling pin guides to help ensure even thickness. You can also a rolling pin with guides instead of the dowel rods. Once rolled, use a small star cookie cutter to cut star shapes in the dough. I recommend approximately a 1-inch in diameter cutter, but you can make them larger if you prefer.
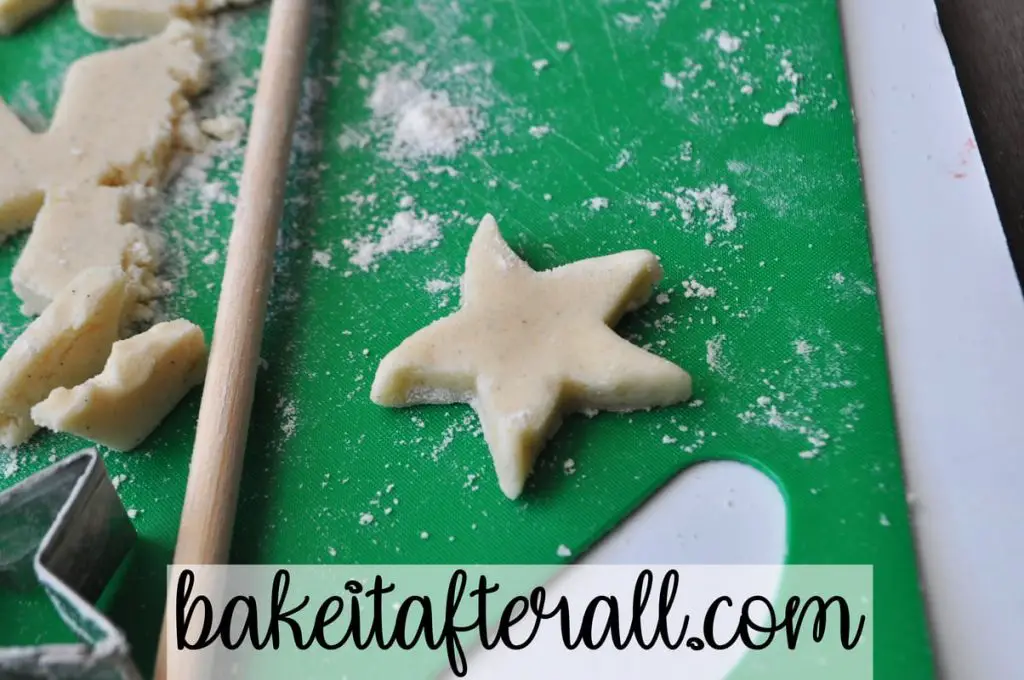
After you've cut the star shapes, you'll just use your fingers to shape the points of the star to look like a starfish by bending them over a little bit in different directions to give the illusion of movement.
The cookies should be baked according to your recipe's instructions. After the cookies have baked and cooled completely, they are ready to be iced. I use a simple powdered sugar icing that I apply by dipping the surface of each cookie. You can use a pastry brush to apply the icing if you prefer that method. If you want to use royal icing instead of this easier icing, that would work, but I wanted to avoid piping. I also like that this easy icing is egg free!
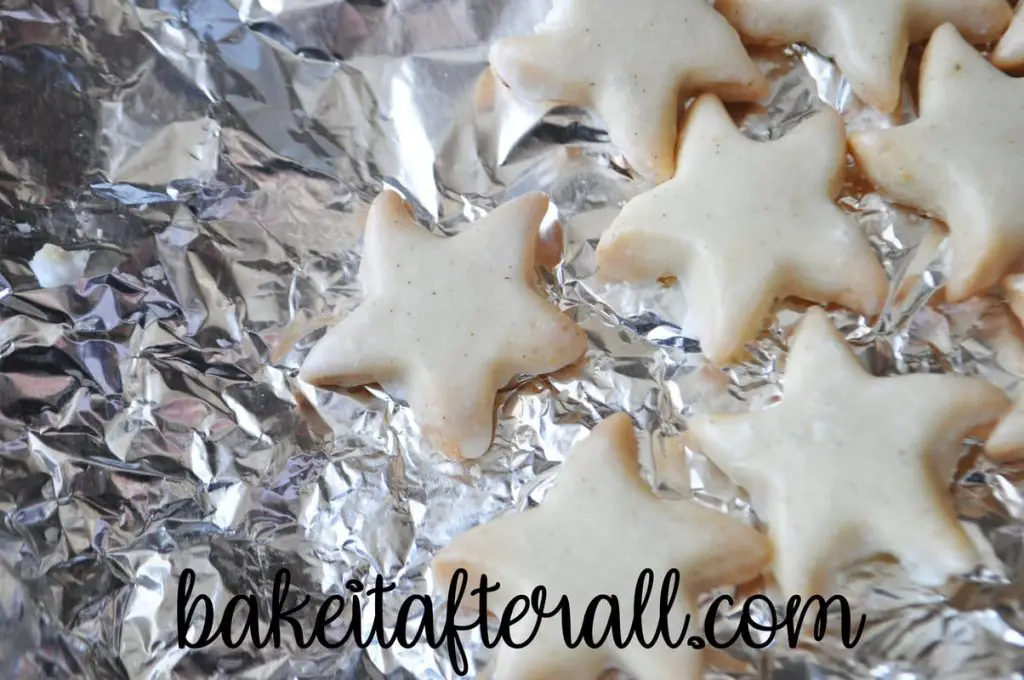
I have details for how to dip the cookies in the icing in my post on Iced Vanilla Shortbread Cookies. I recommend using a toothpick to pop any bubbles on the surface of the icing on the cookie right after it has been dipped. The iced cookies should be allowed to set at room temperature until the surface has dried. They are then ready to be painted.
If you need to break this up into multiple days, you can store the iced cookies in an airtight container at room temperature, but do not stack them or you risk disrupting the smooth surfaces of the cookies.
Paint the Starfish Cookies
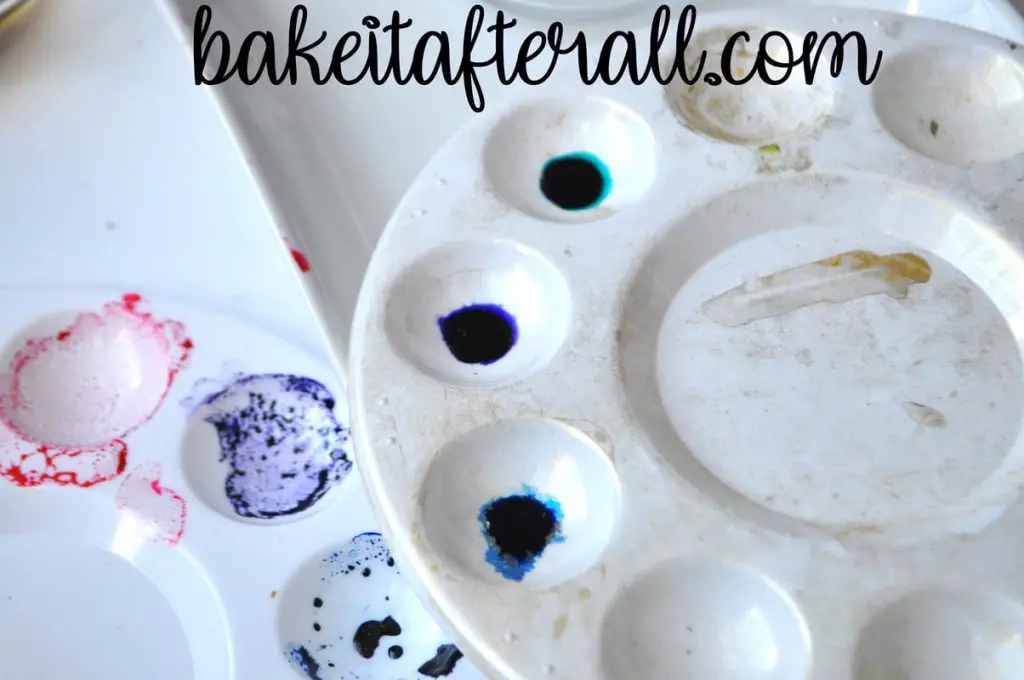
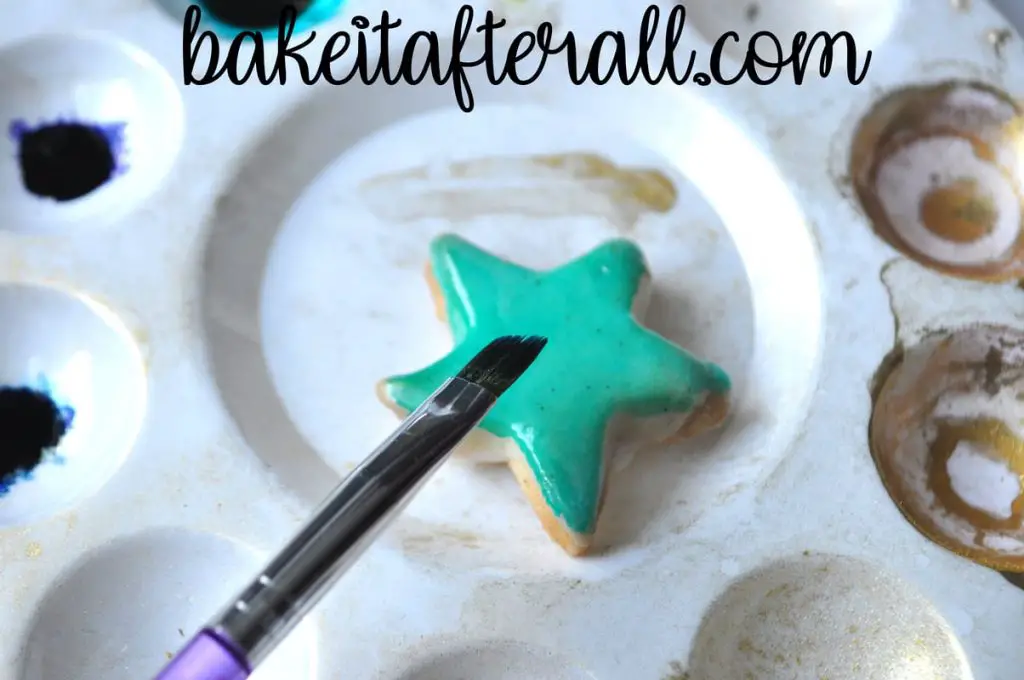
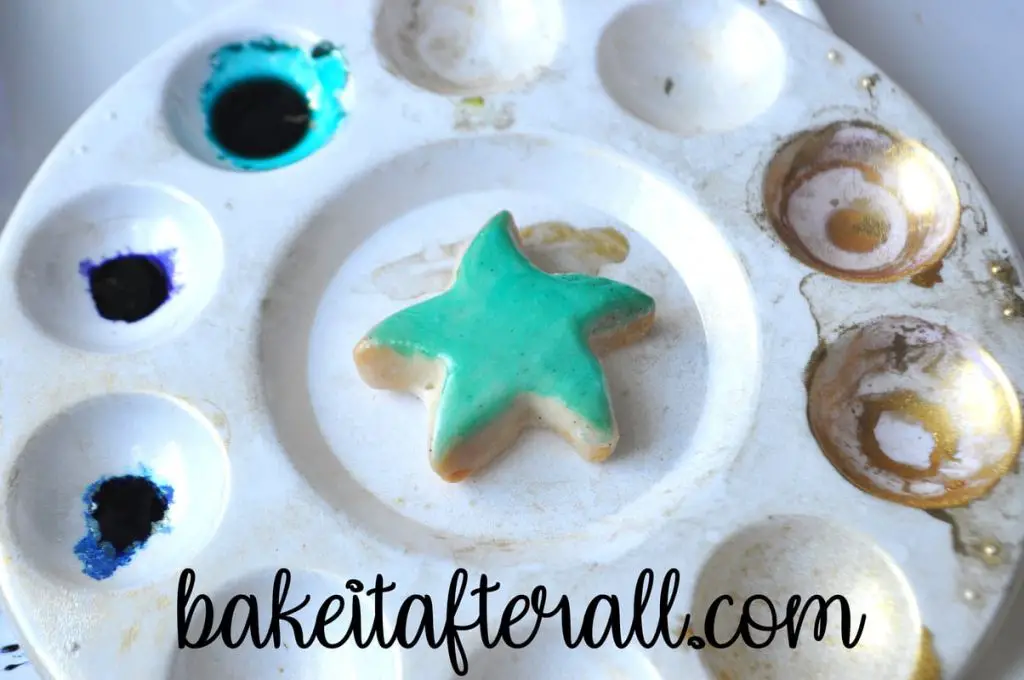
To create the edible cookie paint, you'll need some small dishes or a food-dedicated paint palette. I love using these kids' paint palettes because I can mix up a bunch of colors at once. You can see my palette is dedicated for cookie decorating because it's covered in gold luster dust! They are also great for kids to use when decorating a cookie or a cupcake - just place the cookie or cupcake in the center, put sprinkles in the wells, and let them get creative!
To mix up the "paint," add a drop of food coloring gel to a well or a small dish. Add a few drops of grain alcohol (such as Everclear) to the food coloring gel, and mix up using a food-dedicated paintbrush. Some people recommend using vodka or clear vanilla extract to dilute food coloring gel, but I have had problems with this pitting my icing in the past, so I recommend grain alcohol due to the higher alcohol content. I like to use a plastic disposable transfer pipette for the alcohol to easily transfer single drops as needed.
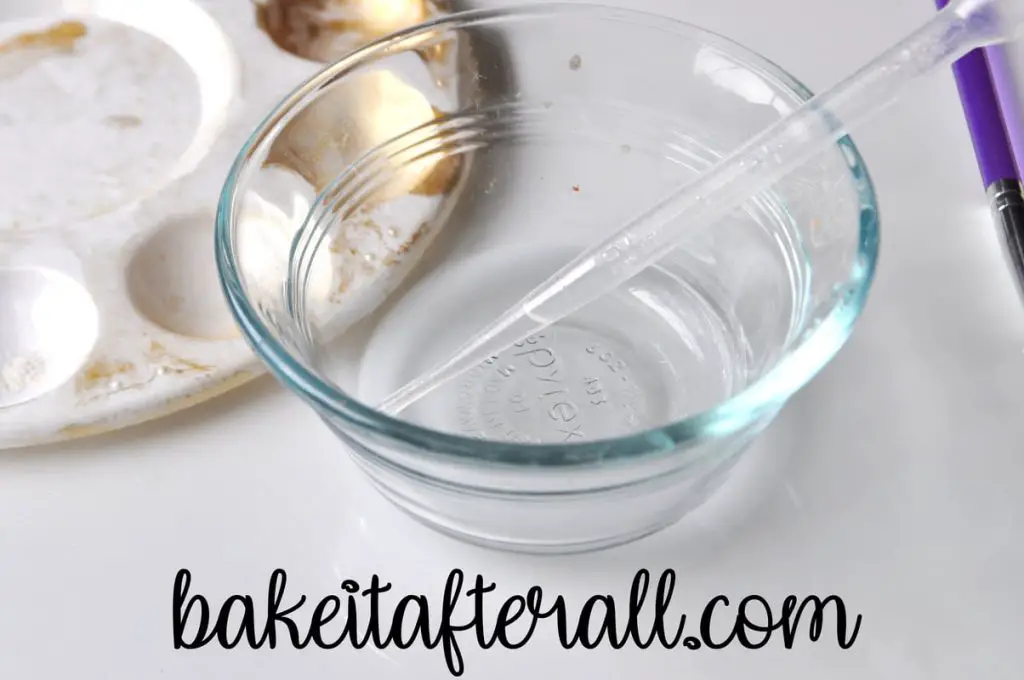
At this point, you can add more food coloring or alcohol depending on how intense you want the color. The alcohol will evaporate quickly, so you may need to add more drops as you go.
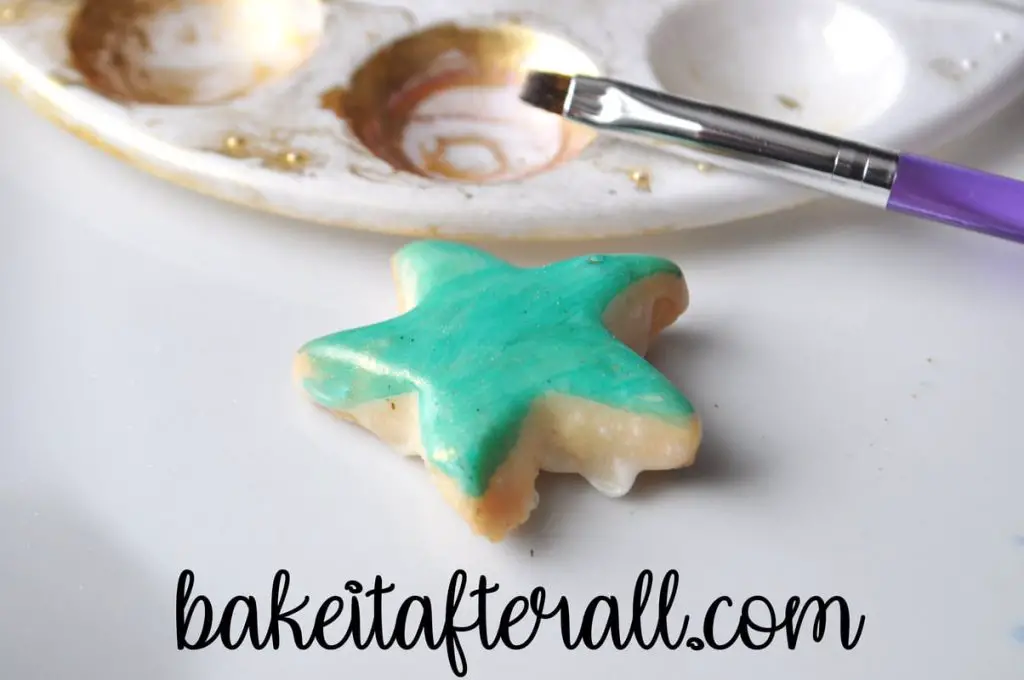
I recommend doing long, smooth brush strokes across the surface of the cookie. If you do a single coat and the color is not as dark as you'd like, you can let it dry and then add another coat of the same color, or even a different color to give it a different effect. The second color could be used to make designs or stripes like in these Painted Watercolor Cookies.
Once the color has been applied, the color will need to dry completely before adding luster dust.
Adding Luster Dust
I go into how to paint luster dust onto cookies in detail in my Painted Watercolor Cookies post. In brief, you'll start with powdered luster dust or shimmer dust in any color or metallic of your choice. I love using gold luster dust, but I also like the effect of the colored dusts.
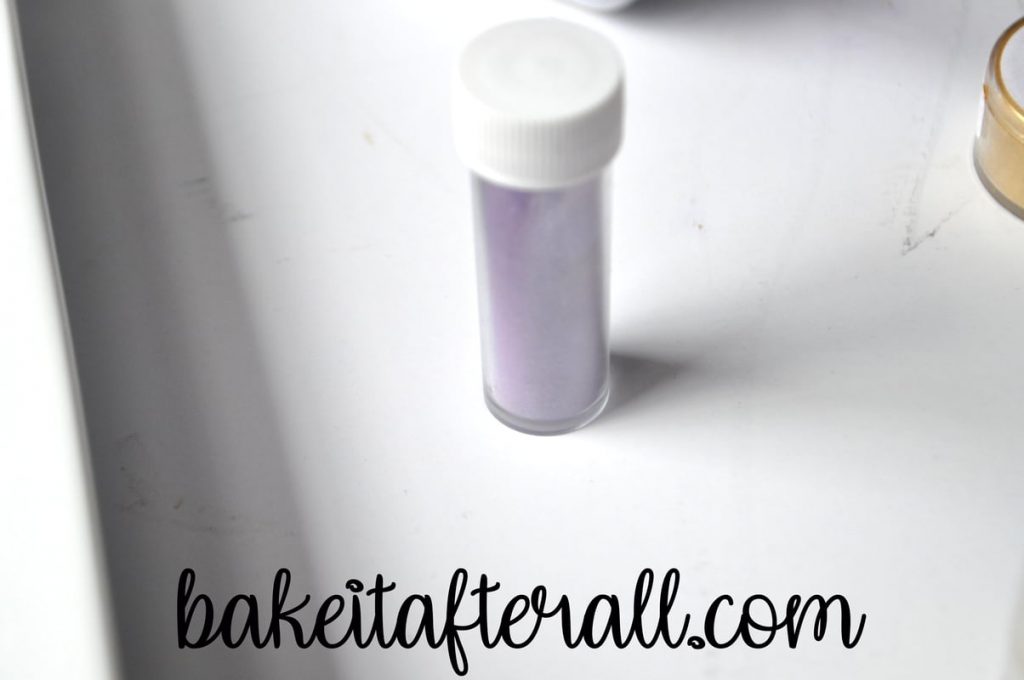
You can just brush the dry dust over the surface of the painted cookies. This will give the cookies a little sparkle. If you want a more intense color, you'll need to make a suspension of the dust with grain alcohol.
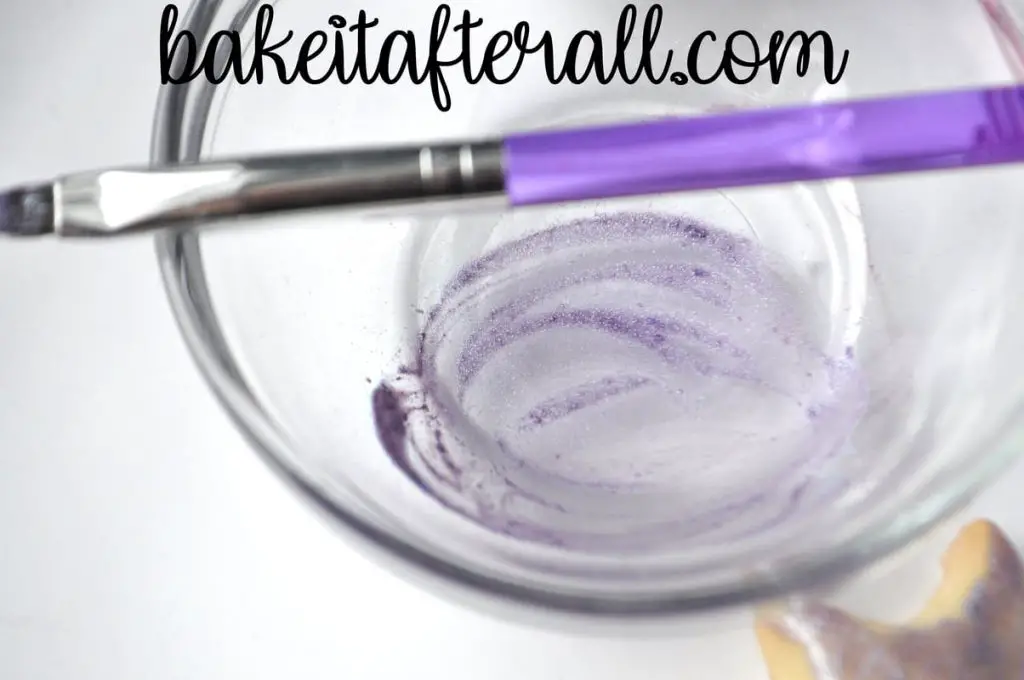
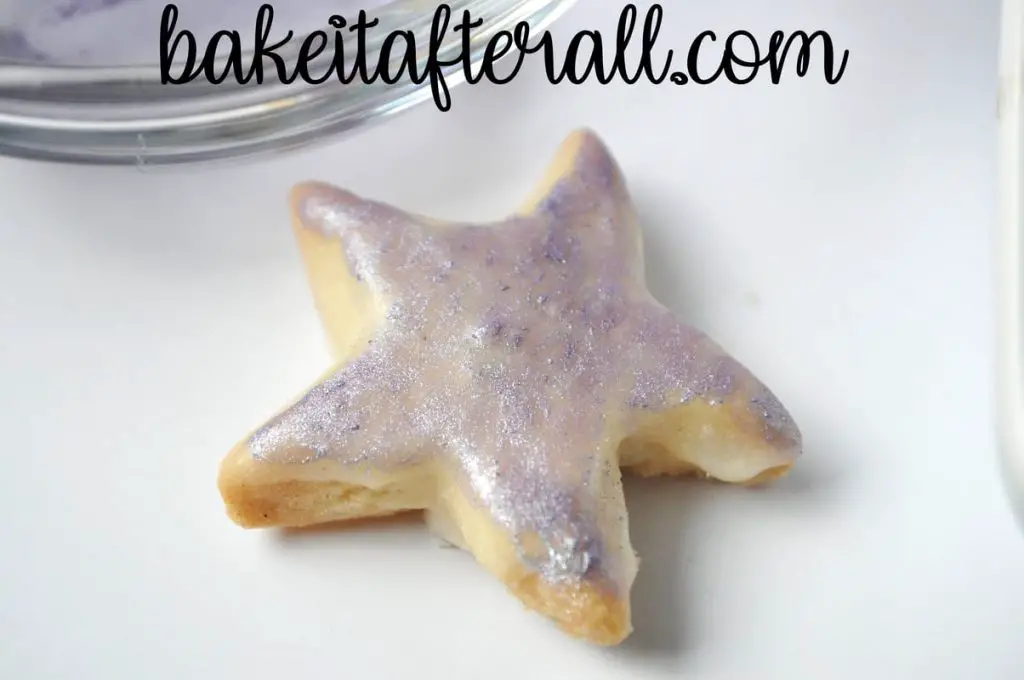
I painted this cookie with just purple luster dust in alcohol, not watercolor, to show what it looks like if you decide not to do the paint underneath. It's very pretty but not very intensely colored.
Then I used a gold suspension to paint the colored cookies. It gives them a nice sheen.
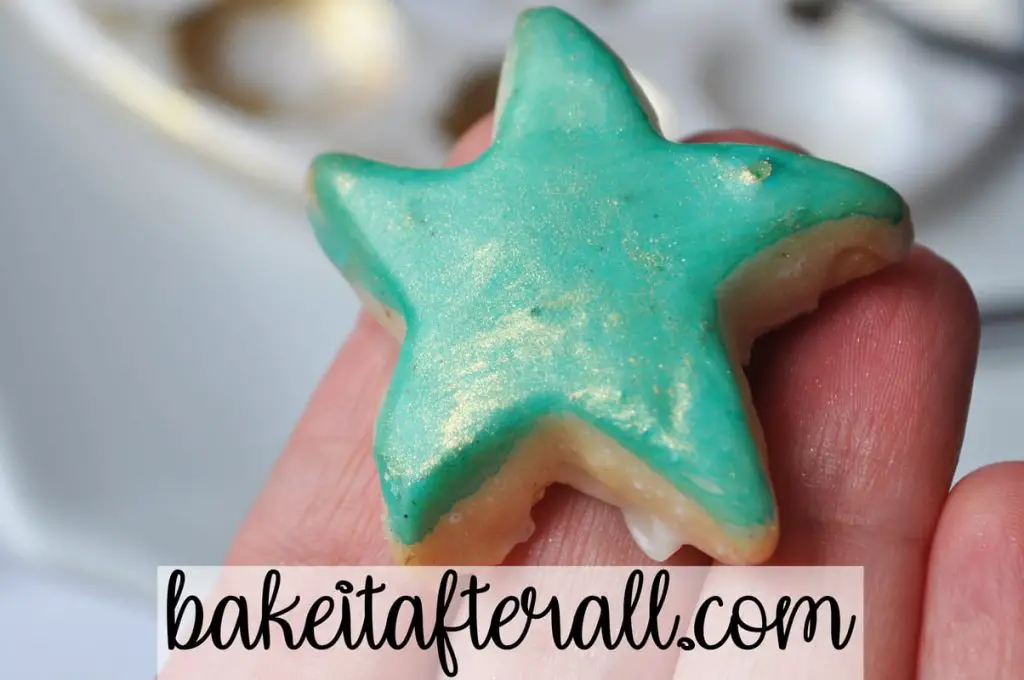
You can see the shiny gold dust on this starfish cookie.
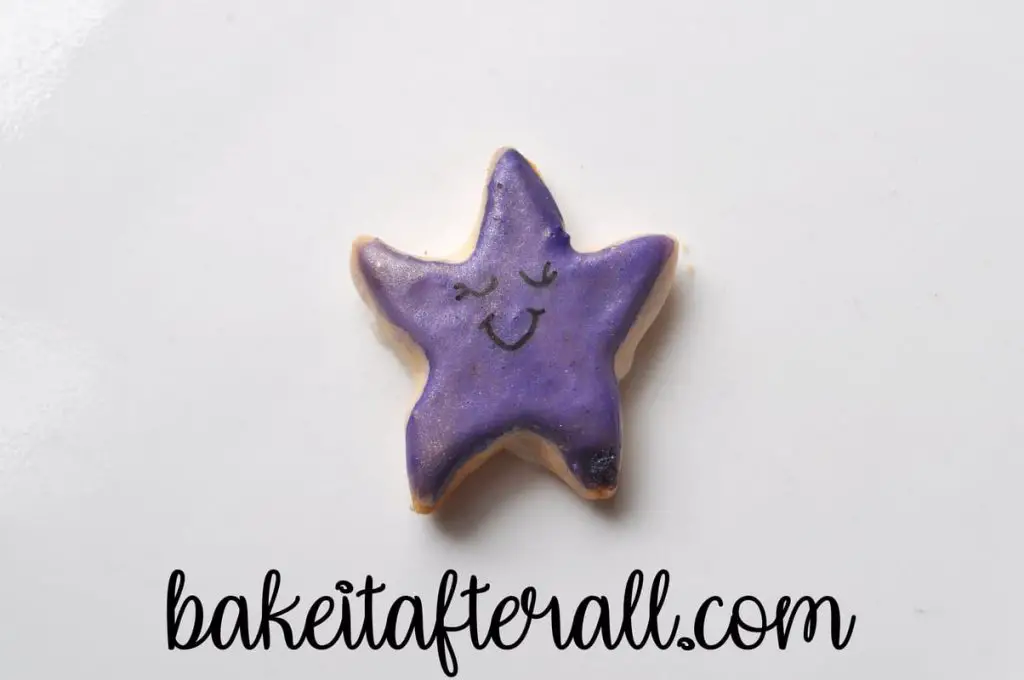
Lastly, if you want to add little happy faces on your cookies, you can do this once the food coloring and/or luster dust are completely dry. Simply use an edible food coloring marker to draw on the faces.
Gluten Free Option
I have not tried it myself yet, but I have good luck using a measure for measure gluten free flour, such as Bob's Red Mill Gluten Free 1 to 1 Baking Flour, in place of all purpose flour in most baked goods recipes.
Looking for More Under the Sea Party Ideas?
Check out these other posts perfect for an ocean or beach themed party:
Under the Sea Birthday Party Ideas
Mermaid Ice Cream Birthday Cake
Oyster Pearl Cookies
Looking for More Decorated Cookies?
Check out these other decorated cookie ideas:
Painted Watercolor Cookies
Painted Rainbow Cookies
Monkey Face Sugar Cookies with Royal Icing
Easter Cookies with Royal Icing
Bridal Shower Sugar Cookies with Royal Icing
Baby Shower Sugar Cookies with Royal Icing
Sugar Cookie Gender Reveal
Penelope Bird Cookies
Butterfly Sugar Cookies with Royal Icing
Snowflake Gingerbread Cookies
Brown Sugar and Spice Winter Mitten Cookies
Halloween Sugar Cookies with Royal Icing
Butterfly and Dragonfly Sugar Cookies with Royal Icing
Pastel Christmas Sugar Cookies with Royal Icing
St. Patrick’s Day Cookies
📖 Recipe

Starfish Cookies
Ingredients
- 1 batch shortbread or sugar cookie dough (see note)
For Simple Icing:
- 2 cups powdered sugar
- ¼ cup milk
- ½ teaspoon vanilla bean paste, vanilla extract, or almond extract
To Paint Cookies:
- food coloring gels
- grain alcohol, such as Everclear
- luster dust (optional)
- edible food coloring marker (optional)
Instructions
Bake the Cookies:
- Roll dough to ¼-inch thick and cut using a 1-inch star cookie cutter. Shape the points of each star to look like a starfish. Transfer cut shapes to a parchment lined baking sheet.

- Bake cookies according to recipe instructions. Cool completely.
Prepare the Icing and Ice the Cookies:
- In a small bowl, mix together the powdered sugar, milk, and vanilla bean paste or extract of choice. If necessary, add more milk or powdered sugar to achieve a dippable consistency. Store icing in an airtight container until ready to ice the cookies.
- Place a wire rack over a parchment or waxed paper lined cookie sheet or work surface. Gently stir the icing to make sure it's fully mixed. Dip the top surface of each cookie into the icing and place the cookies on the wire rack to allow excess icing to drip off. Alternatively, use a silicone pastry brush to apply the icing to the surface of each cookie.
- Use a toothpick to pop any bubbles on the surface of the icing immediately after dipping. Allow icing to fully set up. Store the cookies in a single layer in an airtight container at room temperature until ready to paint.
Paint the Cookies:
- Add a drop of food coloring gel to the well of a food-dedicated paint palette or a small dish. Add a few drops of grain alcohol to the gel and mix with a food grade paintbrush until the gel is completely dissolved.
- Using long brush strokes, apply the edible paint across the surface of an iced cookie. Repeat with all colors desired. Allow cookies to dry completely.
- Once dried, icing can be brushed with dry luster dust or luster dust dissolved in a few drops of grain alcohol. If desired, draw faces on cookies using an edible food coloring marker.
- Cookies can be stored at room temperature in a single layer for up to 1 week. For longer storage, freeze in a single layer.


Leave a Reply