Sugar Cookie Gender Reveal
We announced the sex of our 3rd baby with a surprise Sugar Cookie Gender Reveal! Read on to find out how I made the fun fulled cookies with Royal Icing and whether the filling was blue or pink!
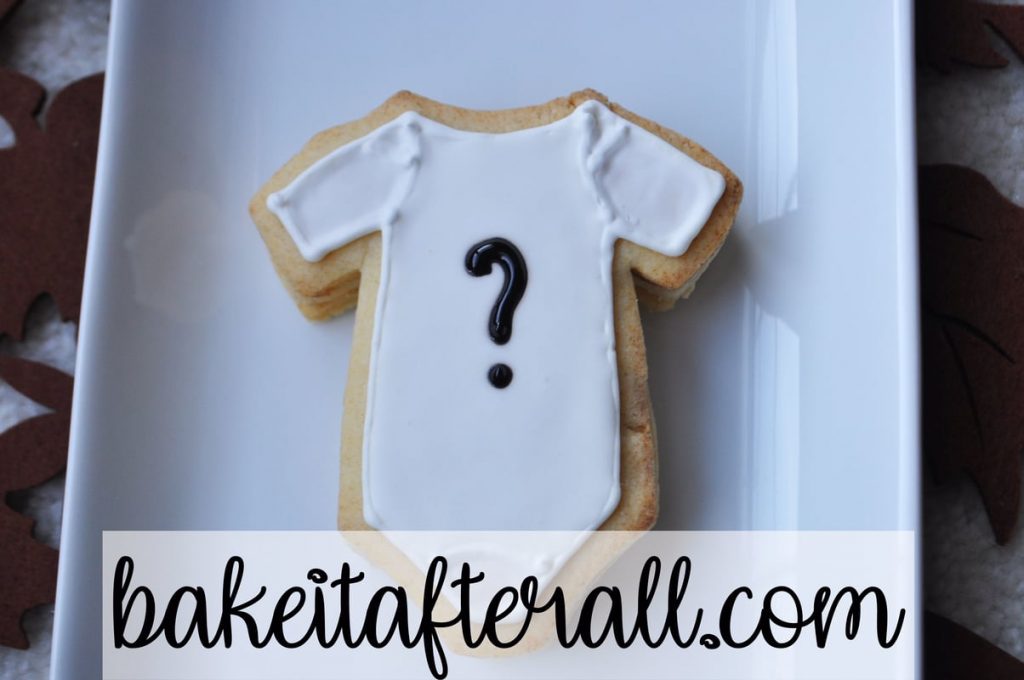
After revealing the sex of Baby #1 with an Oreo Truffle Gender Reveal and Baby #2 with a Cupcake Gender Reveal, I wanted to do something unique for Baby #3. The obvious choice: decorated sugar cookies with royal icing!
At the time, I had been seeing adorable sugar cookies on Pinterest filled with sprinkles and other things, and decided to fill mine with blue or pink icing to announce whether our girls were getting a little brother or sister.
As it turns out, I found out the sex of Baby #3 right before our annual Halloween Party, so I made these the day before and brought them out as a surprise at the party. Each guest got a cookie, and these are massive cookies because they are 3 layers of cookie! We started videoing and told them all to dig in. It was so fun to see their reactions to this:
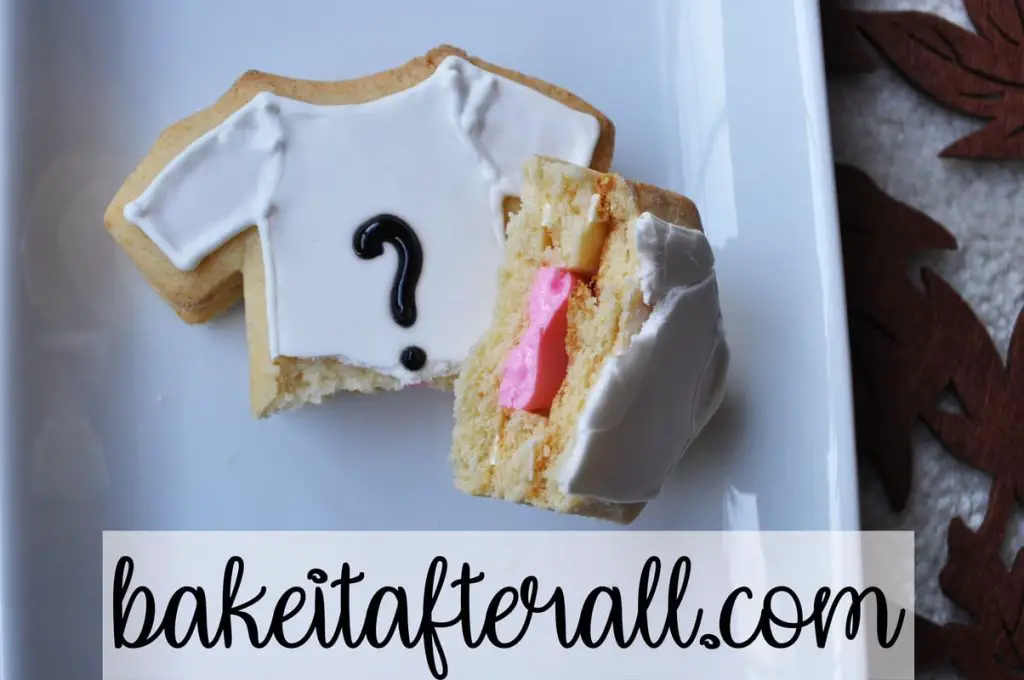
We were SO excited for a 3rd girl! Most people assumed we wanted a boy after having 2 girls, but we actually were hoping for another girl. We had found our stride as a “girl house” and loved the dynamic of our family. We saw the bond developing between our toddler and our 3 year old, and we were so excited for them to have a little sister. Each kiddo added to our family throws another unique personality into the mix! Due to my delay in blogging, said 3rd kiddo is now 4 years old, and oh my does she have a unique personality :-). We certainly can’t imagine our family without her!
Sugar Cookie Recipe
Now that I’ve spilled the beans, I’ll show you how I made these Gender Reveal Cookies. I started out by making 2 batches of my go to sugar cookie recipe, the [Not My] Granny’s Sugar Cookies. I call them this sort of tongue in cheek. My mom got the recipe from one of her coworkers before I was born, and they were called “Granny’s Sugar Cookies.” We don’t know if the recipe belonged to her coworker’s Granny or someone else’s, but it certainly wasn’t MINE, hence the name. I’ve tried numerous sugar cookies over the years and keep coming back to this recipe.
First, you’ll want to plan out how many cookies you’ll need. Because we did our reveal at a more intimate gathering, we only needed 12 completed cookies. This means I needed 12 bottom cookies, 12 middle cookie pieces (which have a cut out to create the cavity for colored icing filling), and 12 top cookies. The bottom and top cookie pieces are the same, so I was going for 24 full onesies and 12 onesies with the middle cut out. For this amount of cookies, I needed 2 batches of the [Not My] Granny’s Sugar Cookies.
Supplies
Here are some supplies I needed:
Onesie cookie cutter
Paring knife
Disposable pastry bags
Plastic tip couplers
#2 piping tips
Toothpicks
Blue or pink food coloring gel
Black decorating gel
For 12 completed Gender Reveal Cookies:
2 batches Sugar Cookies
1 batch Royal Icing
Steps for Making the Gender Reveal Cookies
Baking the Cookies
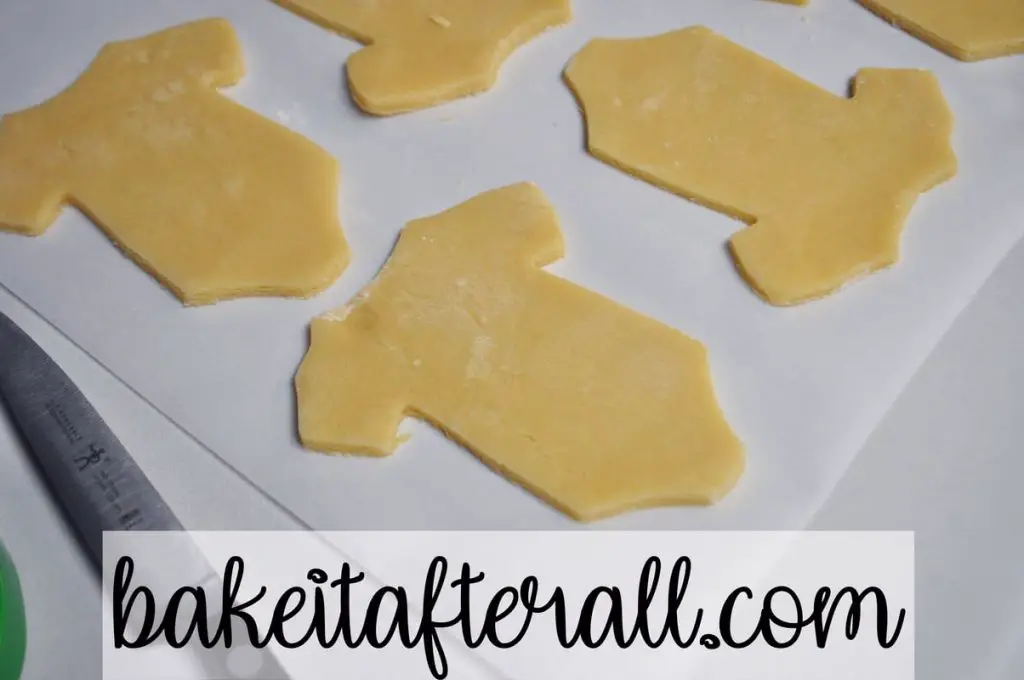
I rolled out my dough and used a baby onesie cookie cutter to cut out the shapes for 36 cookies. I always use 1/4″ thick wooden dowel rods under my rolling pin on each side of the dough or rolling pin guides to ensure even rolling of the cookie dough. Then I used a sharp paring knife to cut out a cavity in the center of 12 of the cookies to be the middle section of the cookie stacks.
Making the Royal Icing
After the cookies were baked, I needed to make the Royal Icing. Royal Icing dries hard, so it works like glue in a project like this where multiple pieces of cookie are stuck together. My go to Royal Icing recipe makes a lot, so I only needed 1 batch of this.
That post (Butterfly Sugar Cookies with Royal Icing) also contains tips for thinning your “stock” icing to a pipeable consistency. The stock frosting is very thick and will need to be thinned with water to what I’ve heard referred to as “toothpaste consistency” icing, which is a very good description of it. It’s easy to pipe but still maintains it’s shape, compared to “flood consistency” icing, which is much thinner and just floods an entire marked off area.
Assembling the Filled Cookies
Once I had a pipable consistency icing, I placed the royal icing into a piping bag with a small tip (such as a Wilton #2). I piped a line of icing around the bottom of a middle cookie piece.
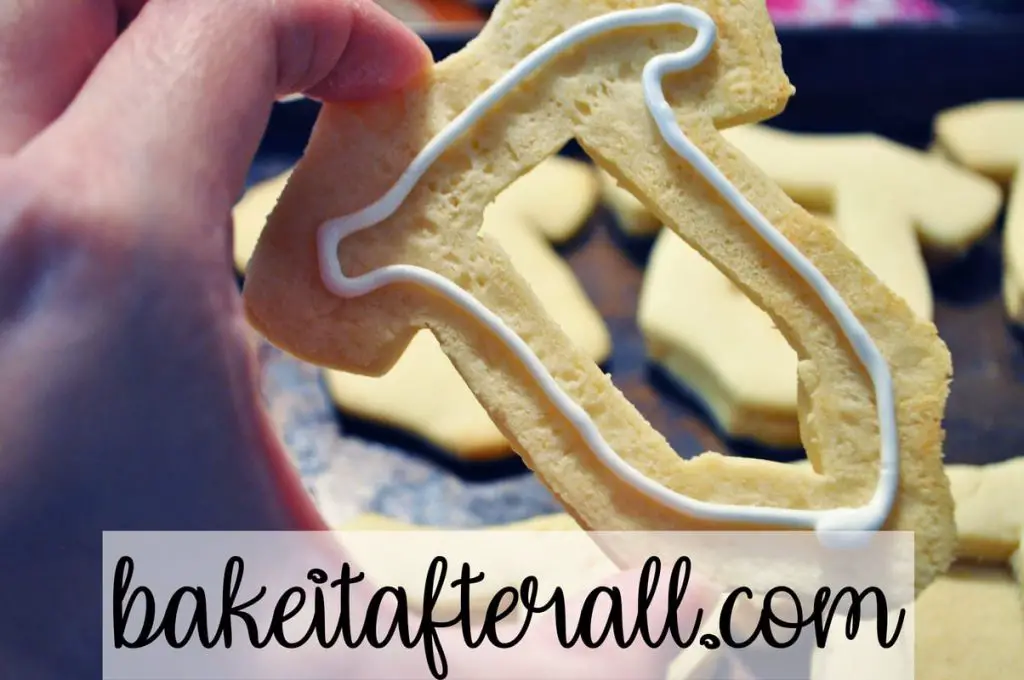
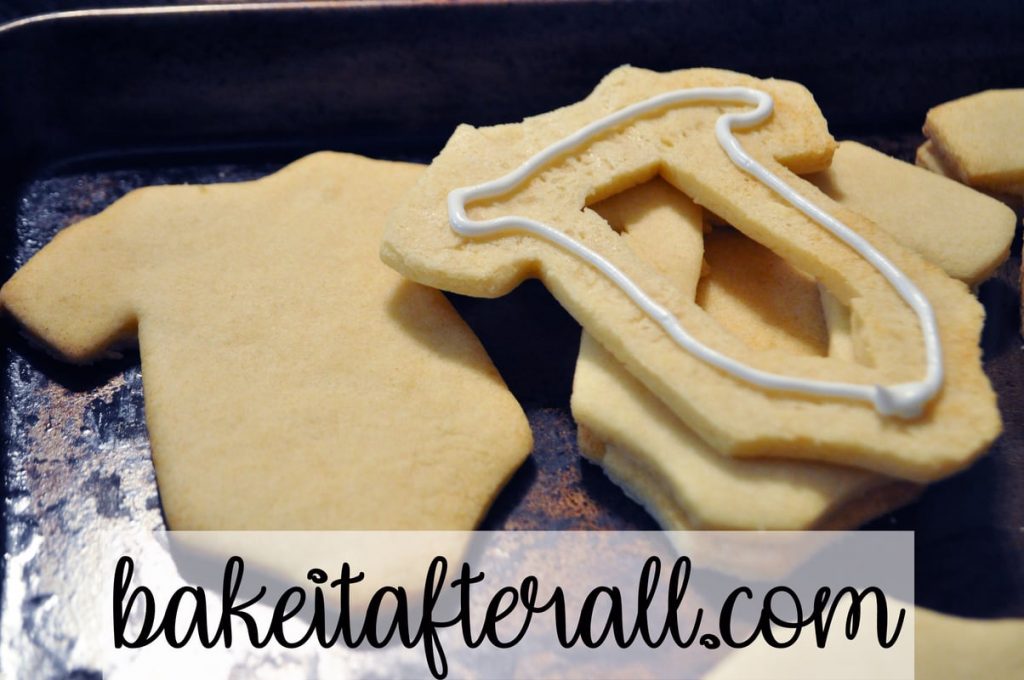
Then I flipped the middle piece onto the bottom cookie and pressed down gently to adhere it. I repeated this process with all the middle piece cookies.
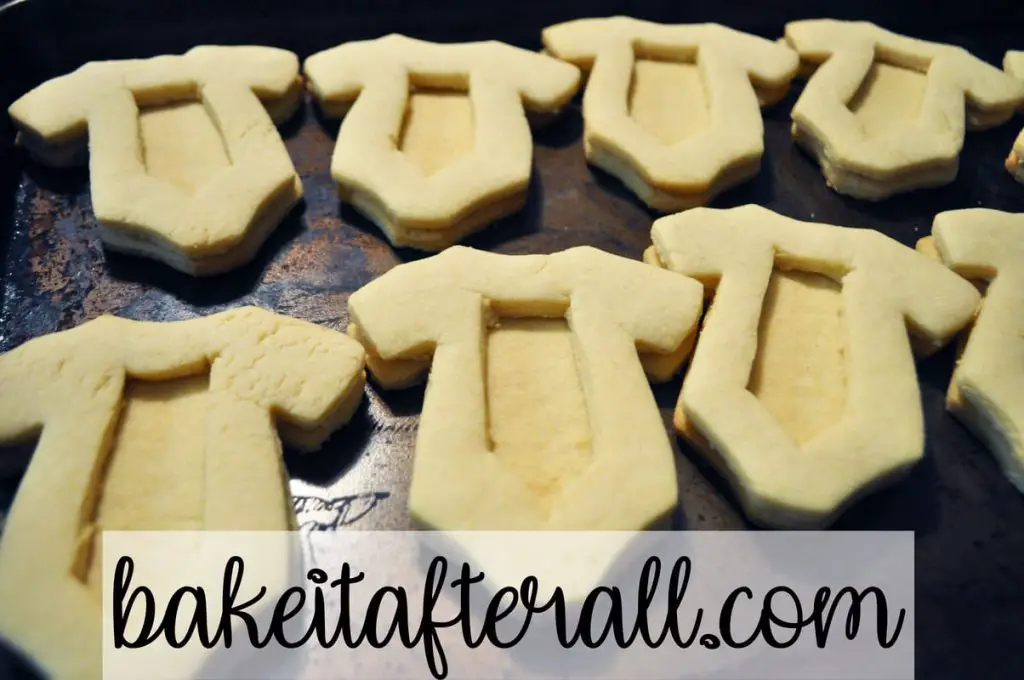
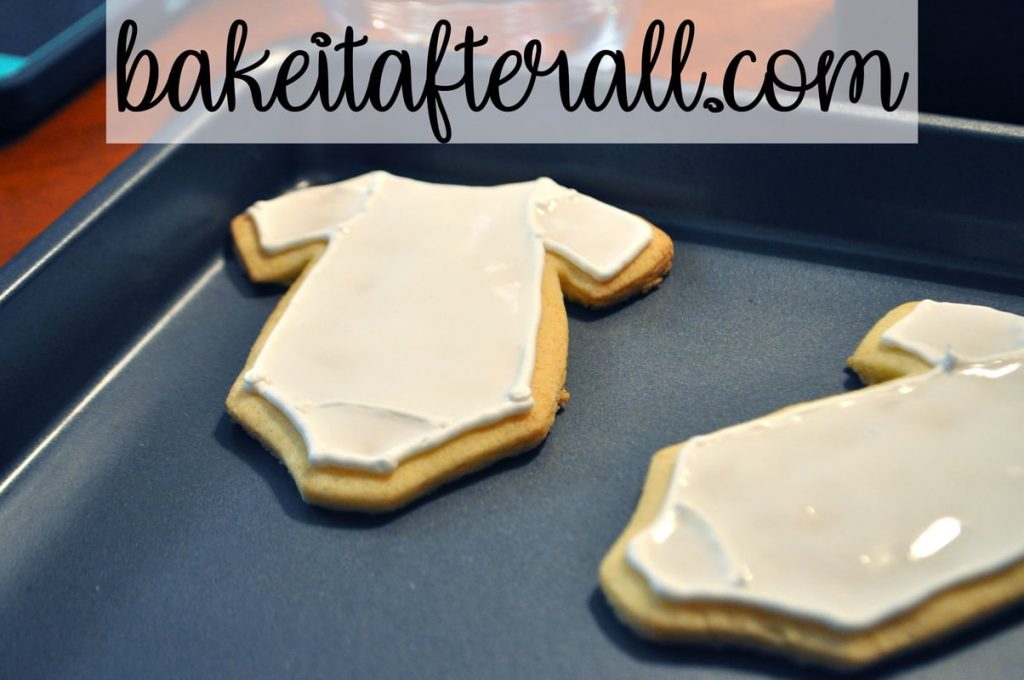
I set those aside to dry and started working on the top cookies. First, I outlined a onesie shape with the same consistency royal icing that I used for sticking the middle cookie to the base cookie (the toothpaste consistency icing). I repeated this on all of the top cookies.
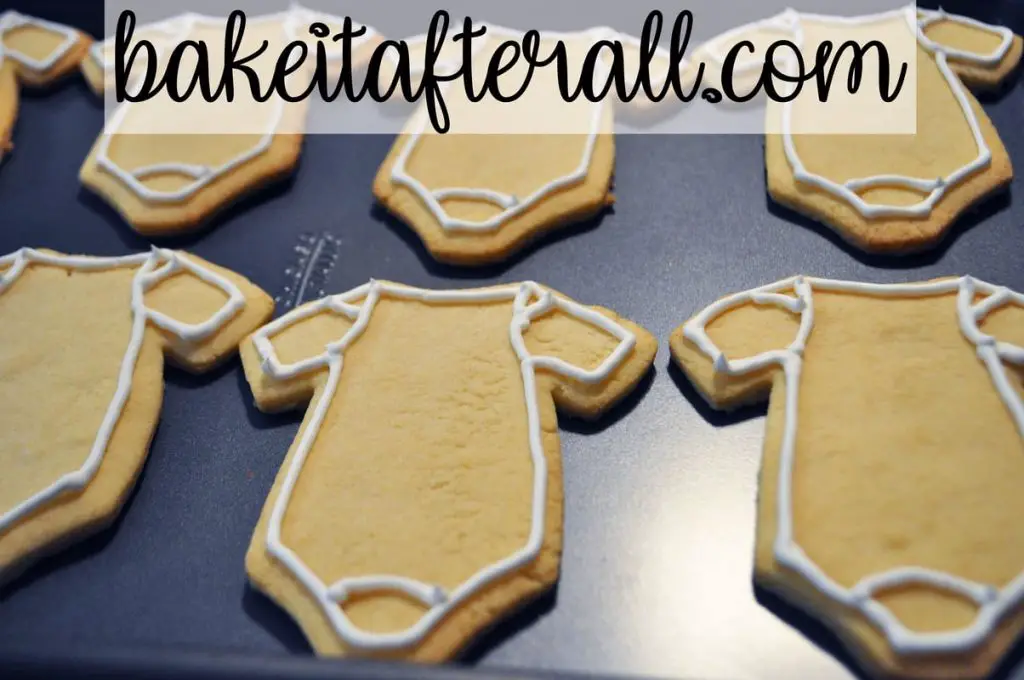
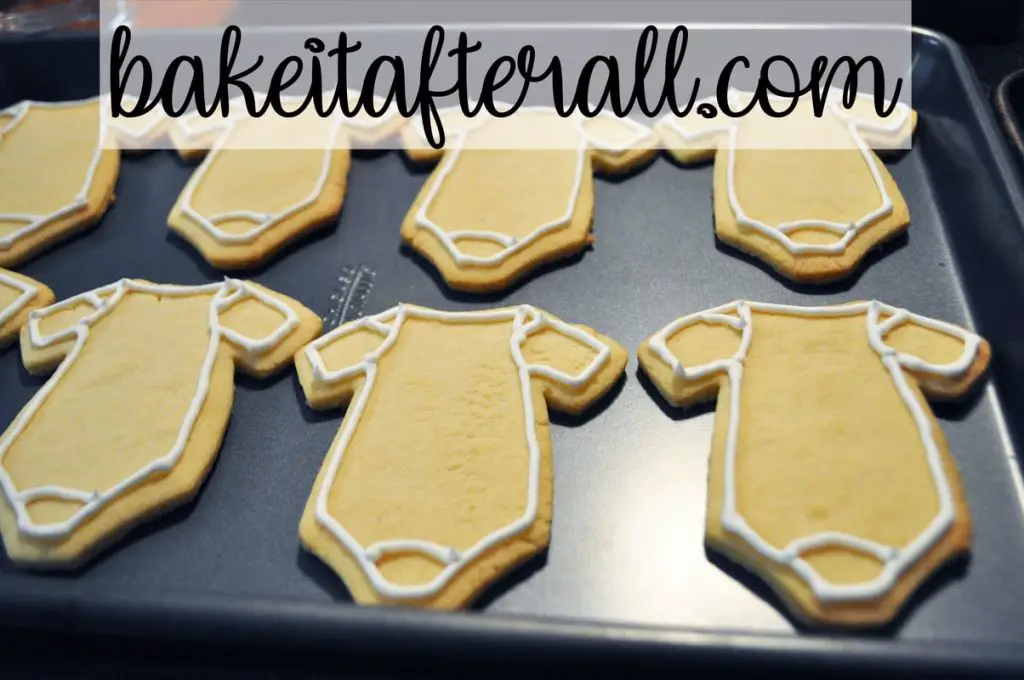
Then I mixed up some flood consistency icing. This is thin and will fill in the spaces marked off by the icing outlines. I transferred this icing to a piping bag with a similar tip (like a Wilton #2) and added some to each section on the top cookies. It’s important not to add too much icing that it overflows the piped borders. I often use a toothpick to help guide the icing to fill the space.
Once all of the top cookies were flooded, I let them dry for an hour. If you have the time, these can dry overnight. The icing will need at least an overnight dry to harden fully, but if you’re pressed for time like I was, you can just proceed with the process because it will be set up enough after 1 hour for the remainder of this project.
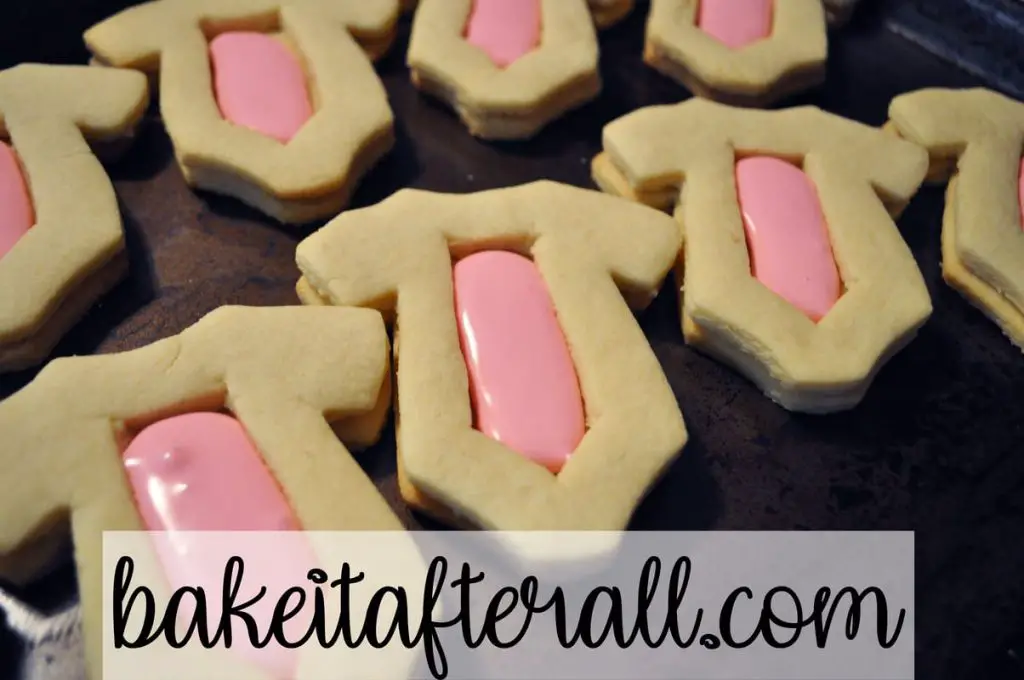
While the icing on the top cookies was setting up, I colored some of the white (untinted) flood consistency icing pink with food coloring gel, and then piped it into the cavity created by the middle cookie on top of the bottom cookie. Of course, if you’re making this to reveal that you’re having a boy, you will tint the icing blue. I repeated this for all of the cookies.
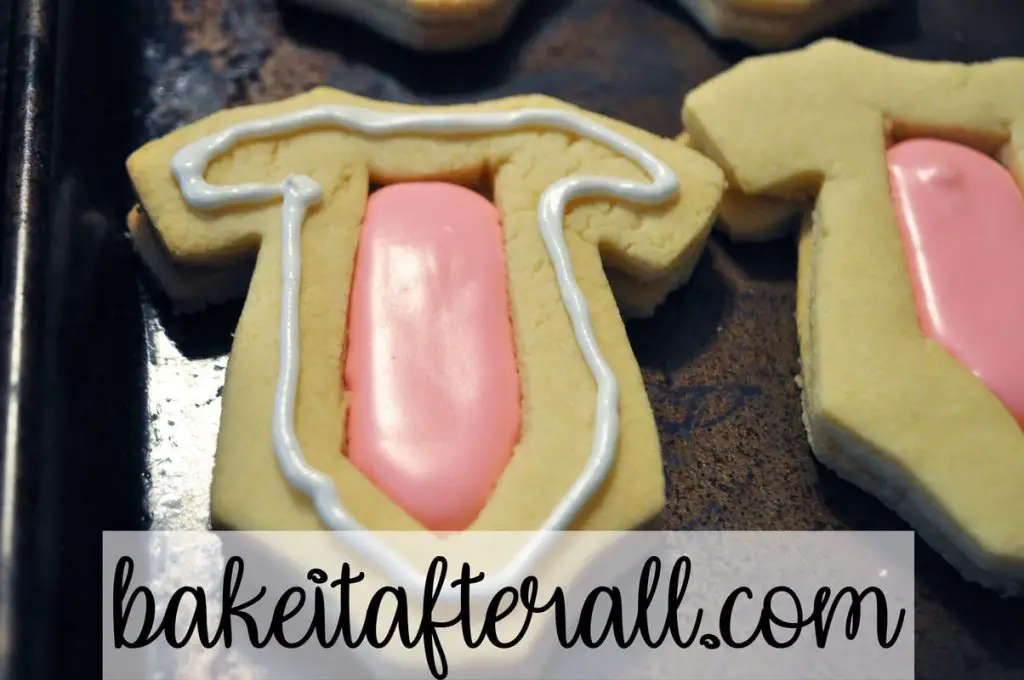
After I judged that the icing on the top cookies was partially set, I proceeded with piping toothpaste consistency royal icing around the border of the middle cookie.
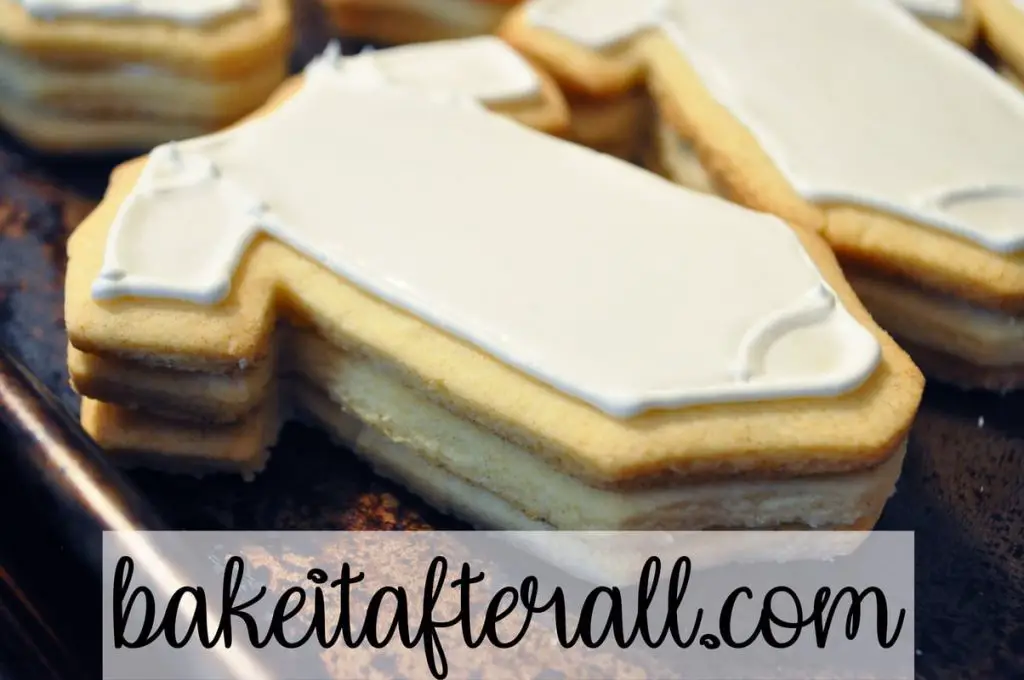
Then I carefully grabbed the non-iced edges of a top cookie and pressed the cookie down gently to secure the stack together. I repeated this for all of the cookie stacks. The reason for doing them one at a time, rather than simply piping the outlines all at once, is that sometimes royal icing can set quickly. Here, we want the icing to still be wet so it glues the top cookie onto the middle cookie securely.
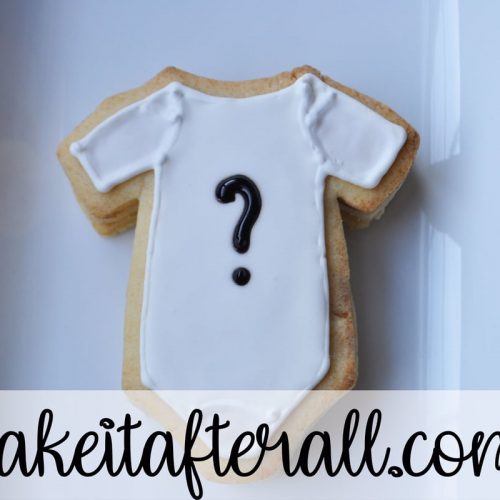
With black decorating gel, I drew a question mark on the top of each onesie. This is completely optional. The top can be left undecorated or decorated in any way you’d like.
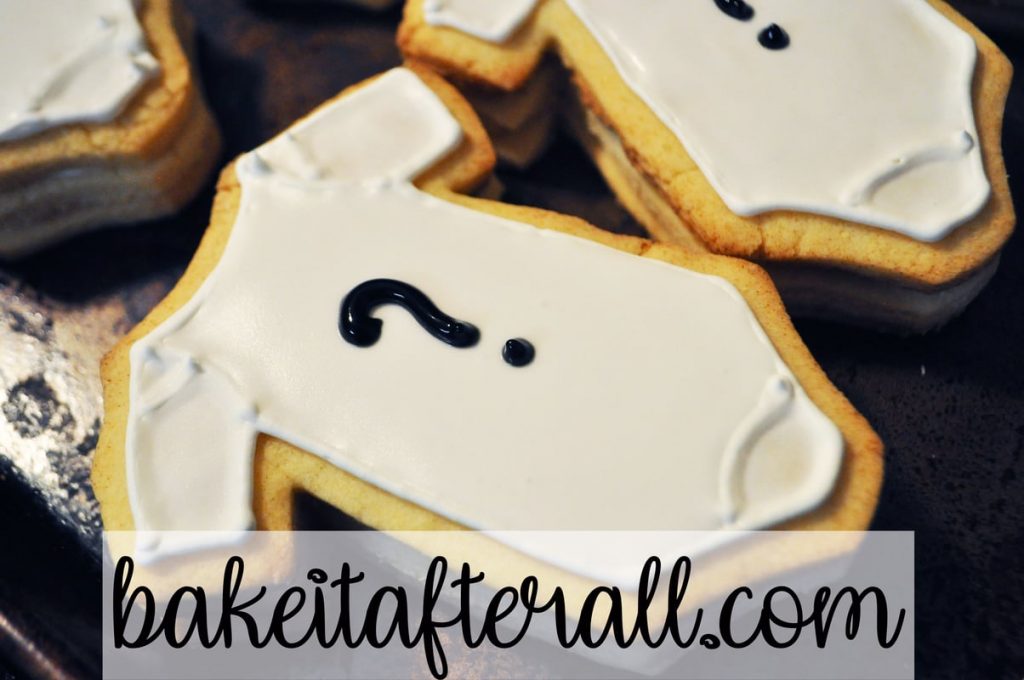
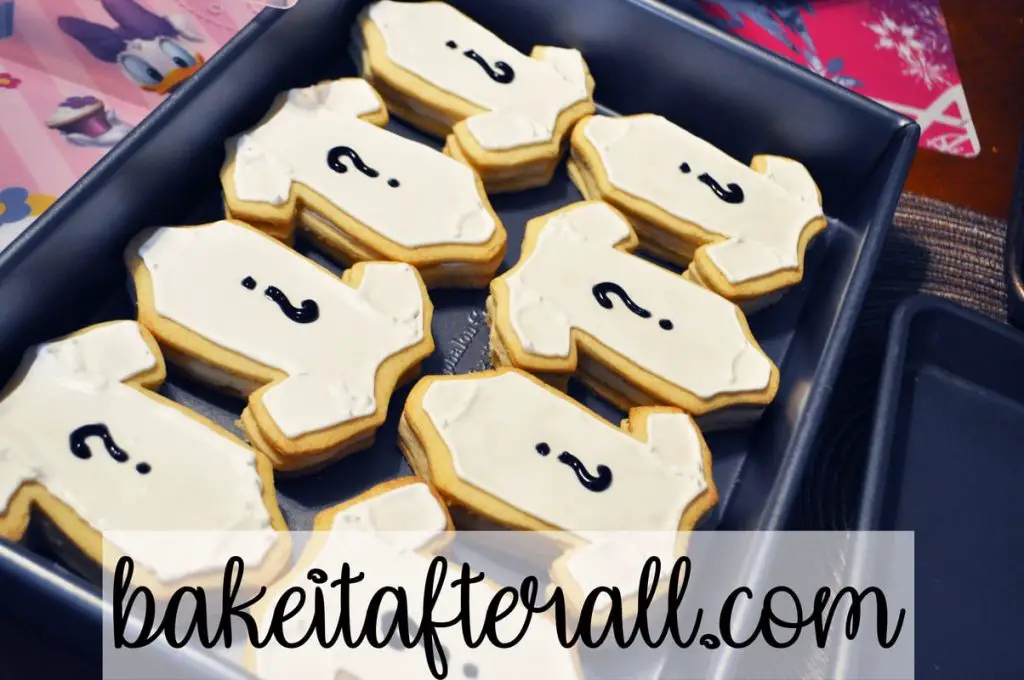
Here are all the cookies ready for the party.
Hosting a Sugar Cookie Gender Reveal
Once we had our guests gathered, we passed out one cookie to each person. Then we started recording a video…

We told everyone to take a big bite, or break the cookie in half. Then we watched their reactions!
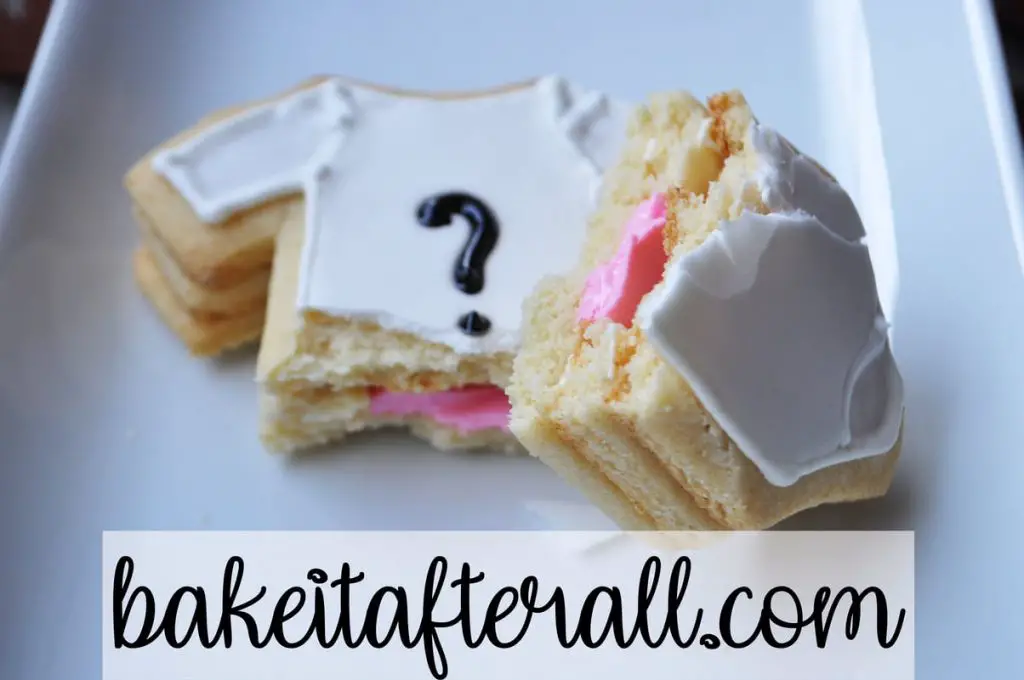
Gluten Free Sugar Cookie Gender Reveal
I have not tried it yet with this sugar cookie recipe, but I have good luck using Bob’s Red Mill Gluten Free 1 to 1 Baking Flour in place of all purpose flour in many cookie and cake recipes.
Want more edible Gender Reveal ideas?
Check out my previous Gender Reveals
For Baby #1: Gender Reveal Oreo Truffles
For Baby #2: Gender Reveal Cupcakes
Looking for other cookies that can be made with a onesie cookie cutter?
Check out these Baby Shower Cookies
Sugar Cookie Gender Reveal
Equipment
- onesie cookie cutter
- paring knife
- disposable piping bags
- plastic couplers
- #2 piping tips
- toothpicks
Ingredients
- 2 batches dough of [Not My] Granny's Sugar Cookies
- 1 batch Royal Icing
- pink or blue food coloring gel
- black decorating gel
Instructions
- Plan your cookies: You will need 3 cookies for each completed cookie stack. For 12 completed cookies, roll out dough and cut 36 shapes with the onesie cookie cutter. On 12 of the onesies, use a sharp paring knife to cut out a cavity for the icing. These 12 shapes will be the middles of the cookies stacks.
- Bake cookies according to recipe instructions. Allow to cool. Prepare Royal Icing according to recipe instructions.
- Thin Royal Icing with water to outline/toothpaste consistency (see tutorial). Put icing in a disposable pastry bag fitted with a plastic coupler and a #2 tip.
- Pipe a line of icing around the entire perimeter of the underneath side of a middle cookie piece (one with a cavity carved out). Flip the middle piece onto a bottom cookie and press down gently to adhere it. Repeat with all the middle piece cookies. Set aside to dry.
- To decorate the top cookies, outline a onesie shape with the outline/toothpaste consistency frosting. Repeat this for all of the top cookies.
- Prepare flooding consistency icing (see tutorial). Transfer this icing to a disposable piping bag with a #2 tip and add some icing to each section on the top cookies. Be careful not to add too much icing that it overflows your piped borders. You may need to use a toothpick to help guide the icing to fill the space. Once you're cookies are flooded, you can let them all dry for an hour or even overnight. The icing will need at least an overnight dry to harden fully, but if you're pressed for time, you can proceed with the process because it will be set up enough after 1 hour for the remainder of this project.
- While the icing on your top cookies is setting up, color your flood consistency icing blue or pink with food coloring gel, and then pipe it into the cavity created by the middle cookie on top of the bottom cookie. Repeat for all cookies.
- After you judge that the icing on your top cookies is partially set, proceed with piping toothpaste consistency frosting around the border of your middle cookie and then placing your top cookie on top.
- Carefully grab the non-iced edges of the cookie and press the cookie down gently to secure the stack together.
- With black food gel, draw a question mark on the top of each onesie, if desired.
- Once you have your family and friends gathered, pass out a cookie to each person. Tell everyone to take a big bite, or break the cookie in half.
Why don’t I remember these cookies? Must have been all the excitement of another girl.
I must say these are my favorite cookies of all time. I’m not a fan of the royal icing, but I tolerate it to get to the cookies. ?
Besides, decorated cookies are just too cute! They are always appreciated so much.