
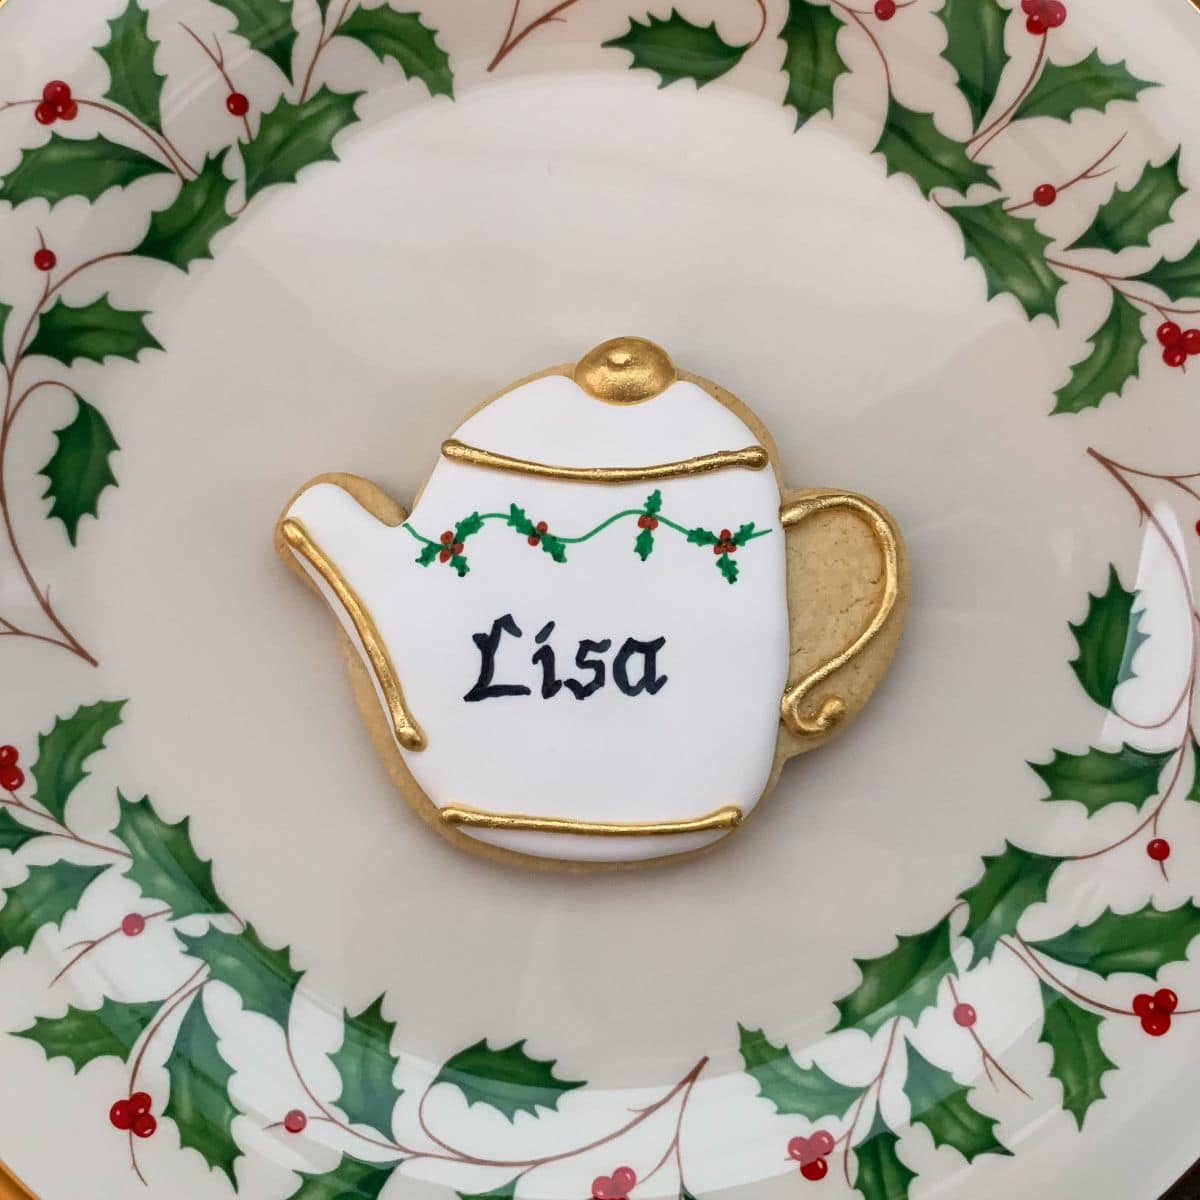
These Personalized Holiday Teapot Cookies are perfect for a Christmas or Holiday Tea Party. They make for a cute place card or party favor.
I had the inspiration for these cookies from an image I found on Pinterest by creator The Jazzy Cookie. Hers appear to be hand painted with food coloring, but I decided to use edible food markers on top of royal icing covered Cut Out Sugar Cookies.

I used the cookies as place cards at a little Christmas Tea Party for my daughters and nephews in 2018. I placed each child's cookie on her/his plate at the table. They loved these!
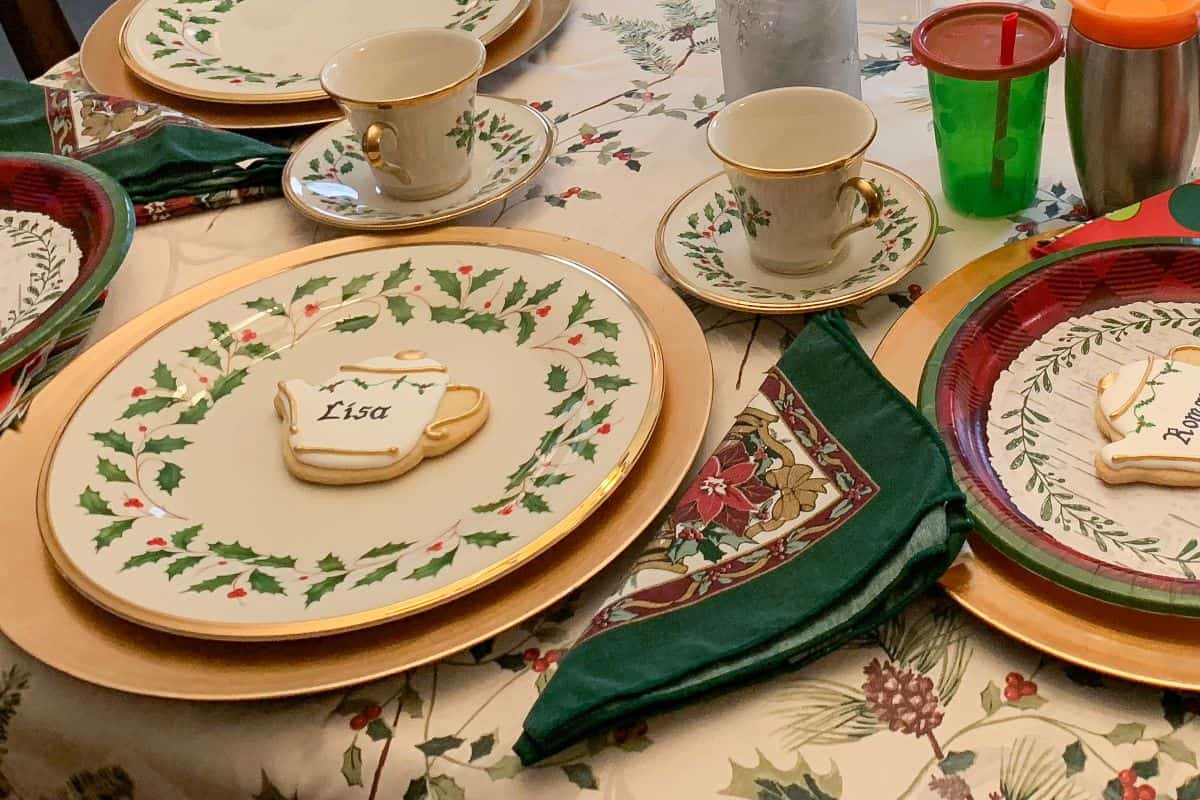
The only thing better than getting a cookie as a kid is getting one with your name on it!

Since royal icing can be too sweet for some people, like me, I made some of the teapots that were minimally decorated with holly sprinkles and only a few royal icing details.

Jump to:
Supplies
- your favorite Cut Out Sugar Cookies or Shortbread Cookies, cut with a teapot cutter
- Easy Royal Icing
- disposable piping bags
- plastic tip coupler
- small round tip, such as a #5
- gold food coloring gel, optional
- green, red and black food coloring pens or markers, such as FooDoodlers
- gold luster dust
- alcohol, such as Everclear, vodka, or clear vanilla extract
- food dedicated paint palette
- food grade paintbrush
Bake the Cookies
Prepare your favorite Cut Out Sugar Cookie dough or Shortbread Cookie dough.
Roll the dough to ¼-inch thickness and cut out teapot shapes with a cookie cutter.
Bake the cookies according to your recipe's instructions and allow to cool to room temperature before icing.
Cover the Cookies with Icing
I used the same technique for icing these cookies as I did for the Unicorn Cookies.
You will need one batch of Easy Royal Icing. This will be your "stock" icing that you will dilute with water to make it more pipeable.
If this is your first time working with royal icing, I highly recommend reading Marian's tips on royal icing. She goes into detail on how to make the different consistency icings.
If you dilute the untinted (white) stock royal icing to a little thicker flood icing, you can do the outline and flood all with the same consistency icing, rather than in 2 steps.
Add about 1 cup stock icing to a bowl. Carefully stir in very small amounts of warm water to achieve a consistency that is slightly thicker than flood icing. Use a small silicone spatula to avoid introducing bubbles into the icing.
Add the icing to a disposable piping bag fitted with a small round tip, such as a #5, with a plastic tip coupler.
Outline the area you want to be white. Immediately after outlining, add the flood inside.
Because the outline has not had time to dry, you don't want to put too much flood icing. Drag the icing to the edges with a toothpick or scribe tool. You can also use the scribe tool to swirl the wet icing a bit to pop bubbles and make the surface smooth.
You can leave some of the cookies plain if you want to only add holly sprinkles and gold details later.
Allow the icing to dry at room temperature completely before proceeding. This may take overnight or 18 to 24 hours, depending on the temperature and humidity of your work space.
Add the Details
Tint a small amount of outline consistency icing with gold food coloring gel to achieve a goldenrod color. Tinting the icing gold will help intensify the gold luster dust when it is added later. I tried both untinted and gold tinted; both work.
Transfer the outline consistency icing to a piping bag fitted with a small round tip. Pipe the teapot's handle, the lid's handle, and the lines that define the lid, the spout and the base of the teapot.
For the cookies with just holly sprinkles, pipe small dots of icing where the holly leaves and berries will go, and carefully press them into the icing.

Allow the icing details to dry completely before personalizing the cookies.
Personalize the Cookies
Before you draw on the cookies, make sure the flooded icing has had sufficient time to dry hard, about 24 hours depending on the temperature and humidity in your work space. Otherwise, the tip of the marker could poke into the icing.

First, use a green edible marker, such as a FooDoodlers, to draw a squiggly line near the top of the teapot, under the lid. Then, add green holly leaves and some round red berries.
Next, use PowerPoint or Word to create a document with the names in "Lucida Blackletter" font. Print this out to use as a guide when writing the names on the cookies.
Using a black edible marker, write the names in the holiday font, paying attention to the little details of the fonts.

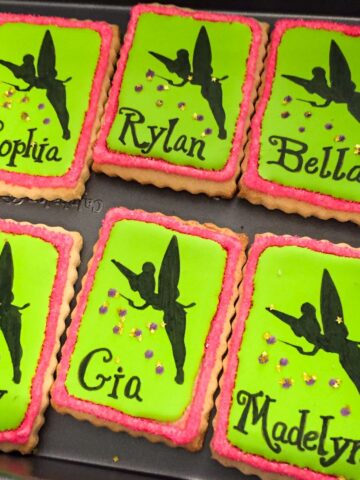
I also used this technique when I made Tinkerbell Cookies.

The cookies are now ready for the edible liquid gold.
Paint with Edible Gold
For the last step, add some gold luster dust to the well of a food dedicated paint palette.
Pour some Everclear, vodka or clear vanilla extract into another well of the palette or into a small bowl. I prefer to use Everclear due to its high ethanol content and fast evaporation.
Use a plastic transfer pipette to add a few drops of alcohol to the gold dust. Mix the dust into the alcohol using a food grade paintbrush until the gold is completely suspended.

You may need to add more dust or alcohol depending on whether the suspension is too thin or too thick, respectively.
I have purchased my gold luster dust locally, but I have heard good things about the gold dust from Truly Mad Plastics.
Use a thin food grade paintbrush to paint the liquid gold on the goldenrod colored outline carefully.

The alcohol will evaporate quickly leaving behind shiny gold details.
Storage
The cookies should be stored in an airtight container at room temperature in a single layer until serving. I do not recommend stacking royal icing cookies. The grease from the top cookie can transfer onto the icing of the bottom cookie and distort the design.

If you don't have enough space for a single layer, I recommend using aluminum foil to separate the layers to prevent grease transfer. The grease can soak through waxed paper or even, to a lesser extent, parchment paper.
Gluten Free Option
Use your favorite gluten free shortbread or sugar cookie recipes. Always check your ingredient packages for possible gluten contamination.
📖 Recipe

Personalized Holiday Teapot Cookies
Equipment
- 1 teapot cutter
- disposable piping bags
- 1 Plastic tip coupler
- 1 small round tip, such as a #5
- 1 food dedicated paint palette
- 1 food grade paintbrush
Ingredients
- 1 batch dough for your favorite Cut Out Sugar Cookies or Shortbread Cookies (see note)
- 1 batch Easy Royal Icing (see note)
- gold food coloring gel (optional)
- holly leaves and berries sprinkles (optional)
- green, red and black food coloring pens or markers (such as FooDoodlers)
- edible gold luster dust
- clear alcohol (such as Everclear, vodka, or clear vanilla extract)
Instructions
Bake the Cookies
- Roll the cookie dough to ¼-inch thickness and cut out teapot shapes with a cookie cutter.
- Bake the cookies according to your recipe's instructions and allow to cool to room temperature before icing.
Cover the Cookies with Icing
- Add about 1 cup stock icing to a bowl. Using a small spatula, carefully stir in very small amounts of warm water to achieve a consistency that is slightly thicker than flood icing. Allow bubbles to rise to the surface and drag spatula across to pop.
- Add the icing to a disposable piping bag fitted with a small round tip, such as a #5, with a plastic tip coupler.
- Outline the area you want to be white. Immediately after outlining, add the flood inside. Because the outline has not had time to dry, you don't want to put too much flood icing. Drag the icing to the edges with a toothpick or scribe tool. Use the toothpick or scribe tool to swirl the wet icing a bit to pop bubbles and make the surface smooth. You can leave some of the cookies plain if you want to only add holly sprinkles and gold details later.
- Allow the icing to dry at room temperature completely. This may take 18 to 24 hours, depending on the temperature and humidity of your work space.
Add the Details
- Tint a small amount of outline consistency icing with gold food coloring gel to achieve a goldenrod color. Although this step is optional, tinting the icing gold will help intensify the gold luster dust when it is added later.
- Transfer the outline consistency icing to a piping bag fitted with a small round tip. Pipe the teapot's handle, the lid's handle, and the lines that define the lid, the spout and the base of the teapot.
- For the cookies with just holly sprinkles, pipe small dots of icing where the holly leaves and berries will go, and carefully press them into the icing.
- Allow the icing details to dry completely.
Personalize the Cookies
- Before you draw on the cookies, make sure the flooded icing has had sufficient time to dry hard, up to 24 hours depending on the temperature and humidity in your work space. Otherwise, the tip of the marker could poke into the icing.
- Use a green edible marker to draw a squiggly line near the top of the teapot, under the lid. Then, add green holly leaves and some round red berries.
- Use PowerPoint or Word to create a document with the names in "Lucida Blackletter" font. Print this out to use as a guide when writing the names on the cookies.
- Using a black edible marker, write the names in the holiday font, paying attention to the little details of the fonts.

Paint with Edible Gold
- Add some edible gold luster dust to the well of a food dedicated paint palette.
- Pour some Everclear, vodka or clear vanilla extract into another well of the palette or into a small bowl.
- Use a plastic transfer pipette to add a few drops of alcohol to the gold dust. Mix the dust into the alcohol using a food grade paintbrush until the gold is completely suspended. You may need to add more dust or alcohol depending on whether the suspension is too thin or too thick, respectively.

- Use a thin food grade paintbrush to paint the liquid gold on the goldenrod colored icing details carefully. The alcohol will evaporate quickly leaving behind shiny gold.


Leave a Reply