
These Wicked Sugar Cookies are made with royal icing and have simple designs featuring the Wicked logo and phrases.
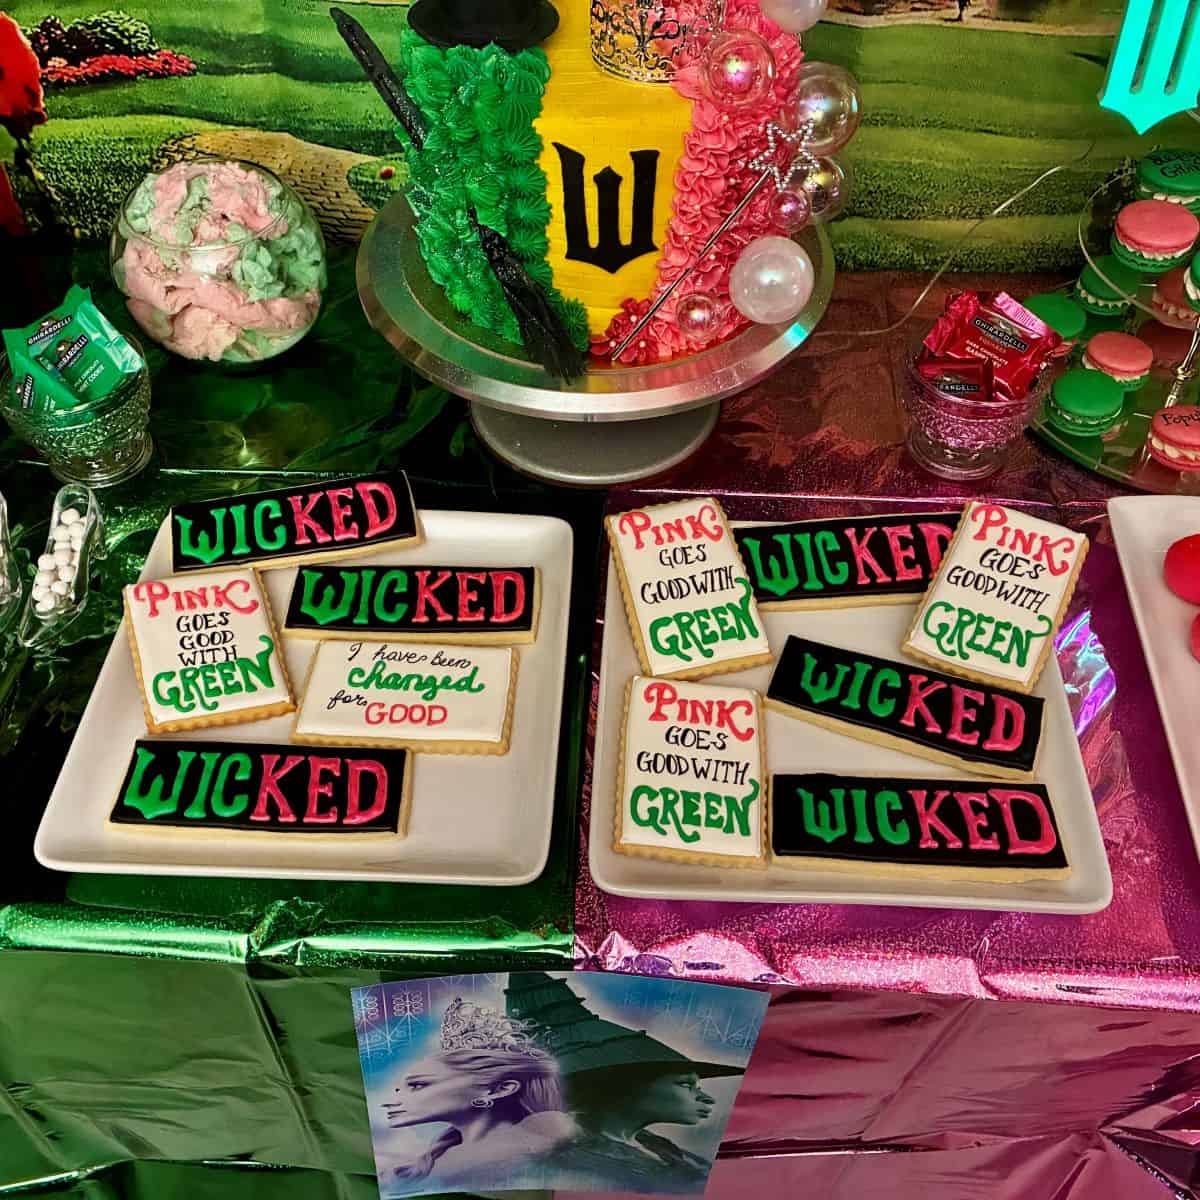
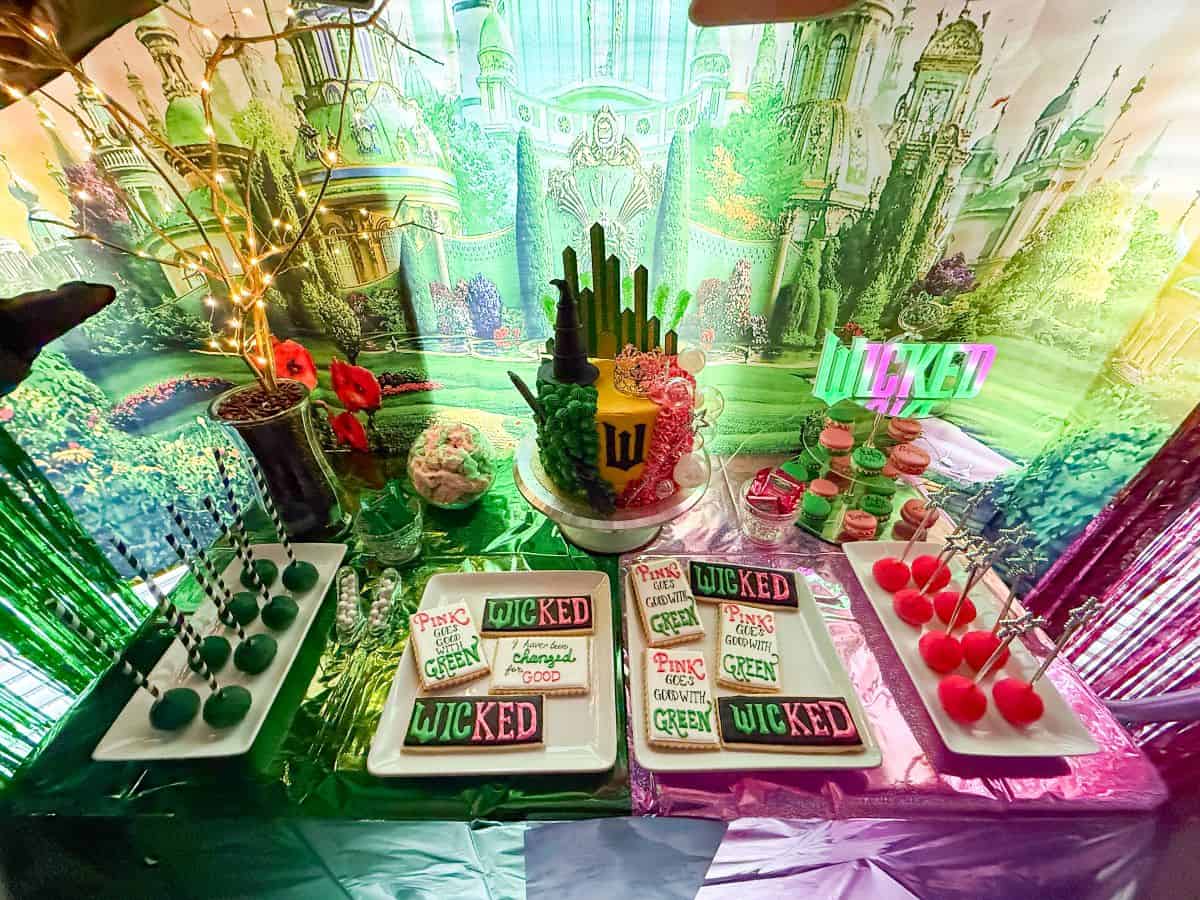
My daughter had a Wicked Birthday Party that included a dessert table with a Wicked Cake, Nut Free Wicked Macarons, Wicked Cake Pops, and these Wicked Sugar Cookies.
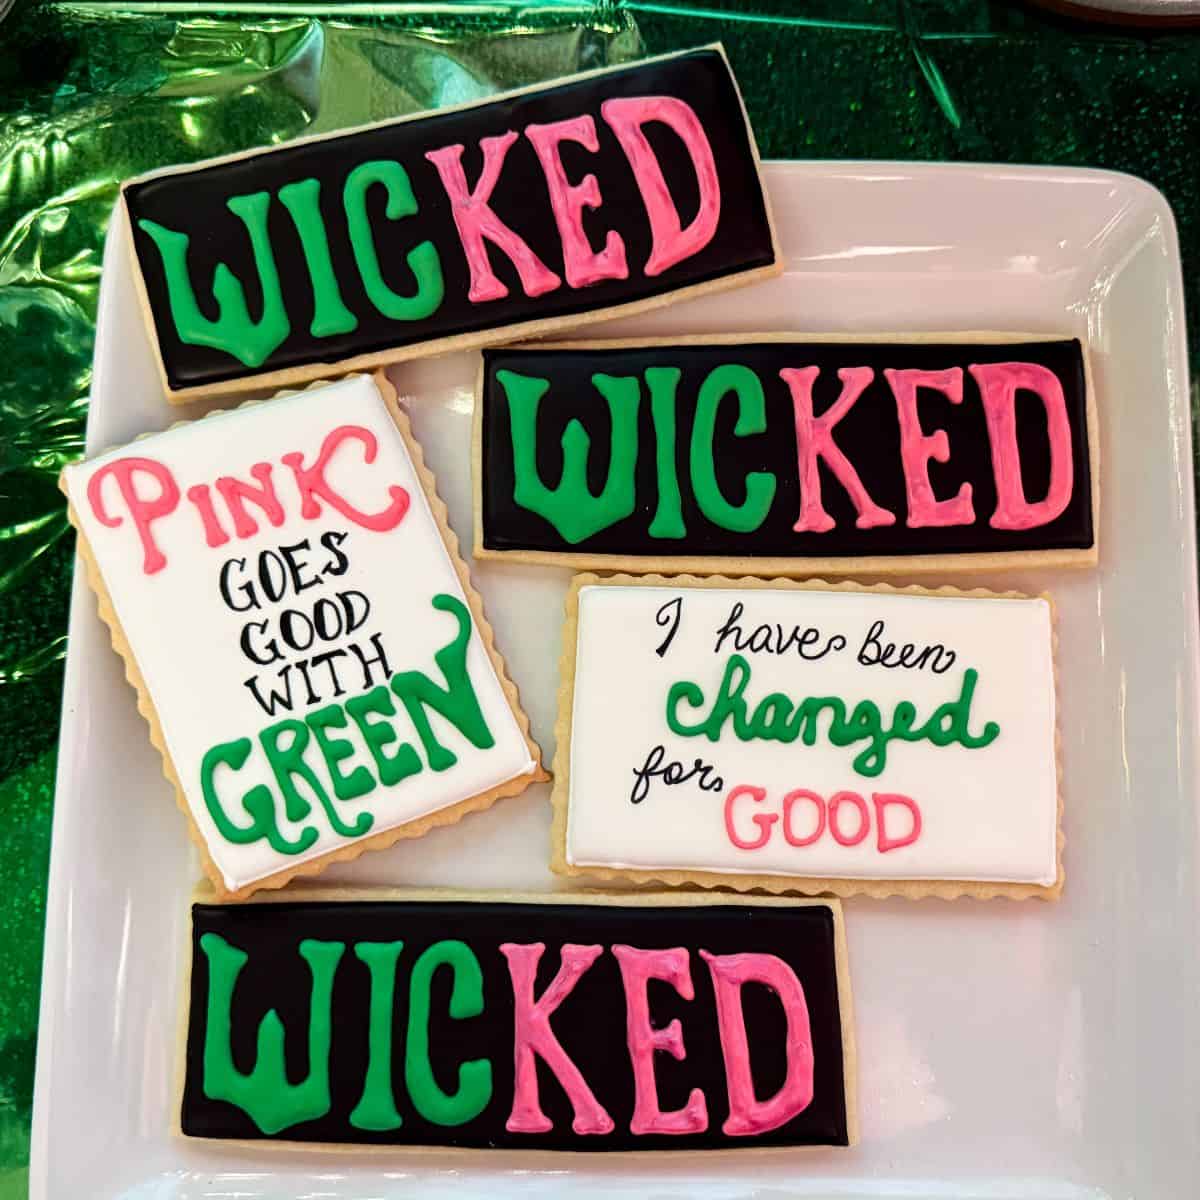
I chose the phrases, "Pink goes good with green" and "I have been changed for good" for the white icing cookies.
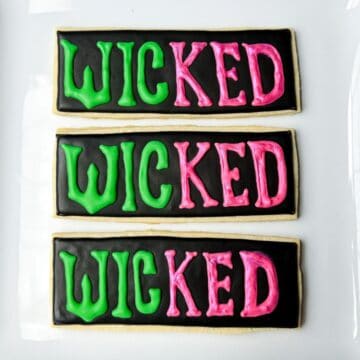
For the black icing cookies, I did the word "Wicked" in the Wicked movie logo font, using green for the first 3 letters and pink for the remaining letters.
I really liked how these cookies looked on the table and really tied the theme together. They were delicious too!
Supplies
- 1-2 batches of your favorite Sugar Cookies or Shortbread Cookies
- 1 batch Easy Royal Icing
- black royal icing powder
- scribe tool or toothpicks
- pink and green food coloring gels, such as AmeriColor or Chefmaster
- piping bag holders, optional
- disposable piping bags
- black edible marker, such as FooDoodlers
Optional decor:
- food dedicated paint palette
- plastic disposable transfer pipette
- clear alcohol like Everclear, vodka or clear vanilla extract
- food safe paintbrush
- edible pink luster dust
Bake the Cookies
I tried a new cut out sugar cookie dough recipe for these. After tasting the finished cookies, we decided we prefer this much less sweeter shortbread cookie recipe paired with royal icing to balance the sweetness.
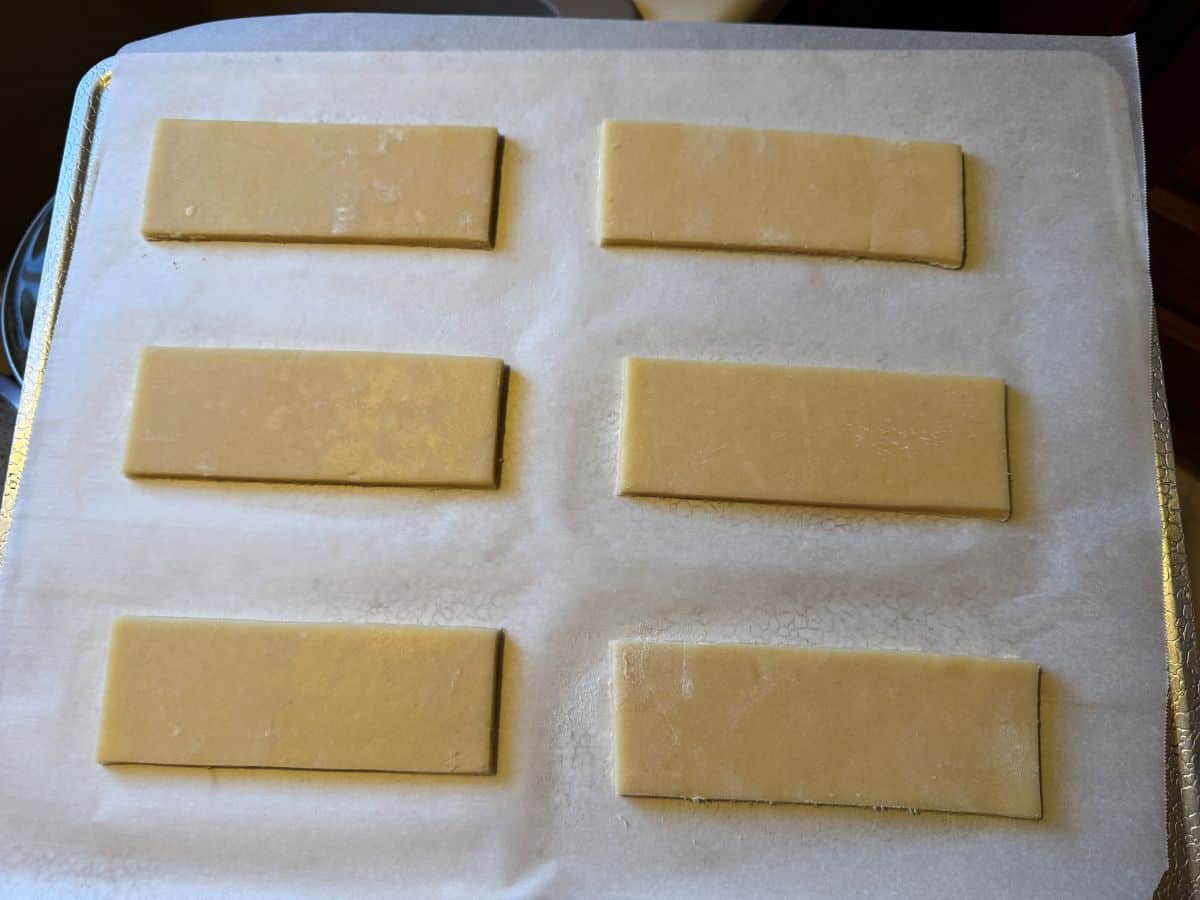
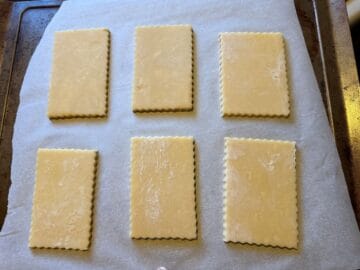
I roll my dough out with ¼-inch wooden dowel rods to ensure an even thickness.
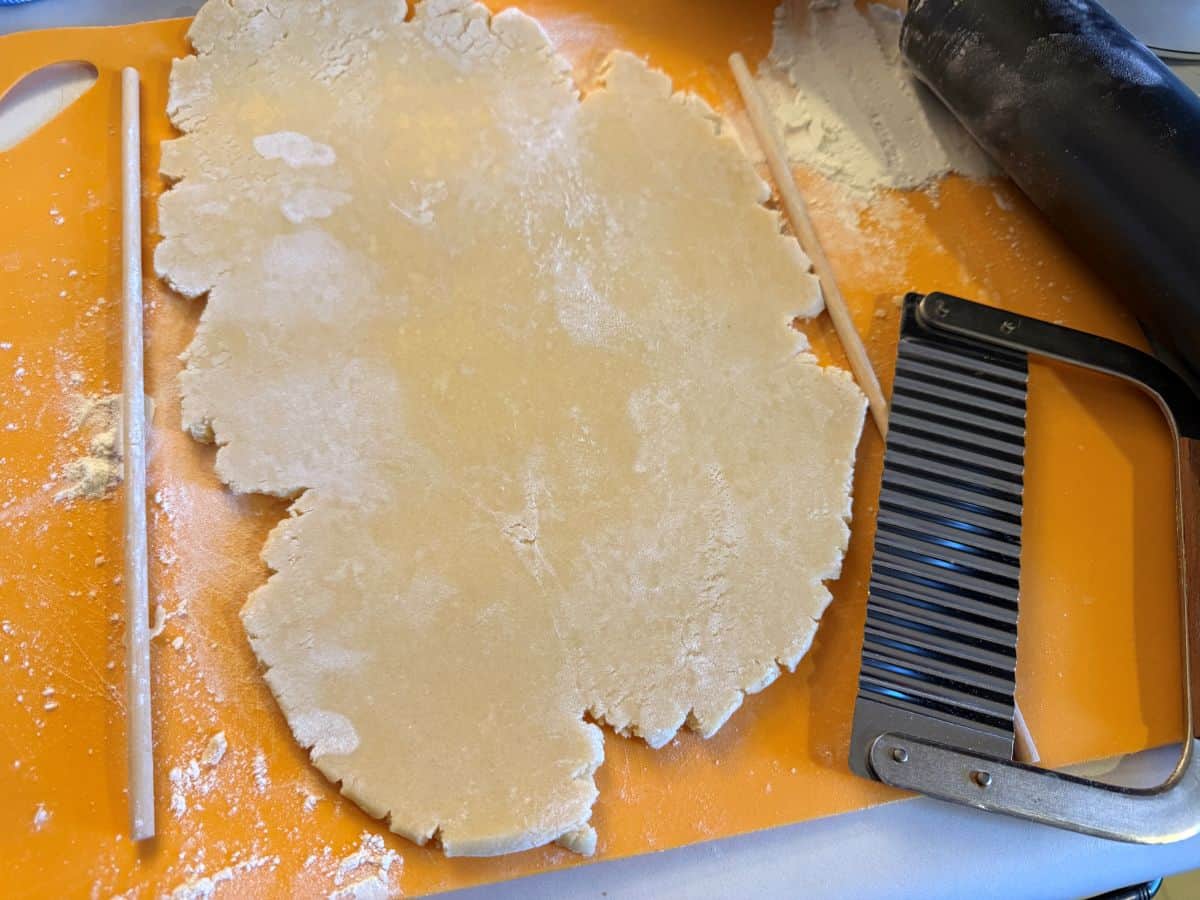
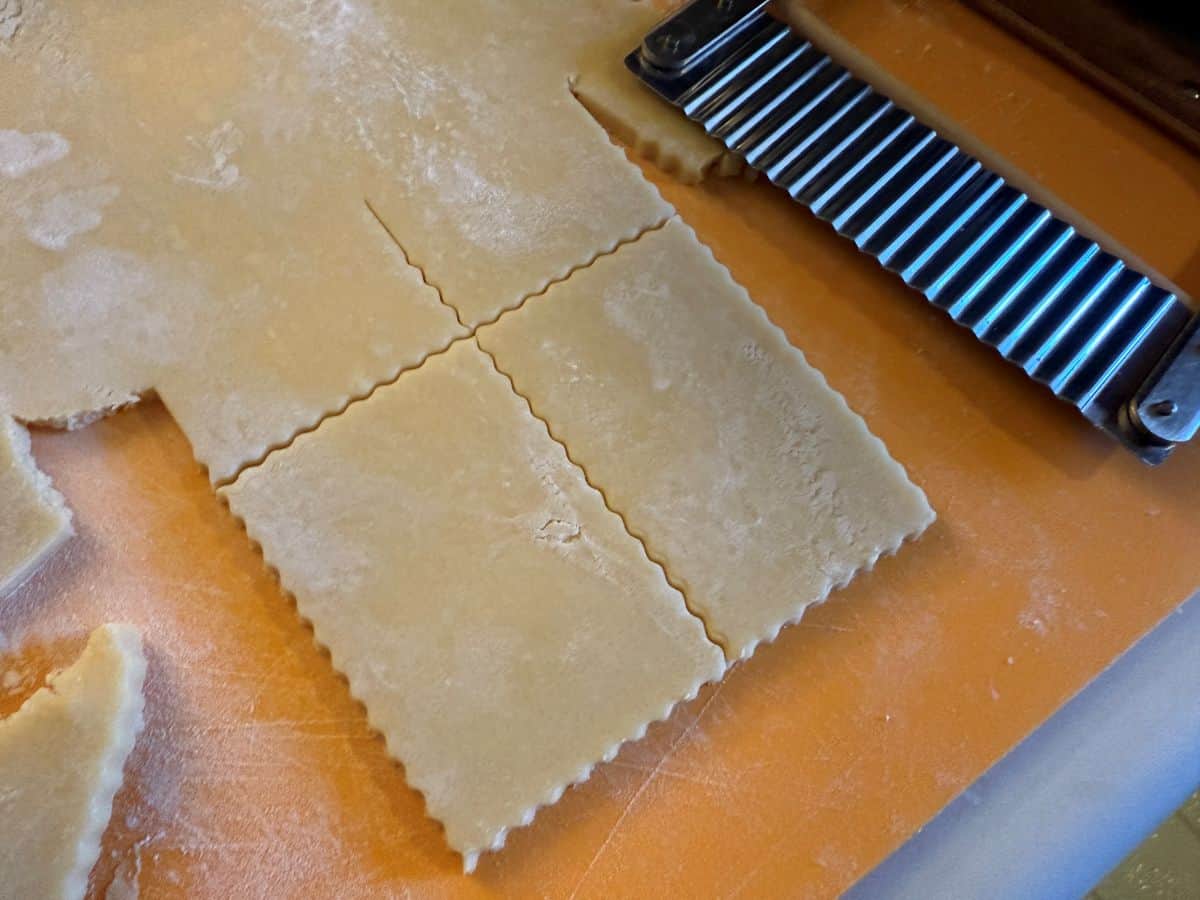
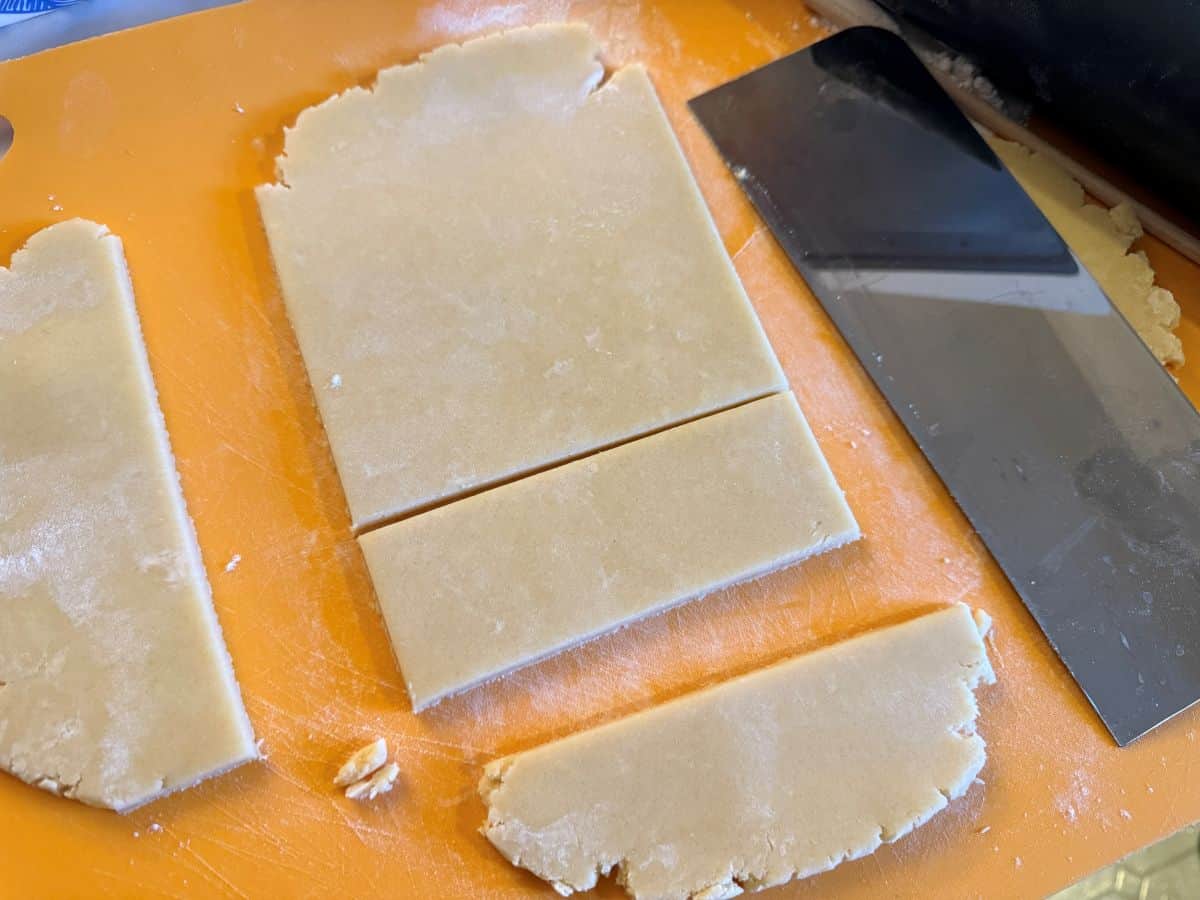
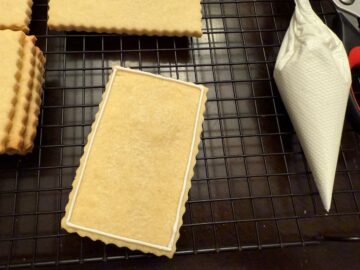
I made 2 shapes of cookies: a wider rectangle with a fluted edge and a longer rectangle with a straight edge.
For the fluted edge, I used a metal scalloped cutter that belonged to my great aunt.
For the straight edge cookies, I used a long metal cake scraper to cut the dough.
I baked the cookies according to the recipe's directions.
I usually slightly underbake the cookies, removing them before the edges turn brown. Since these cookies are large, I was worried about them breaking if too soft, so I baked them a few minutes longer than usual.

After I removed the cookies from the oven, I allowed them to cool on the cookie sheets before removing them to a wire rack to finish cooling.
Once completely cool, the cookies can be decorated immediately or stored in an airtight container overnight.
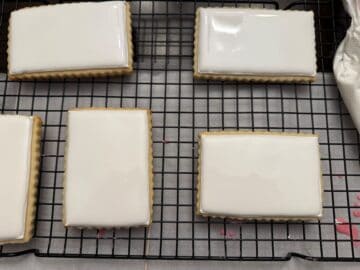
Outline and Flood
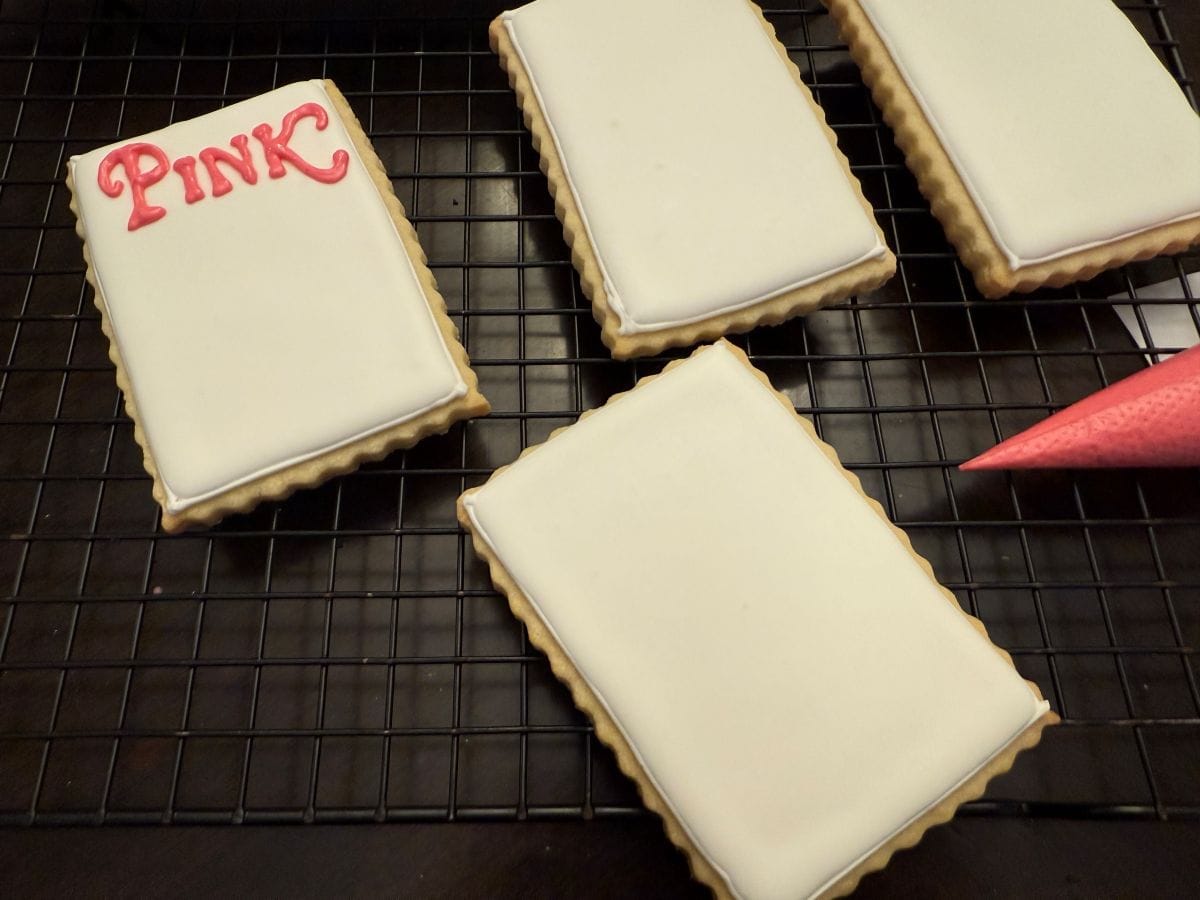
For these designs, I wanted a plain white or plain black background.
To achieve this, I outlined each of the scalloped edge cookies with white outline consistency royal icing.

Then, I prepared flood consistency royal icing.
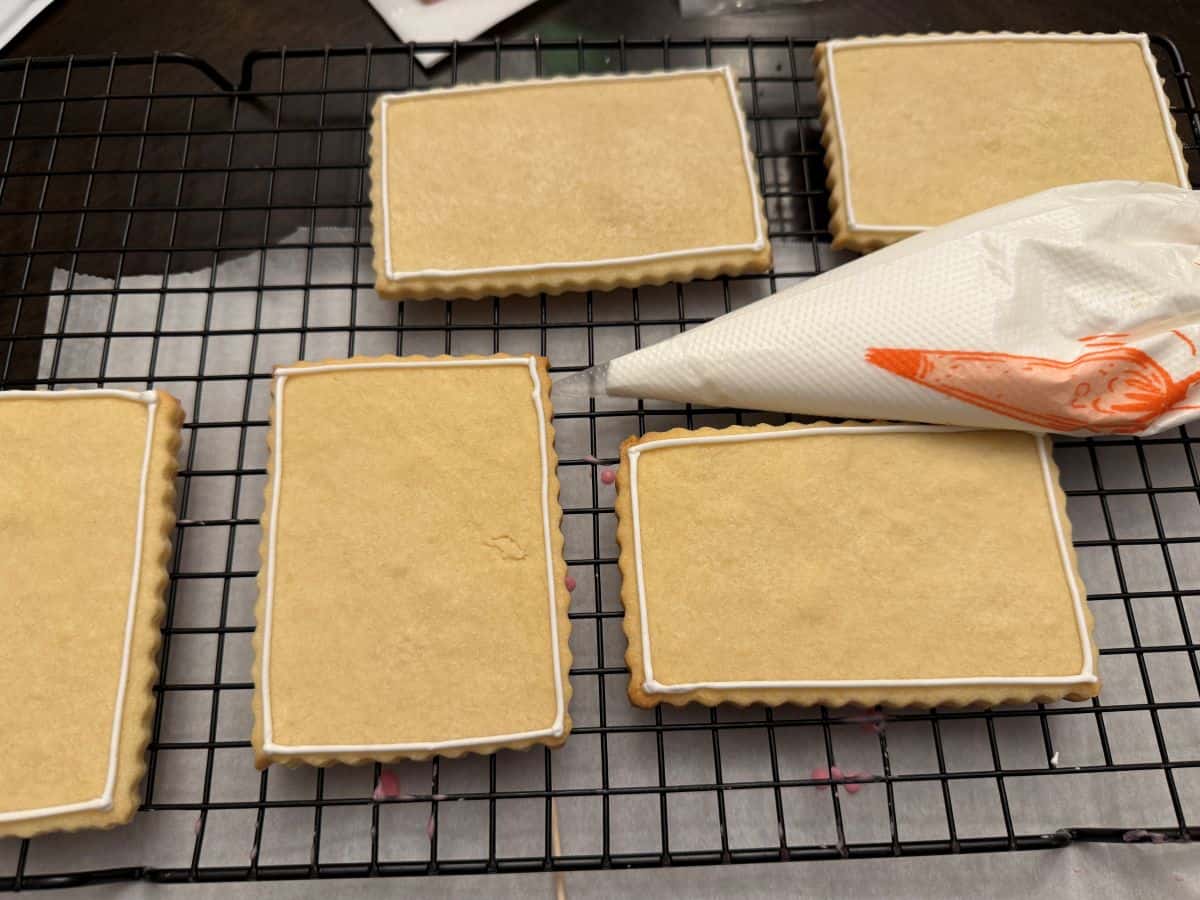
I flooded the cookies, using a scribe tool to guide the icing to the edges and also swirl the icing to pop any bubbles. You can also use a toothpick.

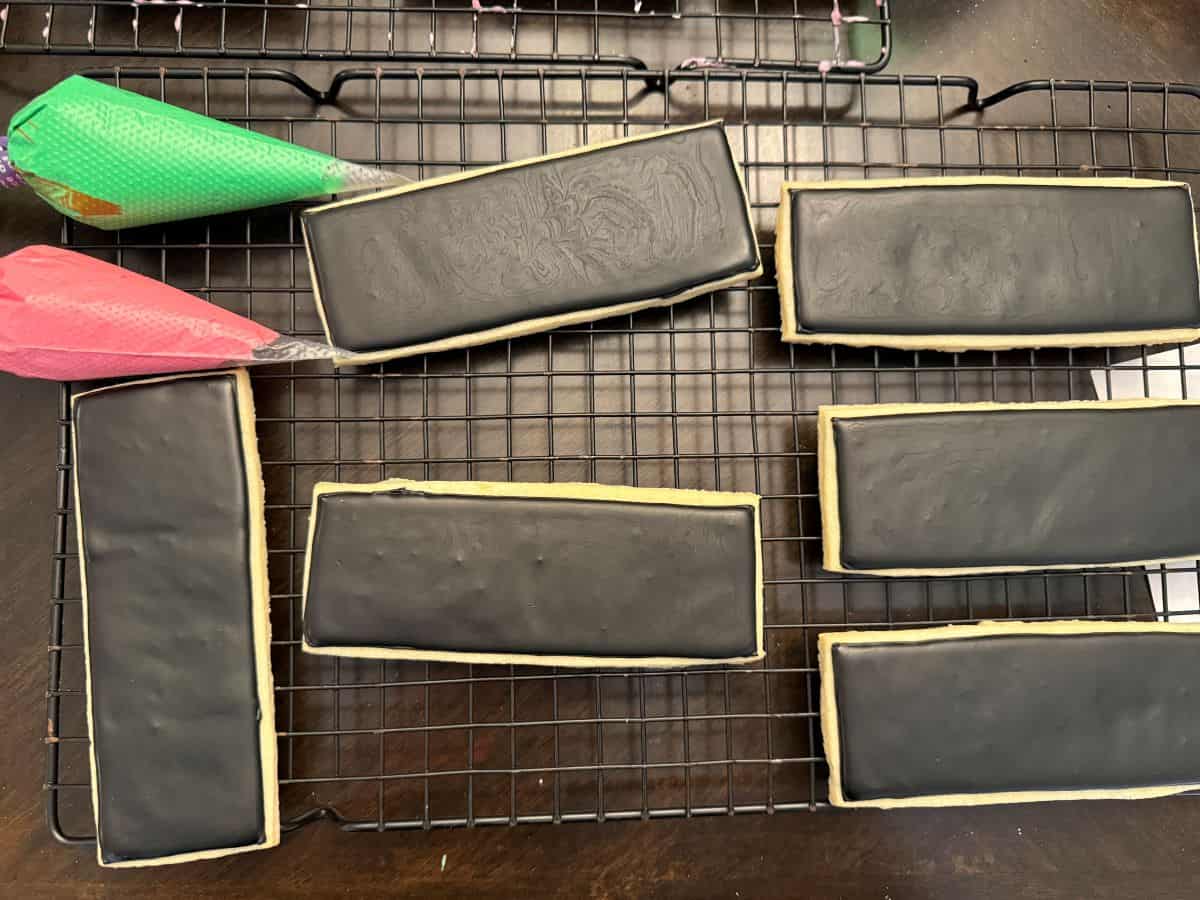
For the longer, straight edge rectangles, I piped a black icing border on each cookie using black outline consistency royal icing.
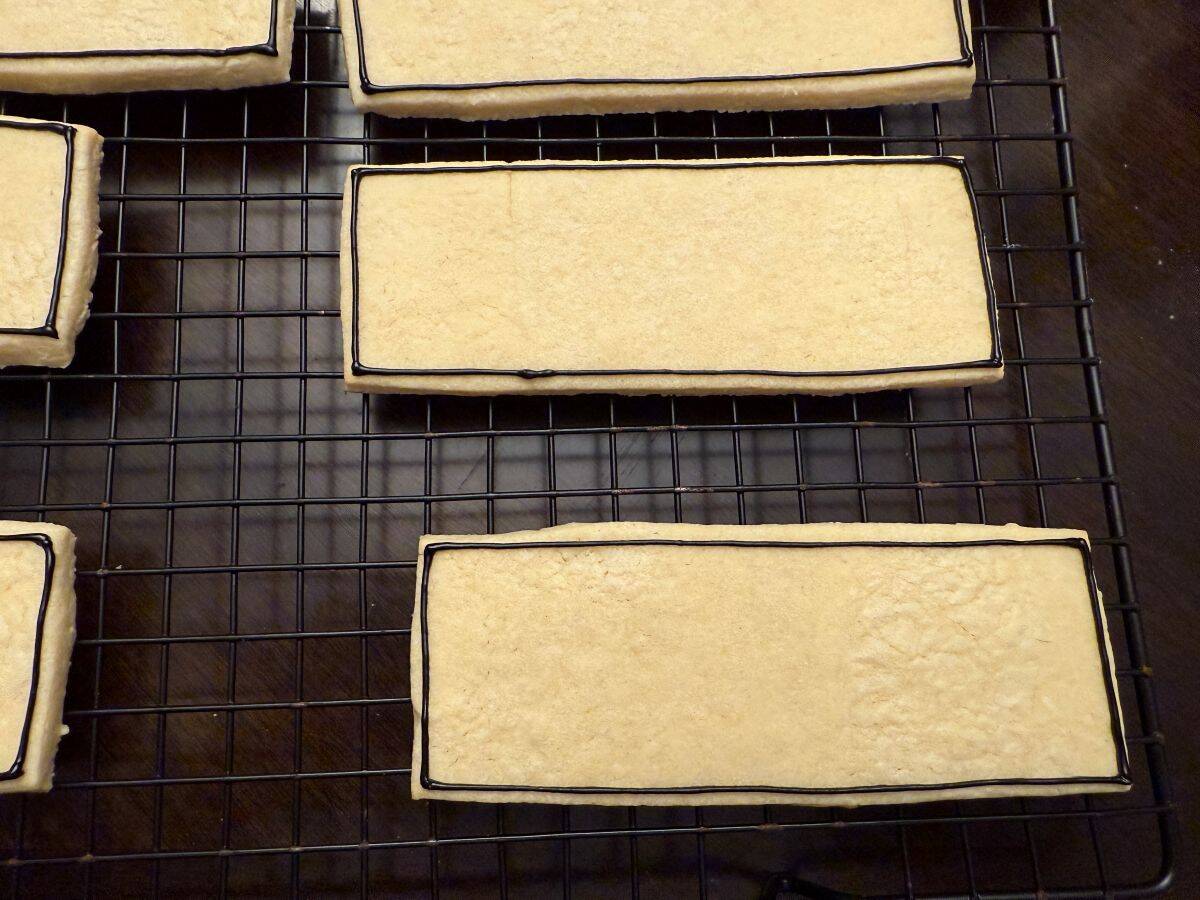
Then, I flooded each cookie with flood consistency black royal icing.

I allowed the cookies to dry overnight, at least 18 hours, until they icing was completely set, before adding the details.
Add the Details
My plan for the designs was to make some of the white cookies in portrait orientation with the phrase, "Pink goes good with green" and some in landscape with the phrase, "I have been changed for good."
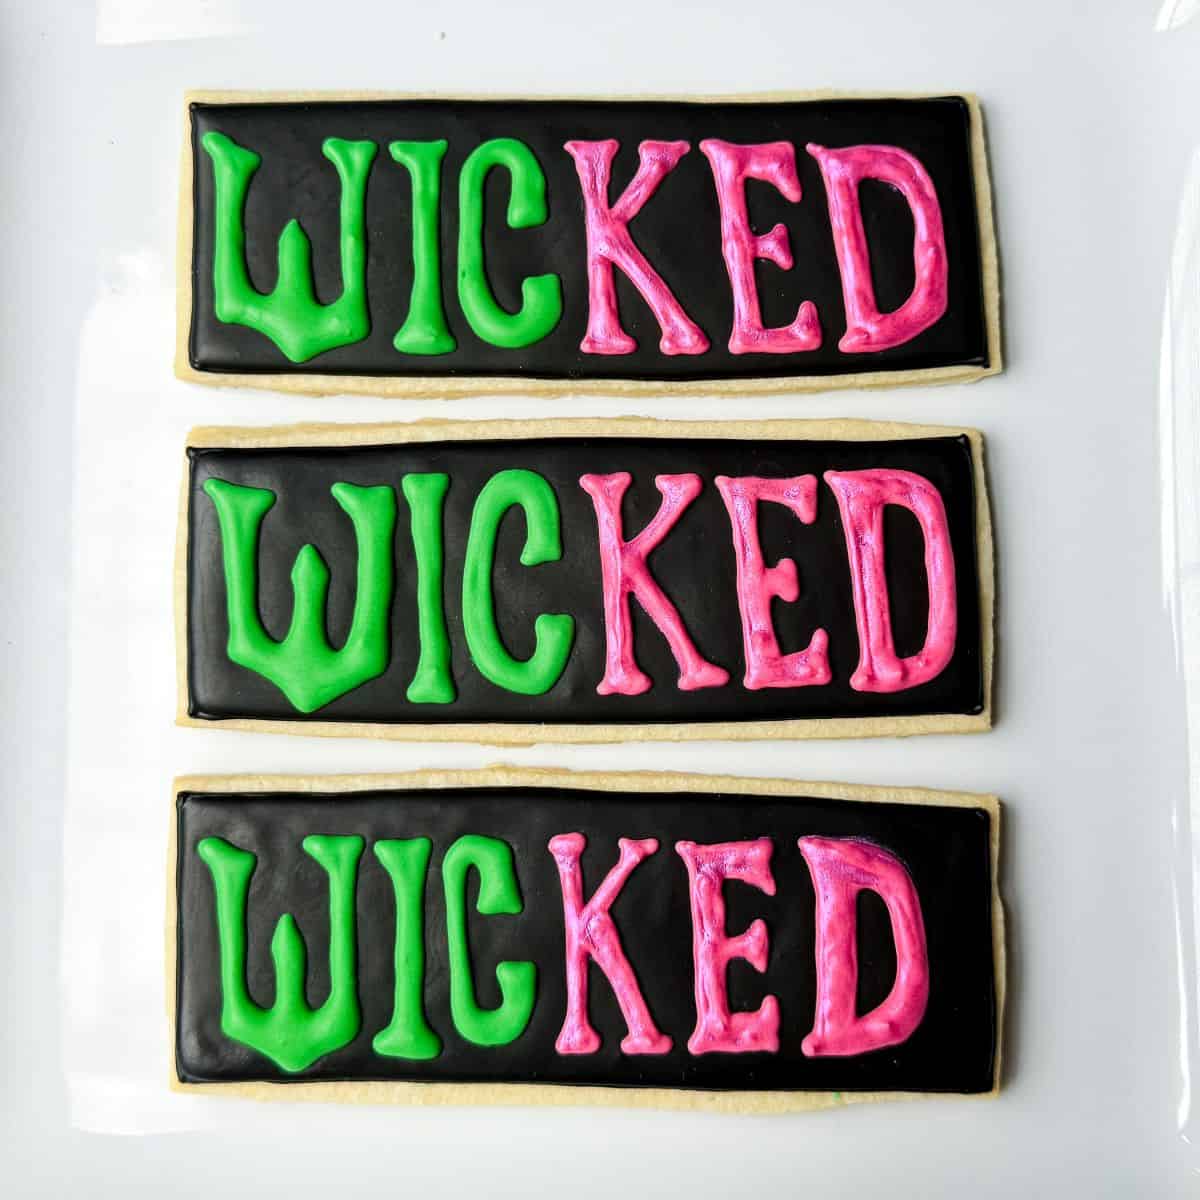
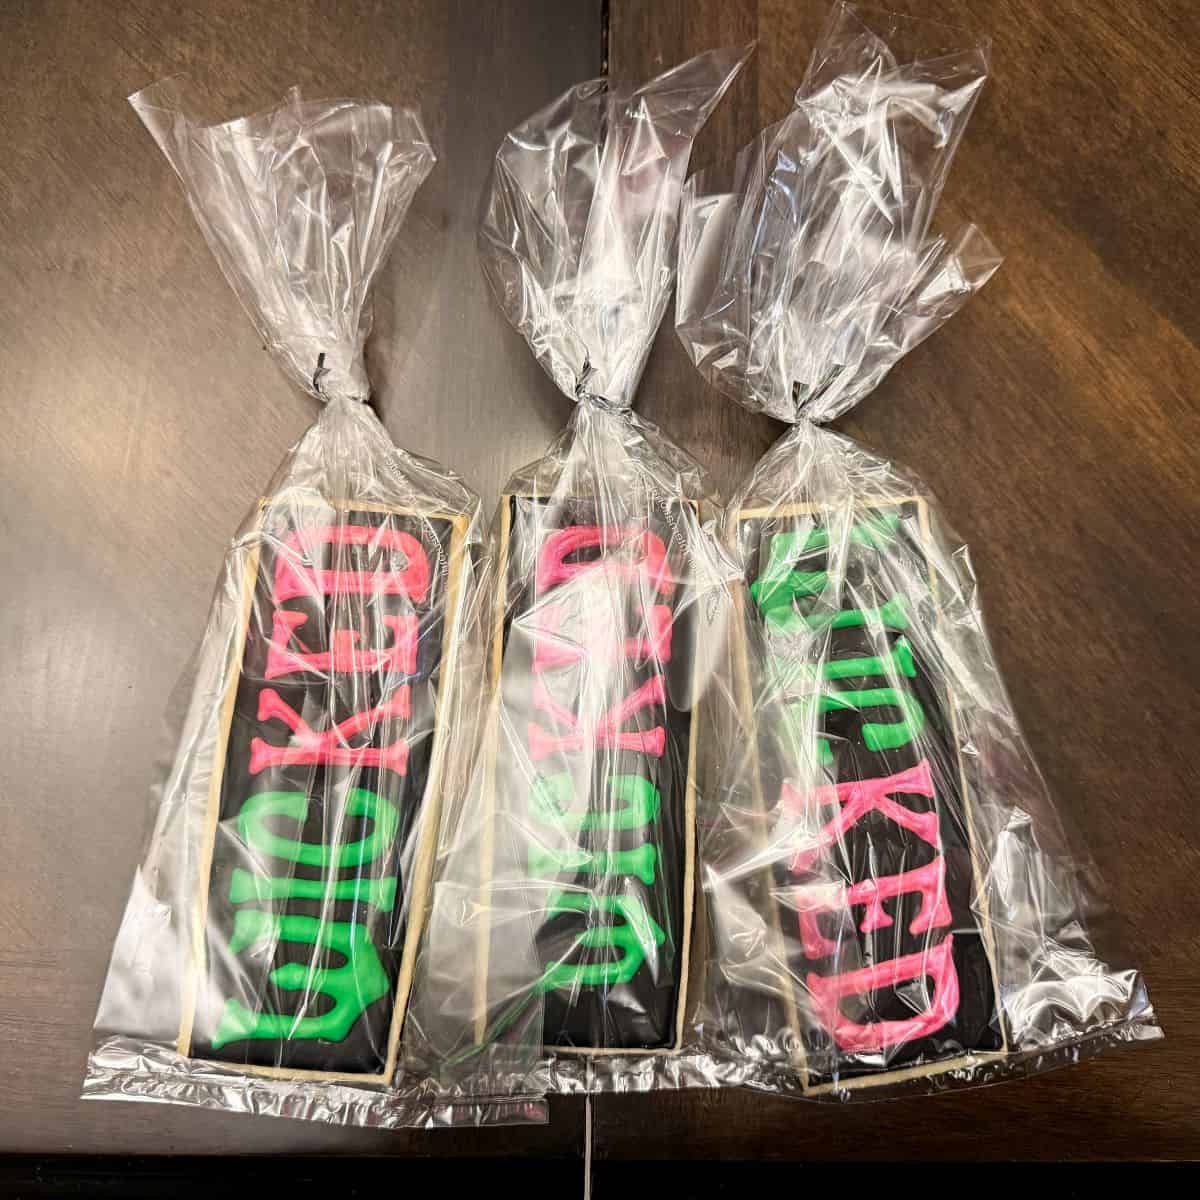
For the black cookies, I wanted to have the word "WICKED" in half green and half pink, just like the logo for the movie.
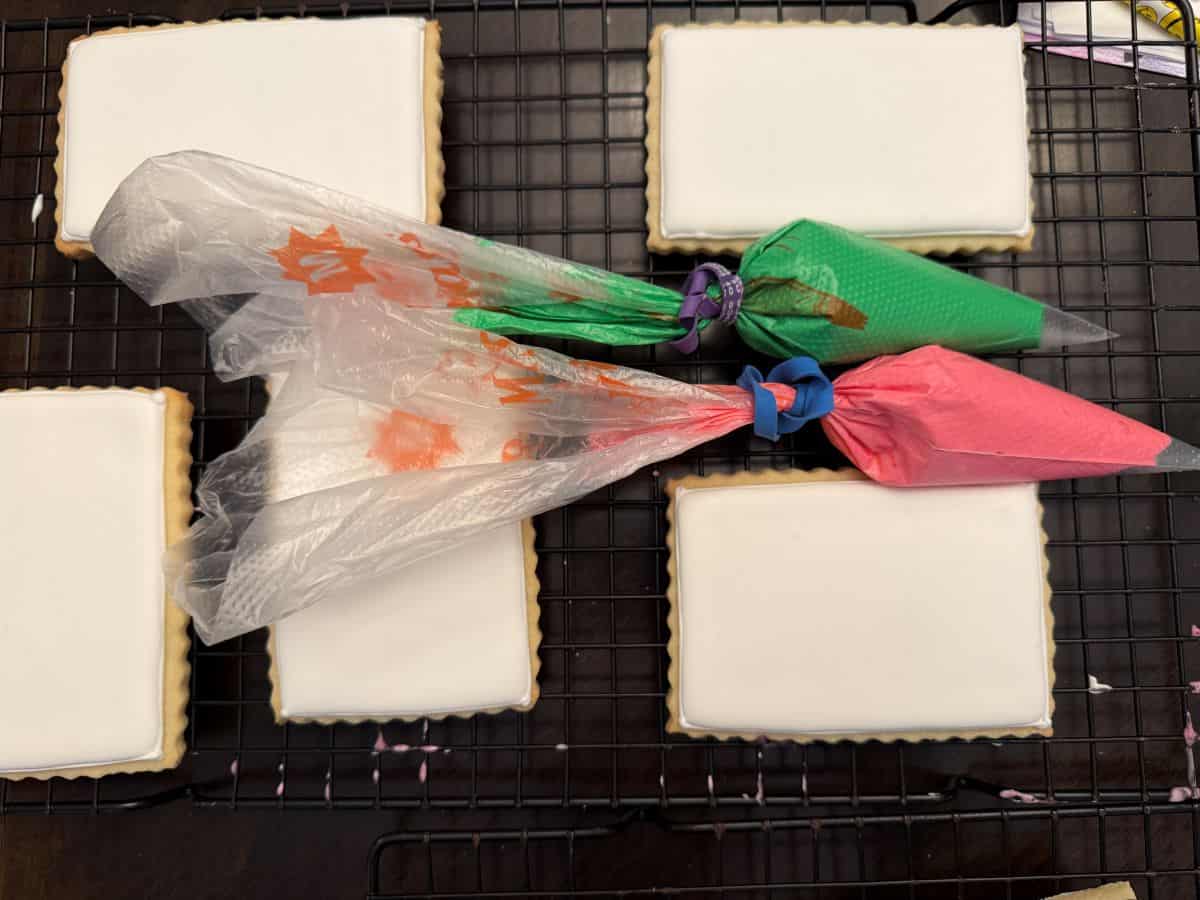
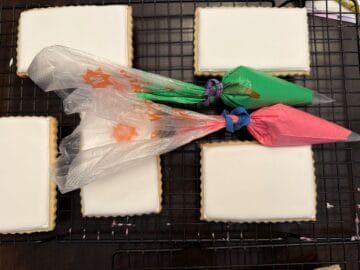
First, I prepared icing in both pink and green that was just slightly thinner than outline consistency.
I added each to a piping bag with the tip snipped off and secured at the top with a rubber band.
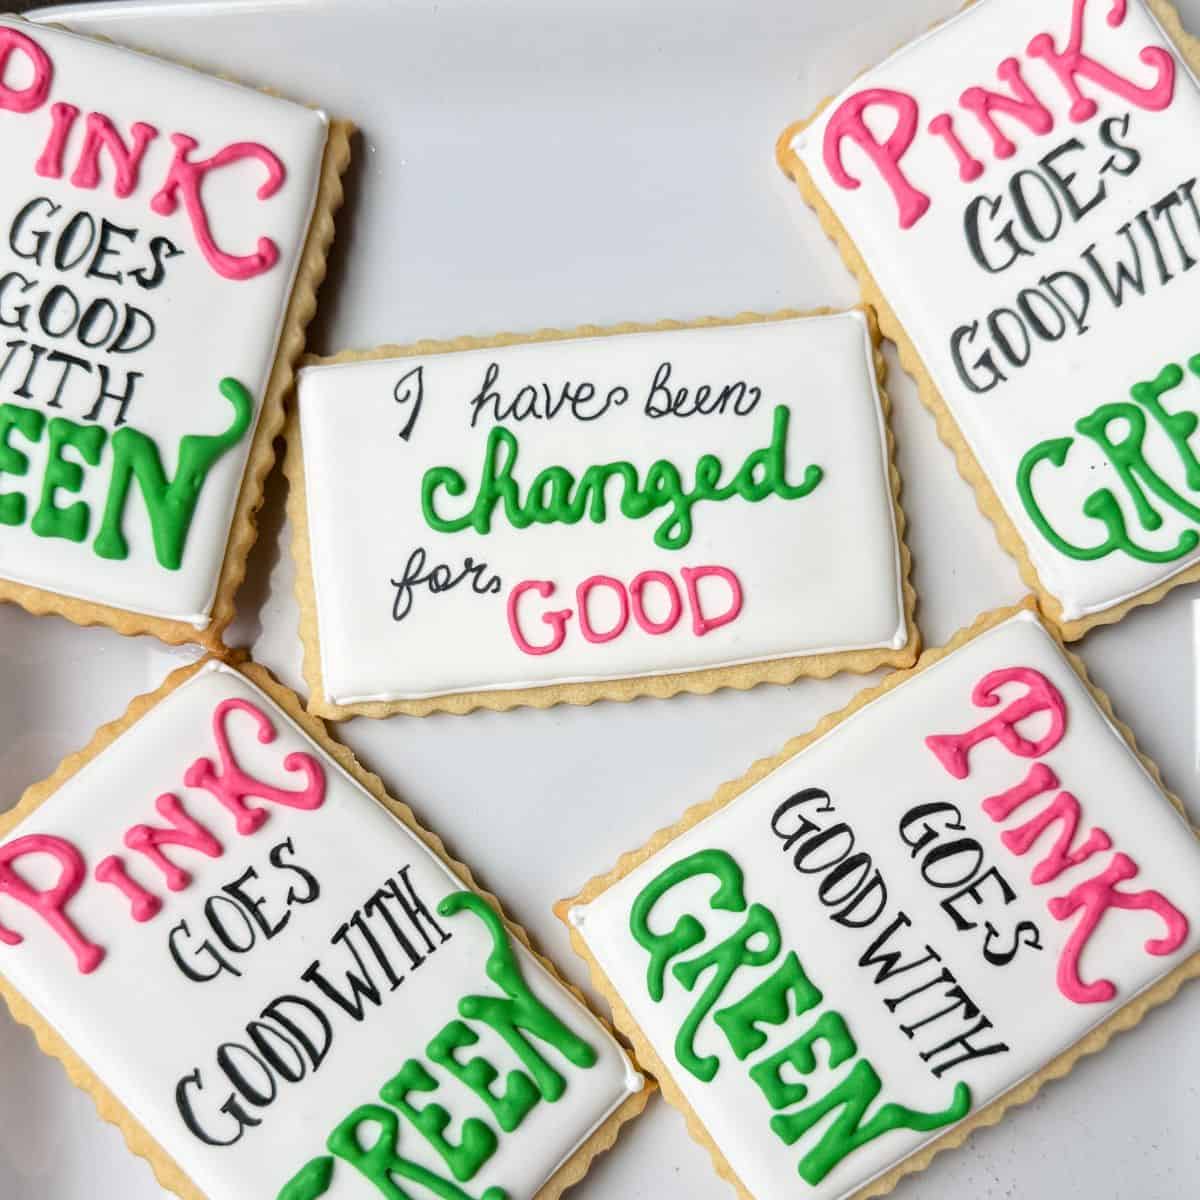
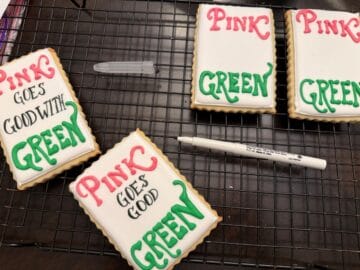
Using the pink icing, I piped the word "PINK" in a stylized font at the top of some of the white cookies in portrait orientation.
Then, I piped the word "GREEN" at the bottom of these cookies. After allowing the lettering to dry completely, I went in with an edible black marker and wrote the words "GOES GOOD WITH" in the center of the cookies.

For the remaining white cookies, I piped the word "changed" in green in the center of the cookie and the word "GOOD" in pink at the bottom of the cookie in landscape orientation.
After the lettering had dried, I used a black edible marker to write the words "I have been" at the top and "for" between "changed" and "GOOD."

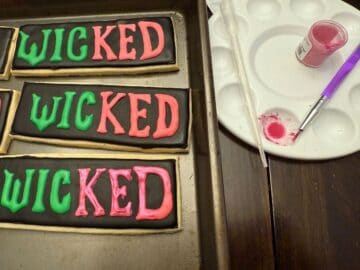
For the black cookies, I piped the letters "WIC" in green and "KED" in pink, copying the Wicked logo font.
After the lettering completely dried, I mixed up a suspension of pink luster dust with Everclear and painted it on the pink letters to give them some sheen.

Storage
I allowed all of the cookies to dry at room temperature in airtight containers in single layers. I never recommend stacking royal icing cookies. The grease from the top cookie can leach onto the bottom cookie and ruin the royal icing design.
If you want to package the cookies in treat bags, make sure they are completely dry before placing them in the bags. Secure the bag with a twist tie or decorative ribbon.
Gluten Free Option
Use your favorite gluten free sugar or shortbread cookie recipe. I have made these shortbread cookies using Bob's Red Mill 1 to 1 Gluten Free Flour Blend. The flavor is spot on, but the cookies are more fragile and crumbly than those made with all purpose flour.
📖 Recipe

Wicked Sugar Cookies
Equipment
- disposable piping bags
- Plastic tip coupler
- small round tips like #5
- food dedicated paint palette
- disposable plastic transfer pipette
- food-safe paintbrush
Ingredients
- 1-2 batches sugar or shortbread cookies (see note)
- 1 batch Easy Royal Icing (see note)
- black royal icing powder
- pink and green food coloring gel
- black food coloring pen or marker (such as FooDoodlers)
Optional Decor:
- edible pink luster dust
- clear alcohol like Everclear, vodka or clear vanilla extract
Instructions
Bake the Cookies
- Roll the dough into ¼-inch thickness and cut it into rectangles with either a scalloped or straight edge (or both). Use a ruler to keep the size of the cookies consistent. Make a mixture of thinner, longer rectangles and some that are wider.

- Bake the cookies according to your recipe's instructions and allow them to cool to room temperature.
Outline the Cookies
- Starting with the untinted (white) stock royal icing, add about ¼ cup to a bowl and add very small amounts of warm water to achieve outline consistency icing, carefully stirring with a small silicone spatula to avoid introducing bubbles into the icing.
- Transfer the icing to a disposable piping bag and cut off a very small piece of the tip to make a small round opening. Start by just snipping off a tiny amount; you can always cut more if the opening is too small. Outline the wider cookies by piping a rectangular border on the top of each cookie.
- Prepare outline consistency black royal icing by adding small amounts of warm water to the black icing powder. Transfer to a piping bag with the tip cut off.
- Pipe a black outline around the longer rectangle cookies.

- Allow the outlines to dry at least 1 hour before proceeding to the flood step.
Flood with Royal Icing
- Prepare flood consistency untinted (white) royal icing by thinning stock royal icing with small amounts of water until desired consistency is achieved.
- Transfer the icing to a disposable piping bag, and cut off a small amount of the tip. Fill the center of each white outlined cookie with the white icing. Use a toothpick or a scribe tool to swirl the icing on the cookie to pop any bubbles.
- Prepare flood consistency black royal icing. Transfer to a disposable piping bag with the tip cut off. Fill the center of each black outlined cookie. Use a toothpick or scribe tool to swirl the icing and pop any bubbles.

- Allow the icing to dry completely at room temperature, about 18 to 24 hours, before adding the details.
Add the Details
- Prepare pink and green royal icing that is just slightly thinner than outline consistency. Transfer each to a piping bag with the tip snipped off.
- With the pink icing, pipe the word "Pink" on the top of half of the white cookies in portrait mode and the word "GOOD" on the bottom of the other white cookies in landscape direction.

- With the green icing, pipe the word "GREEN" at the bottom of the portrait cookies and "changed" in the middle of the landscape cookies.
- Use the green to pipe the letters W-I-C on the black cookies and the pink to pipe the letters K-E-D, making the letters mimic the Wicked logo font.
- Allow all of the lettering to dry completely.
- Use a black food coloring marker to wrote the words "GOES GOOD WITH" in the center of the portrait cookies and "I have been" at the top of the landscape cookies, along with "for" before the pink "GOOD."

- To add some shine to the pink letters on the black cookies, add some drops of clear alcohol to pink luster dust and brush onto the pink letters.

Leave a Reply