
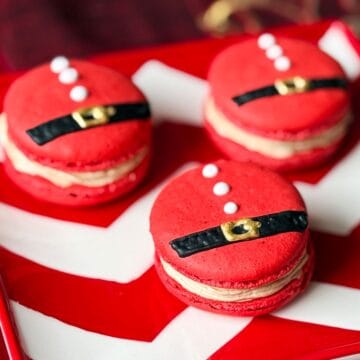
These Nut Free Santa Macarons are red French cookies decorated with Santa's belt and buttons. They are also gluten free. They are a cute addition to a holiday cookie tray!
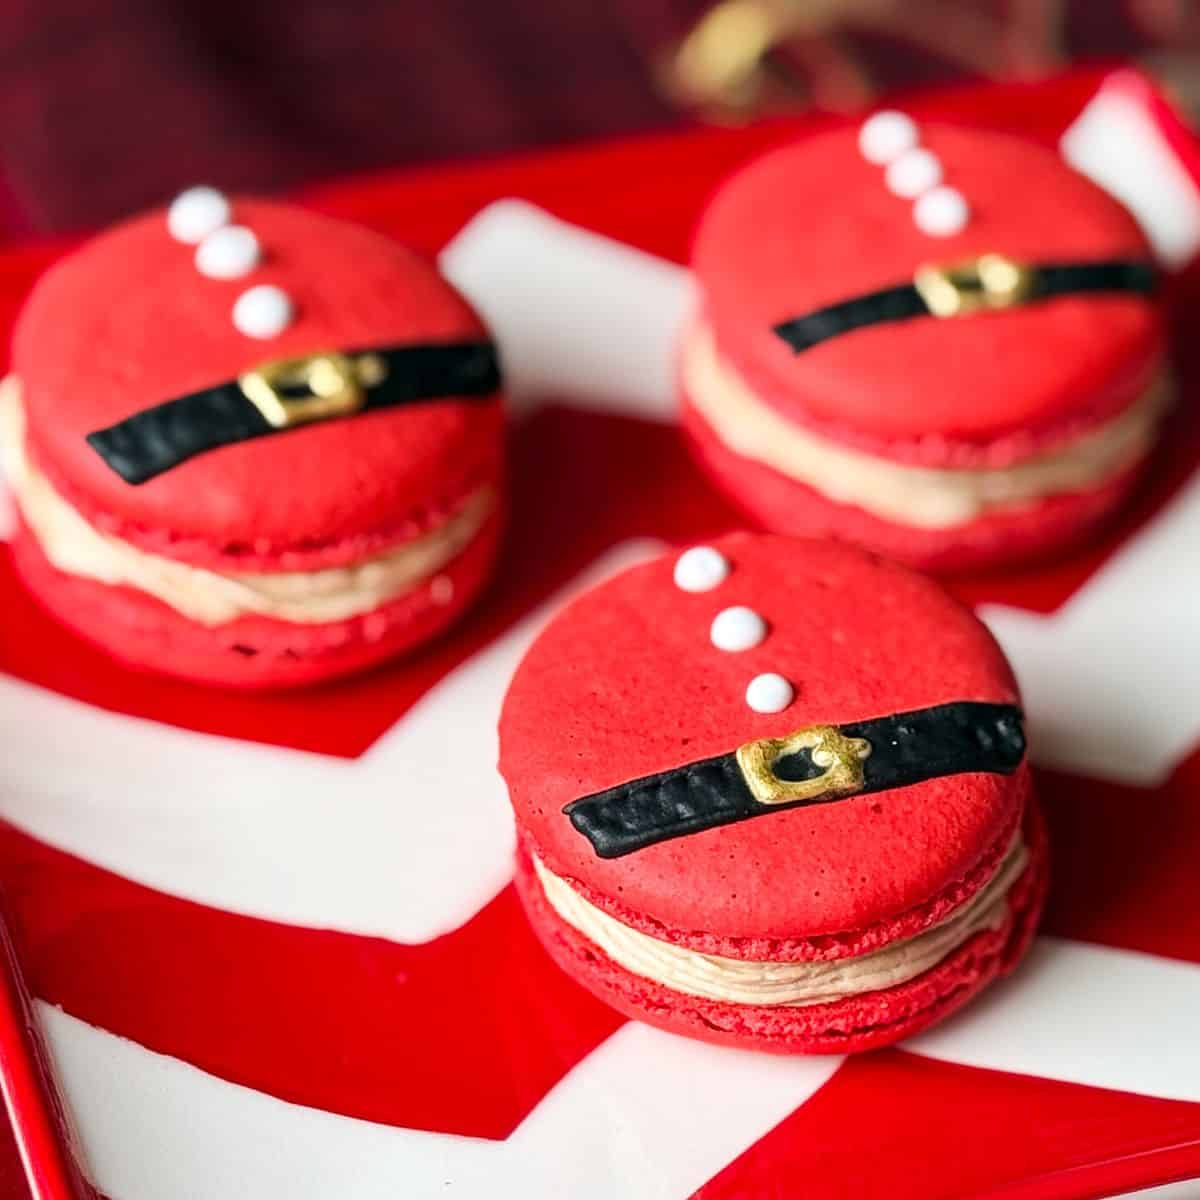
Since attempting Nut Free French Macarons a few years ago, I have wanted to make them for every holiday. I now have recipes for Snowflake Macarons, Valentine's Day Macarons, St. Patrick's Day Macarons, Easter Bunny Peep Macarons, Halloween Macarons, and Thanksgiving Macarons.
I was on a quest to make a holiday macaron but could not decide on a design. There are so many cute ones out there!
I finally settled on these Santa Macarons due to the simplicity. I had some leftover Nut Free Apple Macchiato Macarons that I used for these.
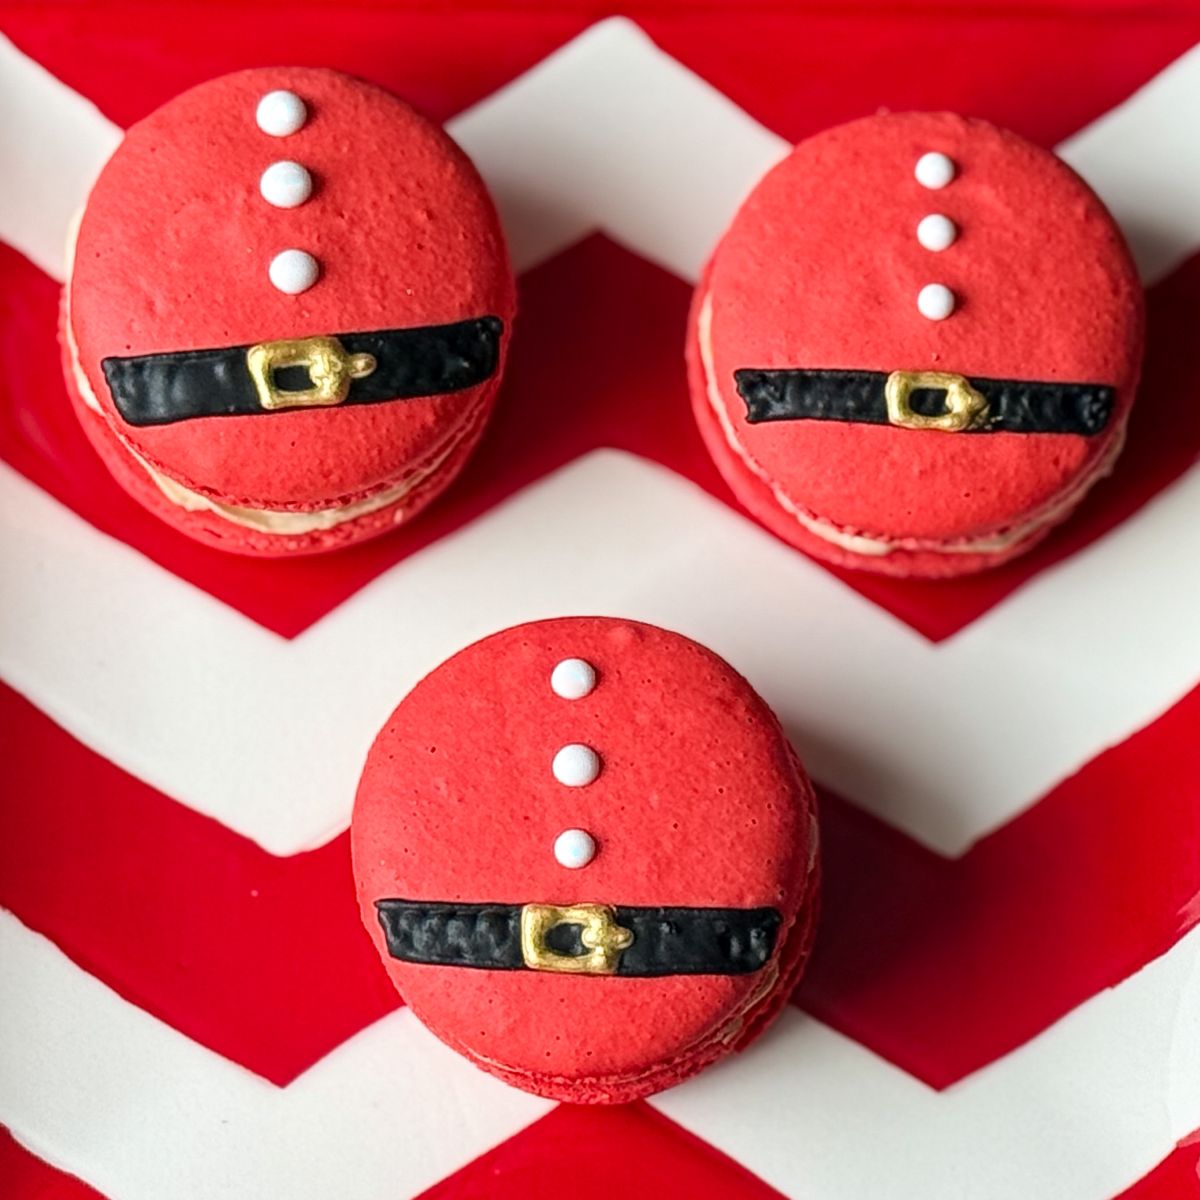
They turned out so cute for our Christmas cookie trays. I would love to try more designs in the future.
Jump to:
Supplies
Other than the ingredients for the macaron shells, you will need:
- wire strainer or sifter
- wire whisk
- Digital kitchen scale
- 2 macarons mats
- 2 half sheet pans
- Disposable piping bags
- medium round tip, like #12
- Plastic tip coupler
- small binder clip
- Piping bag holders
- red no taste food coloring gel, such as Chefmaster
- round or decorative piping tip
- black royal icing powder or Easy Royal Icing and black food coloring gel, such as AmeriColor Super Black
- gold food coloring gel
- Easy Royal Icing or white royal icing powder
- food dedicated paint palette
- thin food safe paintbrush
- plastic transfer pipette
- edible gold luster dust
- clear alcohol like Everclear, vodka or clear extract
Make the Macaron Shells
When I make macaron shells, I like to get all of my ingredients and equipment ready before I begin. This includes weighing the egg whites, weighing and sifting the powdered sugar and oat flour, weighing the granulated sugar, and setting up the piping bag.
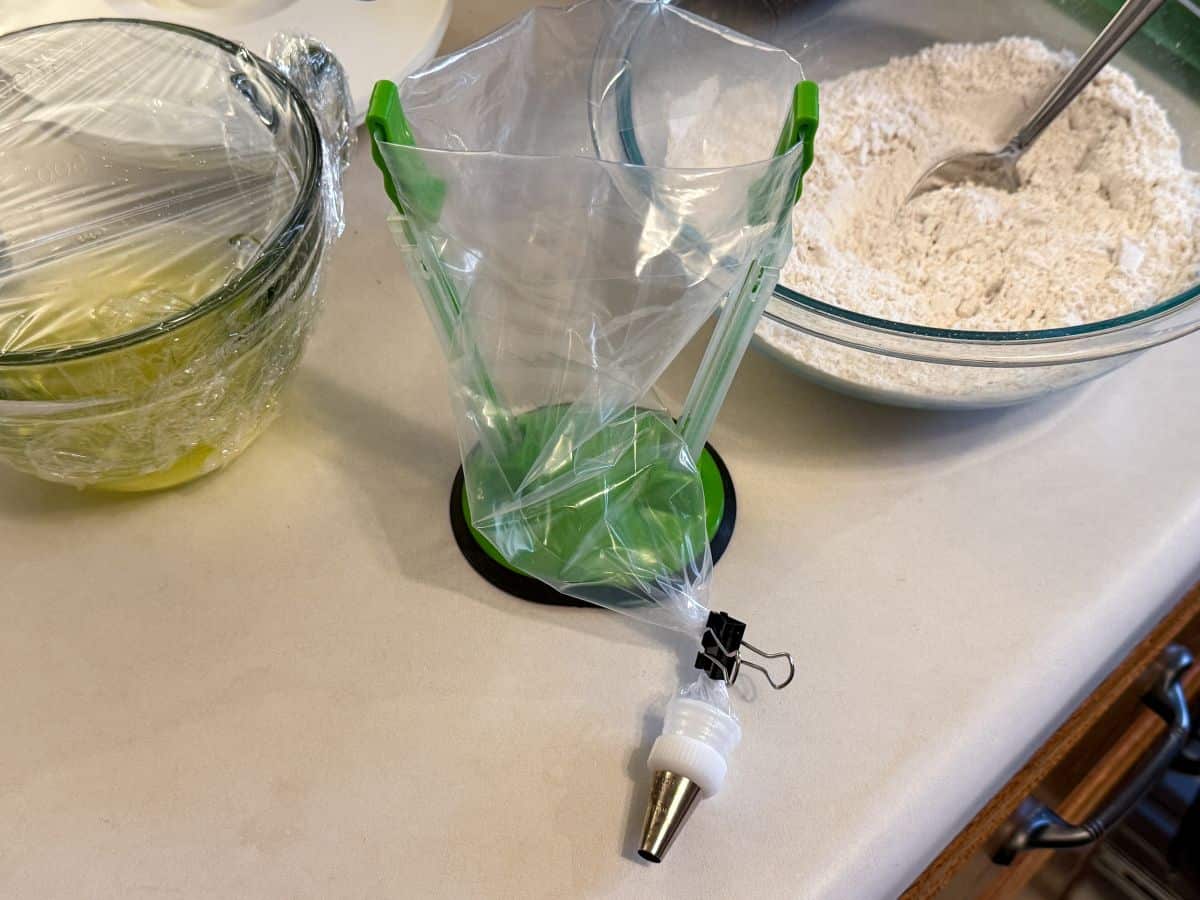
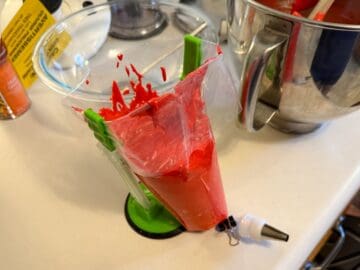
After trial and error, my preferred method is to fit a medium round #12 piping tip into a disposable piping bag secured with a plastic coupler. I twist the bag just above the coupler and secure it with a small binder clip to prevent the batter from flowing out when filling the bag. I also use a piping bag holder to keep the bag upright and open.
The first step is to make the meringue. Beat the egg whites in the bowl of a stand mixer fitted with the whisk attachment until frothy. Add the cream of tartar and continue beating the egg whites while slowly adding the granulated sugar one spoonful at a time.
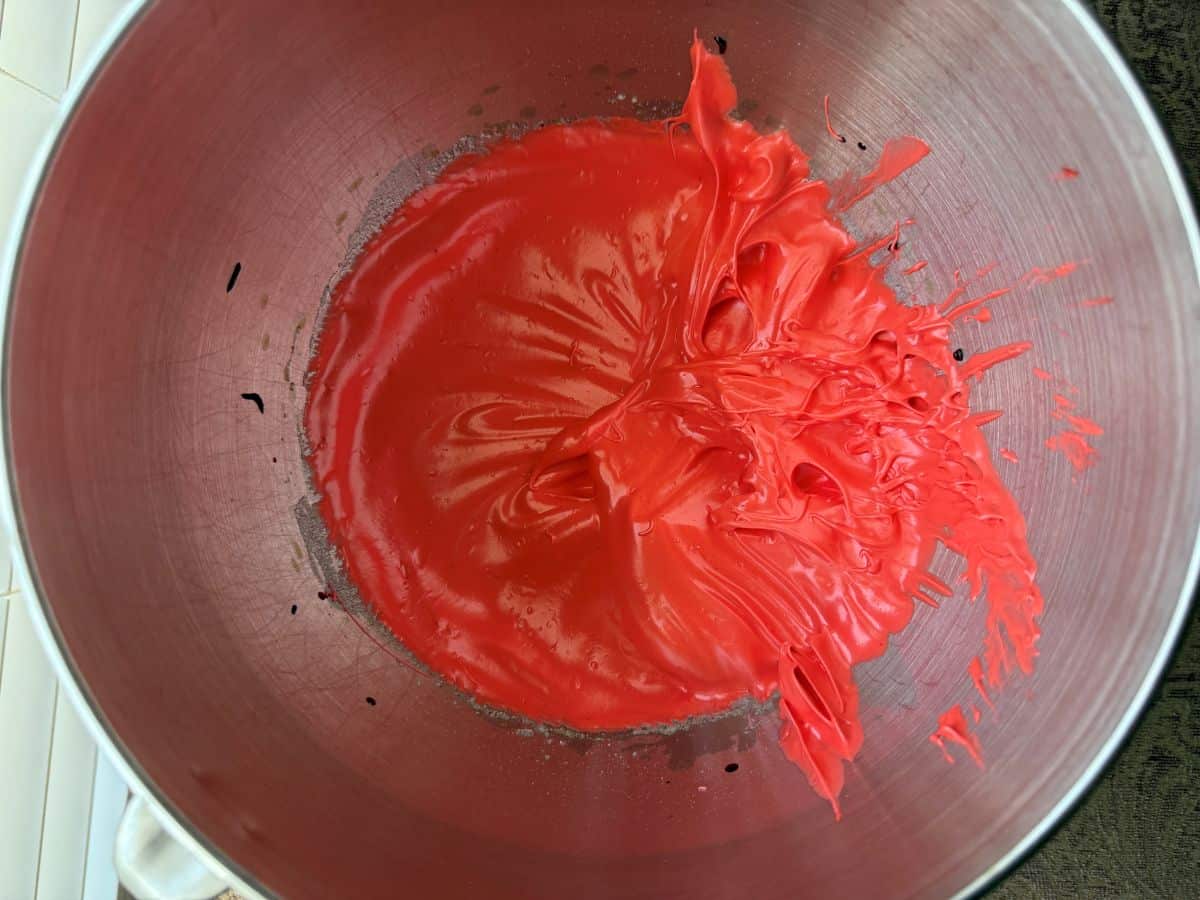
Then, add the vanilla and red no taste food coloring gel until a vibrant red color is achieved. Continue beating until the whites form stiff peaks.
The meringue is now ready for a process called "macaronage," which involves folding the dry ingredients into the meringue.
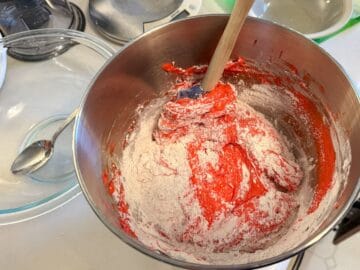
First, ⅓ of the dry ingredients are folded in, followed by the remaining ⅔. For typical almond flour macarons, you want to fold until the batter reaches the "figure 8" stage. For oat flour macarons, you actually want to stop before this stage. The oat batter can go from under mixed to too runny quickly.
I recommend two resources with visuals as to when the batter is ready to be piped: America's Test Kitchen and Le Cordon Bleu, but keep in mind you want to stop folding sooner with this oat flour batter.
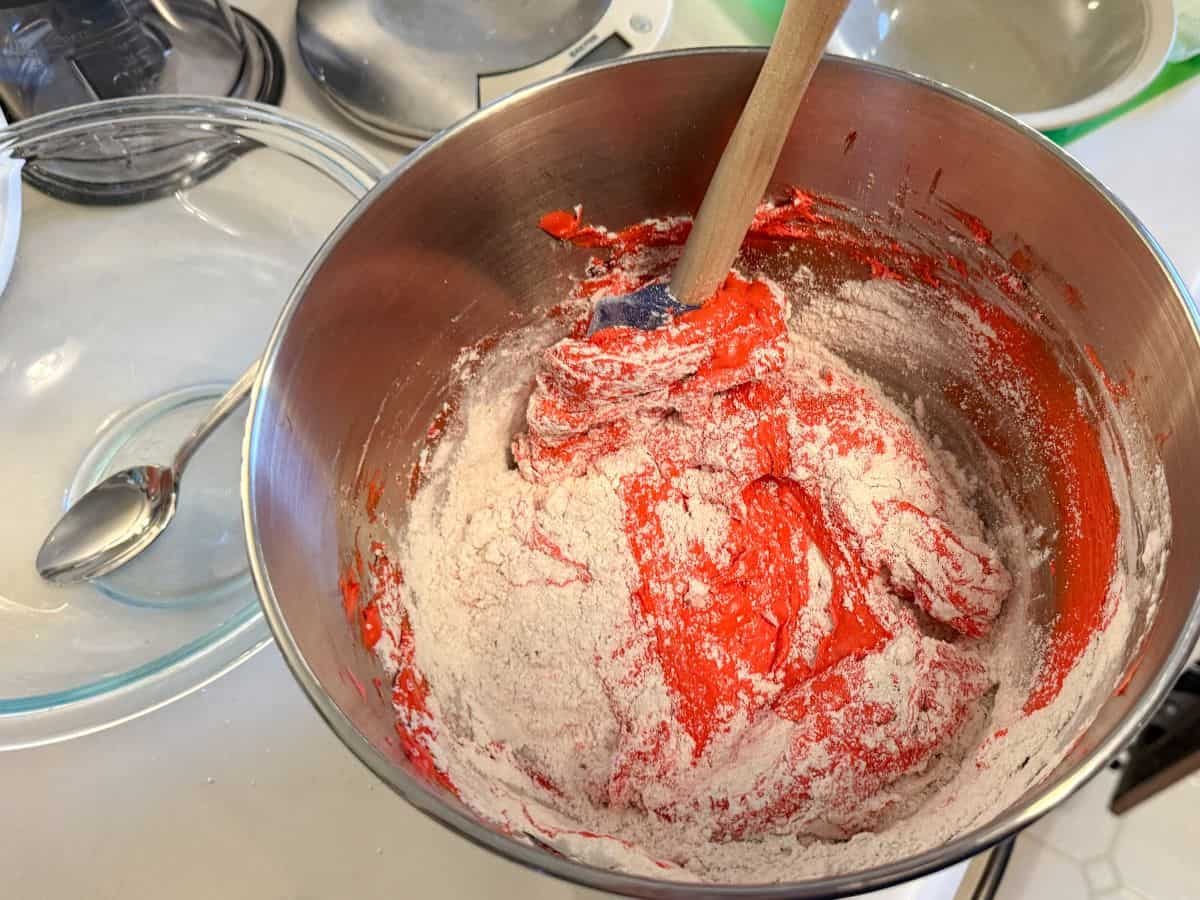
Once the batter is ready, transfer it to the piping bag.
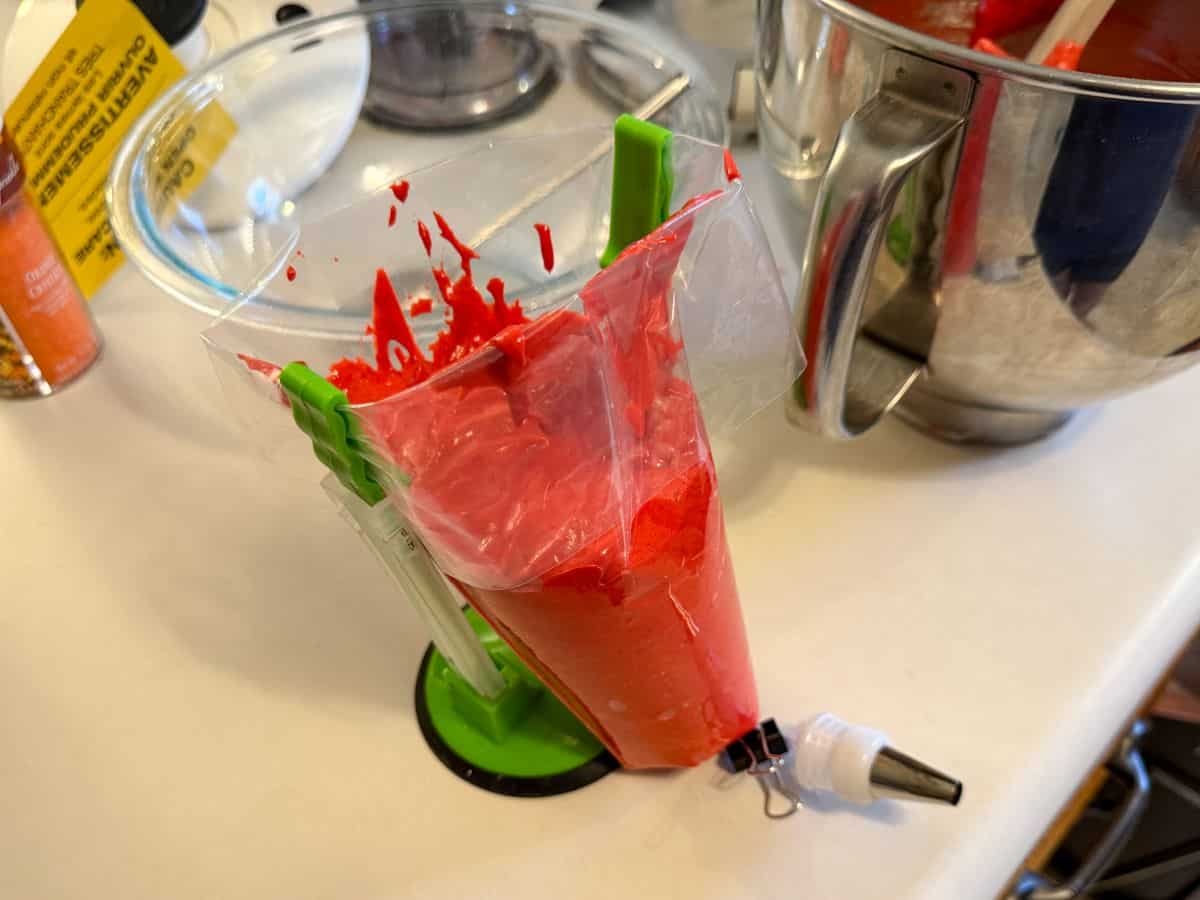
Remove the binder clip and allow the batter to flow into the tip.
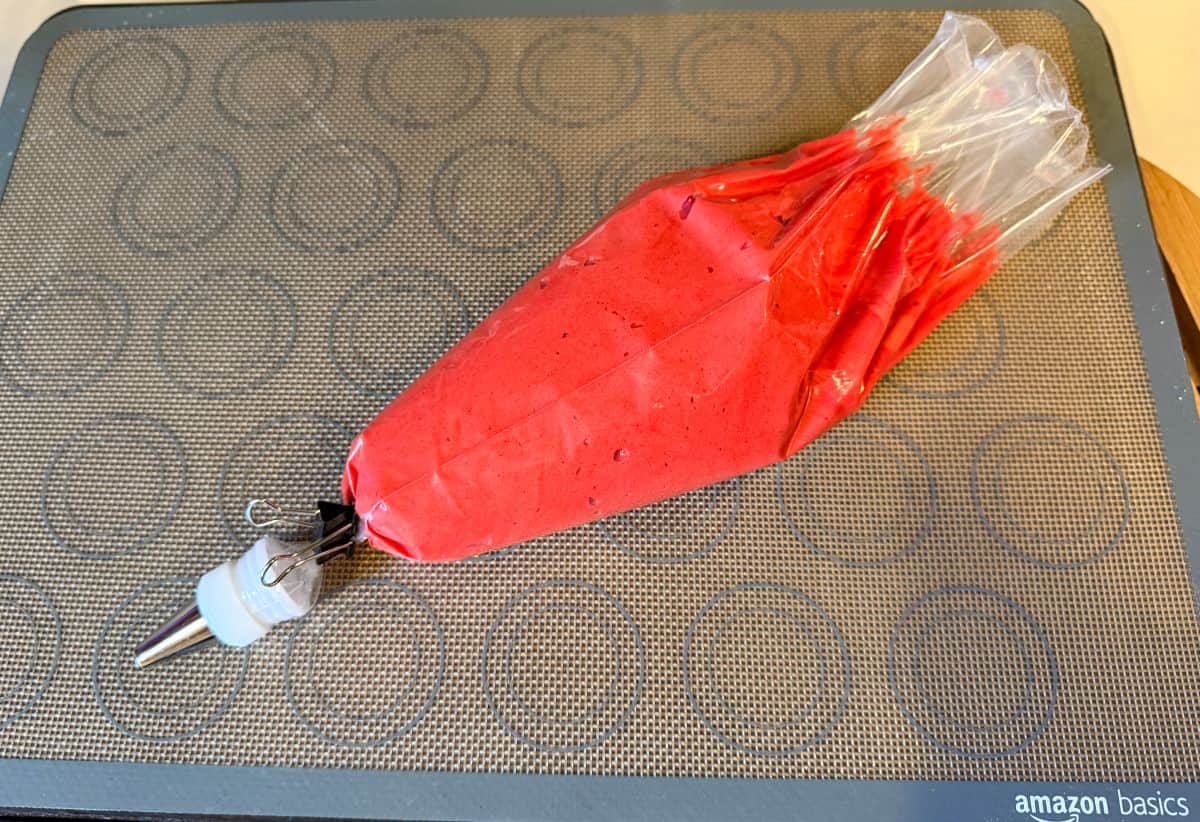
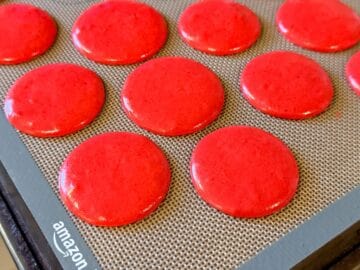
Pipe 1-inch circles onto a macaron mat on top of an upside down half sheet pan. Slam the pan on the counter several times to force air bubbles to the surface. Use a toothpick or scribe tool to pop bubbles and smooth over the resulting hole.
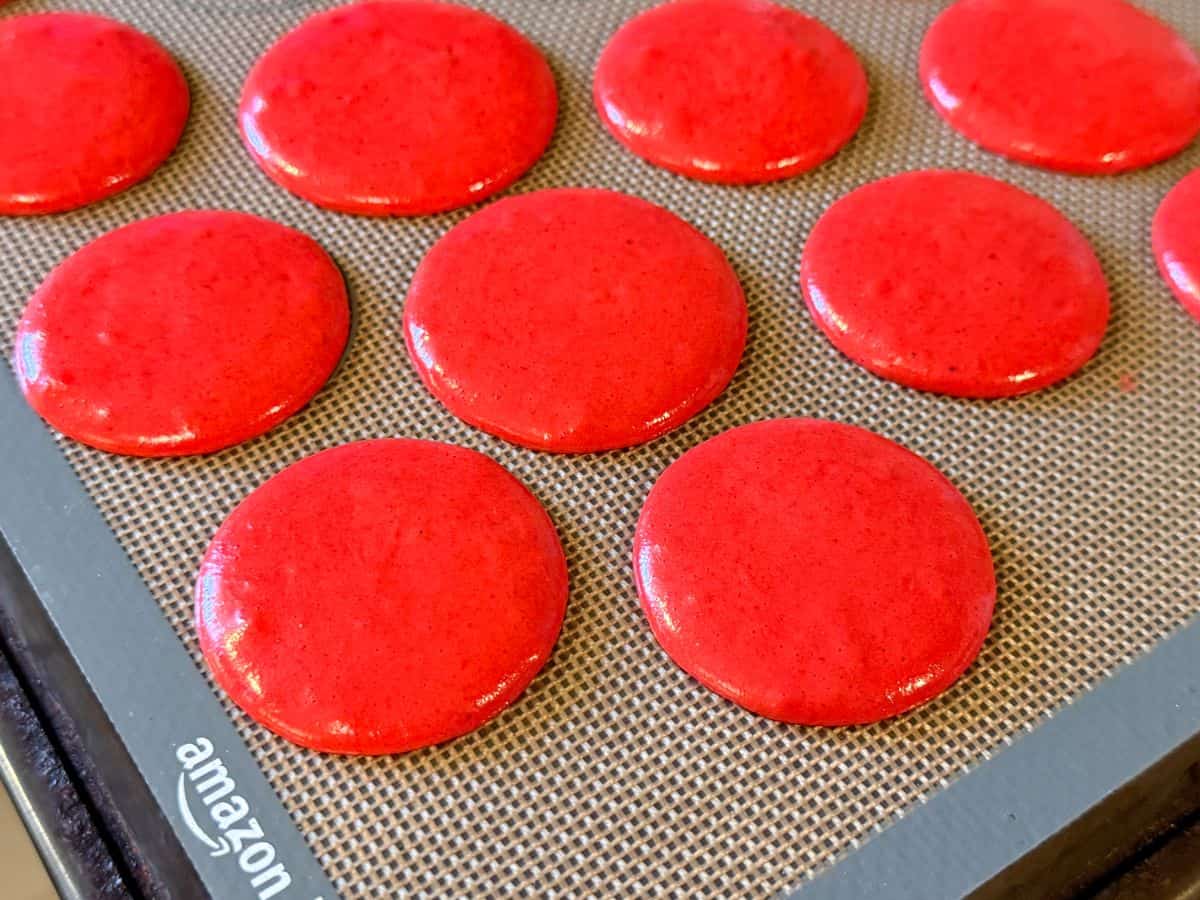
Repeat this process with the second pan. You will not fill the entire mat. Allow the batter to rest at room temperature for about 40 minutes, or until the surface has dried enough that if you gently touch your fingertip to it, the batter will not stick.
Bake the first tray of shells, rotating half way through baking time. Allow the shells to cool on the mat at room temperature. Bake the second tray and allow them to cool as well.
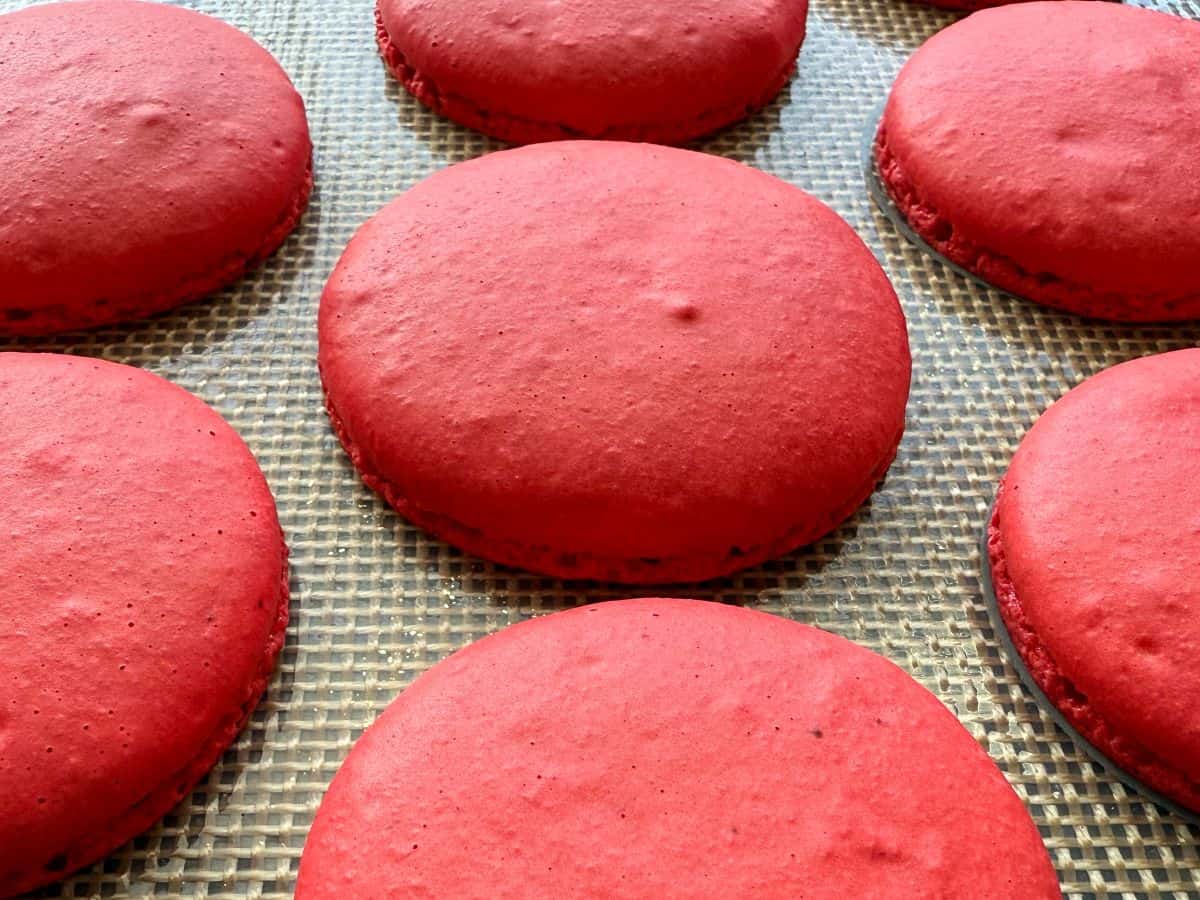
Once the shells have fully cooled, either fill them immediately or store them in a single layer in an airtight container in the refrigerator until you are ready to fill.
Assemble the Macarons
To fill the macarons, start by pairing up the shells by size. I filled these macarons with the filling from Apple Macchiato Macarons, which is an Easy Coffee Buttercream and caramel apple mixture. To keep it simple, you can use Easy Vanilla Buttercream.
Fit a disposable piping bag with a round or decorative tip, depending on your preference.
Pipe a large mound of buttercream into the center of the flat side of each of the bottom shells.
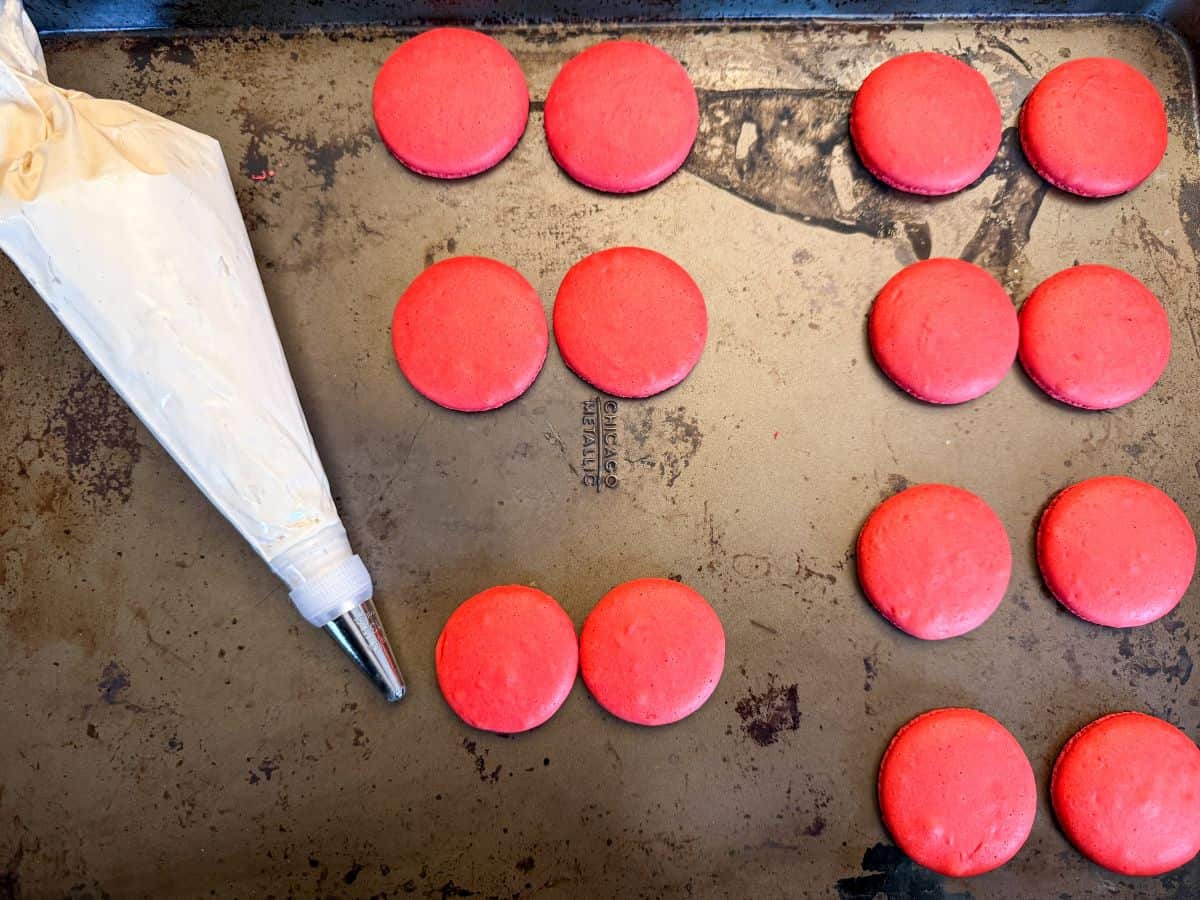
Pick up the top shell by the edges and carefully press on top of the buttercream. Repeat with the remaining pairs.
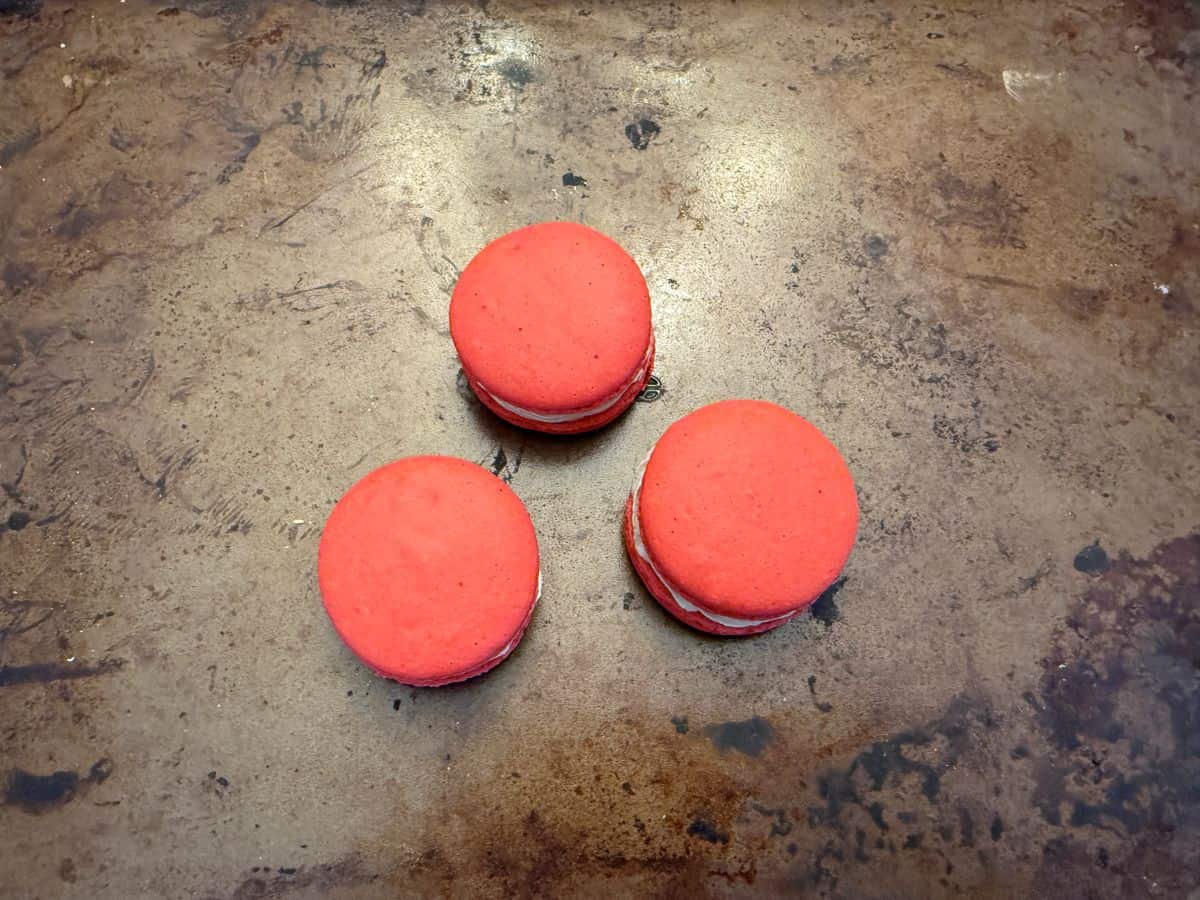
Add the Royal Icing Details
To start, you want to prepare black, white and gold colored royal icing in disposable piping bags.
For the black icing, I use store bought black royal icing powder mixed with a small amount of water until it reaches outline consistency icing. The black royal icing powder is sometimes not available online. If you are unable to find it, you have several options.
You can use this black royal icing liquid that mixes with powdered sugar. Another option is to purchase white royal icing powder, mix it with water, and then tint it with black food coloring gel. Alternatively, you can make your own Easy Royal Icing and tint it with the black gel. What you choose is a matter of personal preference and may depend on time and cost.
Once you have prepared outline consistency black royal icing, transfer it to a disposable piping bag, secure the opening, and set aside.
Take some of the Easy Royal Icing stock or white royal icing powder and place it in a bowl with small amounts of water until outline consistency is achieved. Remove half of this to another bowl and set aside with a damp paper towel on top to prevent it from drying out.
Transfer the white icing to a disposable piping bag, secure the opening, and set it aside.
Then, add a small amount of gold food coloring gel to the remaining white outline consistency icing. A whole drop will be too much, so I recommend sticking a toothpick into the opening of the bottle of food coloring gel to take a small amount and swirl it into the icing before using a small spatula to gently mix.
The point of tinting the frosting this color is so when liquid gold luster dust is painted on later, the resulting gold will be more vibrant than if it had been painted onto white icing.
Transfer the outline consistency gold icing to a disposable piping bag, secure the top, and set aside next to the bags of black and white.
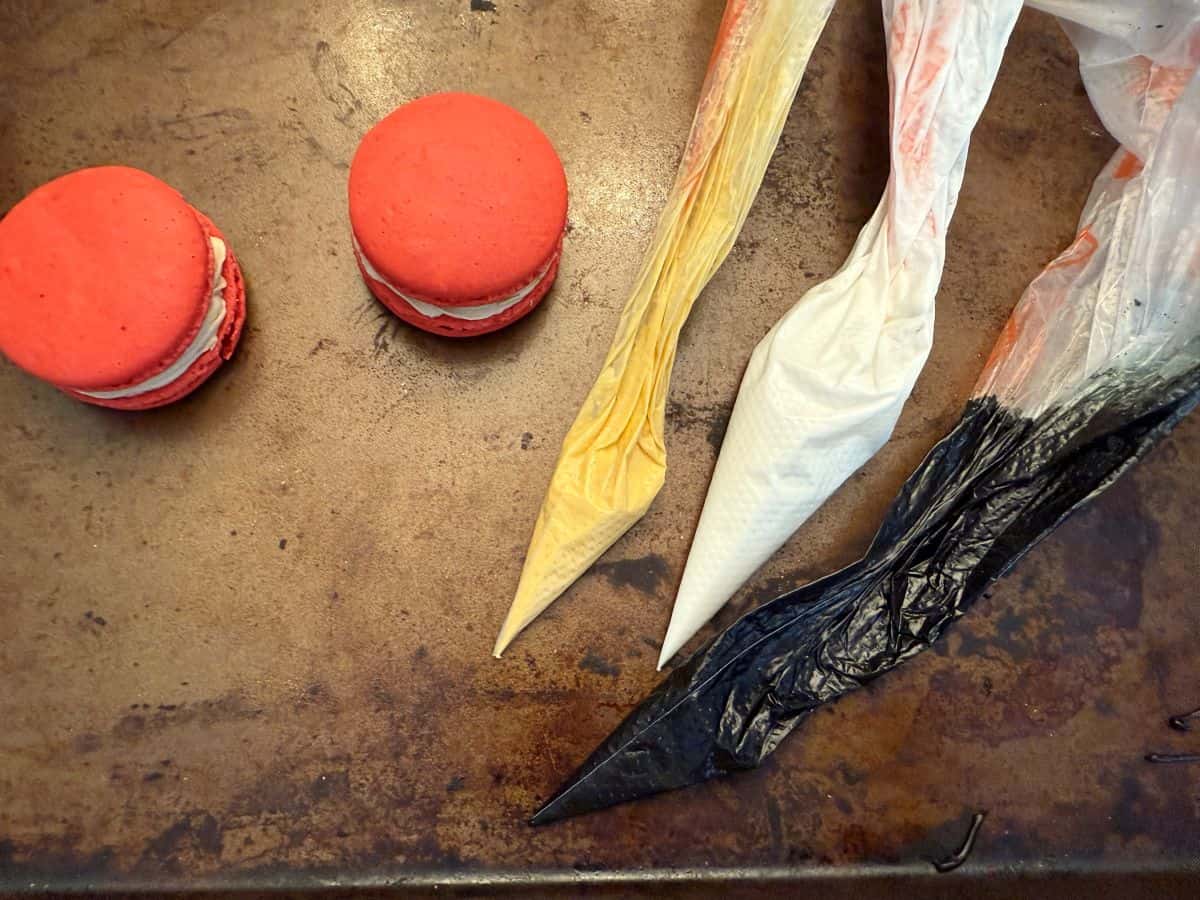
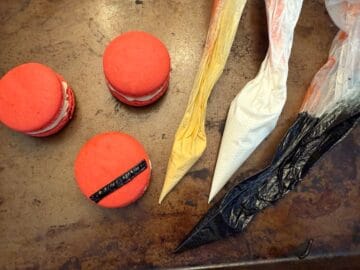
Start with the black icing by snipping off a very tiny opening in the tip of the of the bag. Pipe a small amount out on a plate or paper towel to get an idea of the pressure required to pipe.
Then, pipe the outline of a thin belt across the lower third of a macaron, quickly filling in the thin rectangle with black to create a solid black belt. Repeat this process with all of the macarons.
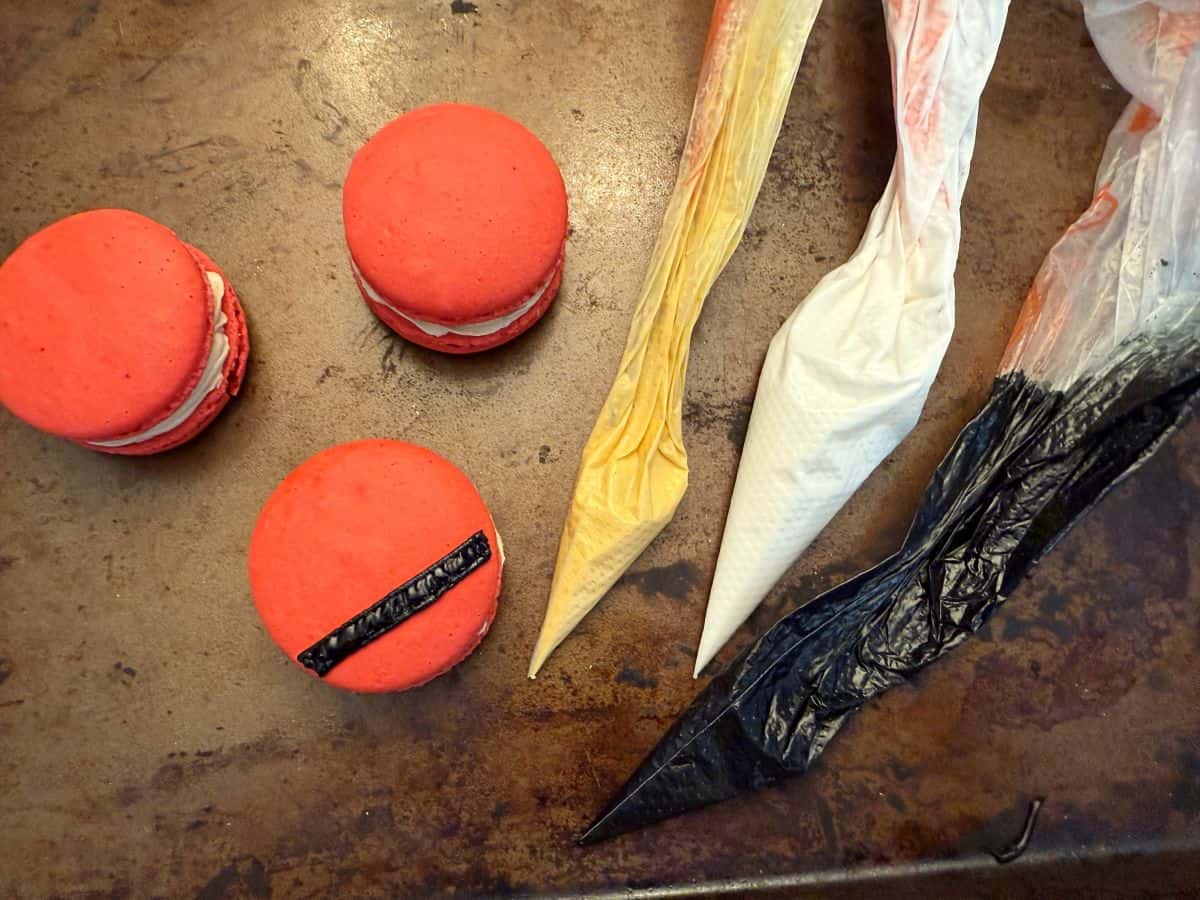
When you are finished with the bag of black icing, you can place it in an airtight container or a resealable sandwich bag to use on another project. It should last about a week.
Snip off a small opening in the bag of white icing. Pipe 3 evenly-spaced buttons down the center of the macaron above the black belt.
Allow the belts to dry at room temperature for several hours to set the icing before adding the gold buckle. The black icing doesn't need to be fully hardened, just dried on top so the gold icing will not mix into it.
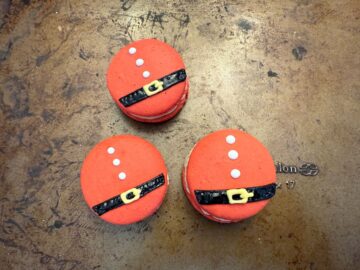
To add the buckle, snip off the tip of the gold icing. Pipe a little out onto a plate, carefully pipe a small rectangle on top of the center of the belt, then add a small line on the right side of the rectangle. Repeat this with all of the macarons until they have all been decorated.
Store the macarons at room temperature in an airtight container until the gold icing has fully dried. The time this takes will depend on the temperature and humidity of your workspace, but it can take up to 16 hours. I usually allow the icing to dry overnight.
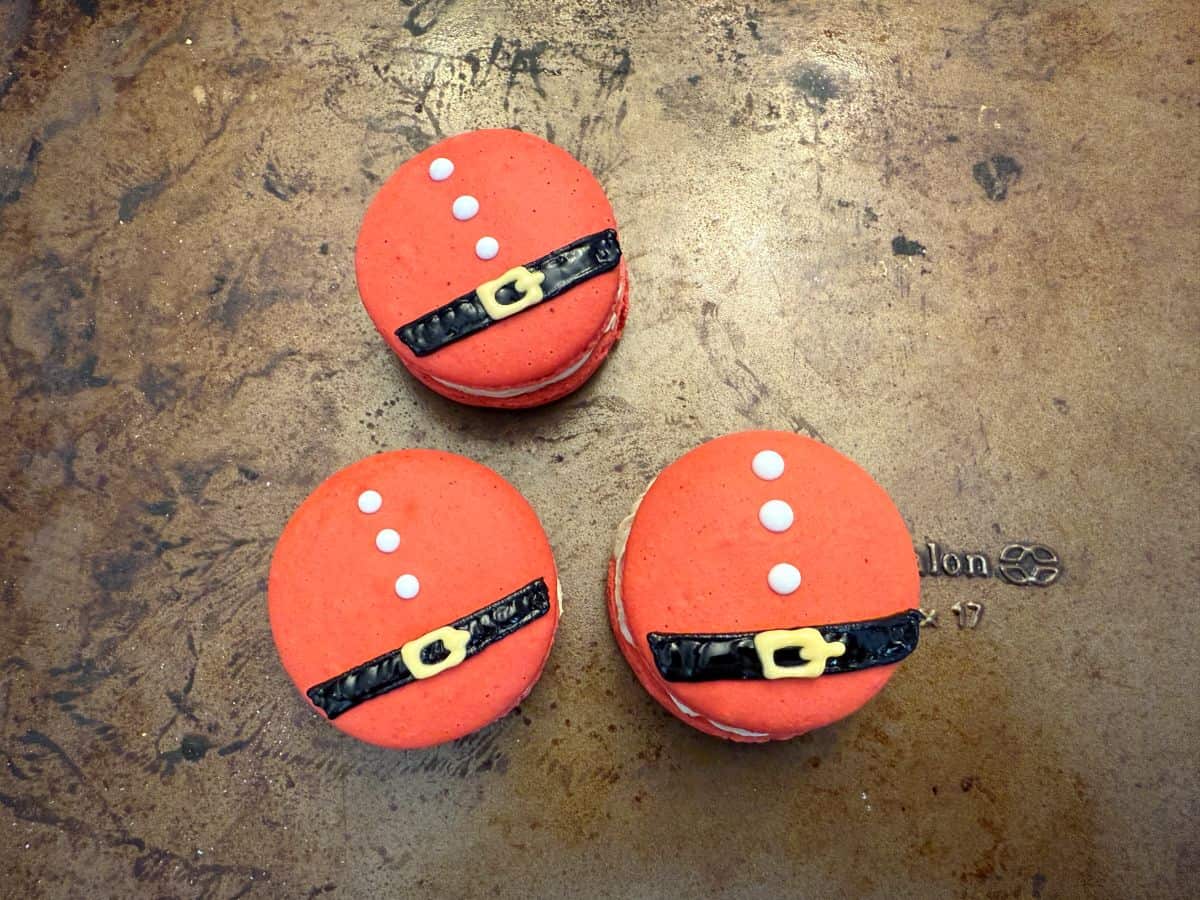
Paint the Belt Gold
To prepare the gold luster dust suspension, you will need a small bowl of clear alcohol. I use Everclear due to it's high alcohol content, which allows it to dry very fast and not cause pitting in the icing. You can also use vodka or a clear extract.
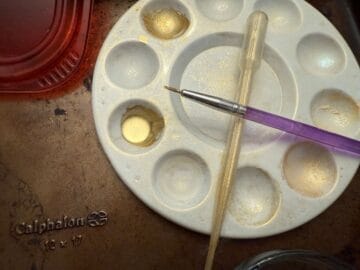
You will also need edible gold luster dust, a food dedicated paint palette, a disposable transfer pipette, and a very thin food grade paintbrush.
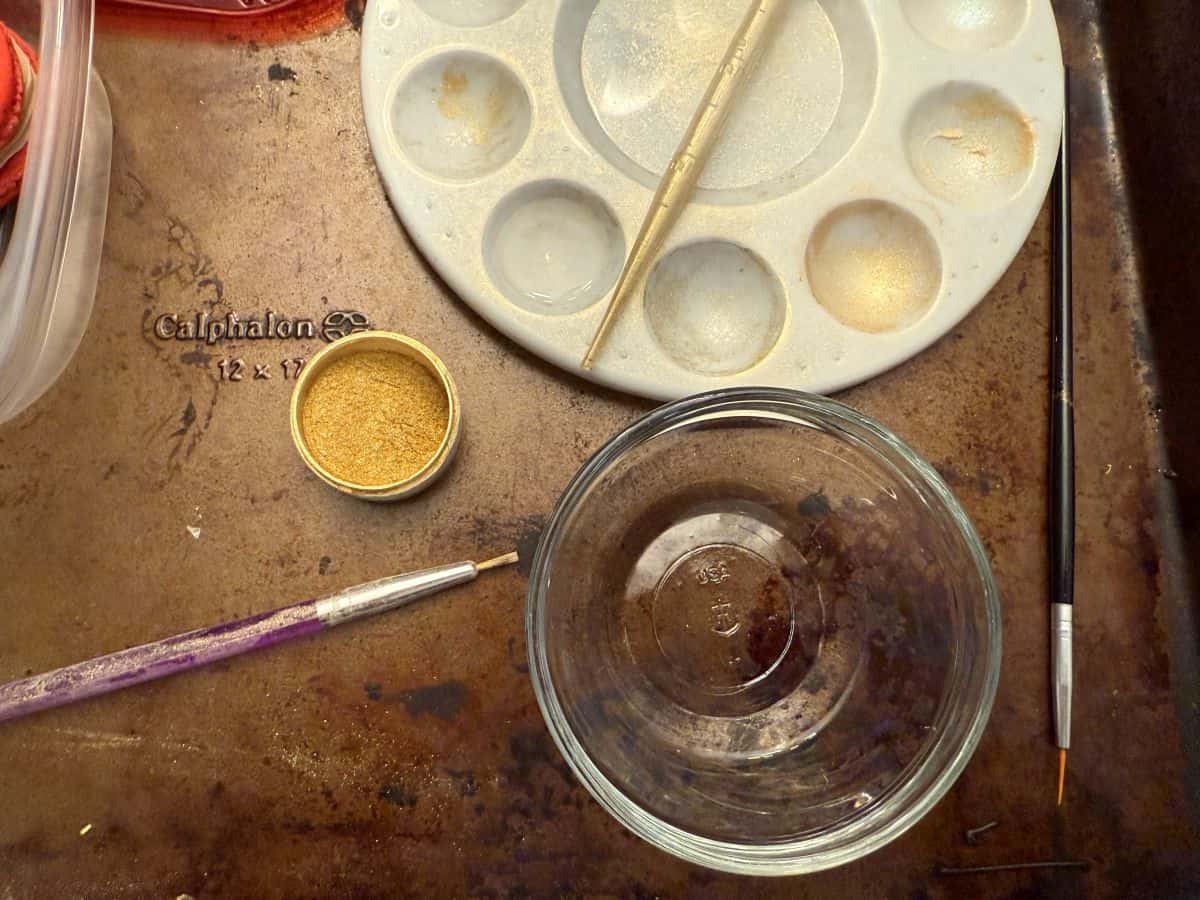
Tap some gold dust into a well of the paint palette. Use the transfer pipette to add some of the clear alcohol to the luster dust and use the paintbrush to mix it into a smooth suspension.
You want it to be thin enough to paint on the icing but thick enough so it doesn't run off the icing. Add more gold dust if it is too thin and more alcohol if it is too thick.
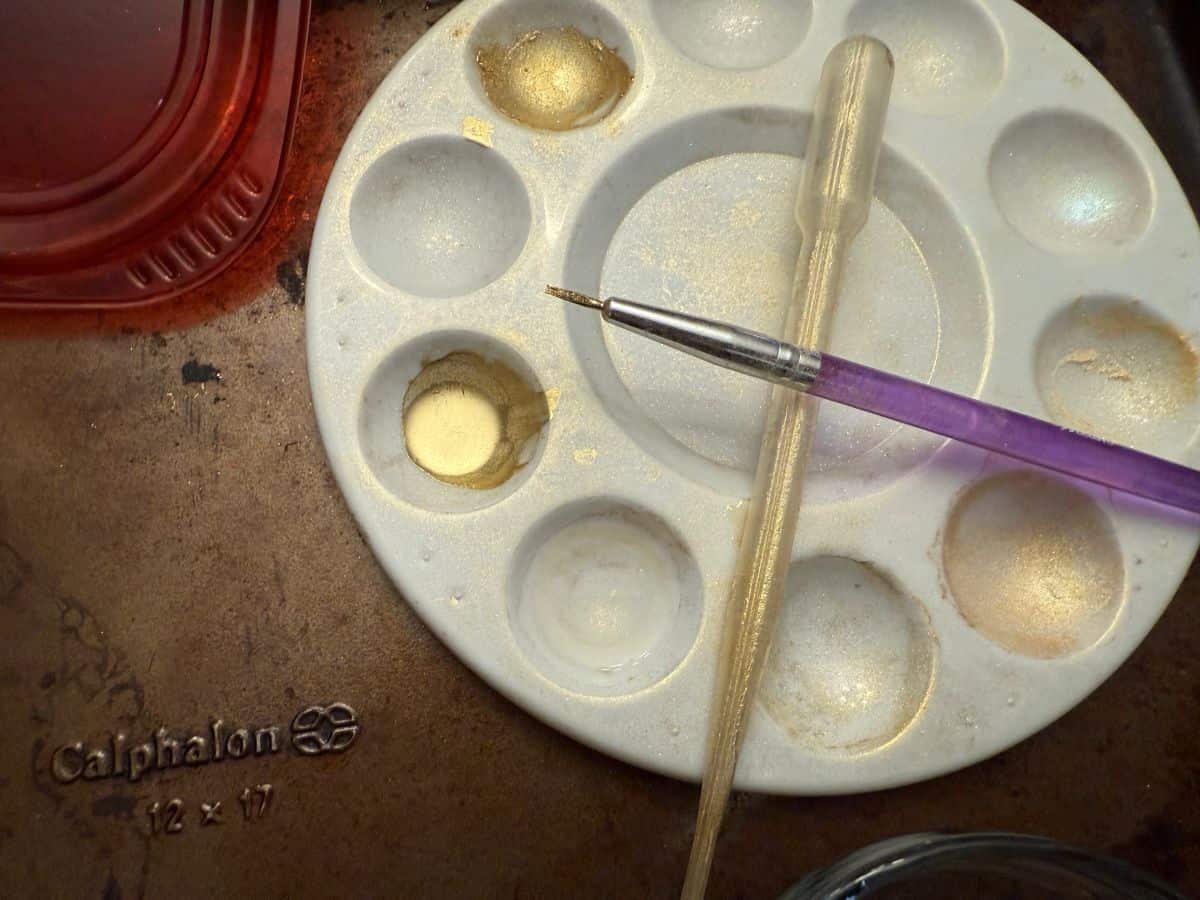
Once you achieve the optimal consistency of gold suspension, stir the mixture again with the paintbrush, then remove the bristles from the liquid and press them to another well in the palette to run off the excess liquid.
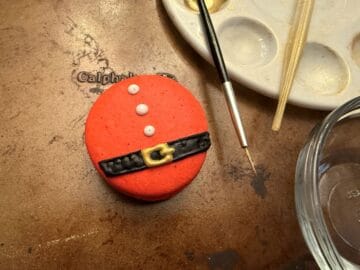
Very carefully paint the liquid gold onto the gold icing buckle, dipping the paintbrush back into the liquid gold to get more as needed.
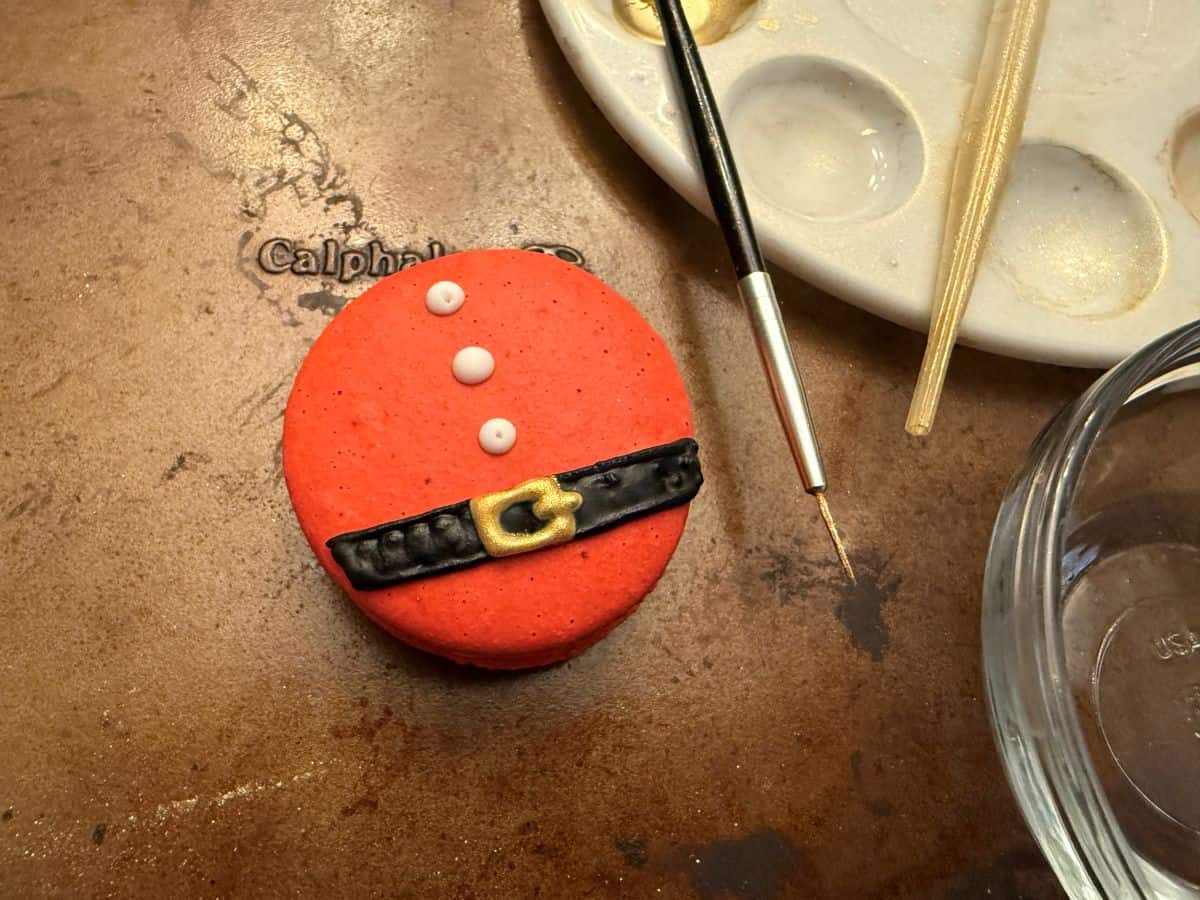
Repeat this process with all of the macarons. The alcohol will evaporate quickly, so the macarons will be ready to store after about 10 to 15 minutes.
Storage
Store the assembled cookies in an airtight container in the refrigerator for several days. Allow the cookies to come to room temperature before serving to allow the buttercream to soften.
Assembled macarons can be stored in the freezer for a longer period of time. Make sure they are stored in a well sealed container to avoid freezer burn or drying out.
Gluten Free Option
These cookies are naturally gluten free if you use a certified gluten free brand of oat flour. I like Bob's Red Mill brand of gluten free oat flour.
📖 Recipe
Nut Free Santa Macarons
Equipment
- 1 digital kitchen scale
- 2 macarons mats
- 2 half sheet pans
- toothpicks
- disposable piping bags
- medium round tip like #12
- Plastic tip coupler
- small binder clip
- Piping bag holders
- decorative piping tip
- food dedicated paint palette
- thin food safe paintbrush
- plastic transfer pipette
Ingredients
For the Macaron Shells:
- 126 grams oat flour
- 126 grams powdered sugar
- 100 grams egg whites (at room temperature)
- ¼ teaspoon cream of tartar
- 90 grams granulated sugar
- 1 teaspoon vanilla extract
- red no taste food coloring gel
For Filling:
- 1 batch Easy Vanilla Buttercream (see note)
For Decorating:
- black royal icing
- white royal icing (see note)
- gold food coloring gel
- edible gold luster dust
- clear alcohol (Everclear, vodka or clear extract)
Instructions
Make the Macaron Shells:
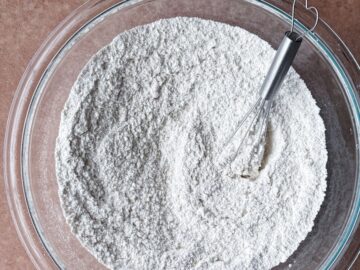
- Sift together the oat flour and the powdered sugar into a medium bowl. Set aside.126 grams oat flour, 126 grams powdered sugar
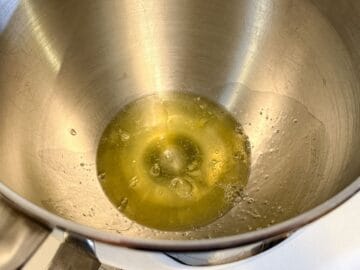
- Beat the egg whites in the bowl of a stand mixer fitted with the whisk attachment until frothy. Add the cream of tartar and continue beating the egg whites while slowly adding the granulated sugar one spoonful at a time.100 grams egg whites, ¼ teaspoon cream of tartar, 90 grams granulated sugar
- Add the vanilla and red no taste food coloring gel until a vibrant red color is achieved. Continue beating until stiff peaks form.1 teaspoon vanilla extract, red no taste food coloring gel
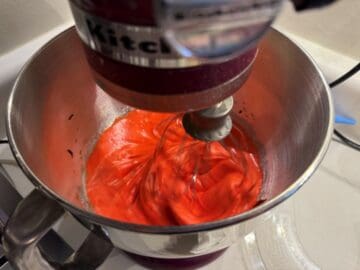
- Using a large rubber spatula, fold ⅓ of the dry ingredients into the meringue, then fold in the remaining dry ingredients until the batter almost reaches the "figure 8" stage.
- Transfer the batter to the piping bag fitted with a medium round tip.
- Pipe 1-inch circles onto a macaron mat on top of an upside down half sheet pan. Slam the pan on the counter several times to force air bubbles to the surface. Use a toothpick or scribe tool to pop bubbles and smooth over the resulting hole.
- Repeat this process with the second pan. You will not fill the entire mat.
- Allow the batter to rest at room temperature for about 40 minutes, or until the surface has dried enough that if you gently touch your fingertip to it, the batter will not stick. Meanwhile, preheat the oven to 300°F.
- Bake the first tray of shells for 12-15 minutes, rotating half way through baking time. Allow the shells to cool on the mat at room temperature. Bake the second tray and allow them to cool as well.
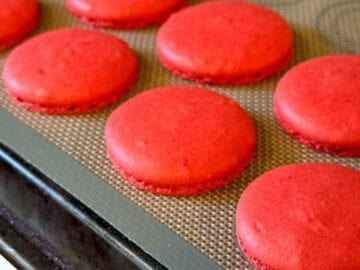
- Once the shells have fully cooled, either fill them immediately or store them in a single layer in an airtight container in the refrigerator until you are ready to assemble.
Assemble the Macarons:
- Pair up the cooled shells by size.
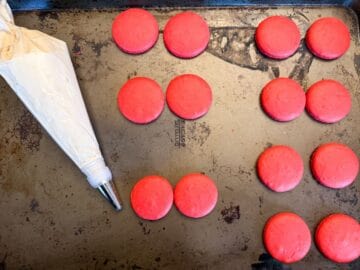
- Fit a disposable piping bag with a round or decorative tip and fill with buttercream of choice.
- Pipe a large mound of buttercream into the center of the flat side of each of the bottom shells.
- Pick up the top shell by the edges and carefully press on top of the buttercream. Repeat with the remaining pairs.
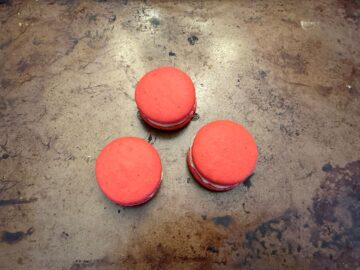
Add the Royal Icing Decorations:
- Prepare outline consistency black, white and gold colored icing. Transfer each to a piping bag and secure the opening.
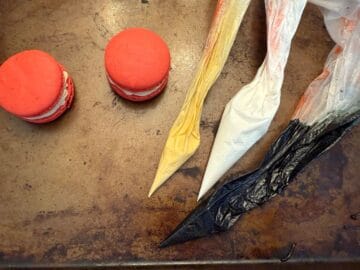
- Start with the black icing by snipping off a very tiny opening in the tip of the of the bag. Pipe a small amount out on a plate or paper towel to get an idea of the pressure required to pipe.
- Pipe the outline of a thin belt across the lower third of a macaron, quickly filling in the thin rectangle with black to create a solid black belt. Repeat this process with all of the macarons.
- Snip off a small opening in the bag of white icing. Pipe 3 evenly-spaced buttons down the center of the macaron above the black belt.
- Allow the belts to dry at room temperature for several hours to set the icing before adding the gold buckle. The black icing doesn't need to be fully hardened, just dried on top so the gold icing will not mix into it.
- Snip off the tip of the gold icing. Pipe a little out onto a plate, carefully pipe a small rectangle on top of the center of the belt, then add a small line on the right side of the rectangle. Repeat this with all of the macarons until they have all been decorated.
- Store the macarons at room temperature in an airtight container until the gold icing has fully dried. The time this takes will depend on the temperature and humidity of your workspace, but it can take up to 16 hours. You can allow it to dry overnight.
Paint the Belt Gold:
- Tap some gold dust into a well of the paint palette. Use the transfer pipette to add some of the clear alcohol to the luster dust and use the paintbrush to mix it into a smooth suspension. You want it to be thin enough to paint on the icing but thick enough so it doesn't run off the icing. Add more gold dust if it is too thin and more alcohol if it is too thick.
- Stir the gold suspension again with the paintbrush, then remove the bristles from the liquid and press them to another well in the palette to run off the excess liquid.
- Very carefully paint the liquid gold onto the gold icing buckle, dipping the paintbrush back into the liquid gold to get more as needed.
- Repeat this process with all of the macarons. The alcohol will evaporate quickly, so the macarons will be ready to store after about 10 to 15 minutes.
Leave a Reply