
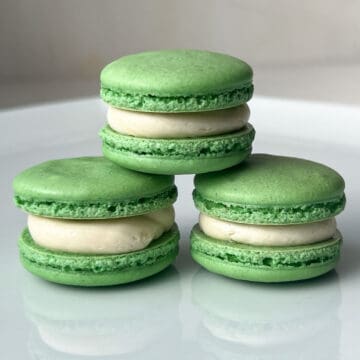
These Nut Free French Macarons are just as delicious as traditional macarons but without nuts for those with food allergies. These are also gluten free! Fill them with buttercream, ganache, or your favorite combination of jam and filling.

Traditional French Macarons are made with almond flour. Due to my nut allergy, I am not able to enjoy them. In fact, it's not even safe for me to bake with almond flour, so until recently I had never made them before.
For many years I've been on the hunt for a nut-free French macaron recipe. I've seen some recipes with all-purpose flour, but I wanted them to still be gluten free like traditional French macarons.
I finally decided to try this recipe using oat flour, which is nut free and gluten free. I was throwing my daughter a Parisian Cafe Birthday Party, so macarons were a must!
French macarons are notoriously finicky, so I was nervous to make them.
I ended up making three separate batches because I did not want to risk ruining them by scaling up the recipe.
These were so good, and even the party guests without allergies loved them! They have a slight flavor of an oatmeal cookie with the chew and crisp of a traditional macaron.
I filled them with my favorite Easy Vanilla Buttercream, but the filling possibilities are endless. I've also used Vanilla Swiss Meringue Buttercream. I'd love to try them with jam and chocolate ganache!
CHECK OUT MY MINI ROSE FRENCH MACARONS, POLAR BEAR MACARONS, GOLD PAINTED MACARONS, NUT FREE OATMEAL CREAM PIE MACARONS, NUT FREE GOLD MACARONS WITH RAINBOW FILLING, NUT FREE SNOWFLAKE MACARONS, AND NUT FREE VALENTINE'S MACARONS!
Jump to:
Ingredients
- Oat flour
- Powdered sugar
- Egg whites
- Cream of tartar
- Sugar
- Vanilla extract
- Food coloring liquid or gel
Materials
- Macaron mat or parchment paper
- Rimmed baking sheet
- Disposable piping bags
- Large round piping tip, like a #12
Color Considerations
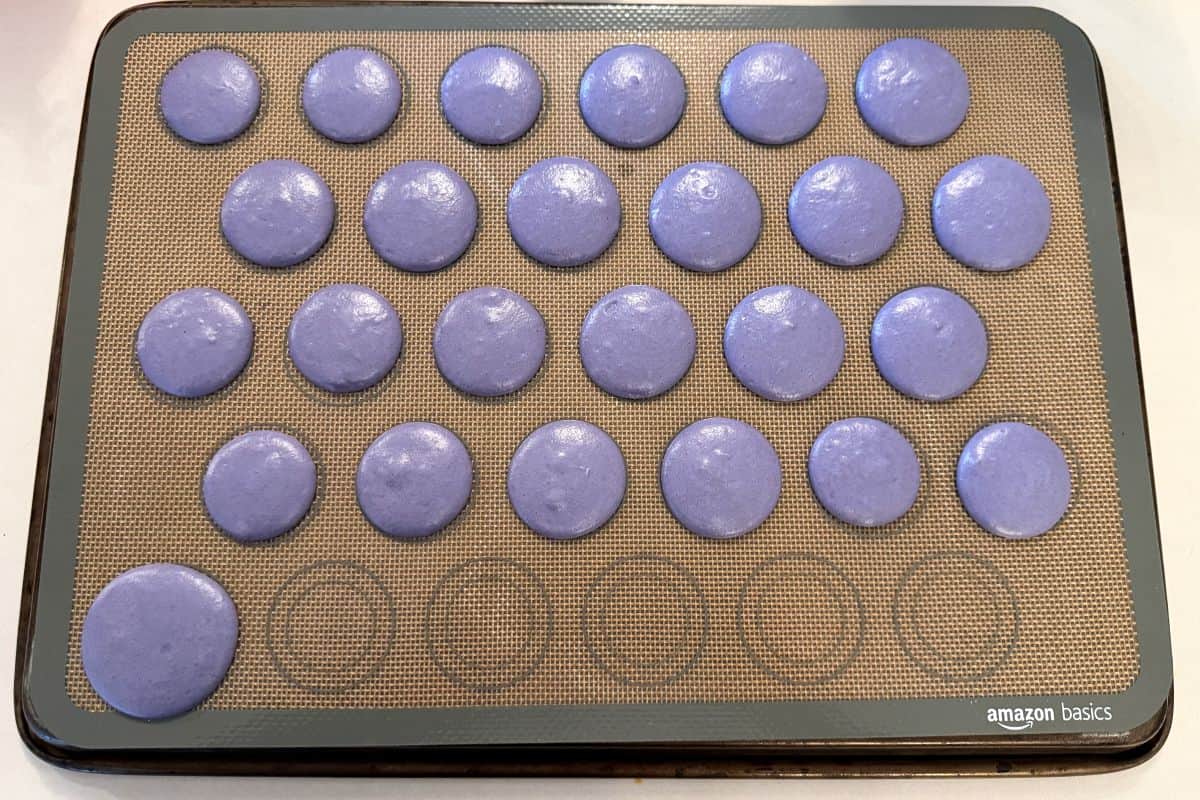
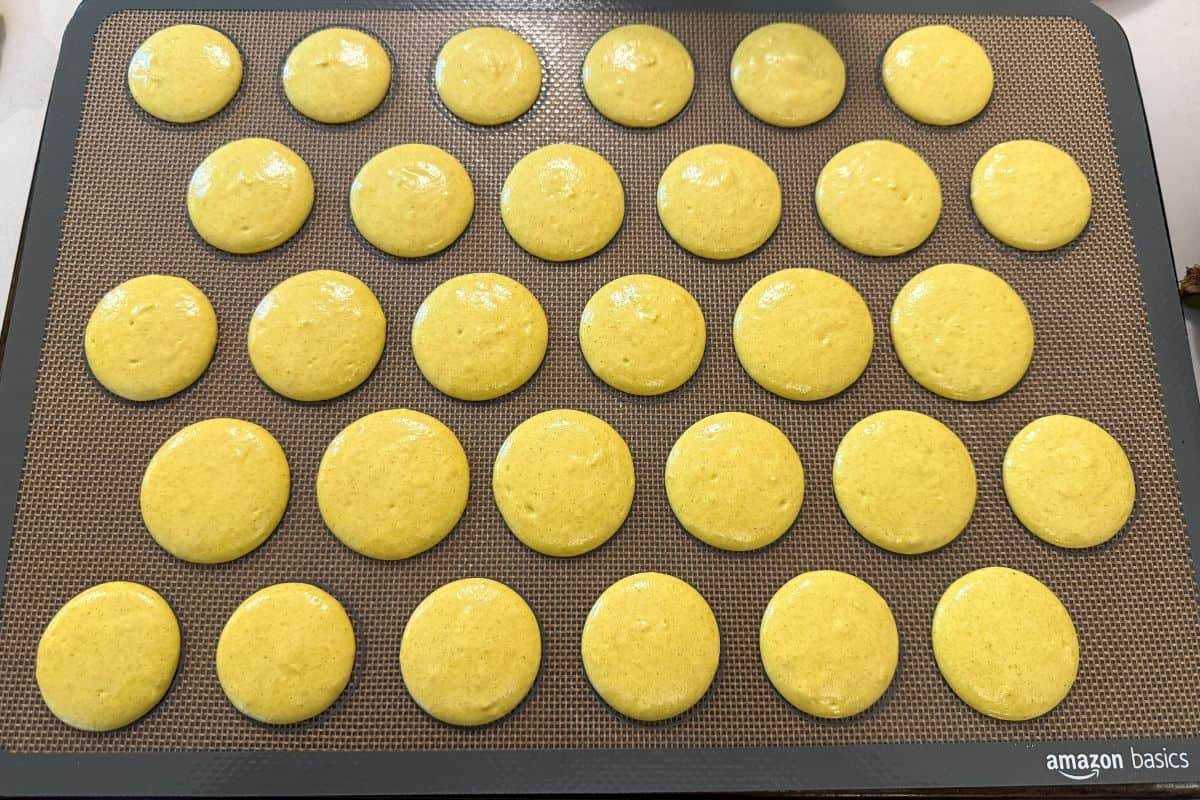
One thing I did not realize going into making these cookies is that the batter is a light tan color due to the oat flour. This makes getting a perfectly colored macaron more difficult than if you are starting with a white batter.
You should be flexible about what colors you are aiming for, and use small amounts of food coloring to start.
My cookies did not turn out the colors I intended, but they still worked for the party!
Mix the Batter
For macarons, it is critical to weigh your ingredients on a digital kitchen scale. With other cookies, weighing the ingredients is optional, but here we need the amounts to be precise.
The egg whites need to be at room temperature. The recipe calls for 50 grams of egg white. An average large egg has about 30 grams of egg white, so you'll be using the equivalent to about 1 ⅔ eggs worth of egg white.
The best way to do this is to separate two eggs, carefully mix the egg whites and weigh out 50 grams.
The oat flour and powdered sugar are sifted together and set aside.
Once the egg whites have reached room temperature, beat them on medium speed in a stand mixer fitted with the whisk attachment until foamy. Then add the cream of tartar and slowly add the granulated sugar by the spoonful to the mixer bowl while it is still running.
After all of the sugar has been added, add the vanilla and the food coloring gel or liquid. Continue to beat the mixture until it forms stiff peaks. The mixture should be so thick that the mixer whisk should be filled with meringue.
Remove the bowl from the mixer.
With traditional almond flour macarons, you fold the flour mixture into the meringue until it reaches what is called "the figure 8 stage." This means that when the batter is lifted up with a spoon and dropped into a figure 8 shape back in the bowl, it disappears within 10 seconds.
For these macarons, you want to stop mixing the batter BEFORE it gets to the figure 8 stage. You want the batter pipeable but not so runny that it has reached the figure 8 stage. This is a judgment call that you have to make, and it may take some trial-and-error.
With a rubber spatula, fold in ⅓ of the flour mixture into the meringue, then fold in the rest until just before the figure 8 stage.
As I am not a macaron expert, I deferred to Preppy Kitchen's tips for "macaronage" to help me know when to stop mixing. He discusses how it is important to deflate some of the meringue but not all.
Despite my best efforts, I think I may have overmixed a little, as my cookies did have wrinkly tops, but were still delicious.
Pipe and Bake the Cookies
If you have a macaron mat, place it on a rimmed baking sheet. I ordered this two pack of mats because it's so much easier to have a visual guide of the size.
If you do not have a mat, you can trace 1-inch circles on one side of a piece of parchment paper then flip it over and place it on a baking sheet.
Transfer the batter to a piping bag fitted with a large circular tip or with the tip snipped off.
Pipe the batter into each circle by holding the piping bag at a 90 degree angle to the mat and lifting straight up.
Even with the guide, you can see my sizing isn't perfect. This is why pairing the shells after baking is so important.

Tap the baking sheet on the counter or table several times to release air bubbles. You can use a toothpick to pop any large bubbles and smooth over the batter to cover the hole.
Allow the batter to sit at room temperature for 40 minutes to dry. Meanwhile, preheat the oven to 300°F.
Bake the shells for 12-15 minutes, rotating the tray after 7 minutes. Allow the macarons to cool completely on the mat or parchment before removing them.
Assemble the Macarons
Because the macarons will be sandwiched, I like to pair up the shells by size. You want the top and bottom of the sandwich cookie to match as closely as possible.
Add the buttercream or filling of your choice to a piping bag with a round tip or the tip of the bag cut off. You can also use a large star or drop flower tip for a decorative edge. I like using a #6B.
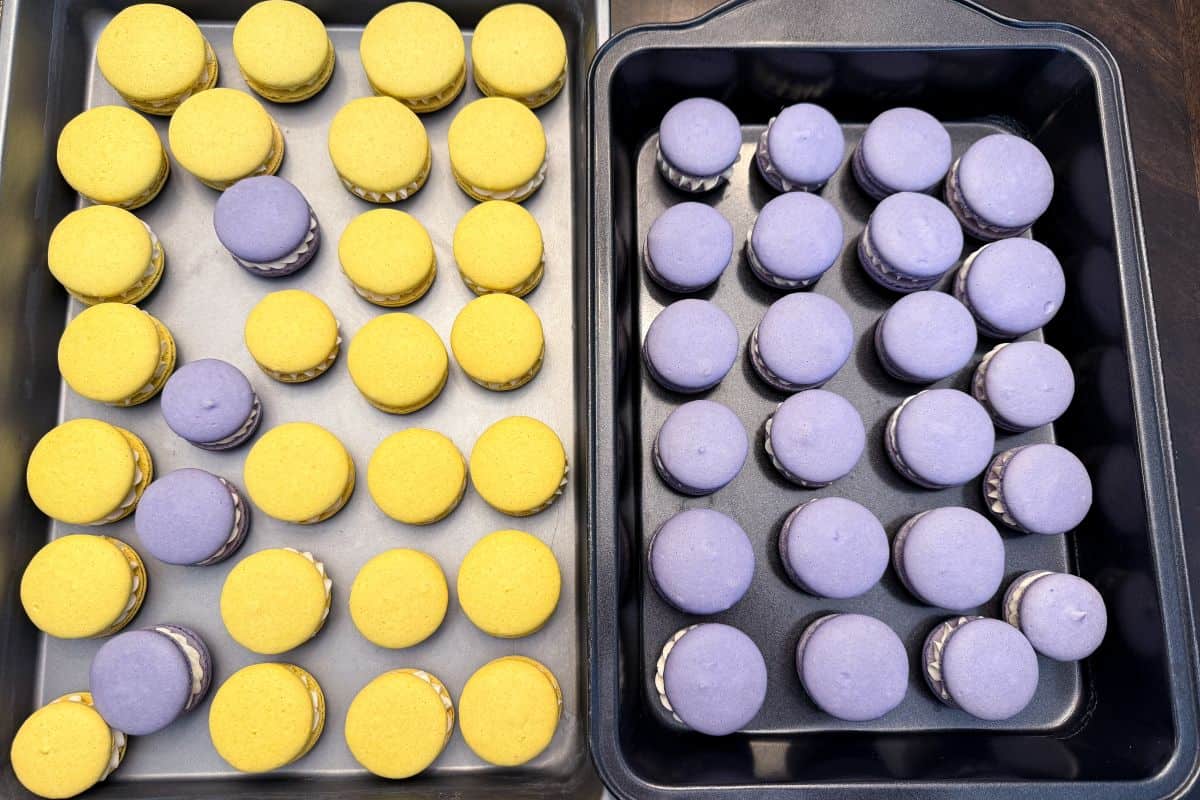
Pipe the filling on the flat side of one shell and carefully place the flat side of the other shell on top of the filling.

For an extra special appearance, consider following my Mini Rose French Macarons recipe, where I show step by step how to make mini buttercream roses to place inside the cookies.

Storage
Macarons typically should be chilled for 24 hours to mature for the shells to become chewier and less crispy.

Store the macarons in an airtight container in the fridge for up to a week. Macarons can be frozen for up to several months.
Bring the macarons to room temperature before serving.
Gluten Free Option
These cookies are naturally gluten free if you use a certified gluten free brand of oat flour. I like Bob's Red Mill brand of gluten free oat flour.
📖 Recipe
Nut Free French Macarons
Equipment
- 1 macaron mat or parchment paper with circles drawn on
- 1 rimmed baking sheet
- 1 toothpick
Ingredients
For the Macaron Shells
- 63 grams oat flour
- 63 grams powdered sugar
- 50 grams egg whites (at room temperature)
- ⅛ teaspoon cream of tartar
- 45 grams sugar
- ½ teaspoon vanilla
- drop of food coloring gel (if using)
For the Filling
- 1 batch Easy Vanilla Buttercream (or filling of choice)
Instructions
Prepare the Batter
- Prepare a piping bag fitted with a large round tip or with the tip of the bag cut off. Set aside.
- Sift together the oat flour and powdered sugar in a small bowl. Set aside.
- In the bowl of a stand mixer fitted with the whisk attachment, beat the egg whites on medium-high speed. Once the egg white are foamy, add the cream of tartar. Then, slowly add the granulated sugar, one spoonful at a time.
- Add the vanilla and food coloring, if using, and continue to beat until the meringue has formed stiff peaks.
- Remove the bowl from the mixer and carefully fold ⅓ of the flour mixture into the meringue. Then add the rest of the flour mixture. Continue folding and stirring until just before the figure 8 stage.
- Transfer the batter to the piping bag and pipe 1-inch circles onto the macaron mat or parchment with 1-inch circles drawn on the under side of the paper.

- Slam the tray on the counter several times to cause air bubbles to rise to the surface. Use a toothpick to pop any large bubbles and smooth batter over the hole.
- Allow the batter to sit for 40 minutes to dry at room temperature before baking. Meanwhile, preheat the oven to 300°F.
Bake the Macaron Shells
- Bake the macarons for 12-15 minutes, rotating once after 7 minutes.
- Remove the cookies from the oven and allow them to cool completely on the mat before removing.
Assemble the Macarons
- Because the macarons will be sandwiched, pair up the shells by size. You want the top and bottom of the sandwich cookie to match as closely as possible.
- Add the buttercream or filling of your choice to a piping bag with a round tip or the tip of the bag cut off.
- Pipe the filling on the flat side of one shell and carefully place the flat side of the other shell on top of the filling.
- Store the assembled cookies in an airtight container at room temperature or in the refrigerator for several days. If refrigerated, allow the cookies to come to room temperature before serving.


Anonymous says
my macaroons did not get feet, not sure what I did wrong. the batter and cookies looked perfect before I put them in the oven. giving it 5 stars because thr batter came together great. caulking this off as my error. any help would be great. These cookies are my 5 year olds favorite and unfortunately we are now highly allergic to tree nuts. Thank you for sharing
Meghan says
Hi there! Macarons are so finicky and can take troubleshooting, so I'm so glad you're willing to try them again. They are so worth it when they turn out! It's possible that your rest time before baking needs to be adjusted. The time they need to rest depends on the temperature and humidity in your kitchen, which I find varies based on the weather outside. My macarons take less time to "dry" in the winter than in the spring and summer. I usually do 40 minutes in the winter because we keep our house cool and the air is dry (no humidifier), but if you think your kitchen is warmer or more humid, then I recommend a longer dry time. The rule of thumb is that if you touch your finger to the piped circle of batter, it won't stick to your finger. It should have formed a "skin." It's also possible the rest time was too long, which is what is so frustrating about macarons! Another thing to check is your oven temperature by using a reliable thermometer. I do 300F in my oven, but you may find you need to go down to 275 if your oven runs a little warm. It's also possible that the meringue needs longer to whip. I have seen some bakers say it's better to over-whip the meringue than under-whip it, so I usually go a little beyond what I think looks like stiff peaks. I hope these ideas help! I am also highly allergic to tree nuts and know that it's impossible to find nut free macarons in bakeries. I hope your 5 year old is able to enjoy these soon!
Jeremy Endrusick says
Can I use coconut flour? How much would I use? Thanks
Meghan says
Hi, coconut flour contains more fat than oat flour. Due to the finicky nature of macaron shells, I wouldn't be able to say whether using coconut flour would work and, if so, how much to use. If you prefer to use coconut flour, I recommend trying to find a recipe that specifically uses it and has confirmed the amount. Thanks!!