
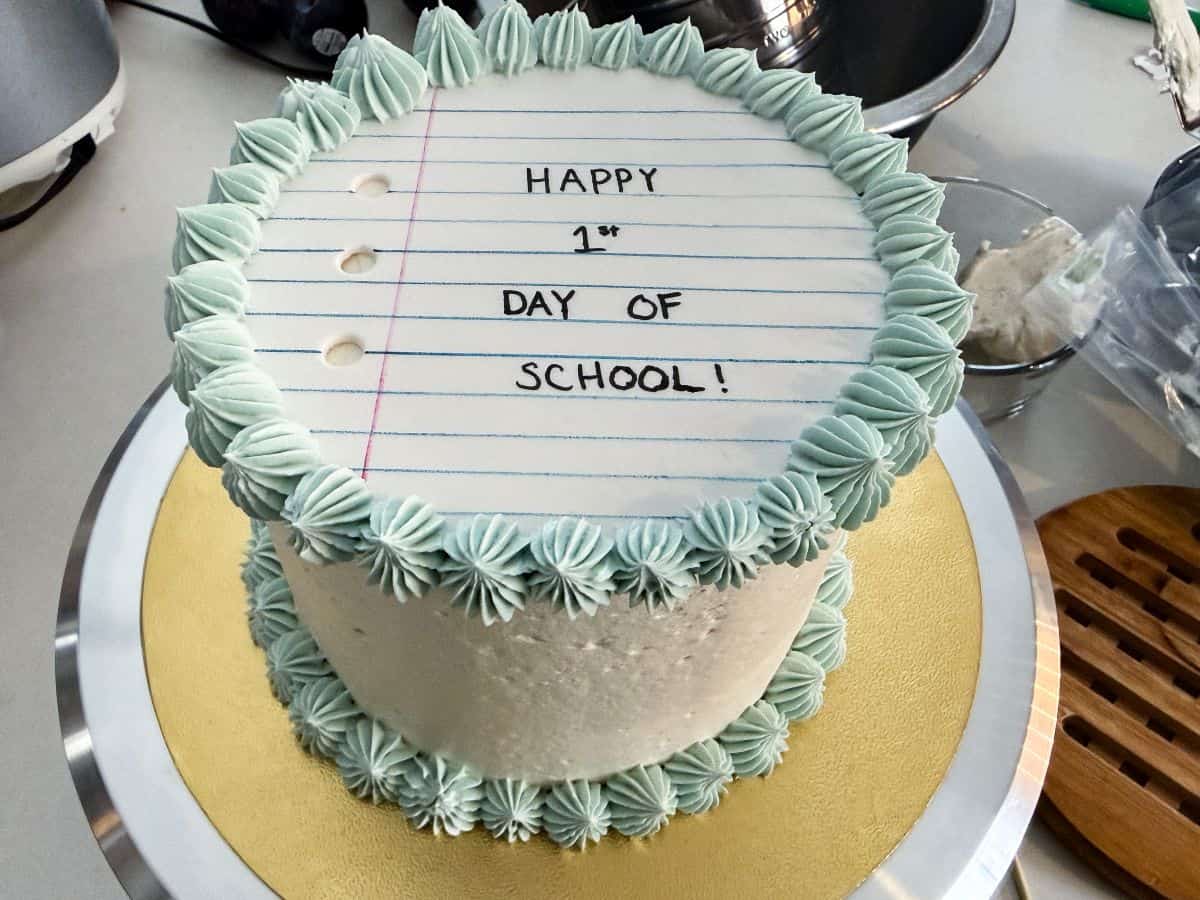
This First Day of School Cake is topped with fondant decorated to look like a piece of loose leaf paper. A fun surprise for an after school snack on the first day!
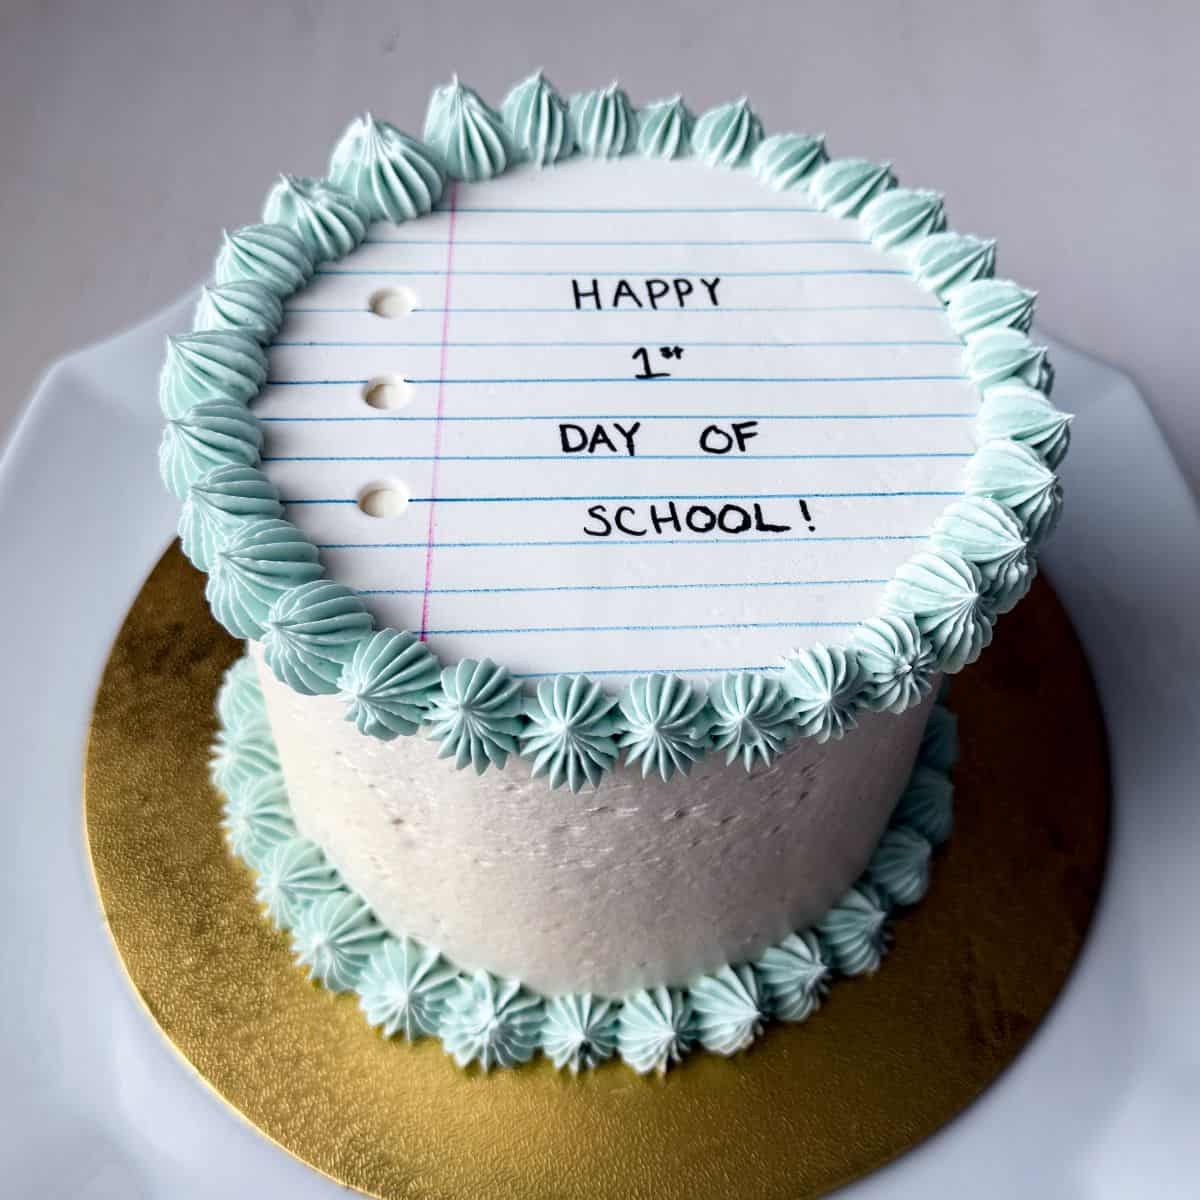
Ever since my oldest daughter started Kindergarten, I started making a treat to celebrate her first day of school. It started with a School Bus Cake and has since included a Pencil Cake, Apple Shaped Cupcakes, Pencil and Ruler Wafer Cookie Cupcakes, Chalkboard Brownies, a 3D Apple Shaped Cake, and more.
SEE ALL OF MY BACK TO SCHOOL TREATS HERE!
This year, my two oldest daughters had the same first day, so I made this First Day of School Cake with a fondant topper decorated to resemble a piece of loose leaf notebook filler paper. Since my girls are getting older, I like to make the first day treat reflect what they are actually using in school.
I saw a version this cake made with piped buttercream, but I worried that I wouldn't be able to pipe the lines straight enough. I decided on a fondant topper so I could use a ruler and make an authentic looking piece of paper.
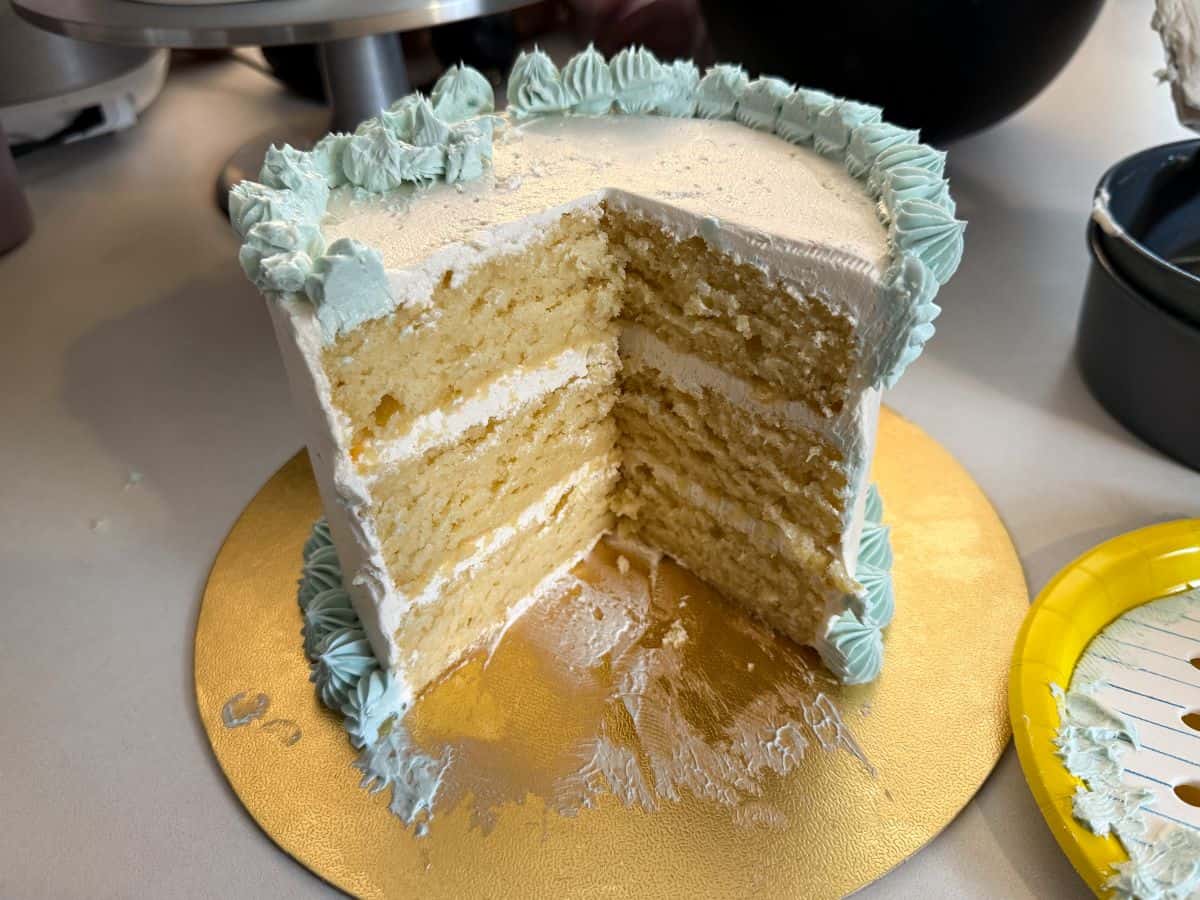
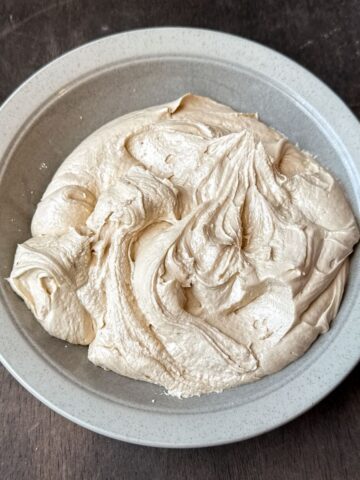
I decided to use our favorite vanilla cake recipe for the interior and my go to Easy Vanilla Buttercream to frost the cake.
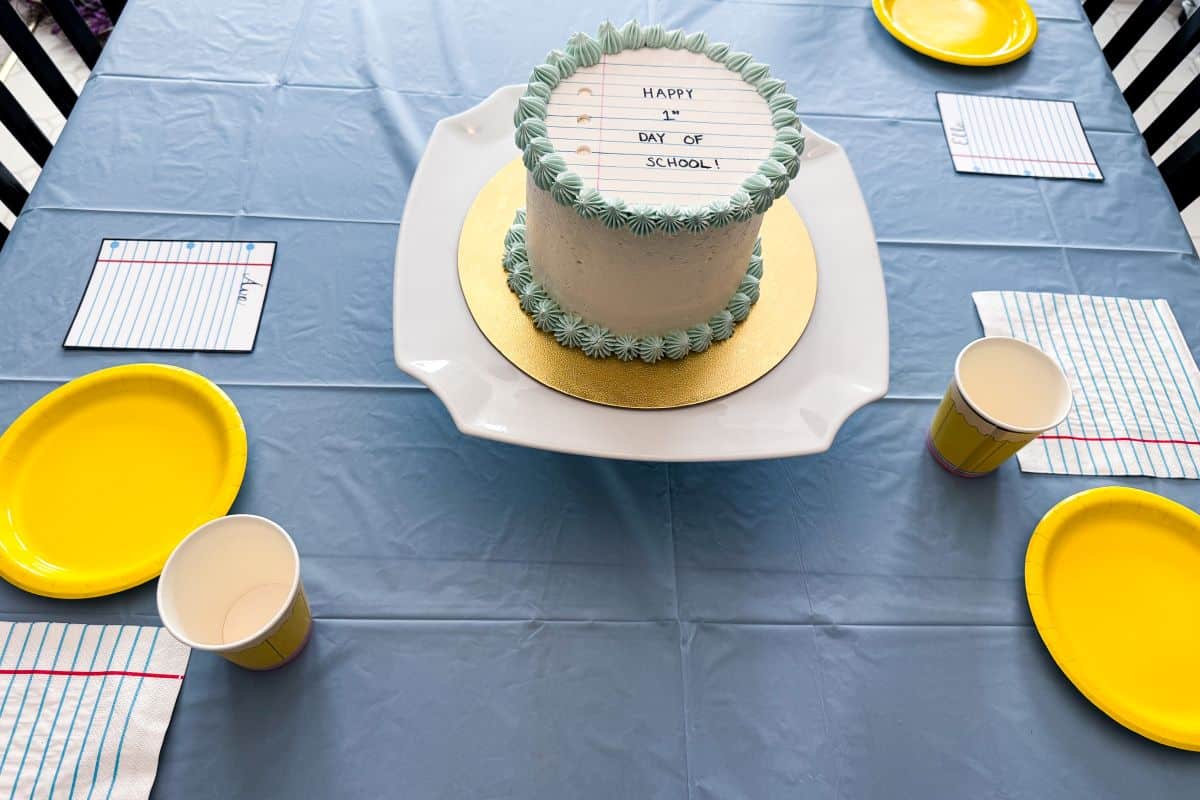
To decorate the table, I used a light blue disposable tablecloth, yellow paper snack plates, notebook paper napkins and yellow pencil paper cups. I had the napkins and cups leftover from last year.
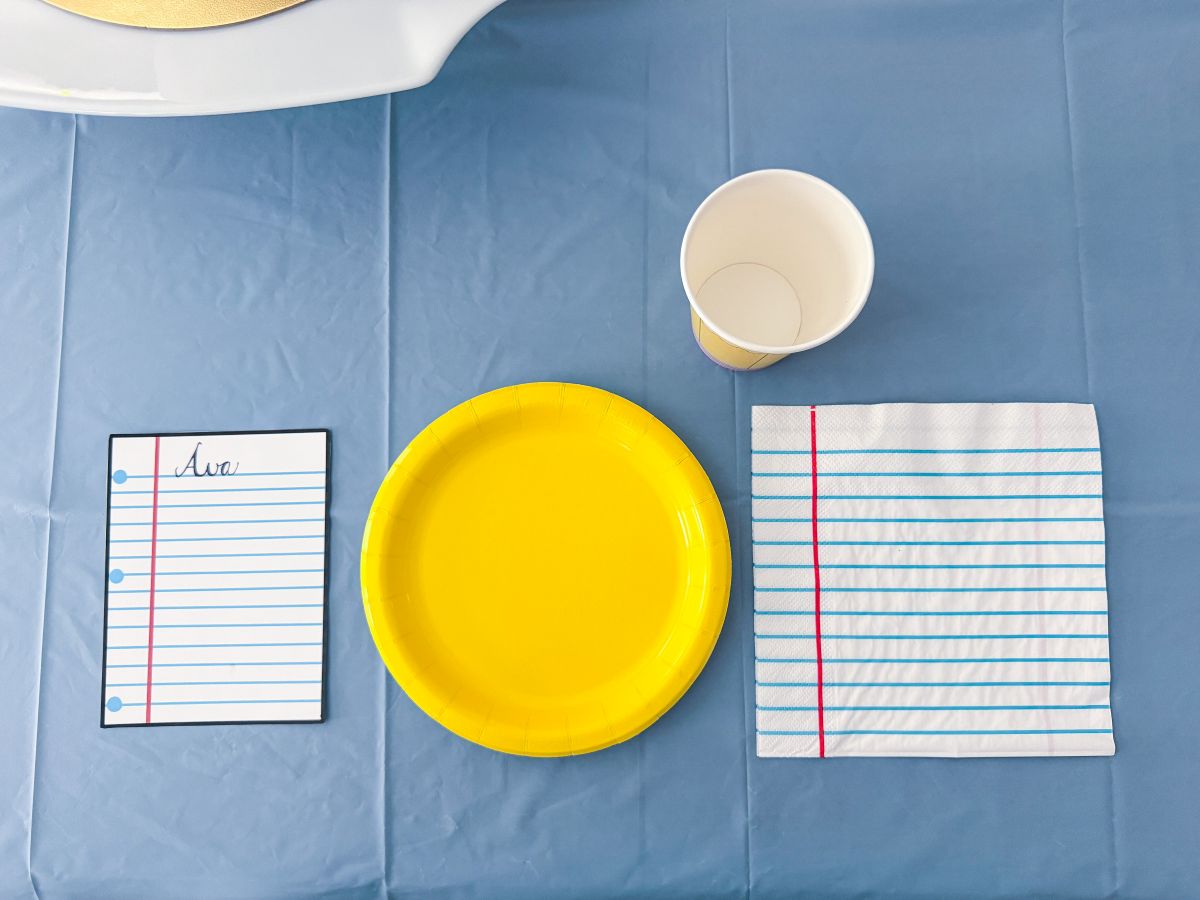
The notebook paper name cards were a free printable that I save to use every year.
My girls loved this cake, both for the decor and the flavor!
Jump to:
Supplies
Other than the ingredients for cake, you will need:
- white rollable fondant
- small fondant rolling pin with guides
- powdered sugar, for rolling the fondant
- paring knife
- medium sized round tip, like Wilton #12
- ruler
- blue, pink and black food coloring markers, such as FooDoodlers
- Easy Vanilla Buttercream
- 10-inch round gold cake board
- spinning cake decorating stand
- wooden skewers for support
- metal cake scraper
- blue food coloring liquid
- disposable piping bag
- large decorative piping tip, like #6B
Make the Fondant Topper
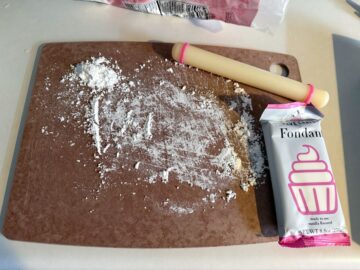
Lightly dust a work surface with powdered sugar.
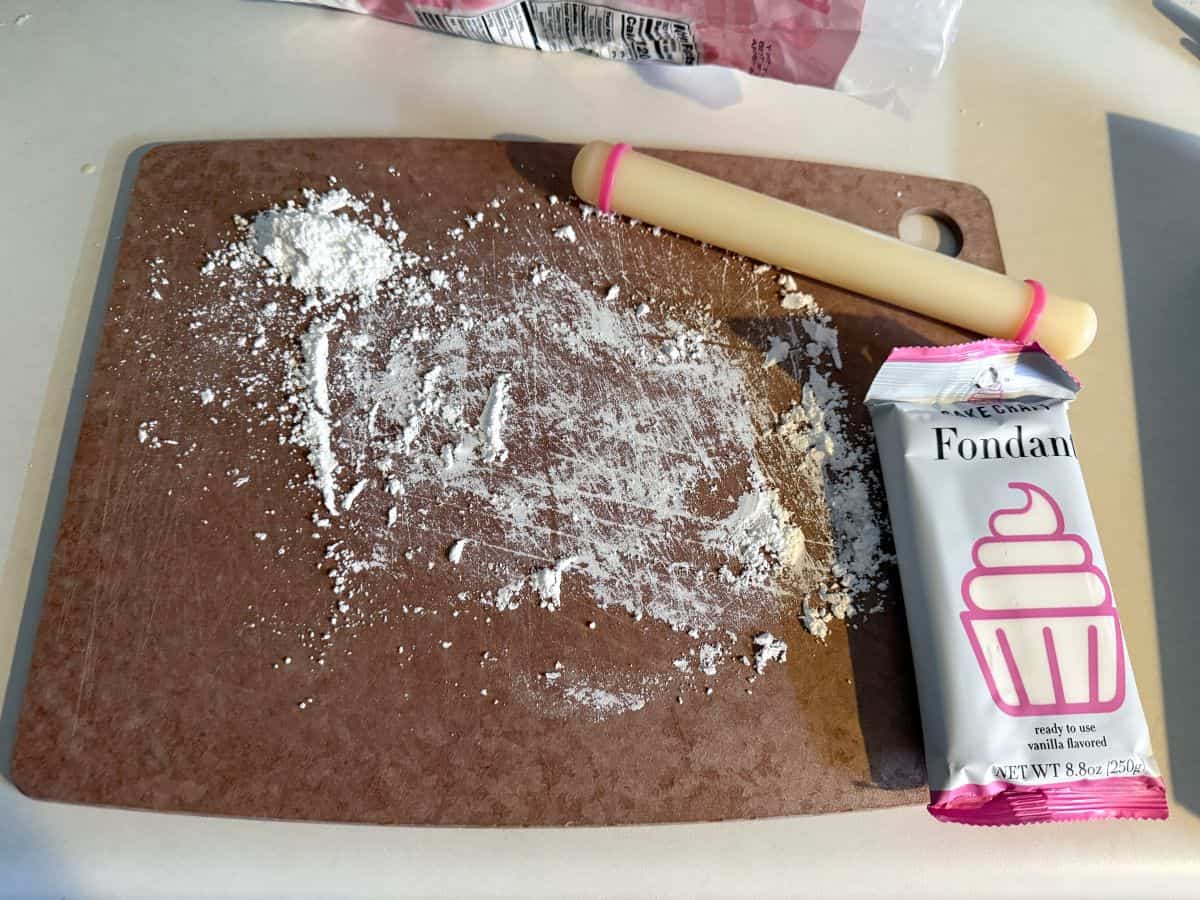
Roll out some white fondant into a thin layer using a small fondant rolling pin with guides.
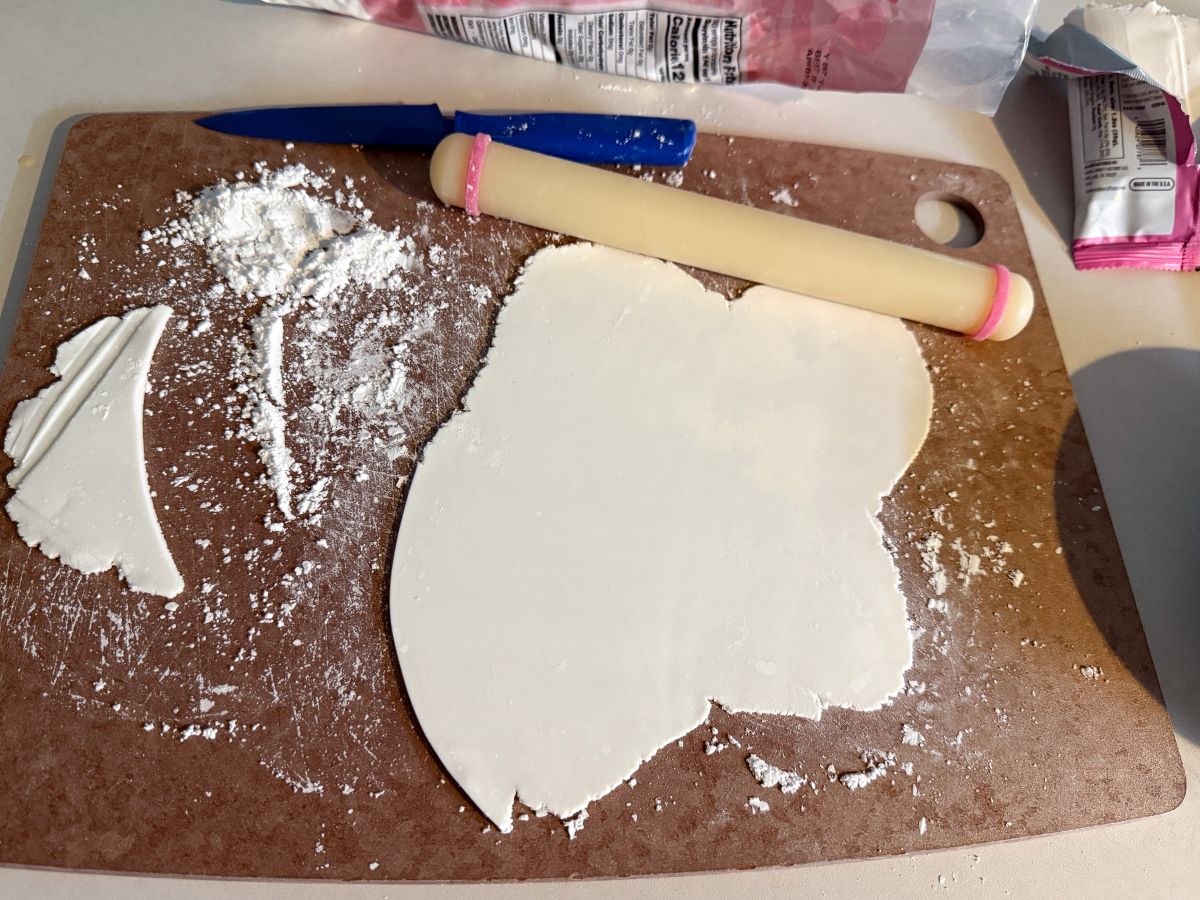
Place a 6-inch round cake pan over the rolled fondant to use as stencil for cutting the fondant.
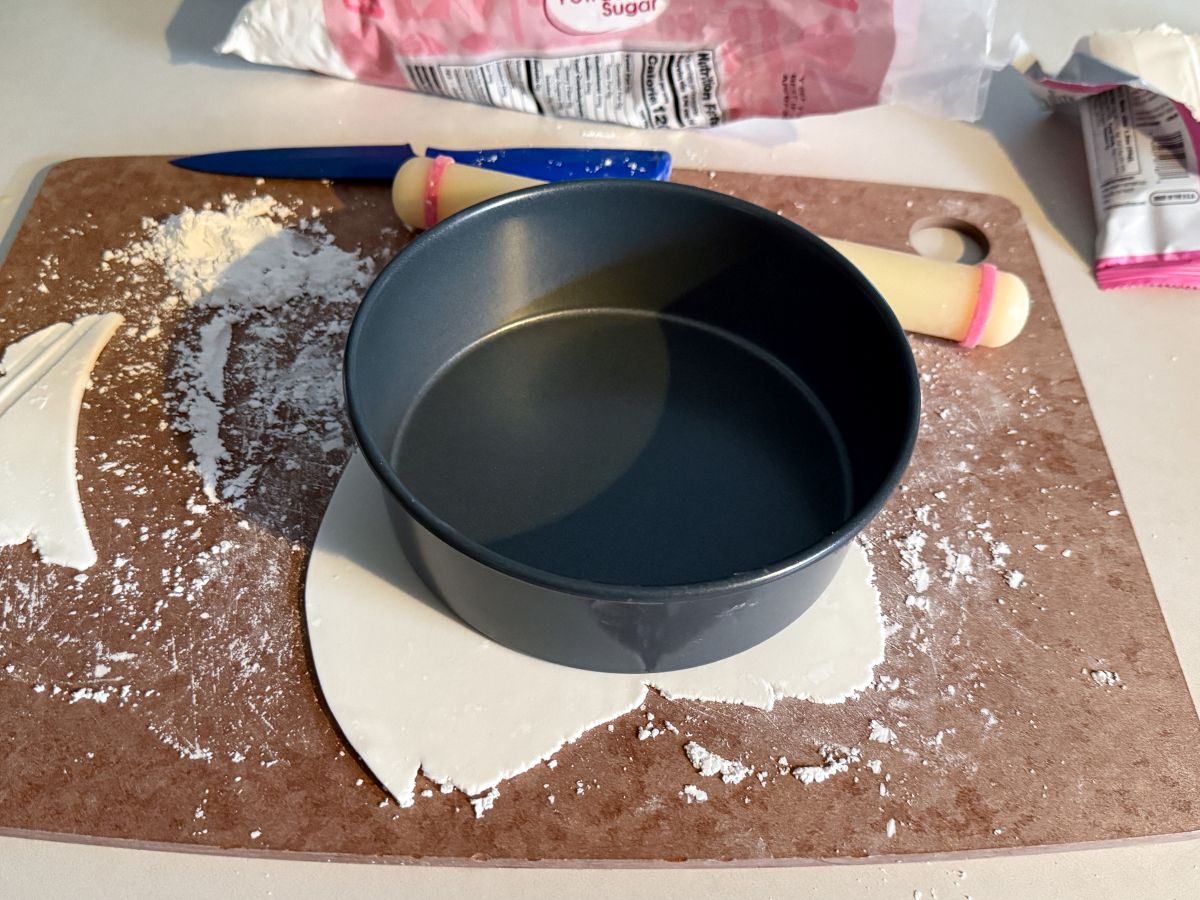
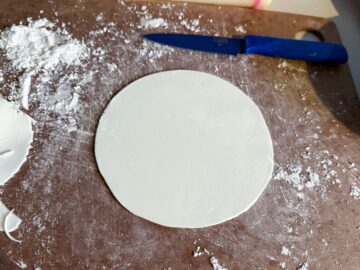
Trace around the pan with a paring knife to cut the fondant into a circle.
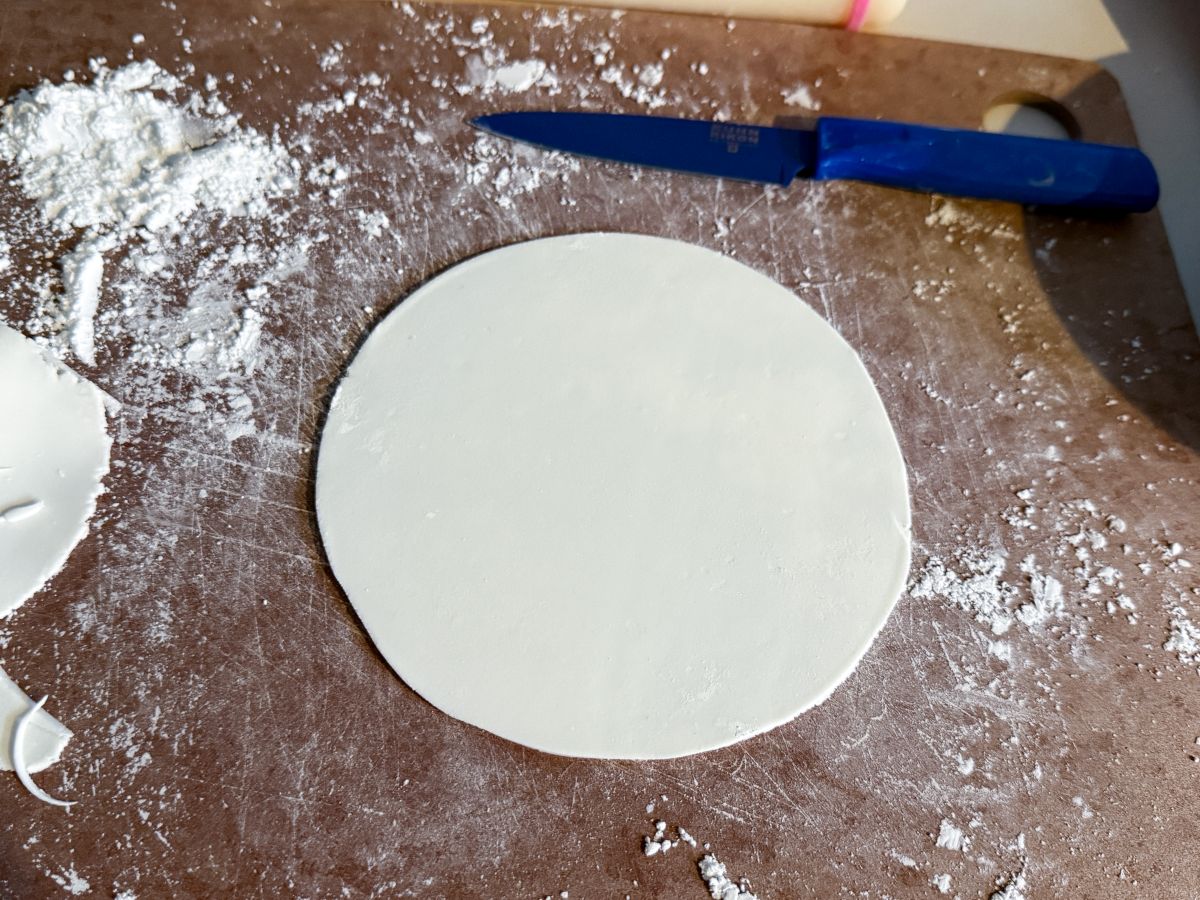
Next, dust a medium sized round tip, like a Wilton #12, with powdered sugar.
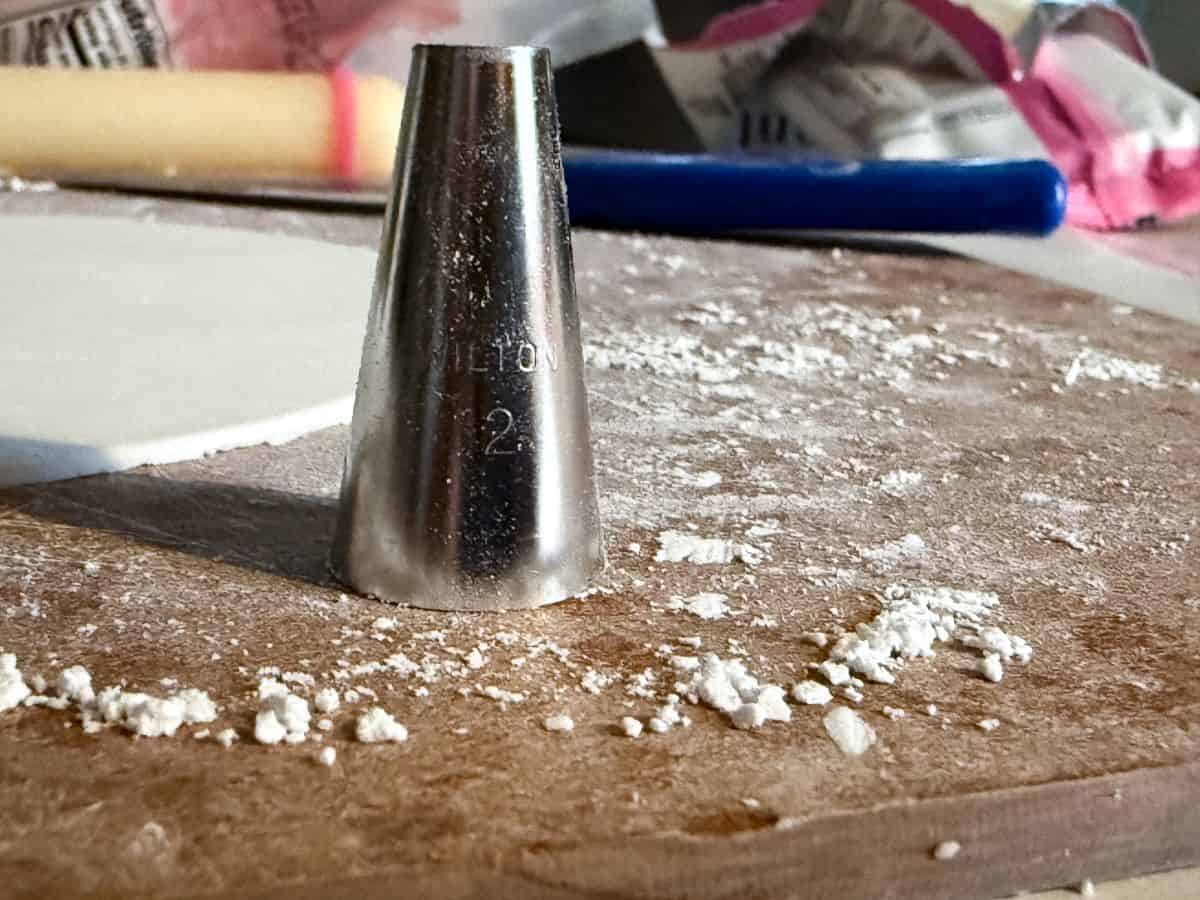
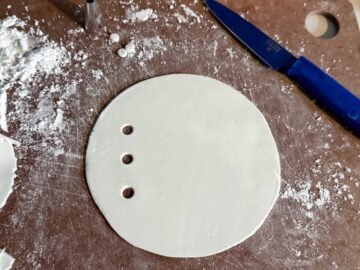
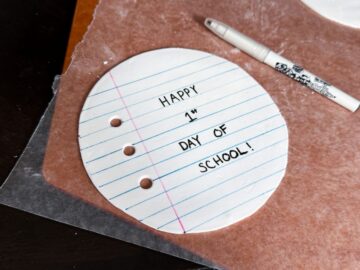
Lightly press the smaller end of the piping tip into the fondant to make 3 evenly spaced circles along the left side of the fondant circle, about 1-inch from the edge. This recreates the 3 holes in a piece of loose leaf paper.
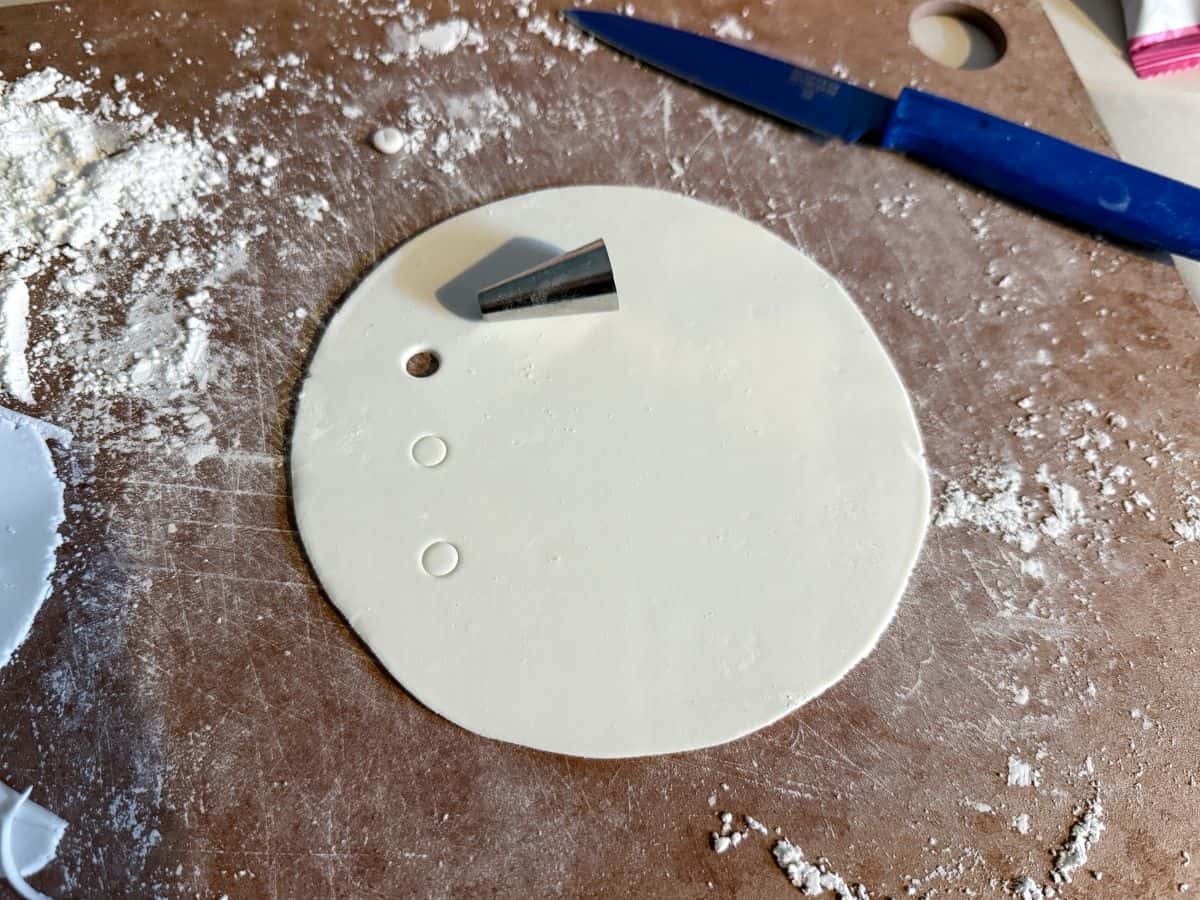
Press the tip all the way through the fondant to completely punch out the circles.
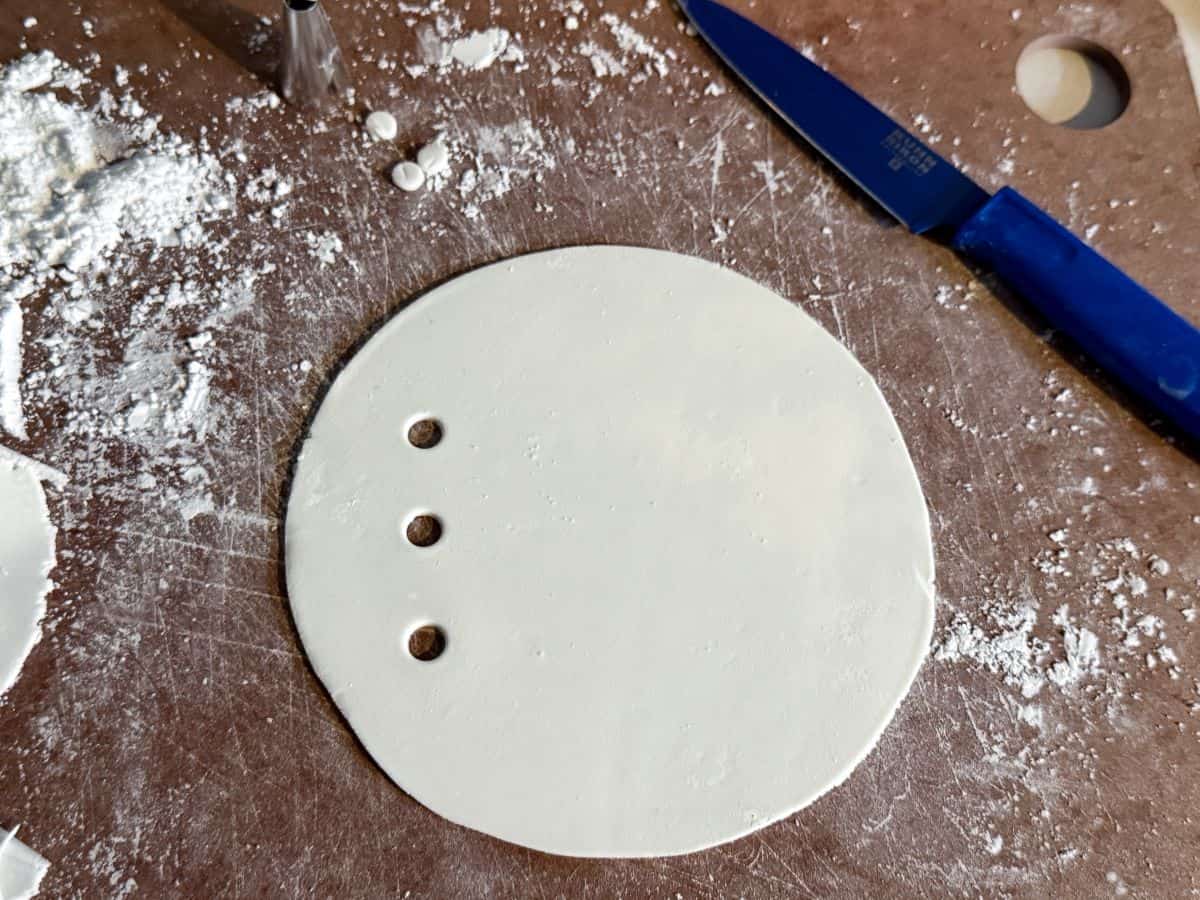
Allow the fondant to dry and harden at room temperature for at least overnight, ideally 1 day or more.
Bake the Cakes
You can use any vanilla cake recipe that you like or even a boxed cake mix. My family prefers the vanilla cake I used for the Polar Bear Cake and Rainbow Leopard Print Cake.
Preheat the oven. Add Even Bake Cake Strips around three 6-inch round cake pans.
Spray the pans with non-stick baking spray containing flour, such as Pam for Baking. Alternatively, line the bottoms of the pans with parchment paper and grease and flour the sides of the pan and the parchment. Set aside the pans.
Prepare the batter as directed, then equally divide between the three prepared pans.
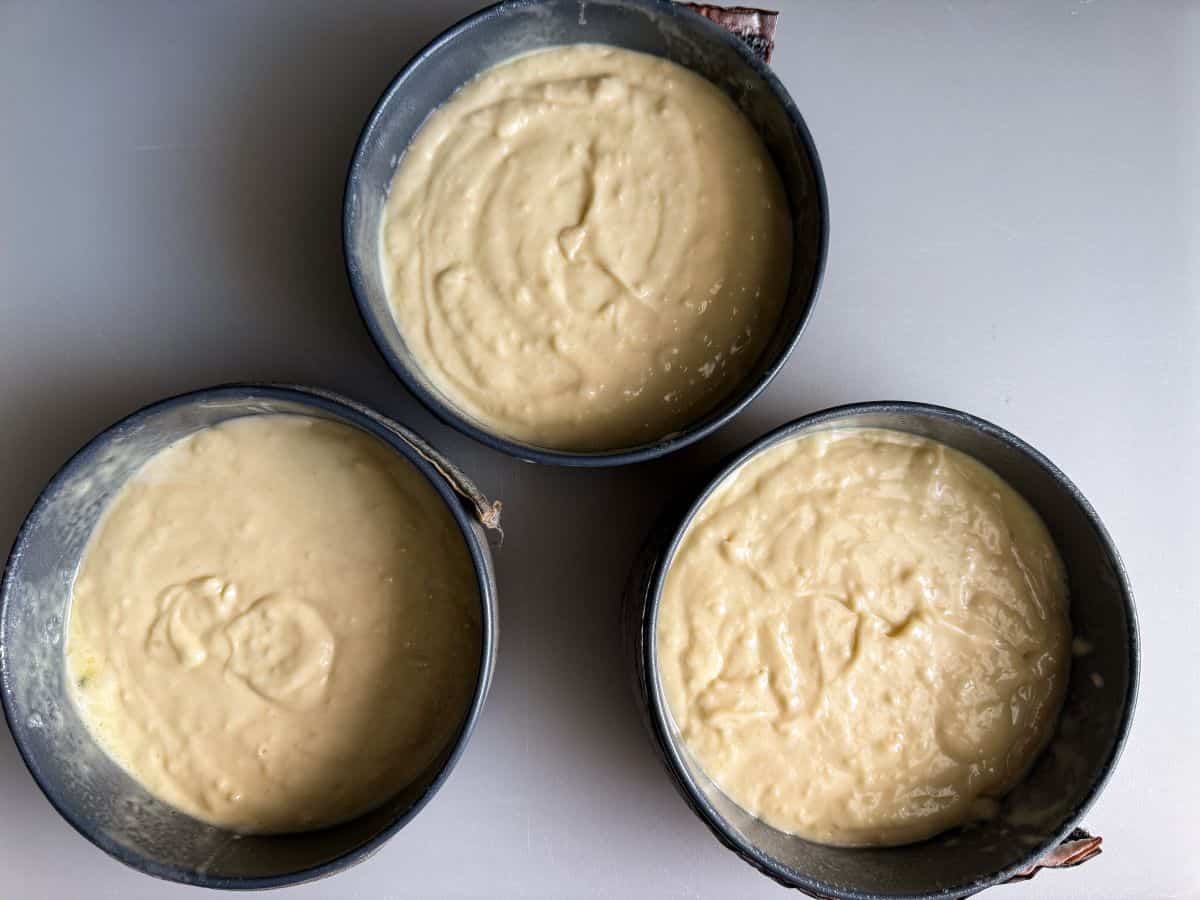
Bake the cakes until a toothpick inserted into the center comes out clean.
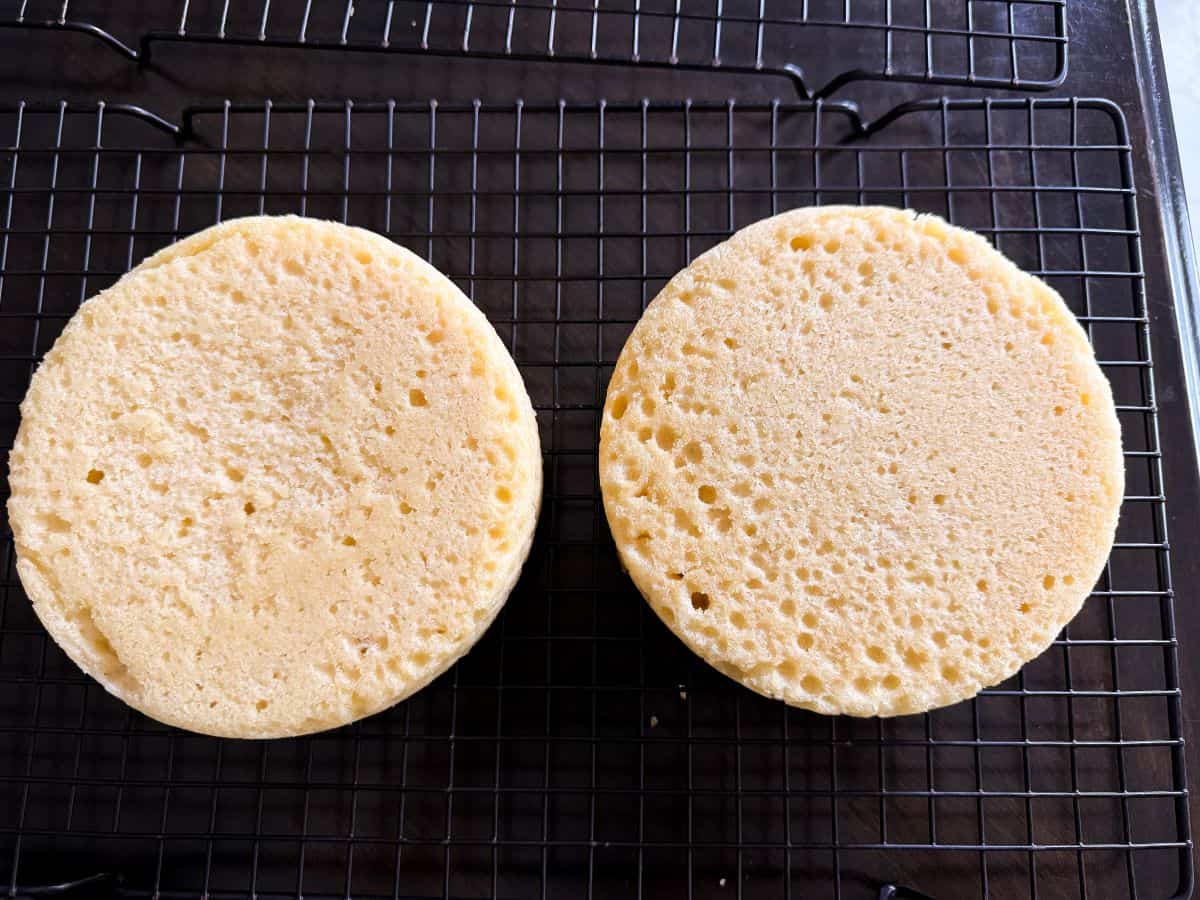
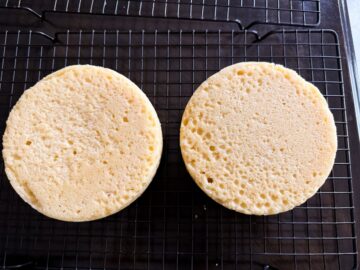
Allow the cakes to cool in the pans for 10 minutes, then unmold the cakes and cool completely on cooling racks.
Decorate the Topper
After the fondant circle has hardened, it is ready to be decorated.
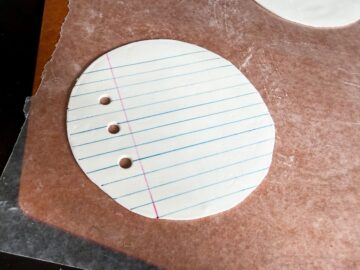
Use a ruler or straight edge to draw evenly spaced lines perpendicular to the 3 holes with a blue food coloring marker.
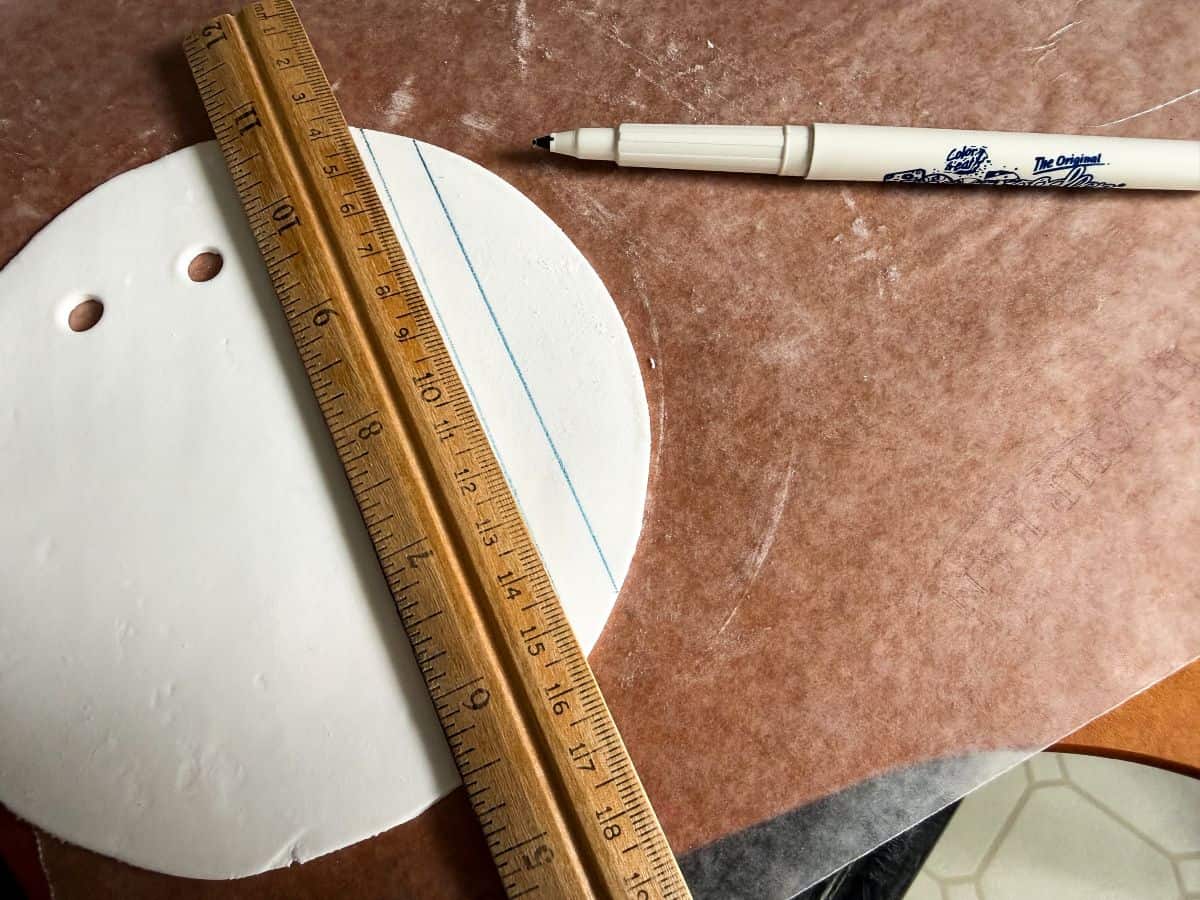
Fill the entire fondant with the lines.
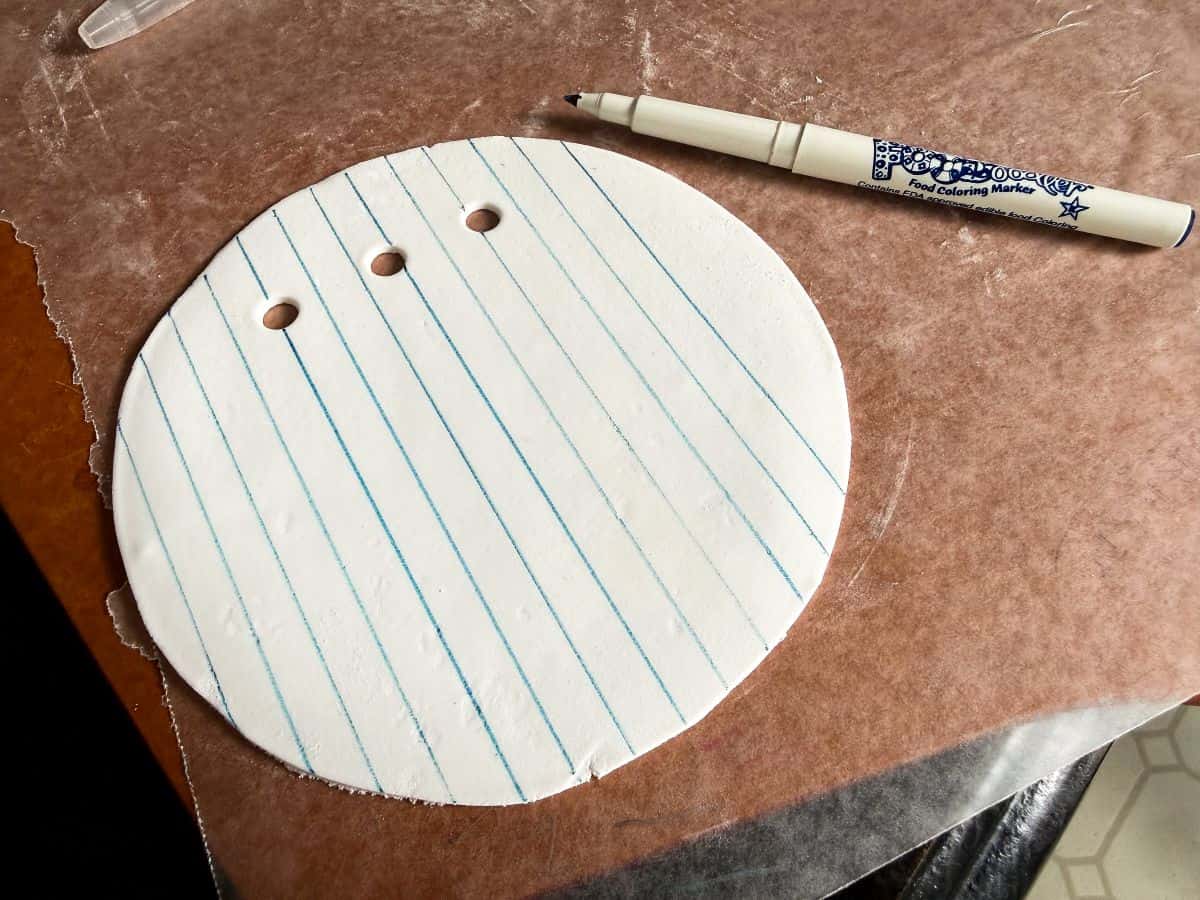
Then, use a pink food coloring marker to draw a single pink line to the right of the circles, perpendicular to the blue lines.
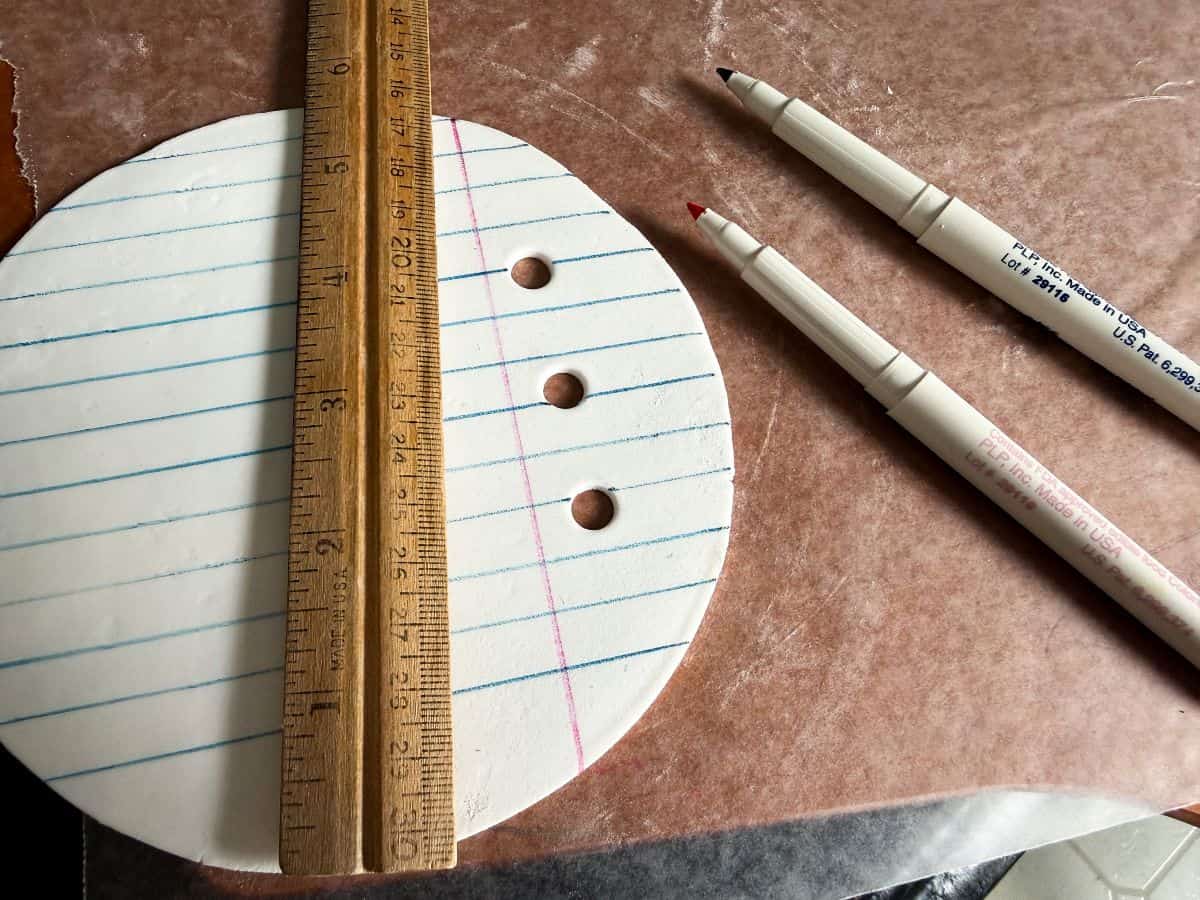
Wait a few minutes to allow the marker to dry.
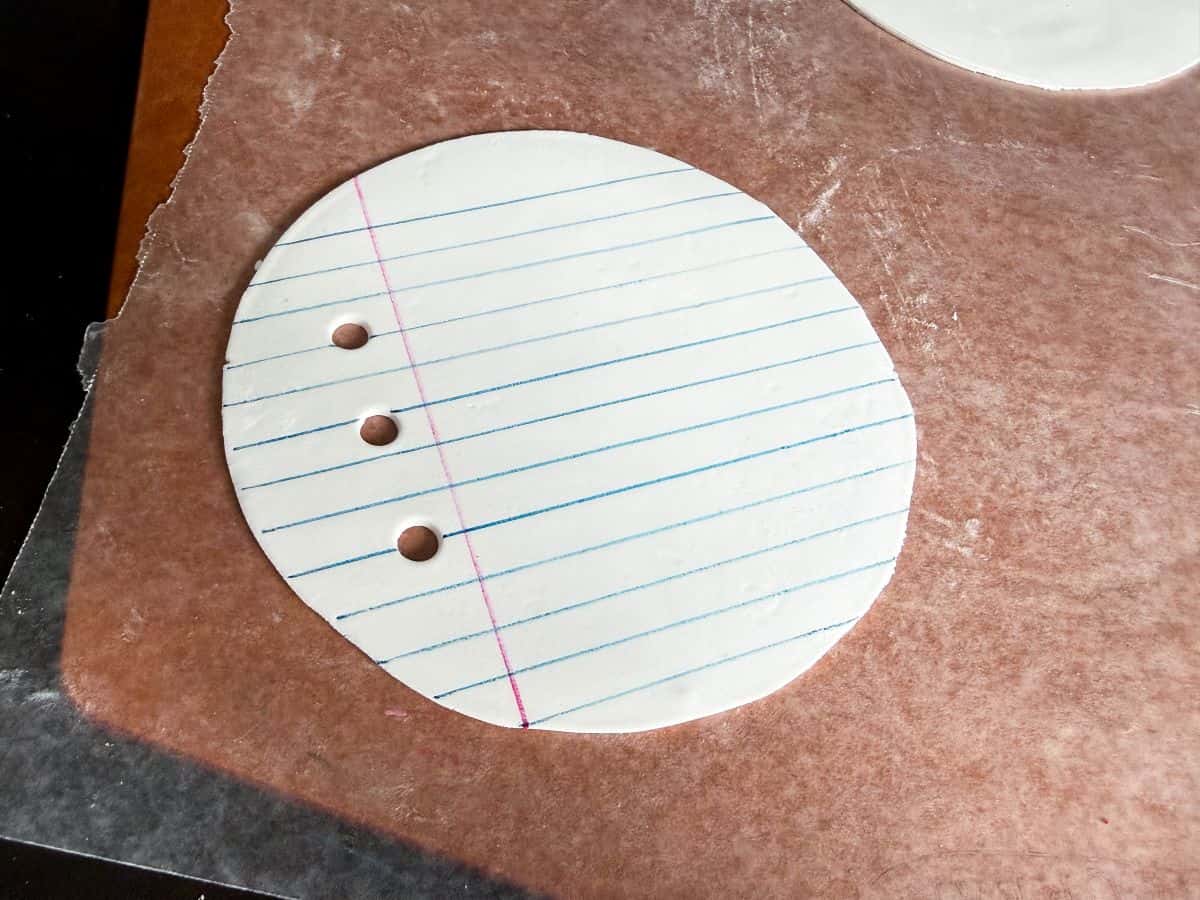
Lastly, use a black food coloring marker to write in between the blue lines, "Happy 1st Day of School!"
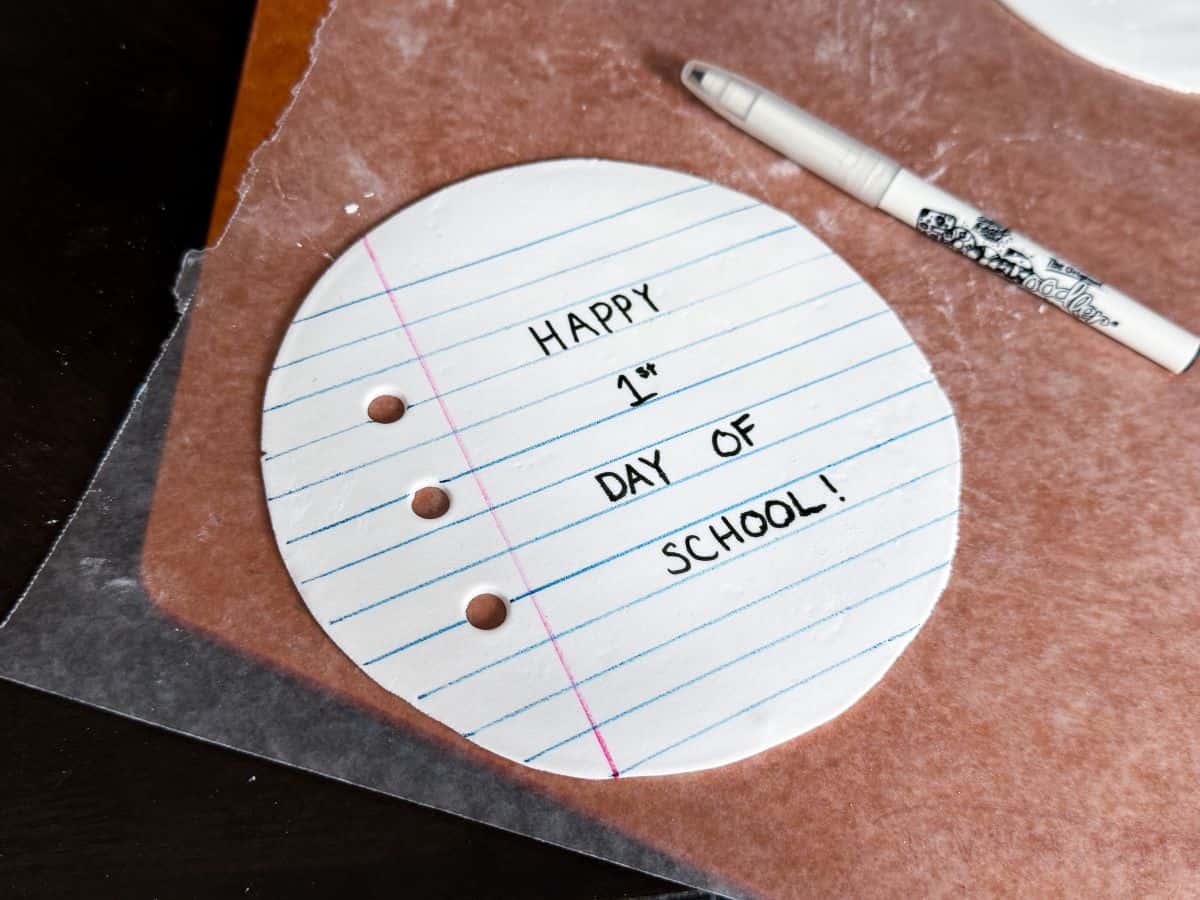
Set the fondant aside to begin assembling the cake.
Assemble the Cake
You will need about 3 batches of Easy Vanilla Buttercream for this cake. You will have some leftover, but just 2 batches is not quite enough.
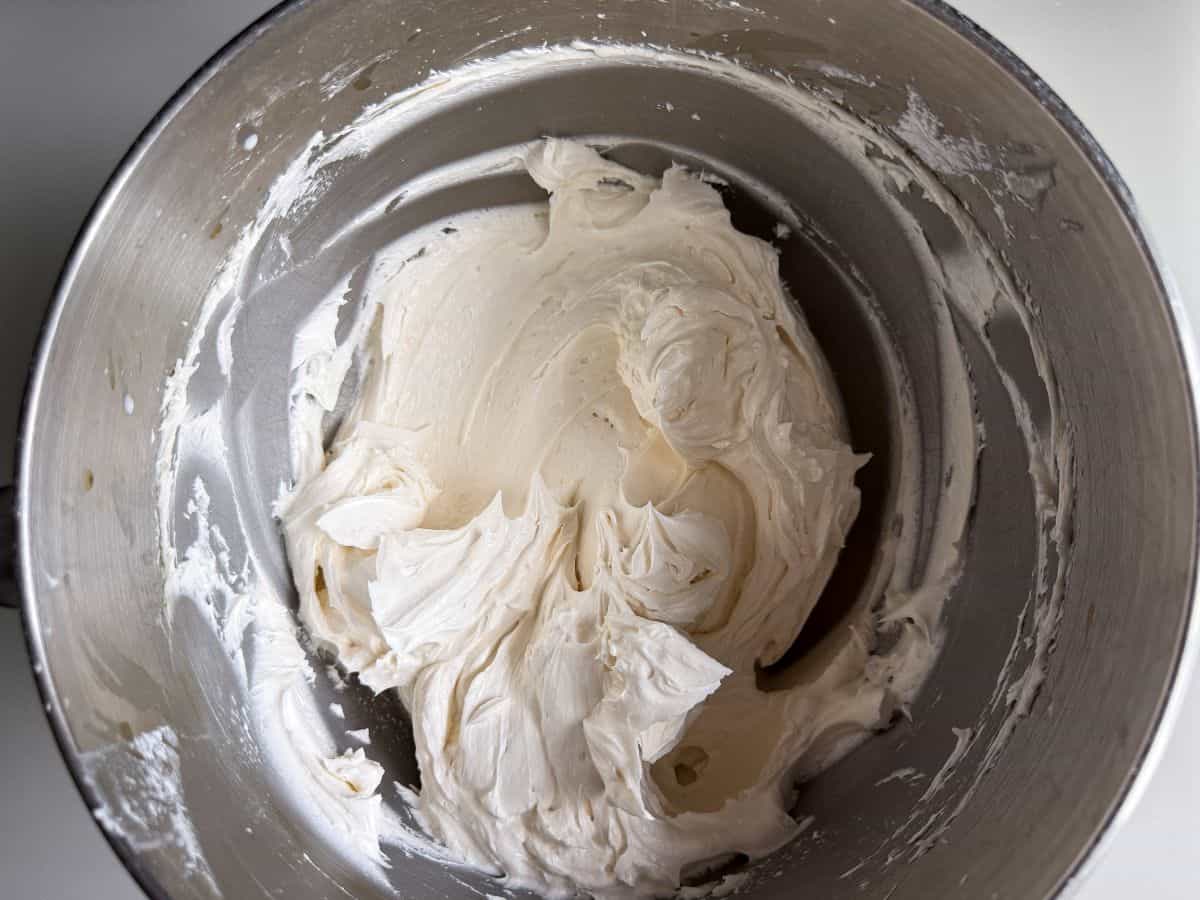
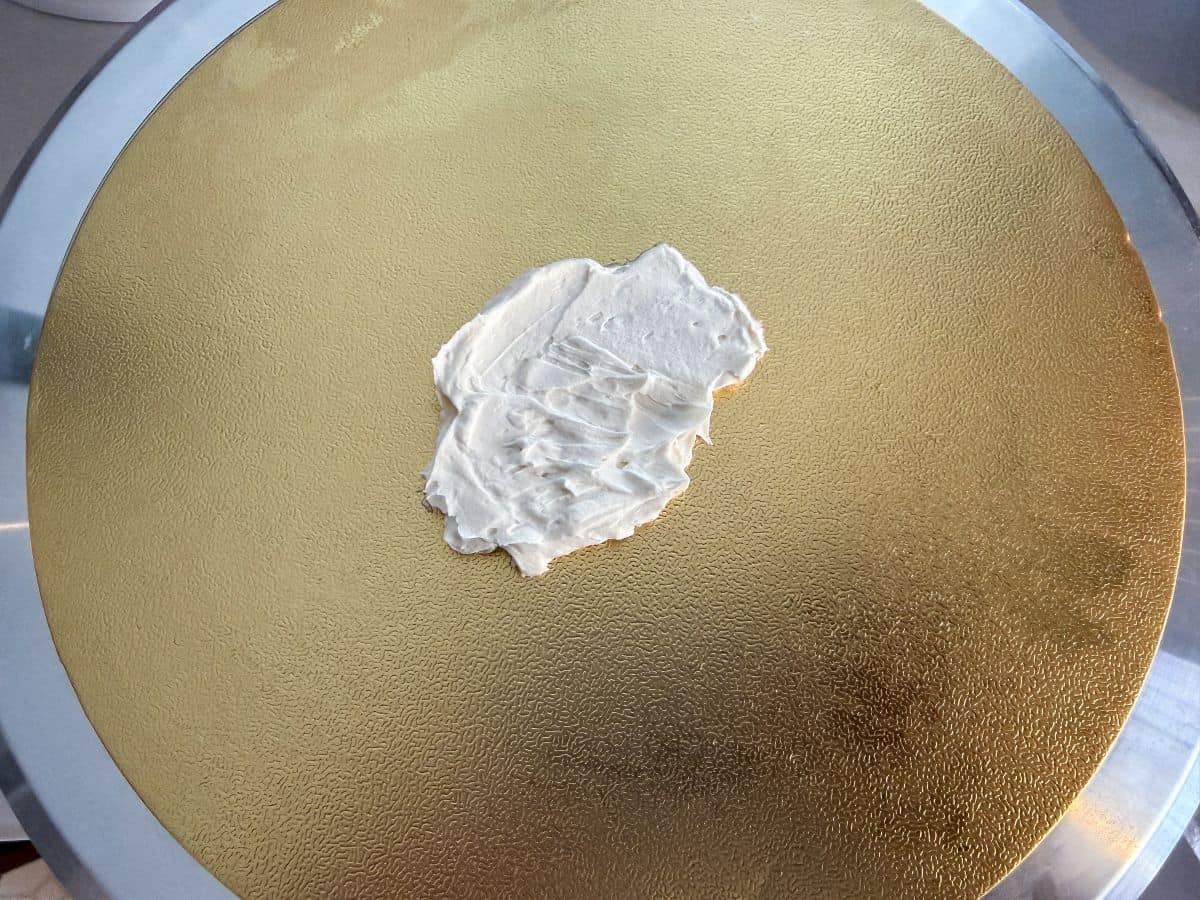
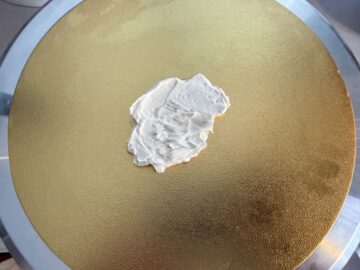
Place a 10-inch round cake board on a spinning cake decorating stand. Smear a small amount of buttercream in the center of the cake board.
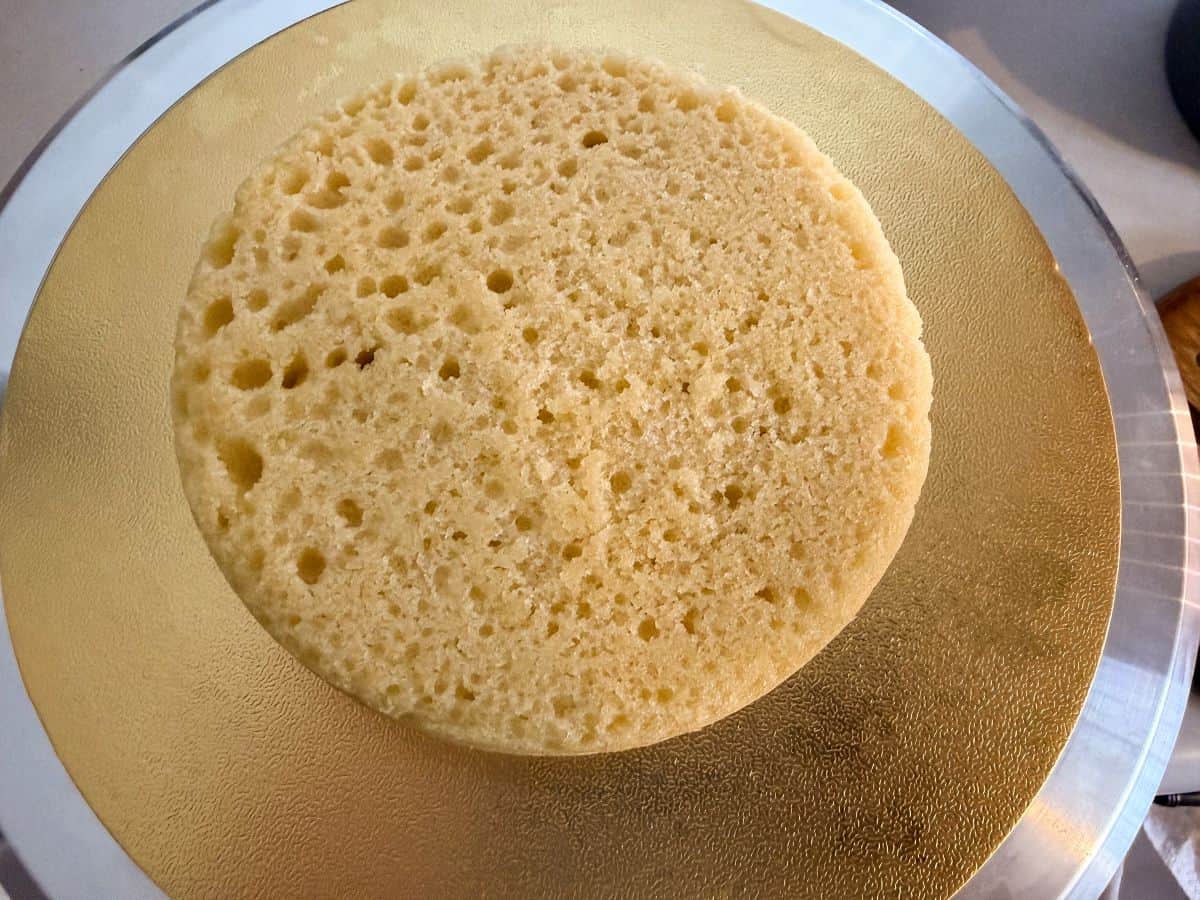
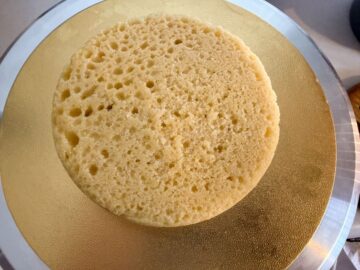
Place the first cake layer on top of the board in the center.
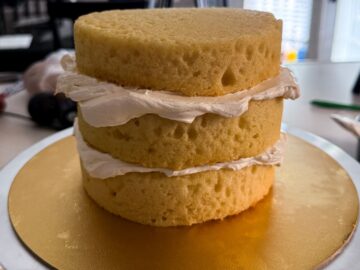
Cover the top of the cake with an even layer of buttercream. Stack another cake layer on top.
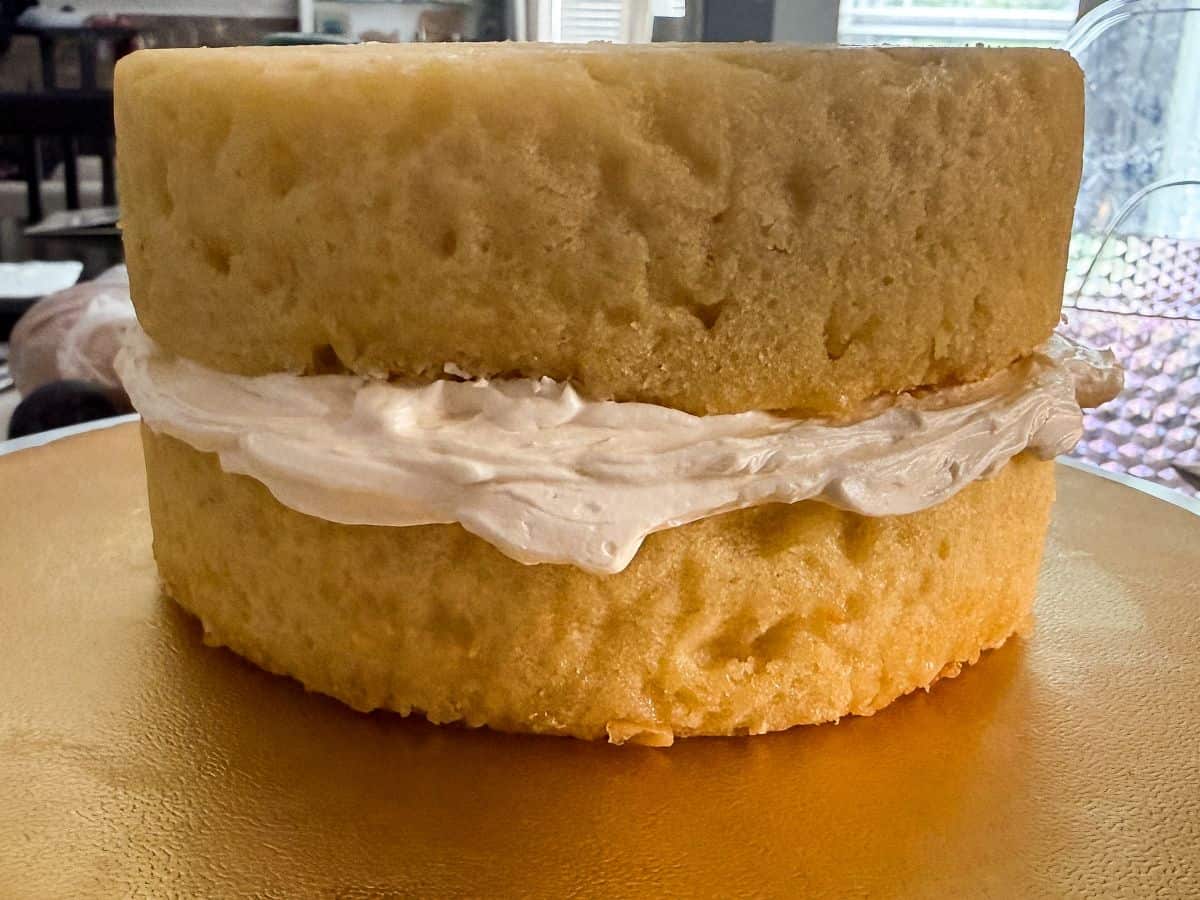
Repeat the process with the third layer.
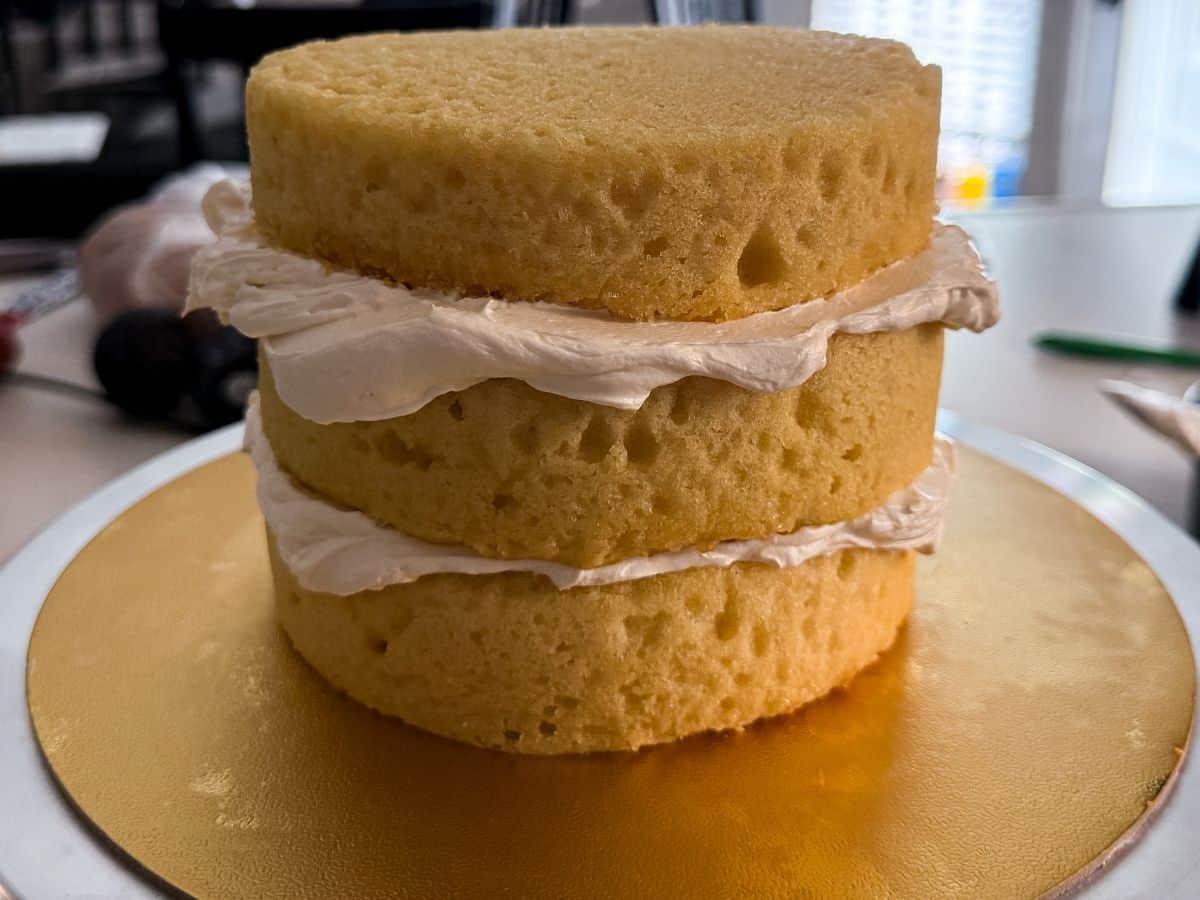
Break three wooden skewers to a size just smaller than the height of the cake and insert them into the cake in the center and two sides, all in a row. These serve as the supports for the cake to prevent sliding.
Apply a thick layer of buttercream to the entire cake.
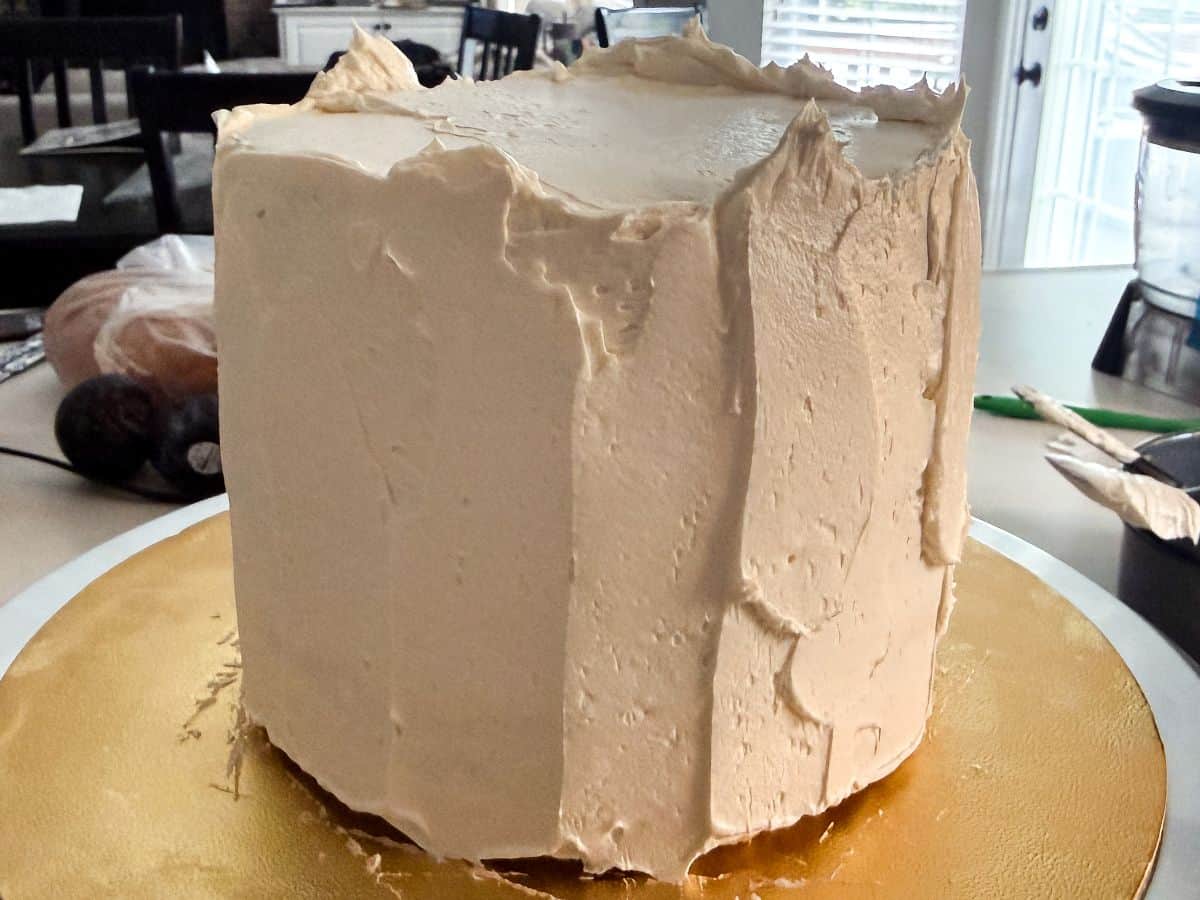
Hold a metal cake scraper straight up and down at a 45º angle against the side of the cake while spinning the cake stand to smooth the surface, adding extra buttercream to fill in gaps as necessary and smoothing the top as well. Repeat this process until the surface is as smooth as you want.
Another option is to pop the cake in the refrigerator to chill the buttercream. Then run the metal scraper under hot water to heat it, dry it off, and smooth the surface of the buttercream with the heated scraper.
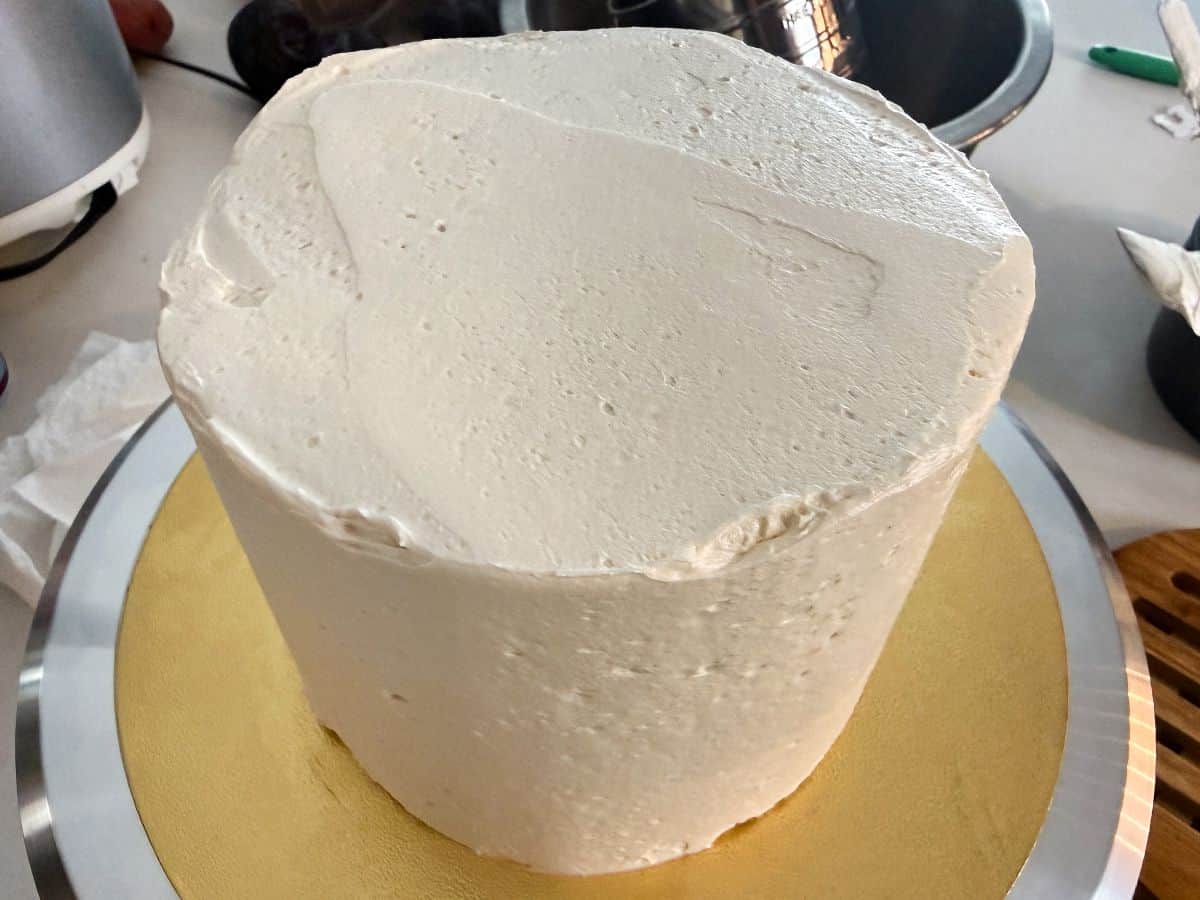
Place the fondant circle on top of the cake. Press down slightly to adhere.
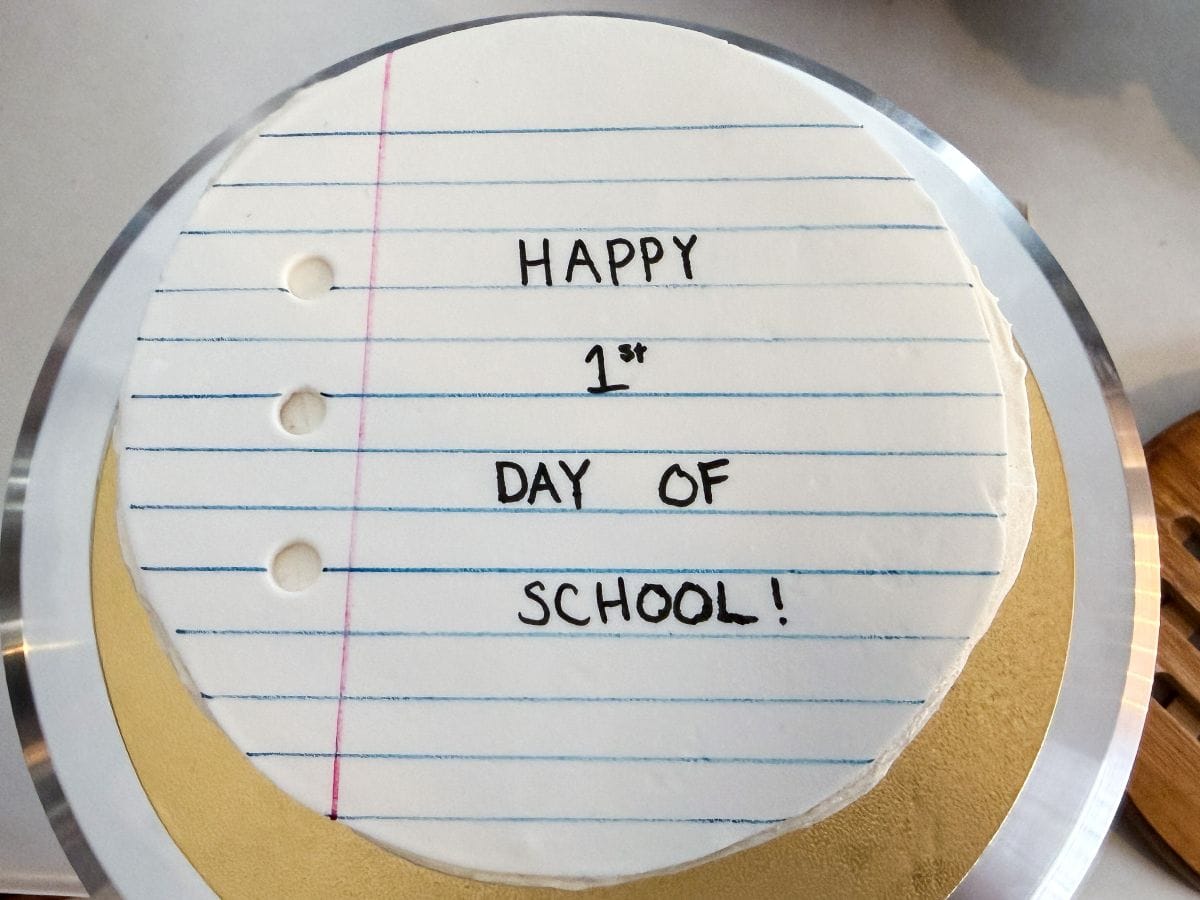
At this point, use a paper towel to wipe the cake board around the cake clean.
For the decorative piping, I used blue food coloring liquid rather than gel to achieve a light color.
Mix in some of the blue food coloring liquid to a portion of buttercream until it is light blue.
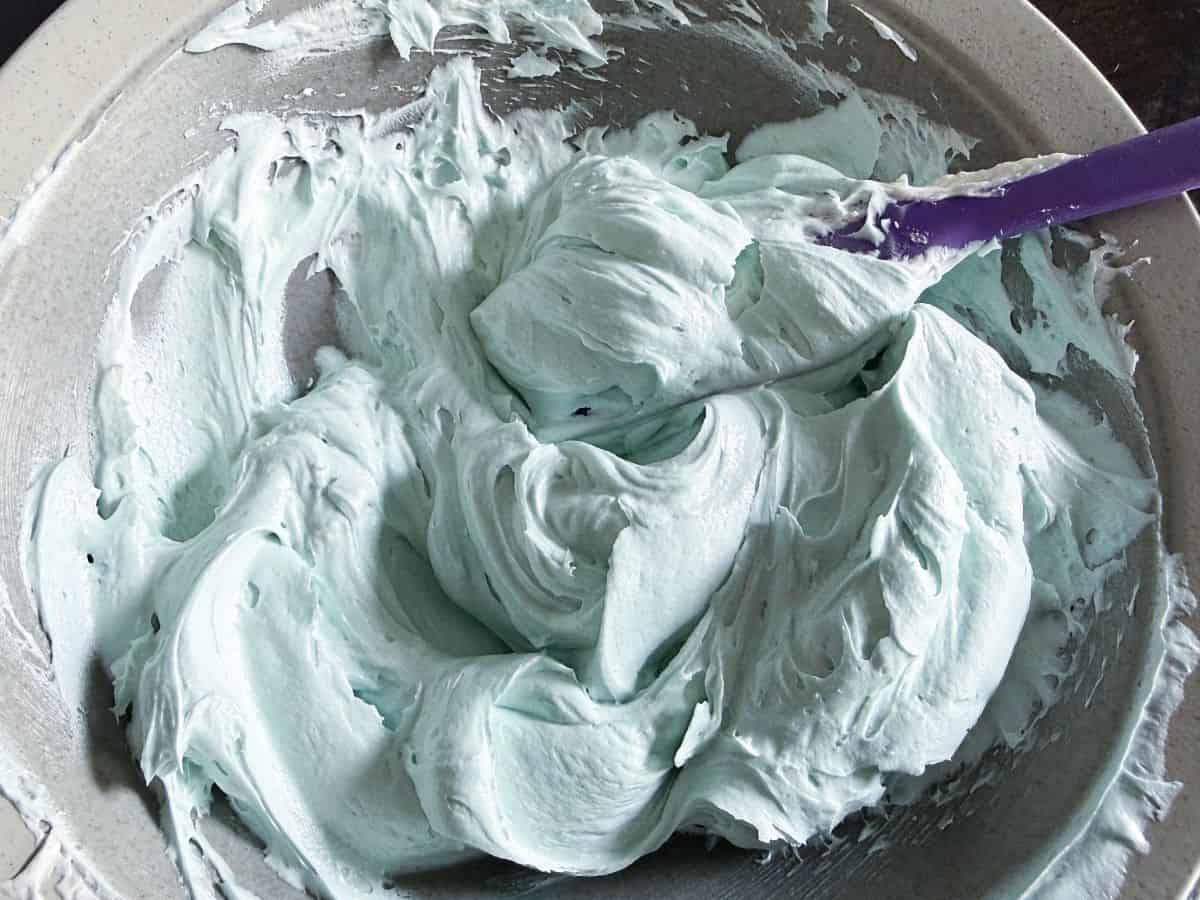
Transfer the buttercream to a disposable piping bag fitted with a decorative tip. I used a #6B.
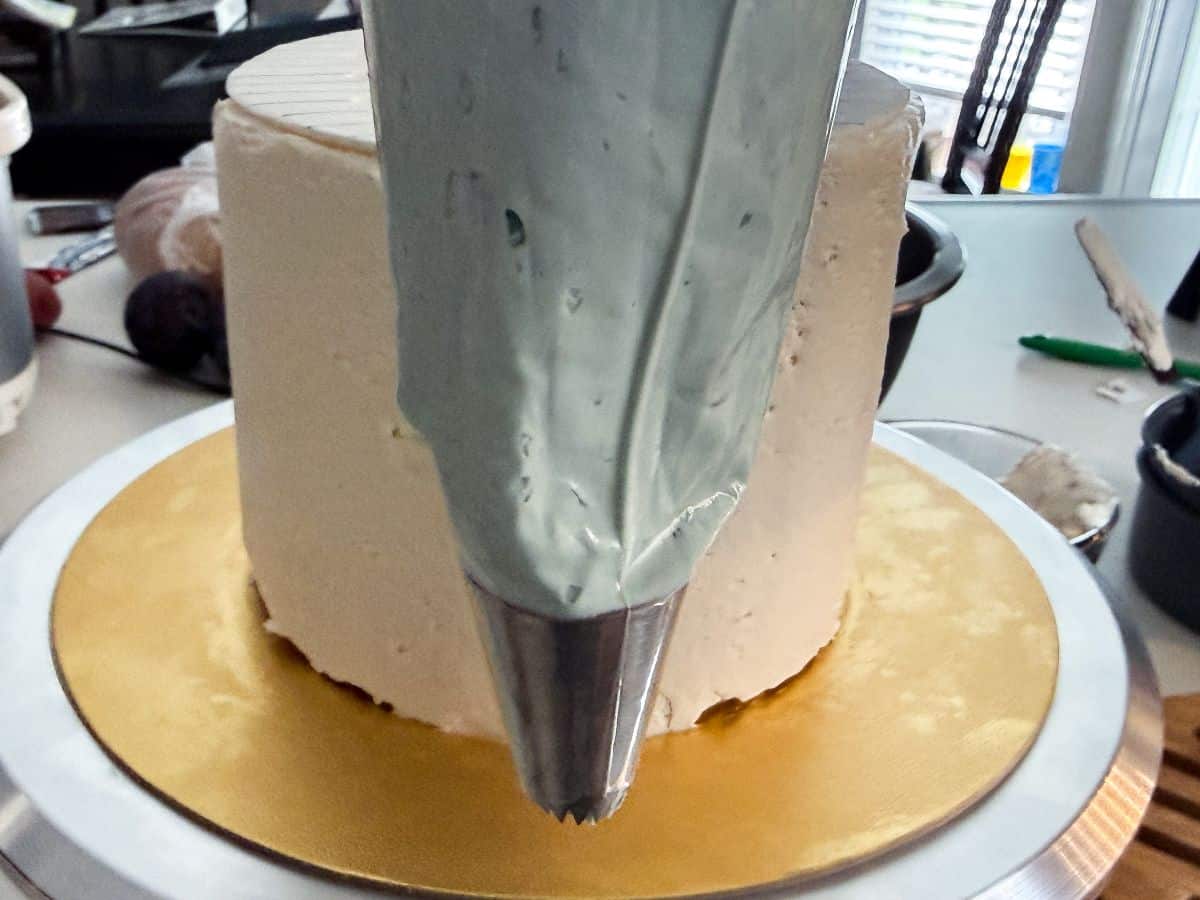
Pipe a border around the top of the fondant circle and around the bottom edge of the cake.
Storage
Refrigerate the cake, uncovered, until the buttercream has set. Then, you can cover it carefully with plastic wrap if you want.
Keep the cake refrigerated until a few hours before serving. You want to bring the cake to room temperature before serving for best flavor and texture.
Gluten Free Option
Use your favorite gluten free homemade or store bought cake. You can use Bob's Red Mill Gluten Free 1 to 1 Baking Flour in this vanilla cake recipe, although I have not tried it myself yet. I really like King Arthur brand gluten free cake mixes.
📖 Recipe
First Day of School Cake
Equipment
- small fondant rolling pin with guides
- paring knife
- medium sized round tip like Wilton #12
- Ruler
- 10-inch round gold cake board
- spinning cake decorating stand
- 3 wooden skewers
- metal cake scraper
- Disposable piping bag
- large decorative piping tip like #6B
Ingredients
For the Fondant Topper:
- white rollable fondant
- powdered sugar (for rolling the fondant)
- blue, pink and black food coloring markers
For the Cake:
- 2¼ cups all purpose flour
- 2¼ teaspoons baking powder
- ⅜ teaspoon salt
- 6 tablespoons butter (at room temperature)
- 6 tablespoons vegetable or canola oil
- 1 cup + 2 tablespoons sugar
- 3 large eggs (at room temperature)
- 2¼ teaspoons vanilla extract
- 1 cup minus 1 tablespoon buttermilk (at room temperature)
For Cake Assembly:
- 3 batches Easy Vanilla Buttercream (see note)
- blue food coloring liquid
Instructions
Make the Fondant Topper:
- Lightly dust a work surface with powdered sugar.
- Roll out some white fondant into a thin layer using a small fondant rolling pin with guides.
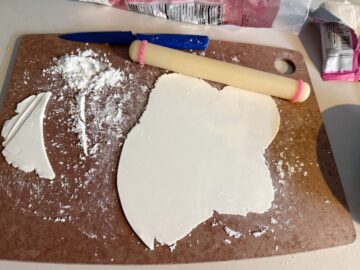
- Place a 6-inch round cake pan over the rolled fondant to use as stencil for cutting the fondant.
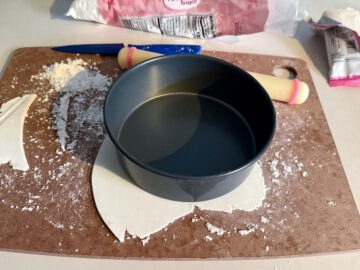
- Trace around the pan with a paring knife to cut the fondant into a circle.
- Dust a medium sized round tip, like a Wilton #12, with powdered sugar. Lightly press the smaller end of the piping tip into the fondant to make 3 evenly spaced circles along the left side of the fondant circle, about 1-inch from the edge. This recreates the 3 holes in a piece of loose leaf paper. Press the tip all the way through the fondant to completely punch out the circles.
- Allow the fondant to dry and harden at room temperature for at least overnight, ideally 1 day or more.
Bake the Cakes:
- Preheat the oven to 350°F.
- Add Even Bake Cake Strips around three 6-inch round cake pans. Spray the pans with non-stick baking spray containing flour, such as Pam for Baking. Alternatively, line the bottoms of the pans with parchment paper and grease and flour the sides of the pan and the parchment. Set aside the pans.
- In a medium bowl, sift together the flour, baking powder and salt. Set aside.2¼ cups all purpose flour, 2¼ teaspoons baking powder, ⅜ teaspoon salt
- In the bowl of stand mixer, beat the butter, oil and sugar until fully combined. Add the eggs one at a time. Beat thoroughly after each egg. Add the vanilla extract and mix until fully incorporated.6 tablespoons butter, 6 tablespoons vegetable or canola oil, 1 cup + 2 tablespoons sugar, 3 large eggs, 2¼ teaspoons vanilla extract
- Using a large rubber spatula, fold in ⅓ of the dry ingredients. Add half of the buttermilk and fold until combined, then add another ⅓ of the dry ingredients, followed by the remaining buttermilk and ending with the rest of the dry ingredients. Small lumps of flour will remain. Take care not to overmix.1 cup minus 1 tablespoon buttermilk
- Equally divide the batter among the three prepared pans.
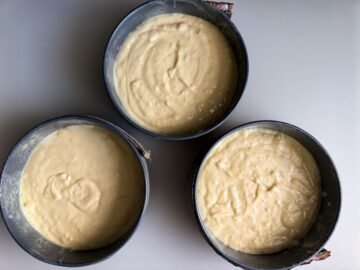
- Bake the cakes for about 25-35 minutes or until a toothpick inserted into the center comes out clean. This time will vary depending on your oven, You do not want to overbake this cake or it will taste dry.
- Allow the cakes to cool in the pans for 10 minutes, then unmold the cakes and cool completely on cooling racks.
Decorate the Topper:
- On the hardened circle of white fondant, use a ruler or straight edge to draw evenly spaced lines perpendicular to the 3 holes with a blue food coloring marker.
- Draw a single pink line with a pink food coloring marker to the right of the circles, perpendicular to the blue lines. Wait a few minutes to allow the marker to dry.
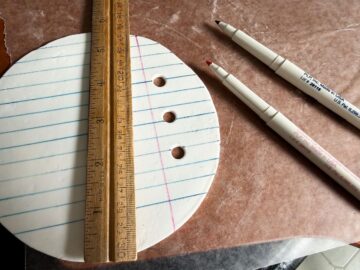
- Use a black food coloring marker to write in between the blue lines, "Happy 1st Day of School!"
Assemble the Cake:
- Place a 10-inch round cake board on a spinning cake decorating stand. Smear a small amount of buttercream in the center of the cake board.
- Place the first cake layer on top of the board in the center.
- Cover the top of the cake with an even layer of buttercream. Stack another cake layer on top. Repeat the process with the third layer.
- Break three wooden skewers to a size just smaller than the height of the cake and insert them into the cake in the center and two sides, all in a row. These serve as the supports for the cake to prevent sliding.
- Apply a thick layer of buttercream to the entire cake.
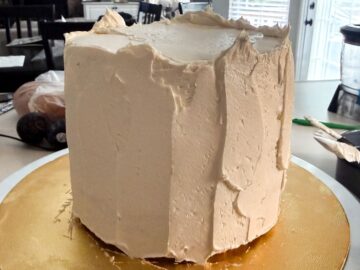
- Hold a metal cake scraper straight up and down at a 45º angle against the side of the cake while spinning the cake stand to smooth the surface, adding extra buttercream to fill in gaps as necessary and smoothing the top as well. Repeat this process until the surface is as smooth as you want.
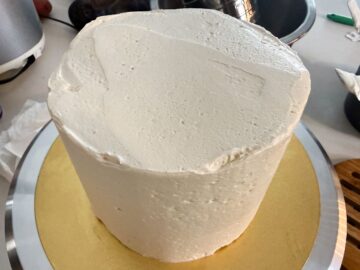
- Place the fondant circle on top of the cake. Press down slightly to adhere.
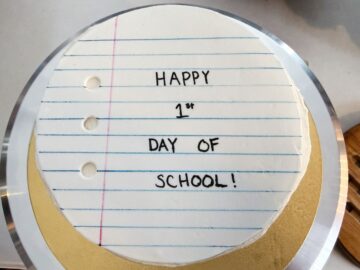
- Use a paper towel to wipe the cake board around the cake clean.
- Mix in some of the blue food coloring liquid to a portion of buttercream until it is light blue.
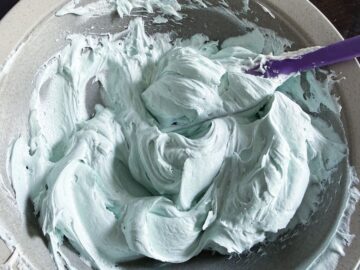
- Transfer the buttercream to a disposable piping bag fitted with a decorative tip, like a #6B.
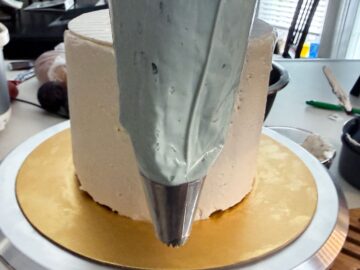
- Pipe a border around the top of the fondant circle and around the bottom edge of the cake.
Leave a Reply