
This is a moist, delicious chocolate cake recipe for making two round cake layers. They can be stacked into a single cake or made into Cake Pops. This recipe is a variation of the popular Hershey's Black Magic Cake.
I would argue that just about every truly good chocolate cake recipe is generally the same, and it's all based off of the Hershey's Black Magic Cake. Once you know the basic ingredients, you will start spotting it everywhere.
Anytime I see someone on Food Network Baking Championship talking about their "amazing chocolate cake," it always follows the same pattern as the Black Magic Cake: oil, buttermilk, hot coffee. Even Ina Garten's Beatty's Chocolate Cake follows this formula.
When I look back on my favorite cakes that have a chocolate cake component, they all are a variation of the Black Magic Cake. Examples include the Samoa Bundt Cake, the Cherry Chocolate Cheesecake Bundt Cake, the Salted Caramel Chocolate Fudge Cake, and the famous Epicurious Chocolate Layer Cake.
I decided I wanted to document this recipe in the form of a two layer chocolate cake, This batter could also be used for cupcakes or even in a Princess Doll Dress Cake pan, as I did with this Snow White Cake.
This cake made with gluten free 1 to 1 baking flour, such as Bob's Red Mill, is incredible. When I make it with gluten free flour, no one can tell it's a gluten free cake!
Once baked, the cake layers can be assembled into a cake used for Cake Pops. I did that for these Apple Cake Pops.
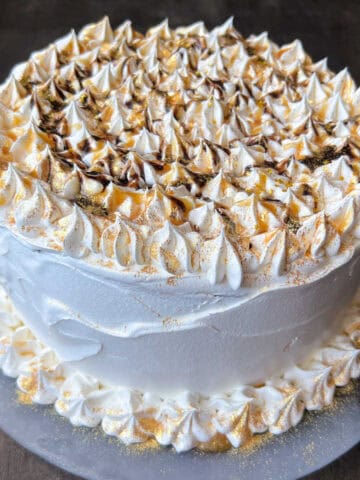
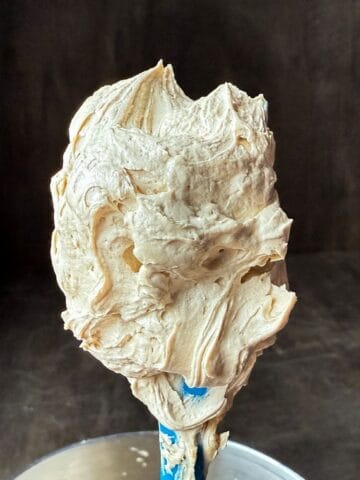
You can pair this cake with Vanilla Swiss Meringue Buttercream, Easy Vanilla Buttercream, Easy Chocolate Buttercream, Ganache Frosting, Snow Peak Frosting, Dulce de Leche Buttercream, or a number of other options.
Jump to:
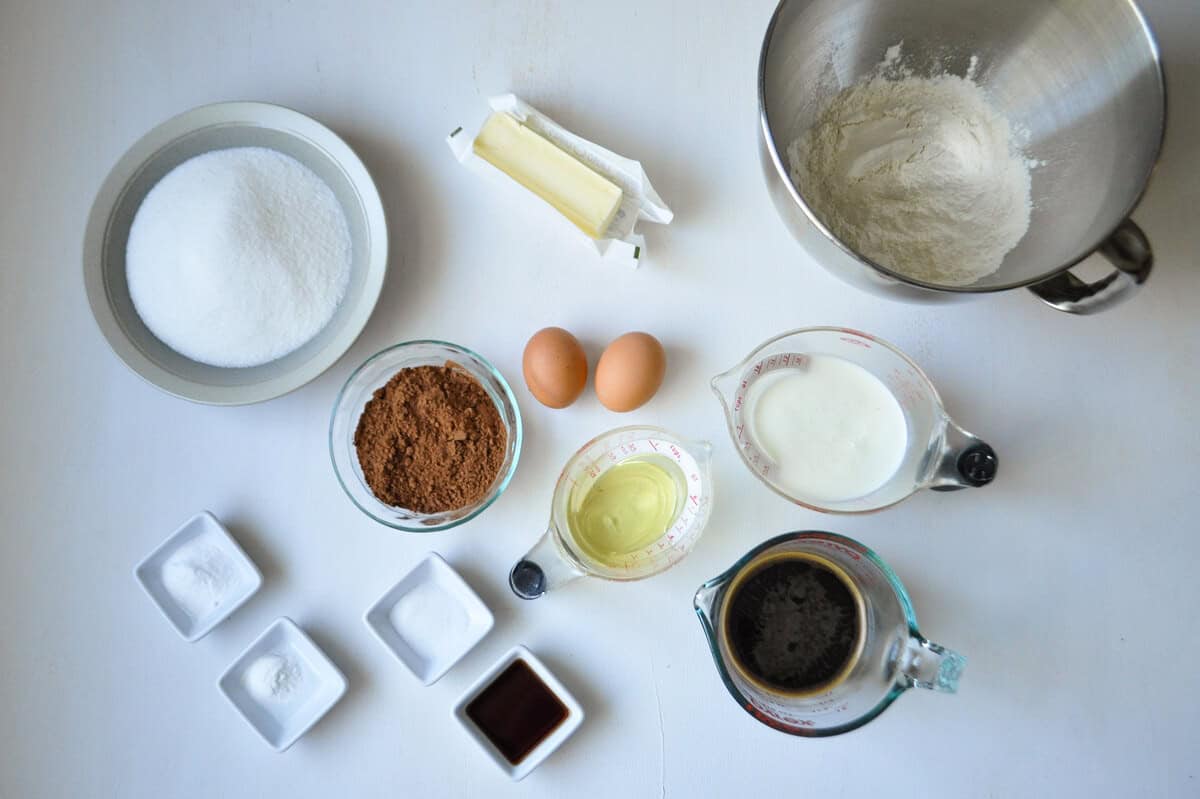
Ingredients
Like I mentioned, the keys to this cake are oil, hot coffee, and buttermilk. The other ingredients are standard cake mix ingredients like sugar, flour, cocoa powder, and so on.

Prepare the Pans
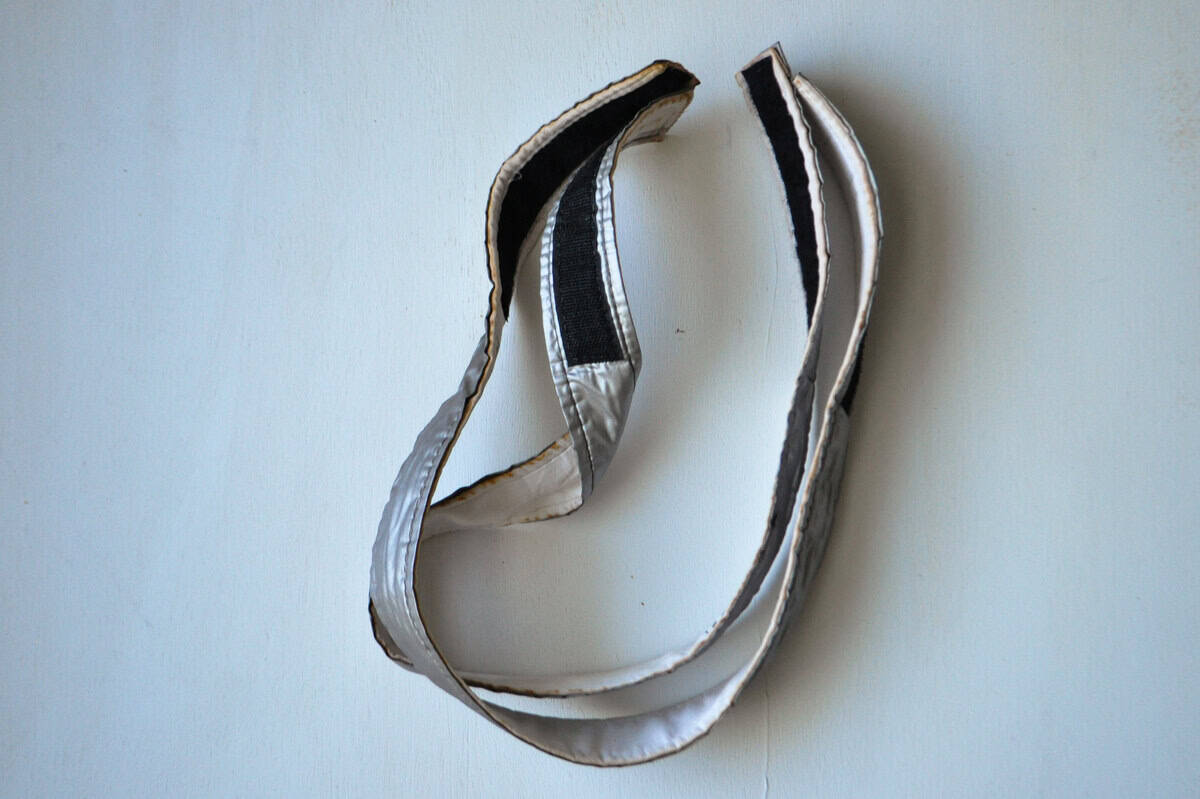
I always use cake baking strips when I'm making layer cakes or any cake that I don't want to dome when baked. These strips are soaked with water before being attached to the outside of the pans and help the cake evenly rise during baking.
I like to use Pam for Baking to ensure the cakes will come out of the pan completely. If you prefer to butter and flour the pans, I highly recommend adding a parchment circle to the bottom of each pan and greasing and flouring the top of the paper as well as the sides of the pan.
You can use either 8-inch or 9-inch round cake pans for this recipe. If I want a taller cake, I'll use the 8-inch. If I'm making the cake for Cake Pops, I'll use the 9-inch pans because they take less time to bake.

Make the Batter
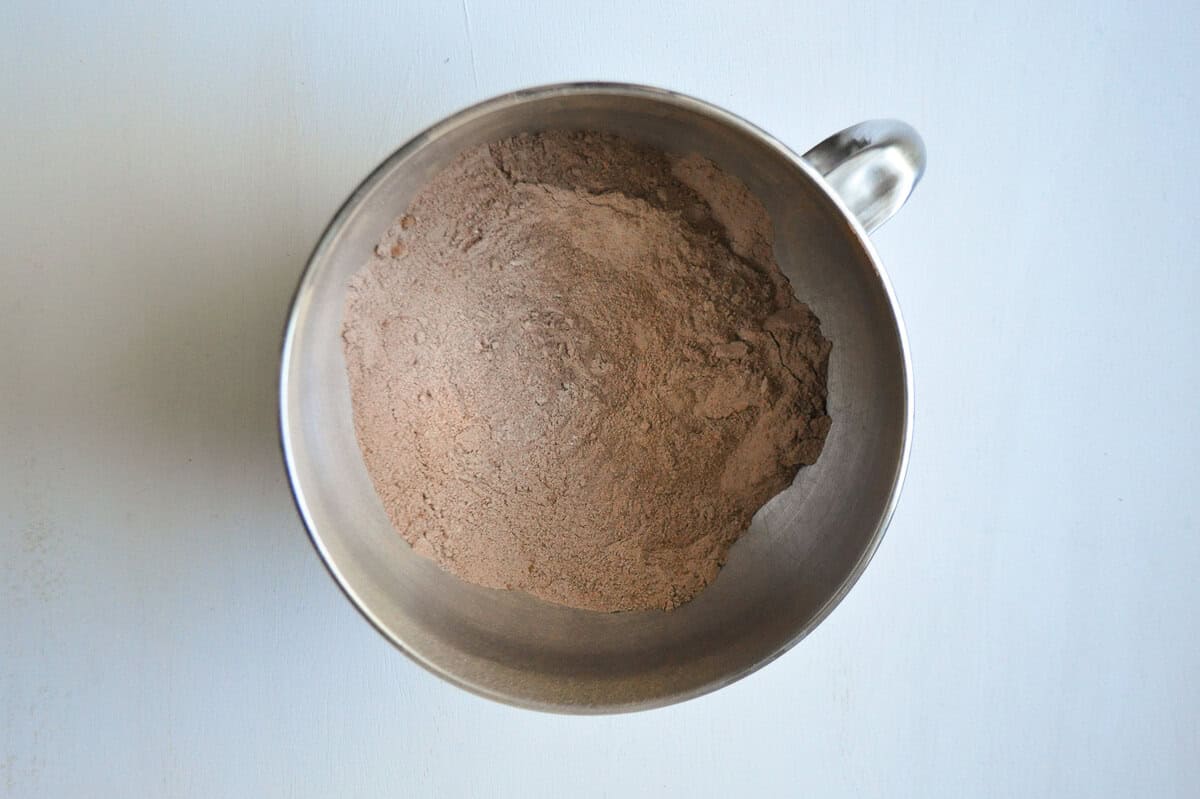
To make the batter, sift together the dry ingredients into the bowl of a stand mixer. You can also make this cake by hand, as it is a very thin batter.
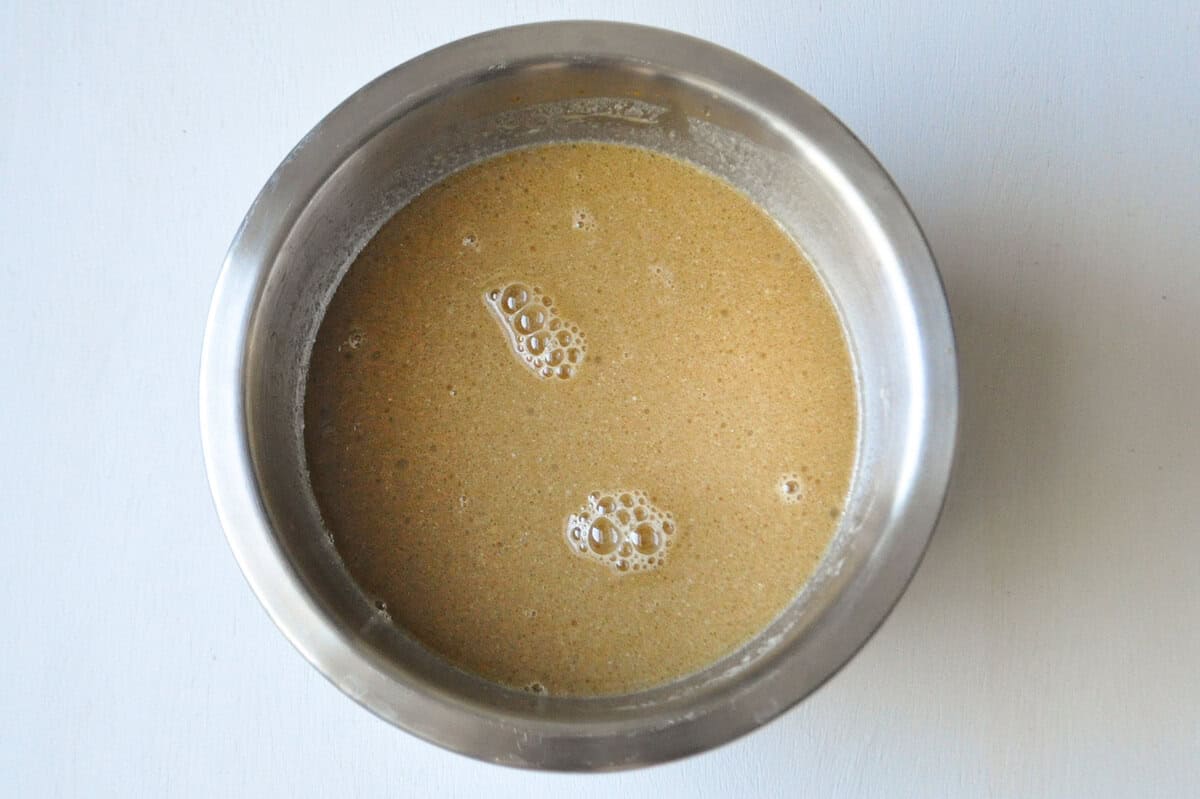
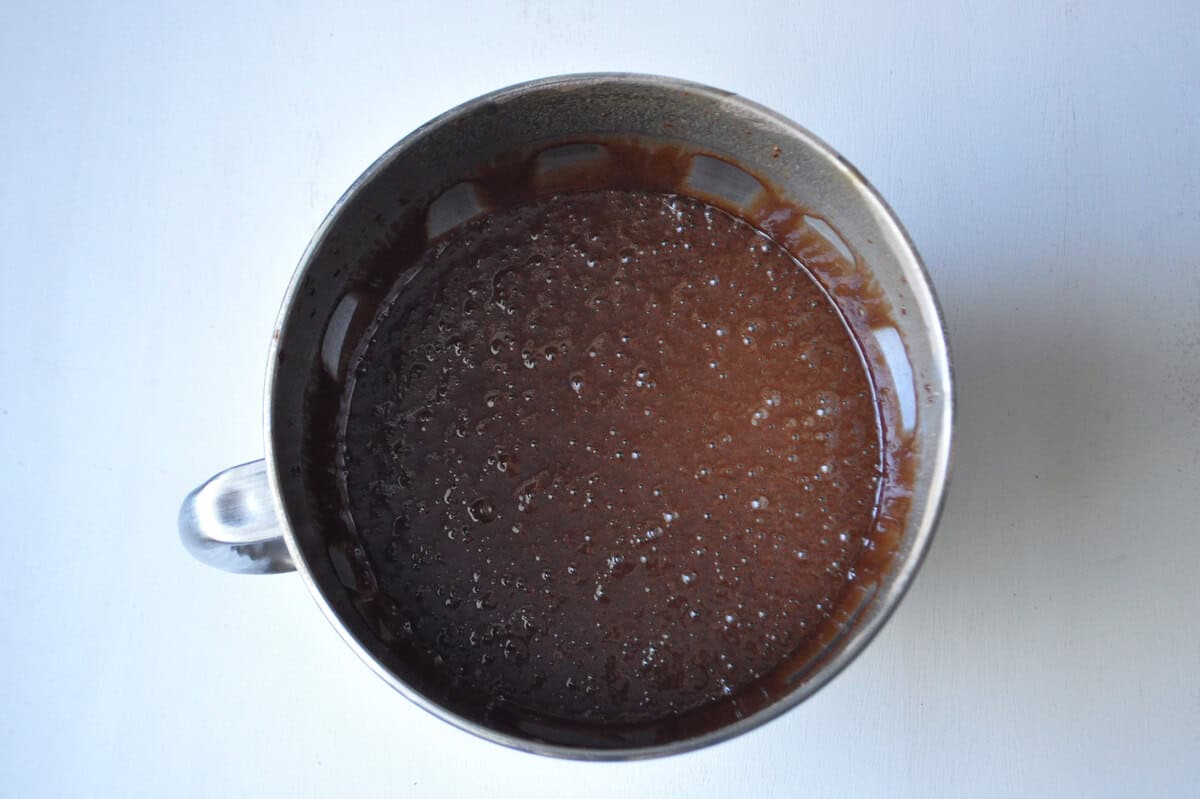
Whisk together the wet ingredients in a separate bowl.
Then, add the wet ingredients to the dry ingredients. Mix on the lowest speed at first, or by hand, to avoid splattering, then increase the mixer speed to medium for 2 minutes. The batter will be very thin.
Bake the Cakes
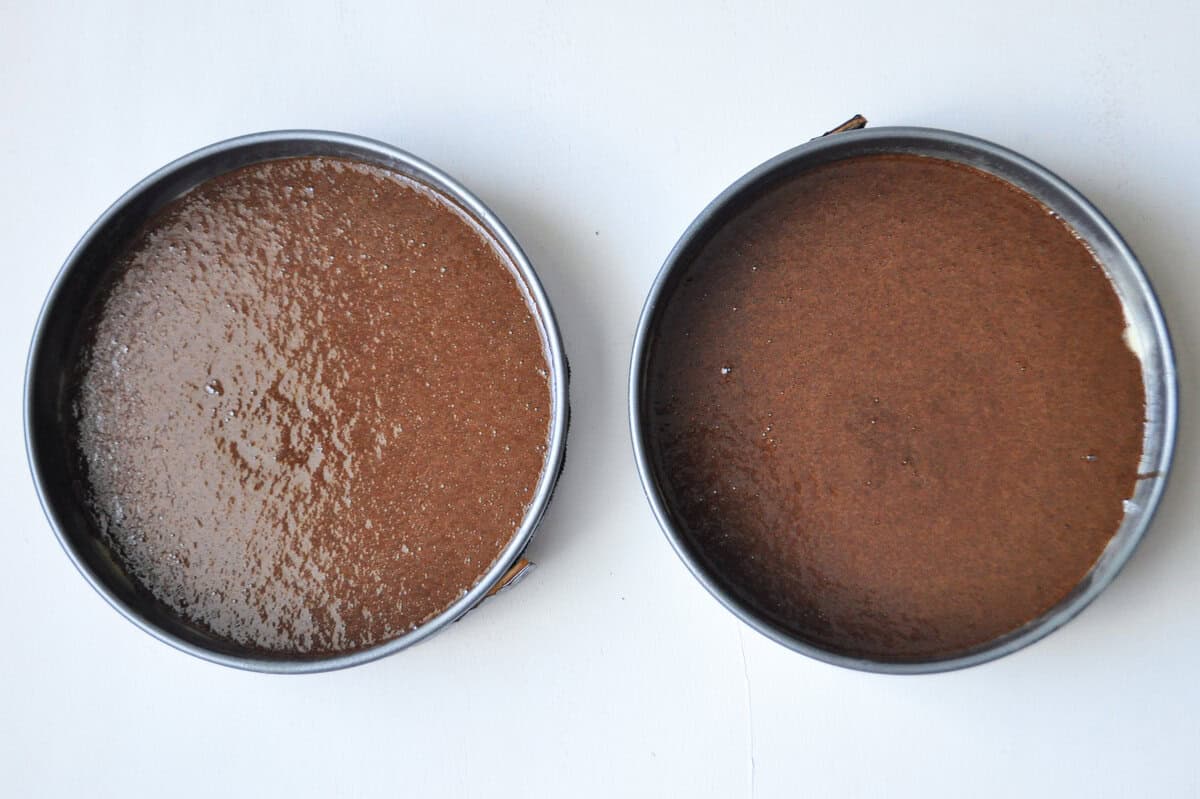
Divide the batter equally between the two prepared cake pans.
Bake the cakes for 20 minutes, then rotate the pans and continue baking until just a few moist crumbs remain on a toothpick inserted into the cake.
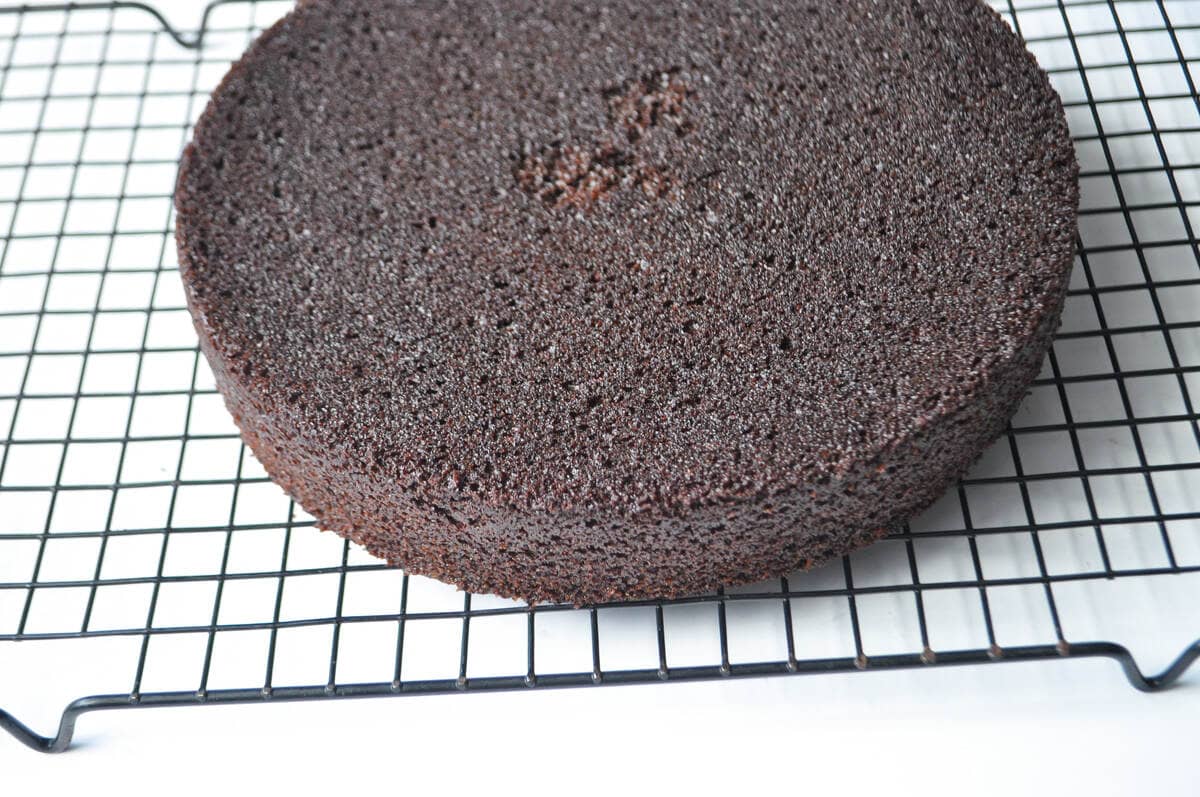
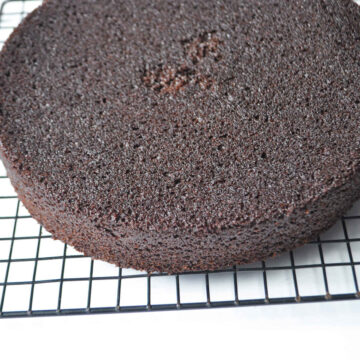
Cool the cakes in the pans for 20 minutes.
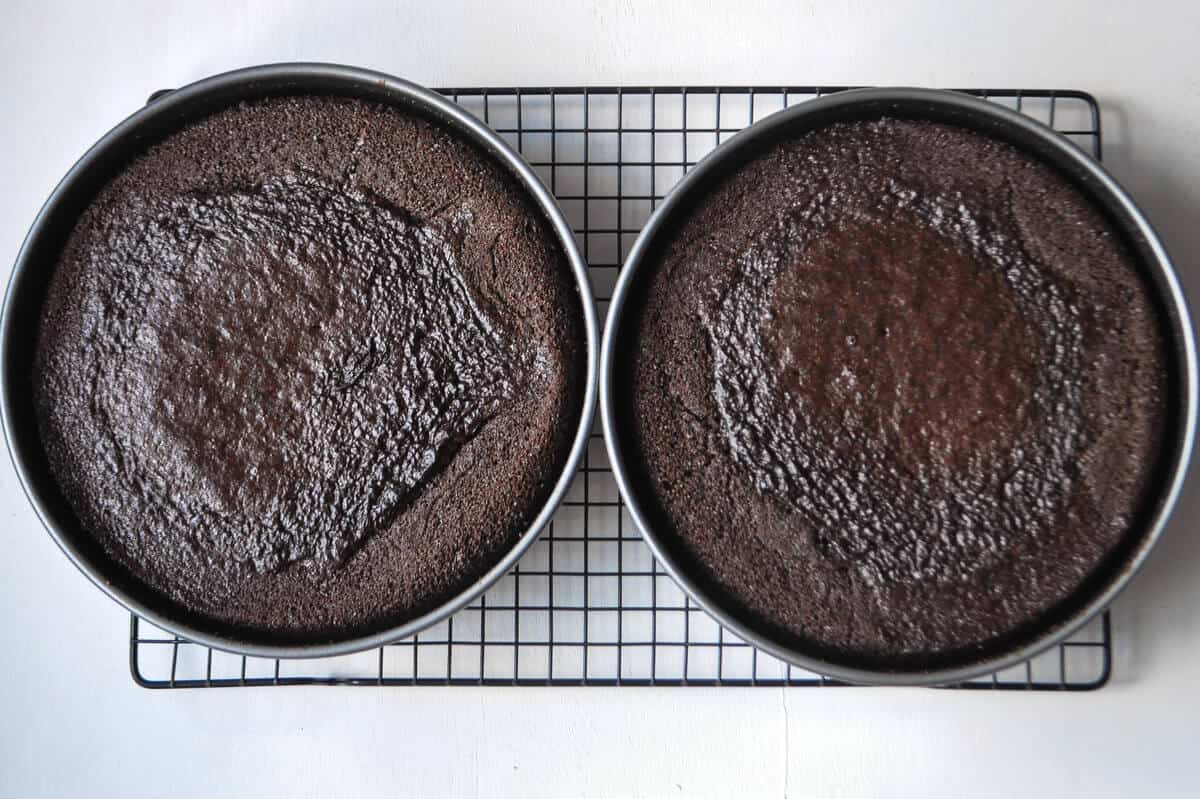
Then, invert the cakes onto cooling racks to continue cooling to room temperature.

Once the cakes are fully cool, you can frost them or wrap them tightly in plastic wrap and place each cake into a gallon sized freezer bags.
Cakes can be stored at room temperature for up to 2 days or frozen for a later time.
Scaling Up
If you need to double the recipe, I highly suggest making two separate batches. Due to the high volume of liquid in this thin batter, it will likely splatter out of your stand mixer if you try to double unless you have a large capacity mixer bowl.
If you are mixing the cake by hand, you can double the recipe.
Gluten Free Option
This cake is great gluten free. Use gluten free 1 to 1 baking flour, such as Bob's Red Mill brand, in place of all purpose.
Eliminate the nonstick baking spray, which contains flour, and use butter to grease the pans, then dust with cocoa powder or gluten free 1 to 1 baking flour. Make to use parchment circles in the bottoms of the cake pans.
📖 Recipe
Two Layer Chocolate Cake
Equipment
- 2 8- or 9-inch round cake pans
Ingredients
- 1¾ cups flour
- 2 cups sugar
- ¾ cup Dutch-processed cocoa powder
- 2 teaspoons baking soda
- 1 teaspoon baking powder
- 1 teaspoon salt
- 2 eggs
- 1 cup buttermilk
- 1 cup hot coffee
- ½ cup vegetable oil
- 1 tablespoon vanilla extract
Instructions
- Preheat oven to 350°F. Grease two 8- or 9-inch round cake pans or spray with nonstick baking spray. Line the bottoms of the pans with rounds of parchment paper, grease the parchment, then flour the insides of the pans, tapping out excess. Set pans aside.

- In the bowl of an electric mixer, sift together the flour, sugar, cocoa powder, baking soda, baking powder and salt.1¾ cups flour, 2 cups sugar, ¾ cup Dutch-processed cocoa powder, 2 teaspoons baking soda, 1 teaspoon baking powder, 1 teaspoon salt

- In a medium bowl, whisk together the eggs, buttermilk, coffee, oil and vanilla.2 eggs, 1 cup buttermilk, 1 cup hot coffee, ½ cup vegetable oil, 1 tablespoon vanilla extract

- Add the wet ingredients to the dry ingredients. Mix on lowest speed or by hand to moisten the dry ingredients, then turn the mixer up to medium for 2 minutes. Scrape the sides and bottom of the bowl and mix for an additional 20 seconds The batter will be very thin.

- Divide the batter evenly between the prepared cake pans.

- Bake for 20 minutes and rotate the pans in the oven. Continue to bake until a toothpick inserted into the center of one of the cakes comes out almost clean just with a few moist crumbs, about 12 more minutes. Cakes baked in 8-inch pans will take longer than those baked in 9-inch pans.

- Cool the cakes in the pans on wire racks for 20 minutes, then carefully turn them out onto cooling racks to cool completely.


charlie Simpson says
Hey, new here. I'm looking at this cause I'm planning on making one to the thene if the cookie monster from seseme street and I'm wondering why the recipe requires a cup of coffee. Can you help me out with that?
Meghan says
Hi and welcome! The coffee helps enhance the flavor of the chocolate, but what's most important is that it it's hot liquid. You could substitute hot or boiling water if you didn't want to use coffee. You likely won't taste the coffee in the finished cake though. I typically will use decaf instant coffee dissolved in hot water if I'm making it for kids. Hope this helps!