
These Easy Cake Pops can be made using any flavor cake mix or frosting and colored any color you want. Add decorative ribbon to the sticks to fit your theme.
Like most kids, my girls love cake pops. When they were younger, getting a cake pop at Starbucks was a very special, rare treat for them, so they usually will request I make them for their birthdays.
My first time making cake pops was for a Sesame Street Birthday Party. I have since made them numerous times with many different flavors of cake and frosting, as well as colors.
Cake Pops are so versatile when trying to tie into a theme for a party. You can vary the color of the chocolate coating on the outside, the color of sprinkles you add, and sometimes adding ribbon to the sticks to go with the theme.
I have even used princess wands as the sticks for these Princess Cake Pops and green and white striped straws for these Sesame Street Cake Pops.
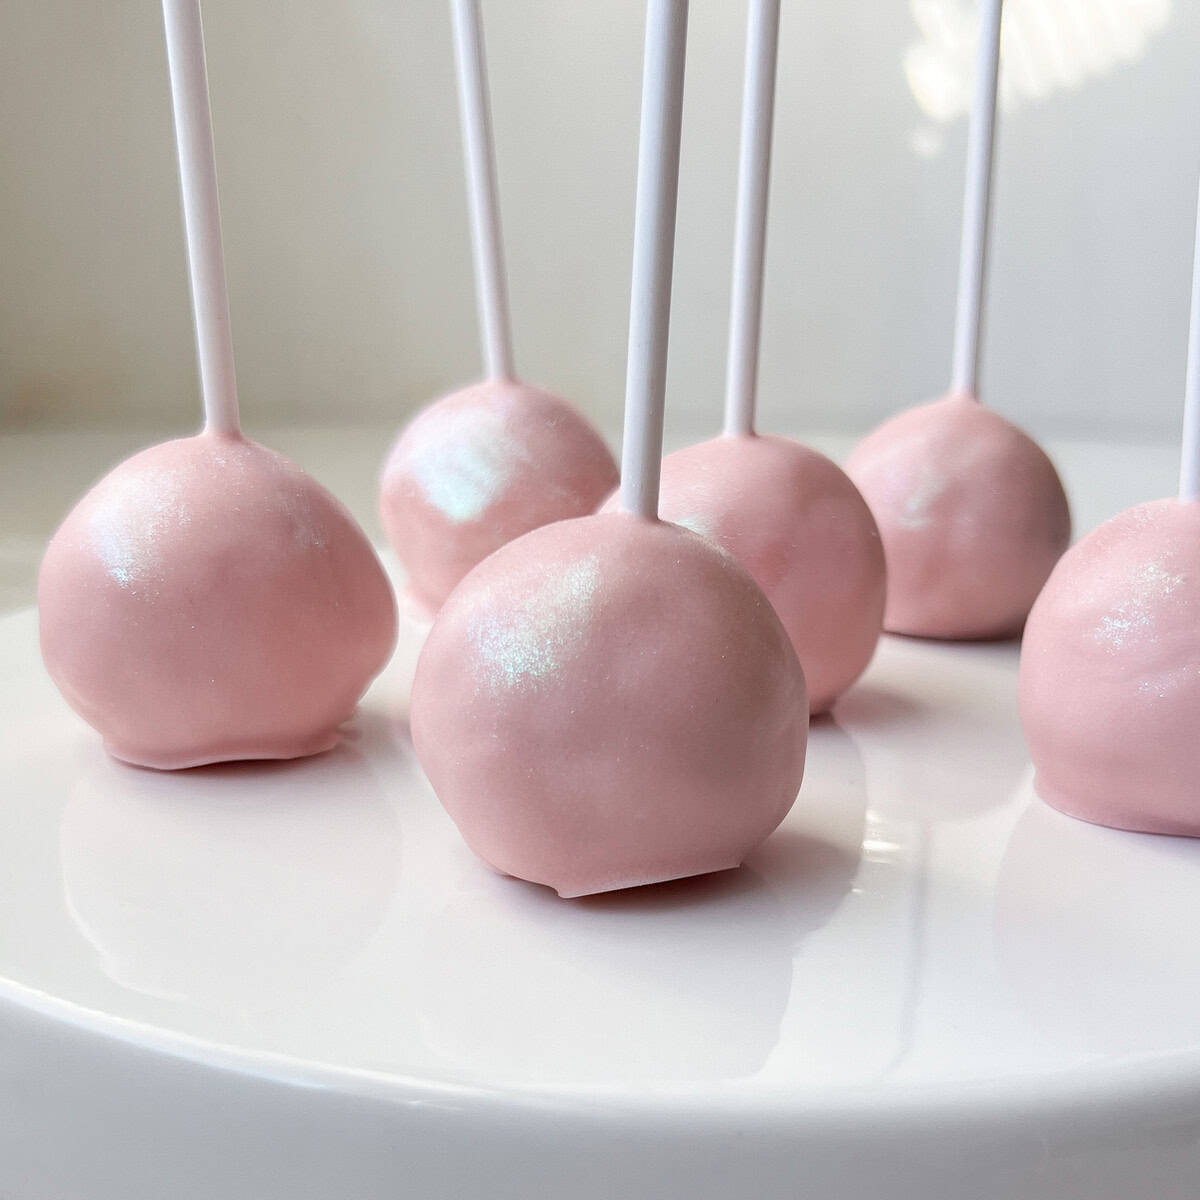
Cake Pops are traditionally served upright, with the cake in the air, but I have also served them with the cake on the platter. I actually prefer having the cake on a surface because it can be hard to balance the cake pops when the ball of cake is upright.
Jump to:
Supplies
- 1 box cake mix, prepared according to package directions
- two 9-inch cake pans
- store bought or homemade frosting, such as Easy Vanilla Buttercream
- candy melts
- cake pop sticks
- luster dust, optional
- food-grade paintbrush, optional
Bake the Cakes
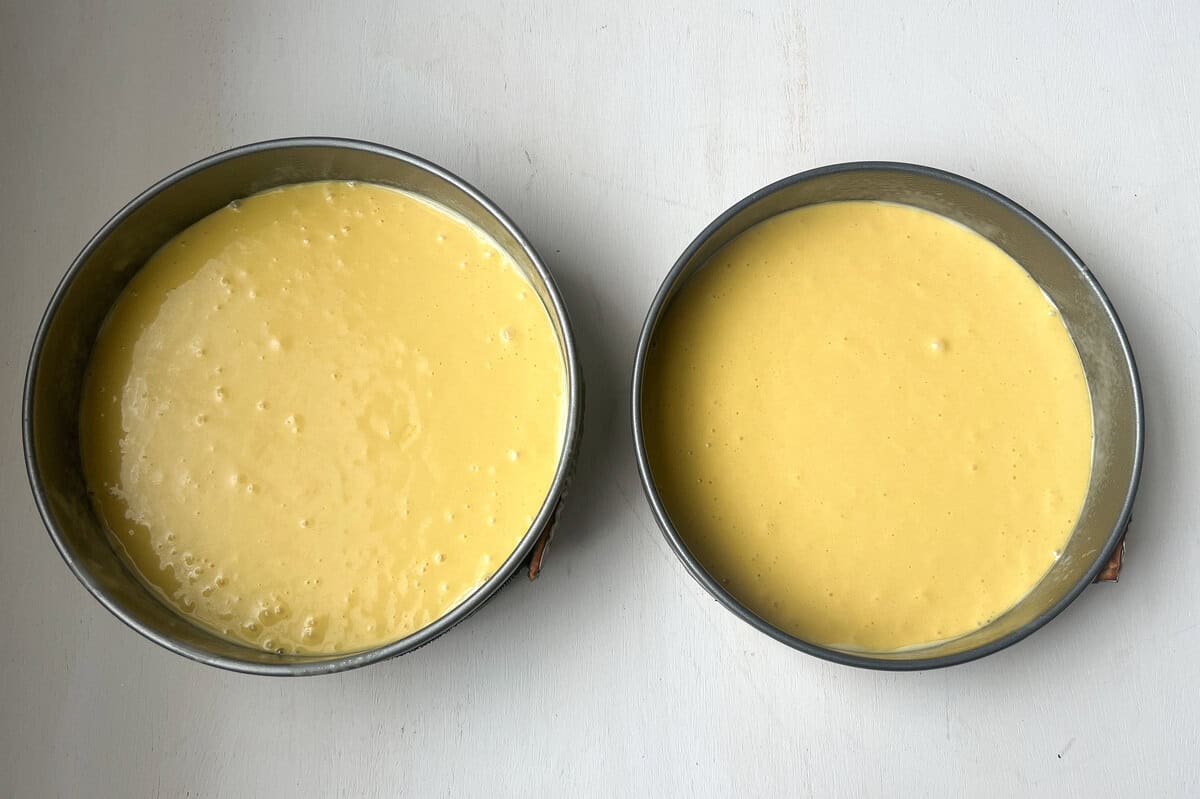
I usually use a boxed cake for cake pops to save time. For this recipe, I bake two 9-inch round cakes. I use one for the cake pops and save one for another time.
I recommend spraying the pans with non-stick baking spray so the cakes come out of the pans easily.
Prepare the boxed cake batter according to the package directions.
Divide the batter equally between two pans.
Bake the cakes according to the package directions. Allow the cakes to cool in their pans for 10 minutes.
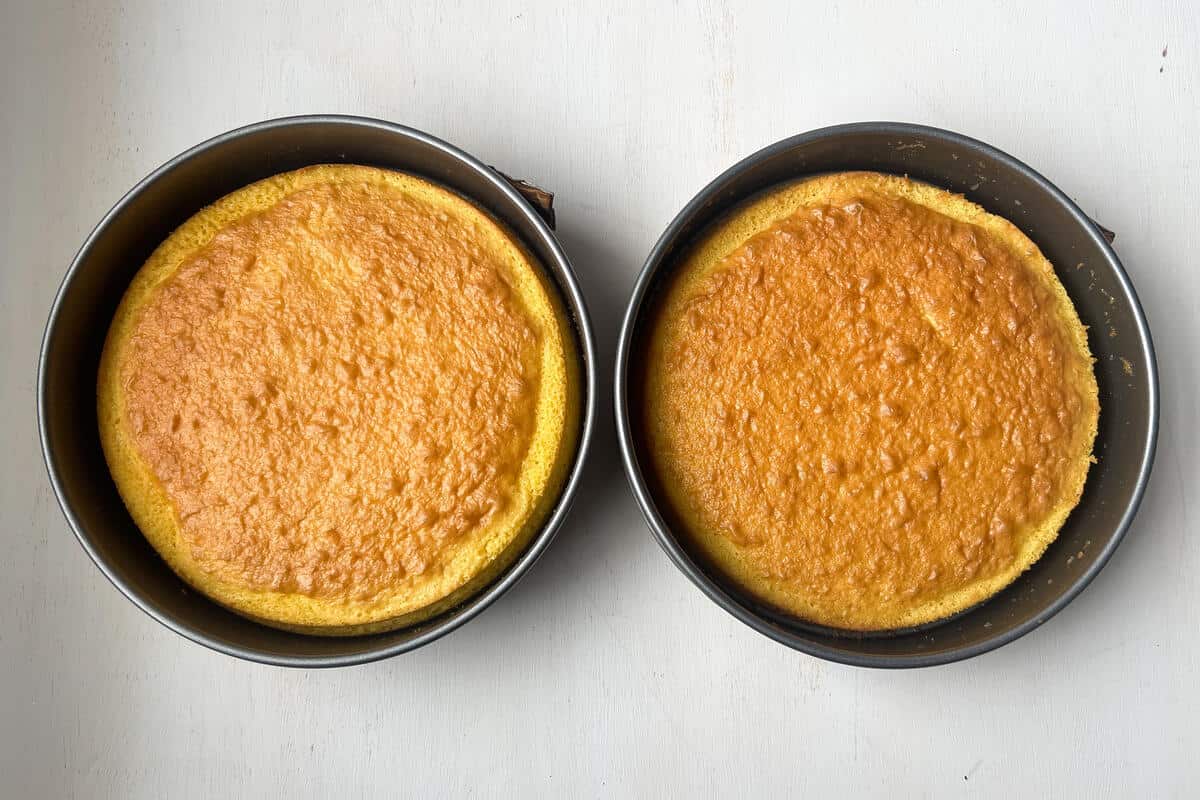
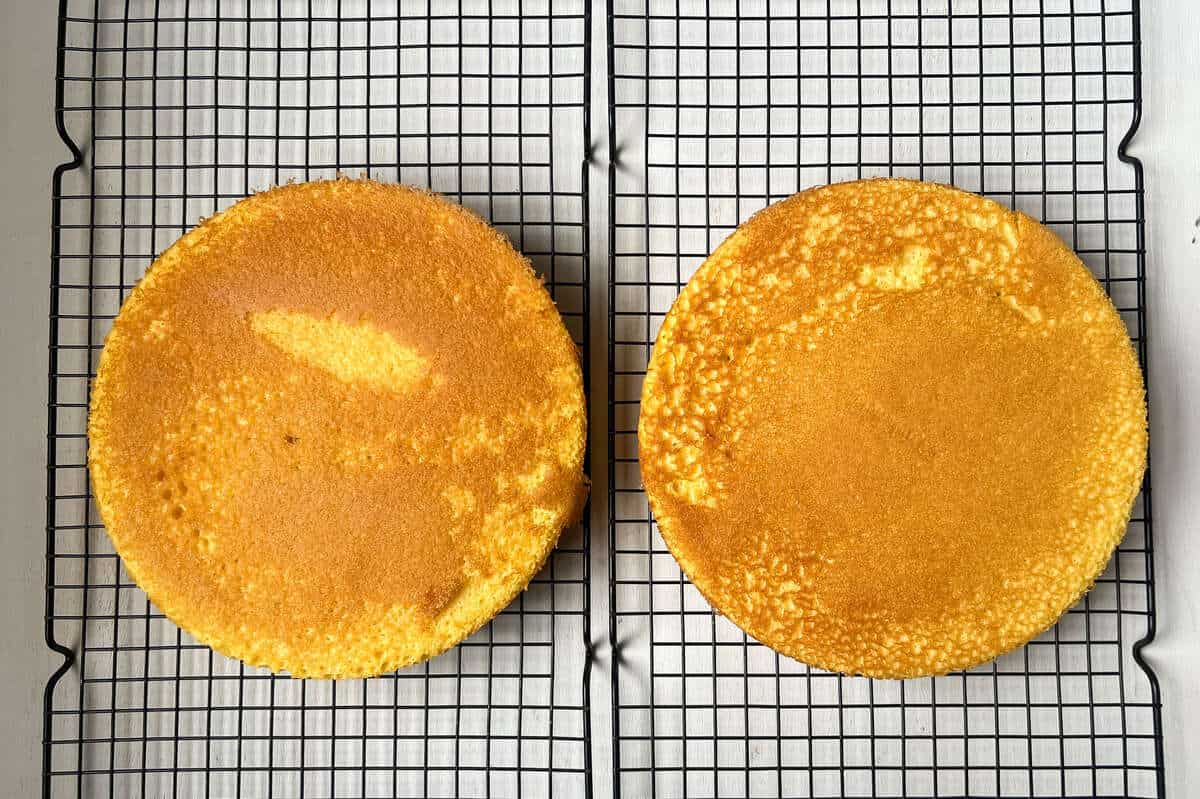
Unmold the cakes from the pans and cool on a cooling rack until the cakes reach room temperature.
If you only need about 16 cake pops, wrap up one of the cakes in plastic wrap and then place in a resealable freezer bag and save it to make an Easy Boston Cream Pie or another batch of Cake Pops at a later date.
If you need about 32 cake pops, double the recipe below and use both cakes.
I find I usually need to plan for about 1 cake pop per guest. Occasionally, someone will have two, but some people won't take one at all, so it evens out.
Mix and Scoop the Cake
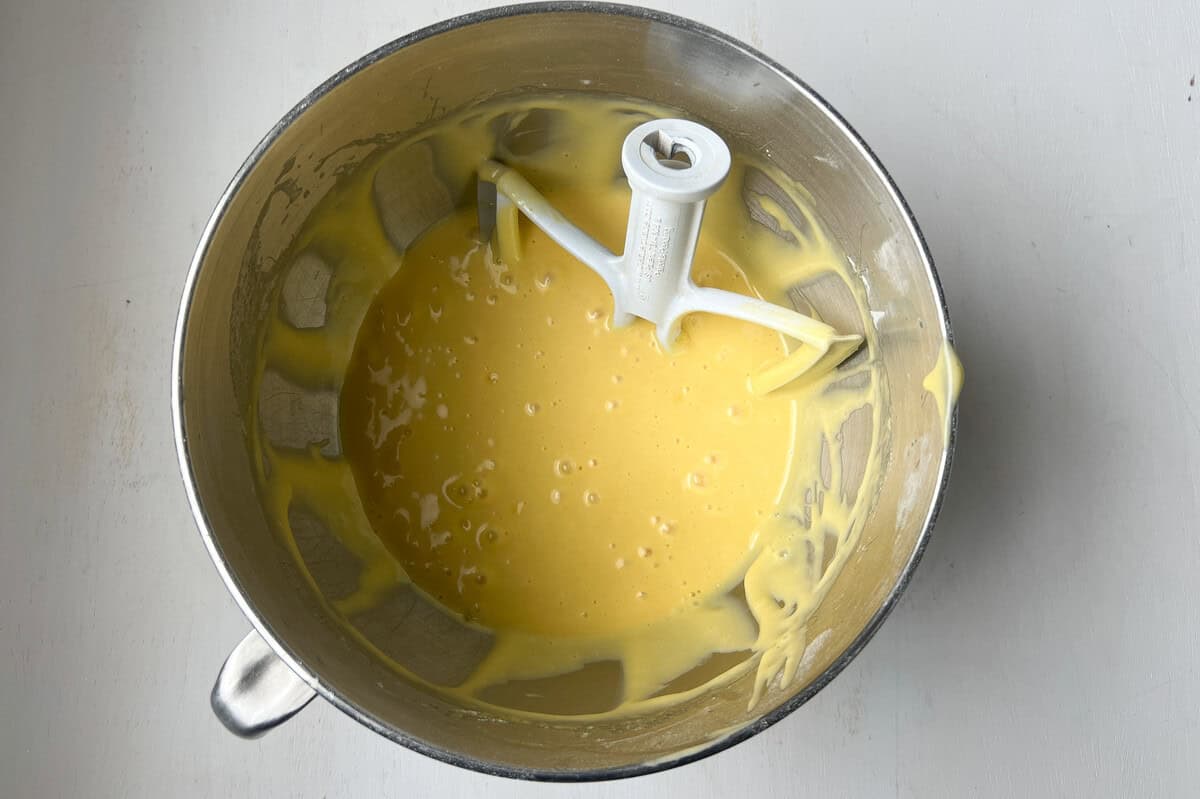
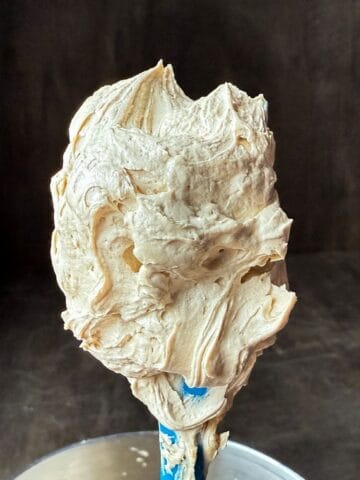
You can use any homemade or store bought frosting, as it's just providing the binder for the cake crumbs. Here, I used Easy Vanilla Buttercream.
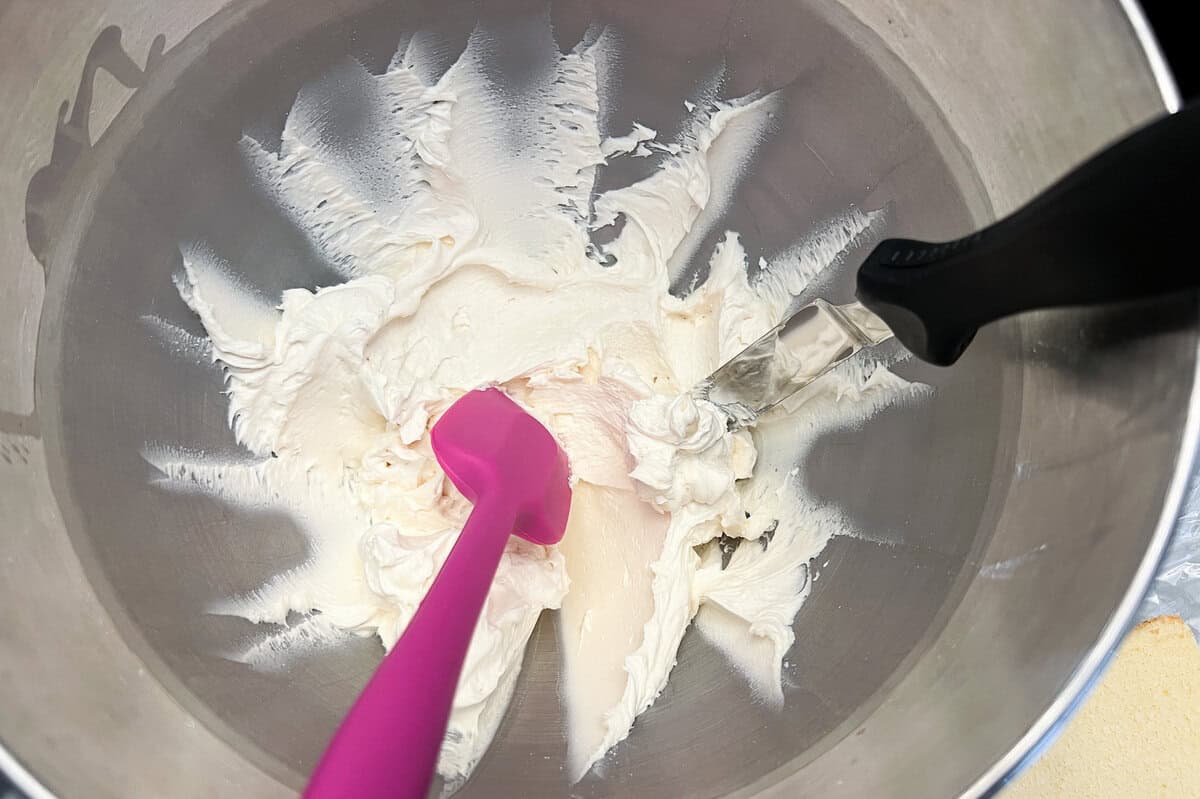
Break the cake into pieces and put them in the bowl of a stand mixer with a paddle attachment. Process to crumbs on low speed, then add the buttercream and mix until just incorporated.
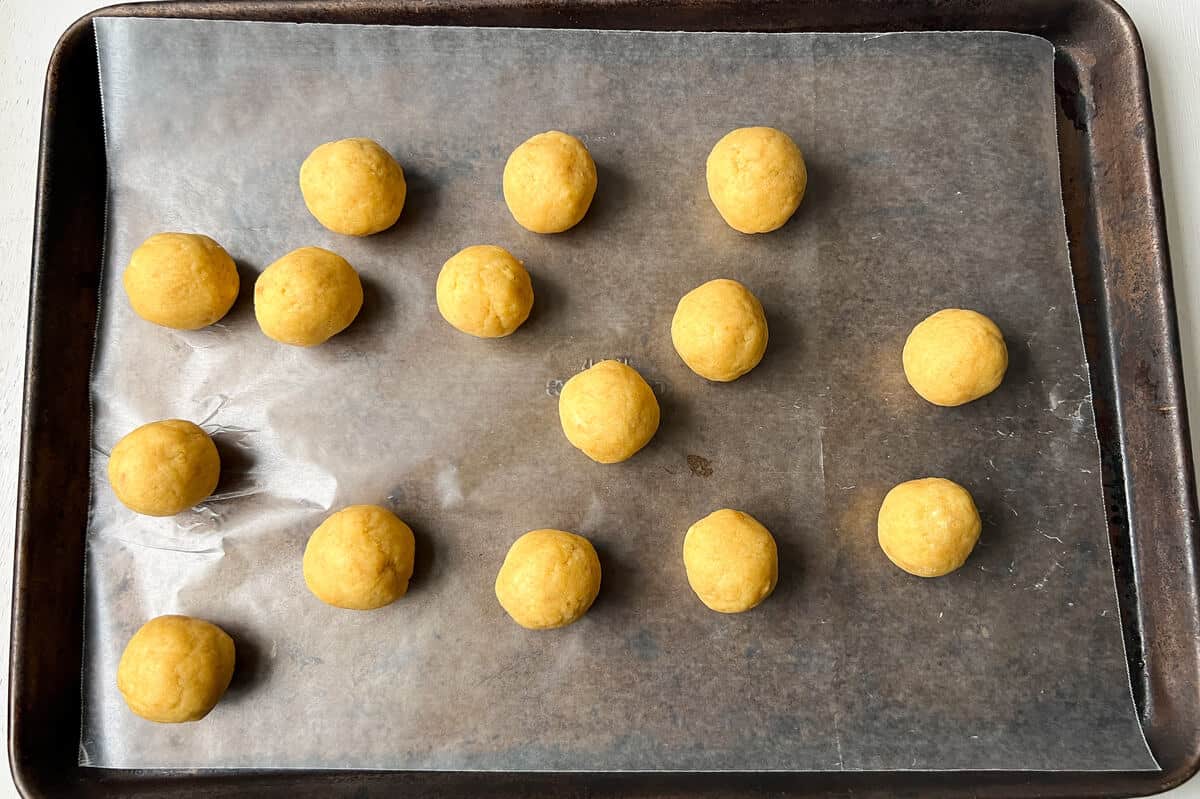
Wearing food safe nitrile gloves, scoop a ball of dough and roll it in your hands until it is round. I like to use a 1-inch dough scoop. Repeat until all of the cake has been formed.
Chill the balls of cake for at least 4 hours or freeze for at least 30 minutes.
Dip the Cake Pops
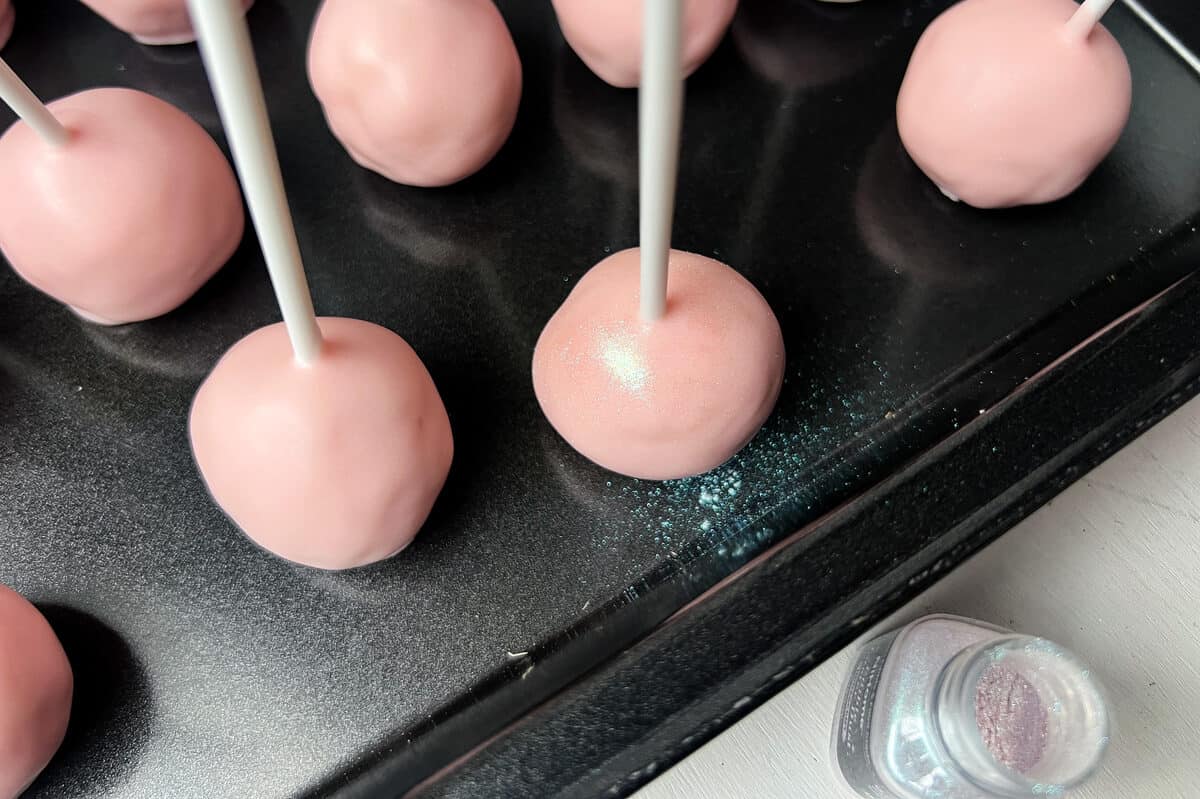
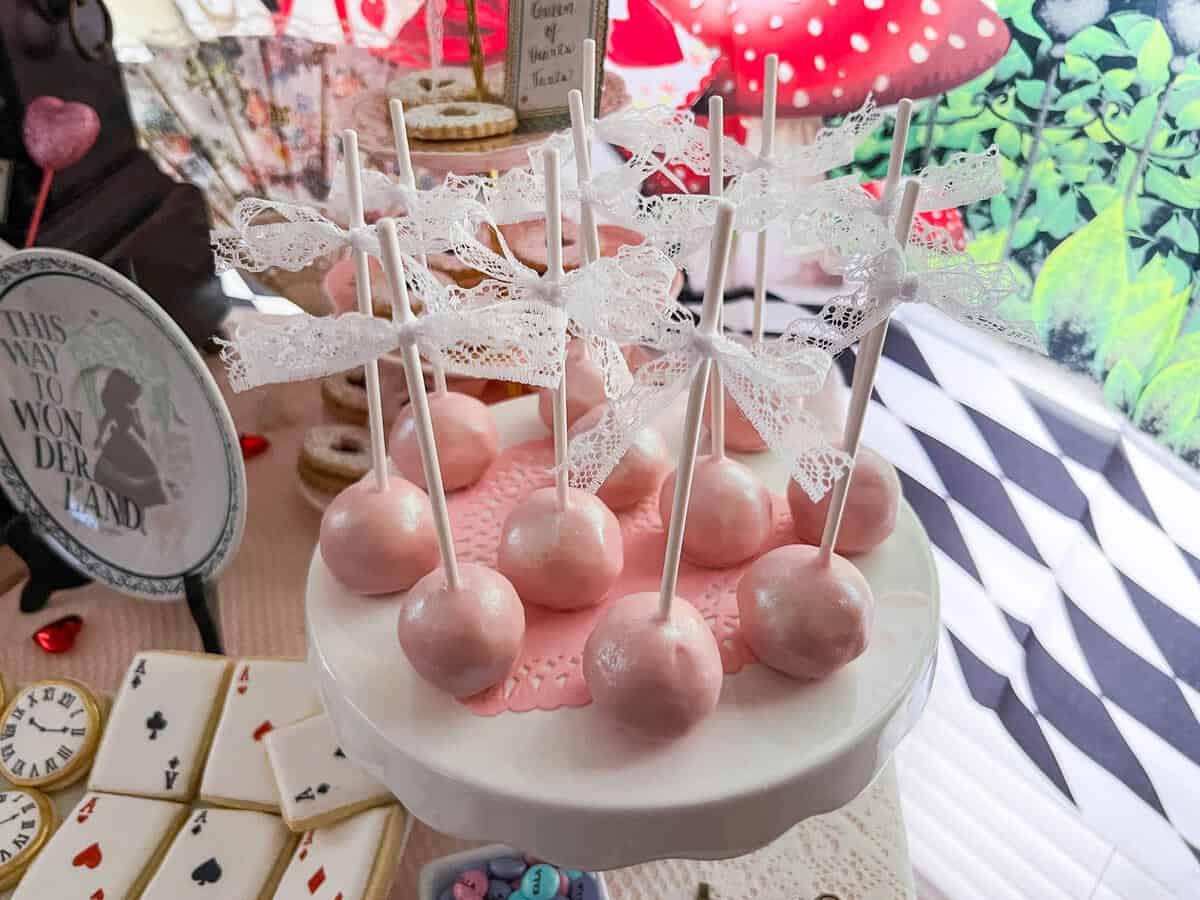
For these light pink cake pops, I used a mixture of white and pink candy melts because I wanted a pale pink color.
You can use a tall glass or a mason jar.
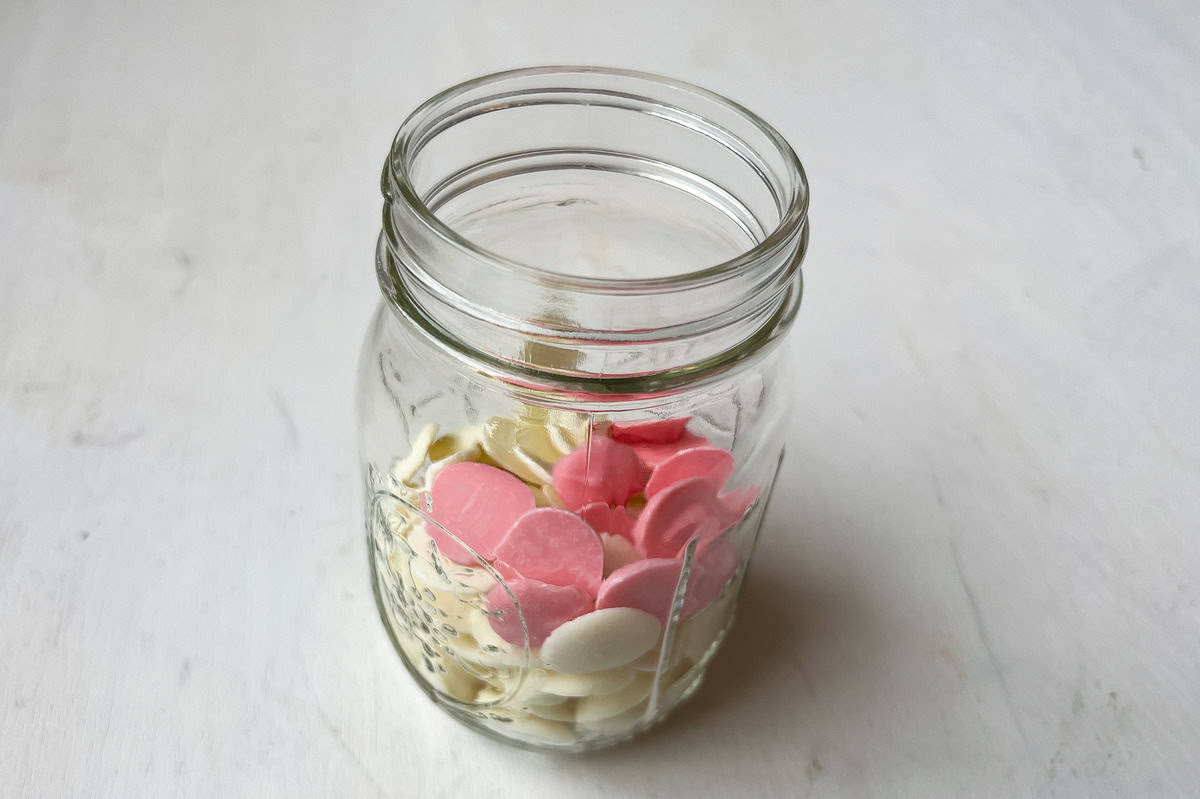
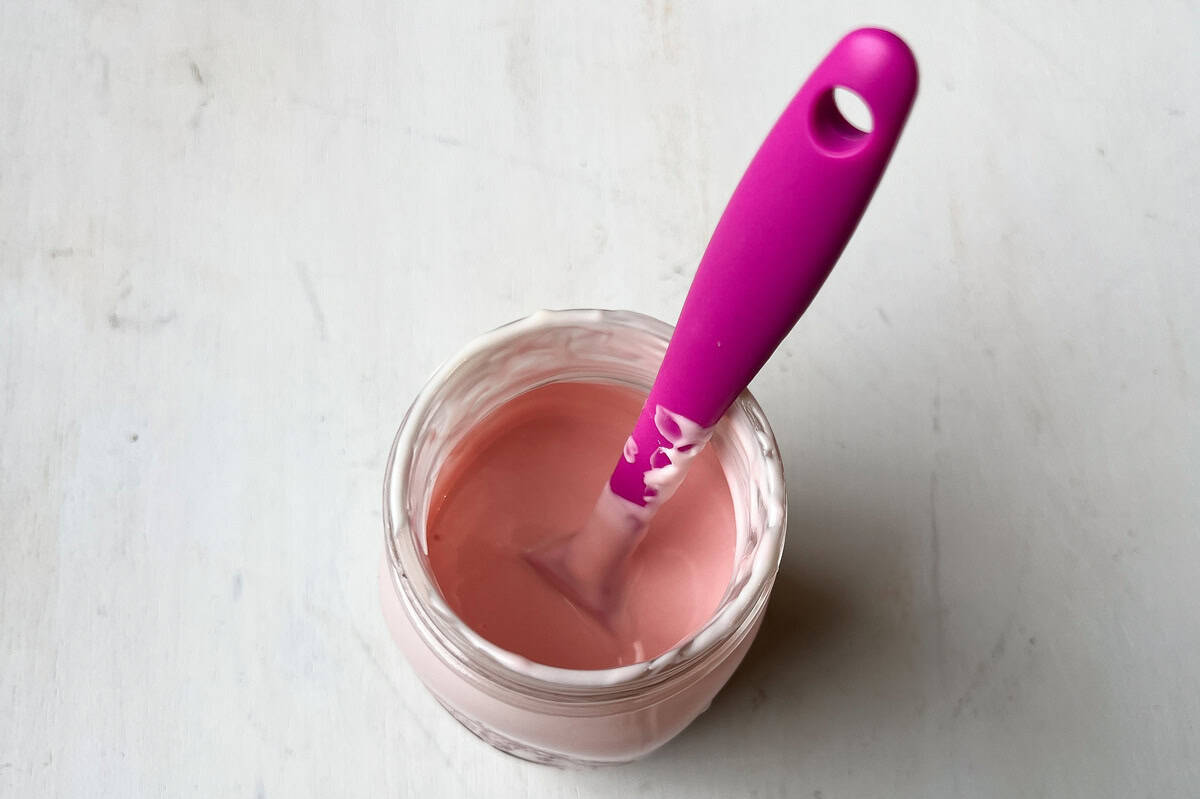
Melt the candy melts in the microwave at 50% power for 30 second intervals, stirring after each interval, until melted and smooth.
At this point, you have two options. One option is to dip the stick in the coating, place it in the cake, and immediately dip the cake in the coating. The other option is to dip the stick in coating, place it in the cake, and then chill or freeze the cake pops before coating.
I have done both methods. If you have trouble with your cake falling off the stick following the first method, I recommend placing all of the sticks into the balls of cake and chilling before dipping the cake later, as shown here.
To dip the sticks and cake at the same time, first dip the stick into the melted candy melts about ¼- to ½-inch, then place the stick into the center of the ball of cake.
Pick up the cake by the stick and submerge the cake into the melted candy, up to the point so the entire ball of cake is covered. Carefully lift it out of the candy and allow the excess to run off.
If you are adding sanding sugar or sprinkles, sprinkle it on now while the coating is still wet.
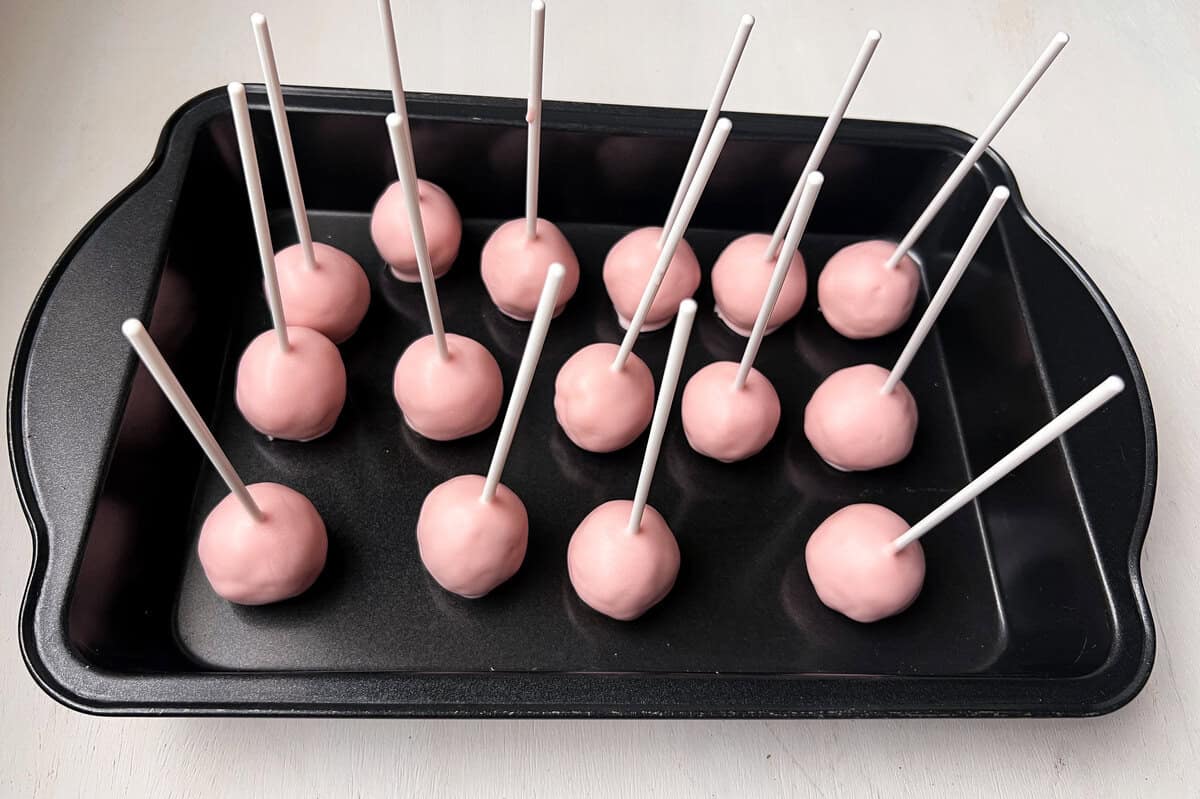
For cake pops that will stick up in the air, place the coated pop, cake side up, in a sturdy glass or container to set the coating.
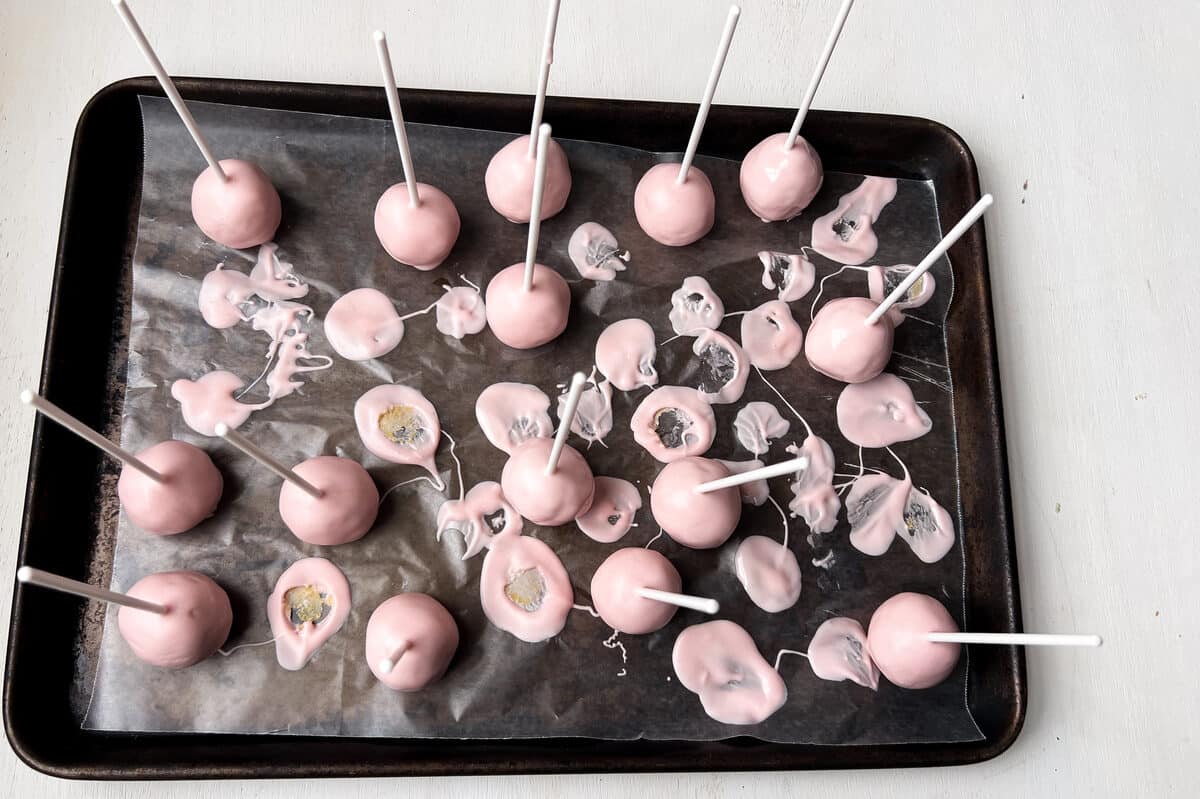
For cake pops that sit on a platter with the sticks facing up, place the cake pop on a waxed paper lined baking sheet.
At this point, I like to move the cake pops around one or two times by lifting with the stick. This prevents the coating from pooling around the bottom of the cake pop.

The waxed paper will look quite messy when you're finished, but that's ok. Refrigerate the cake pops until the coating is completely set.
After the white chocolate is set, carefully peel the cake pops off the waxed paper and move them to a clean cake pan to store them refrigerated until serving.
Decoration
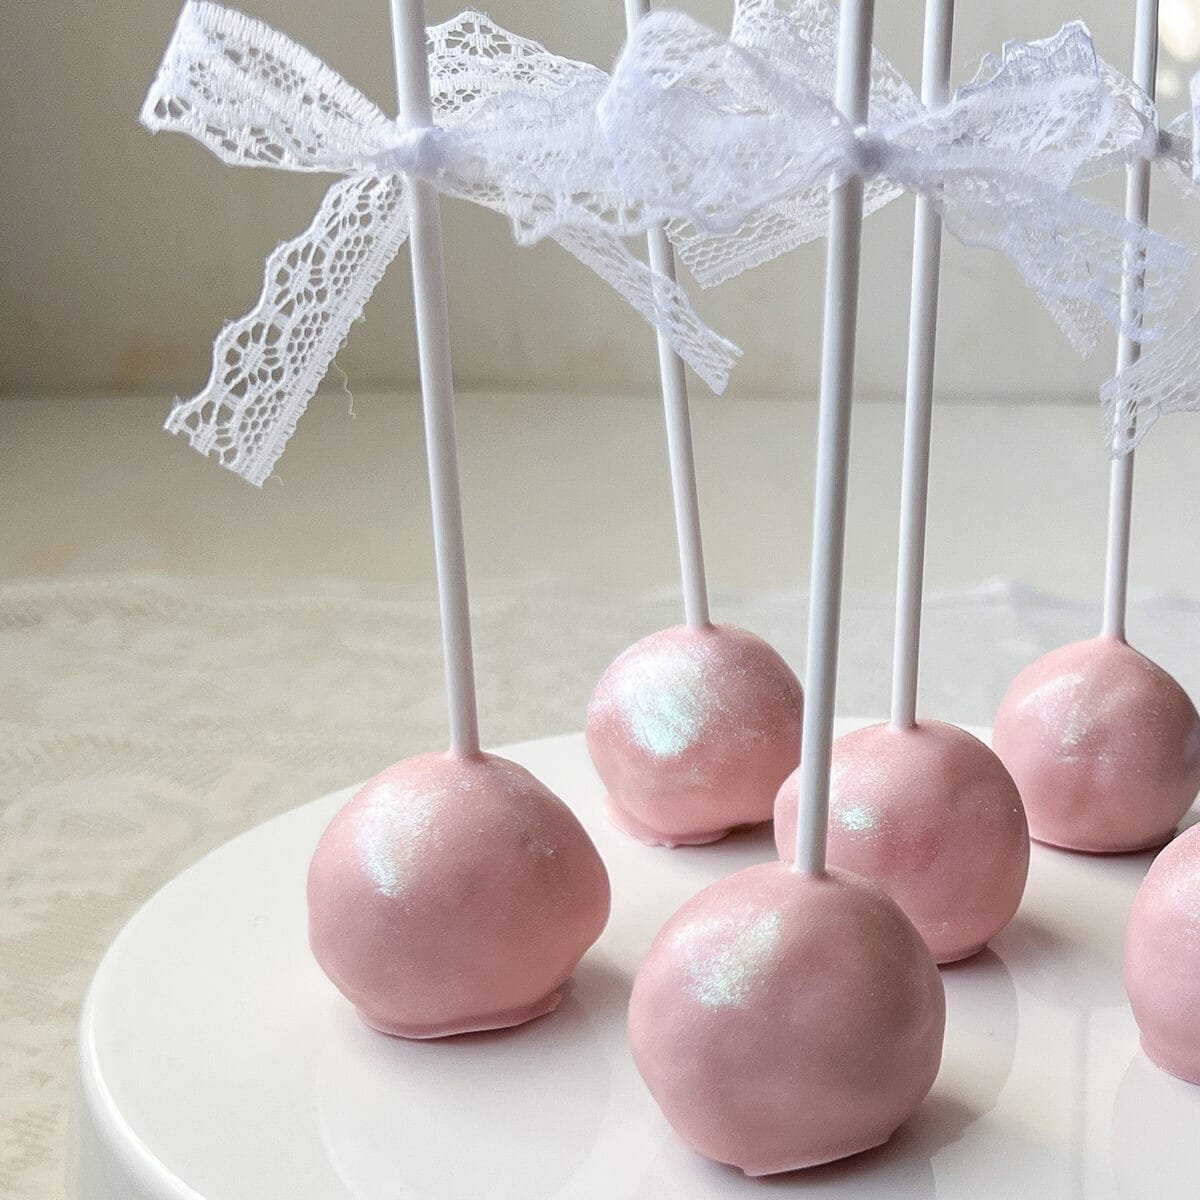
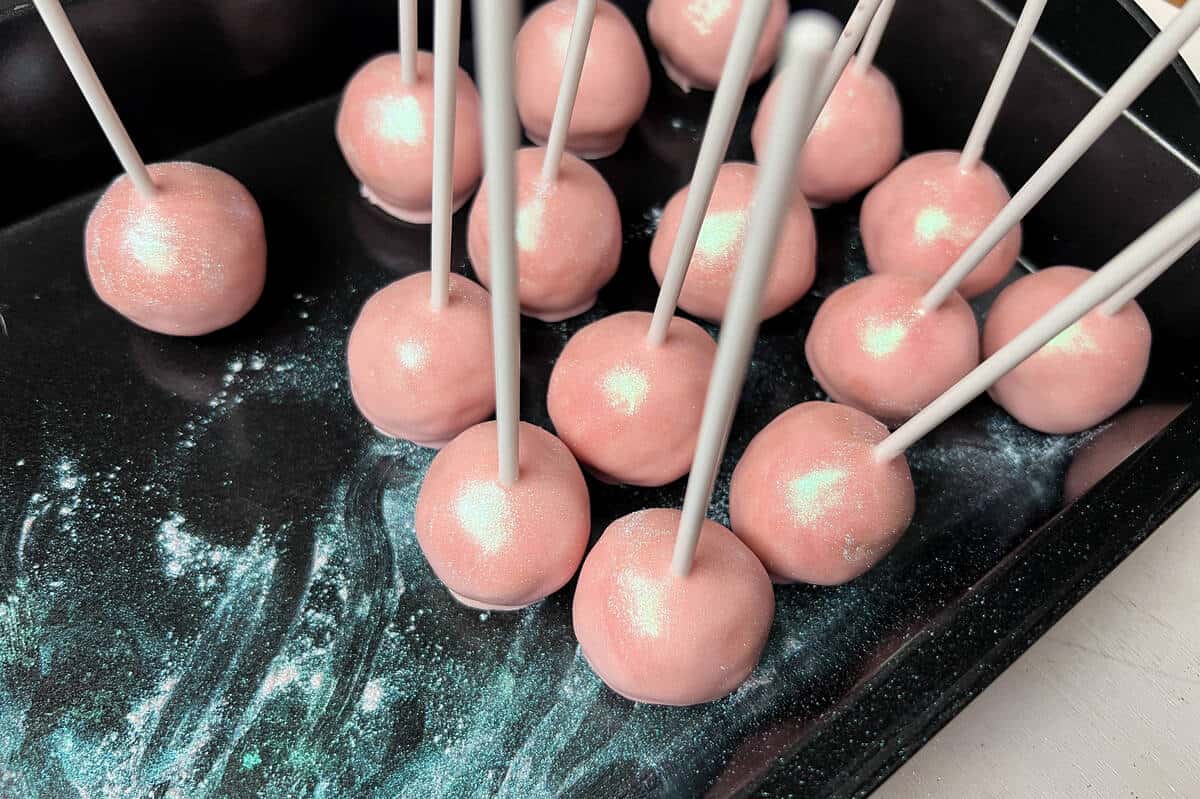
To add luster dust, dip a food grade paintbrush into the dust and apply it to the surface of the cake pops.
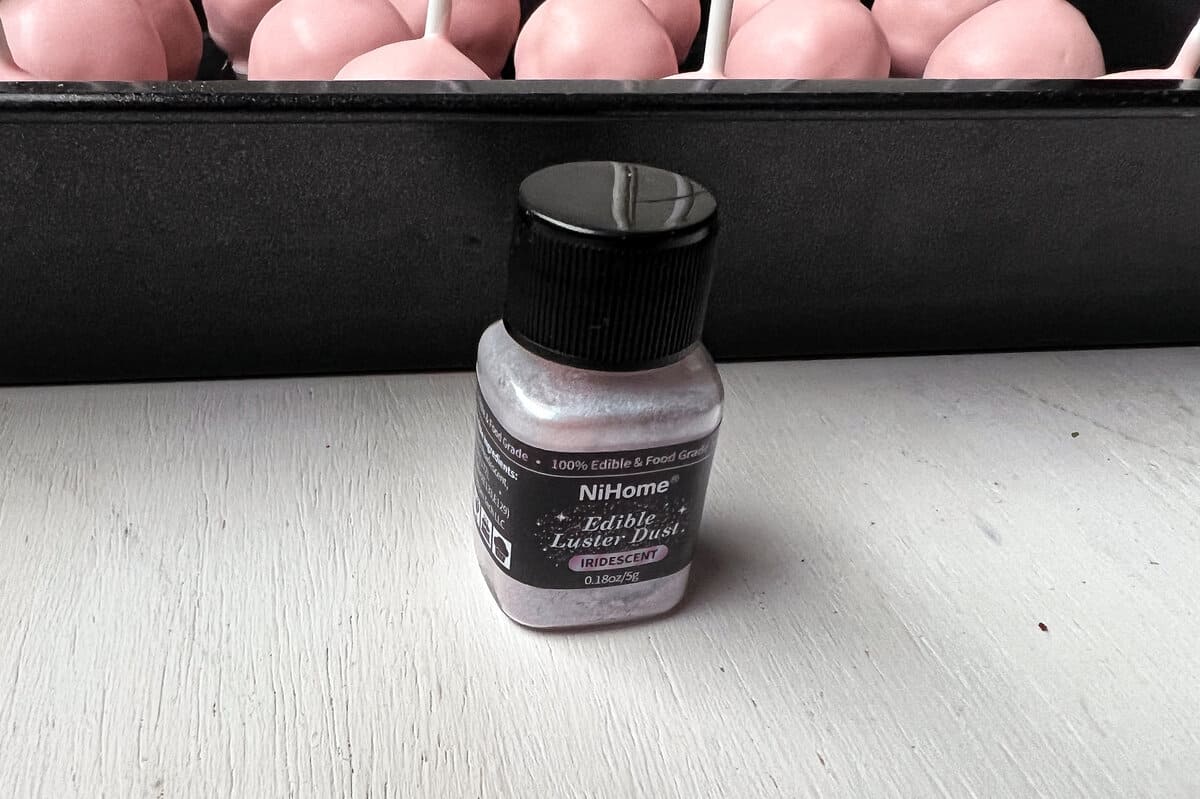
Here I used glimmer powder edible iridescent luster dust.
This was so pretty!
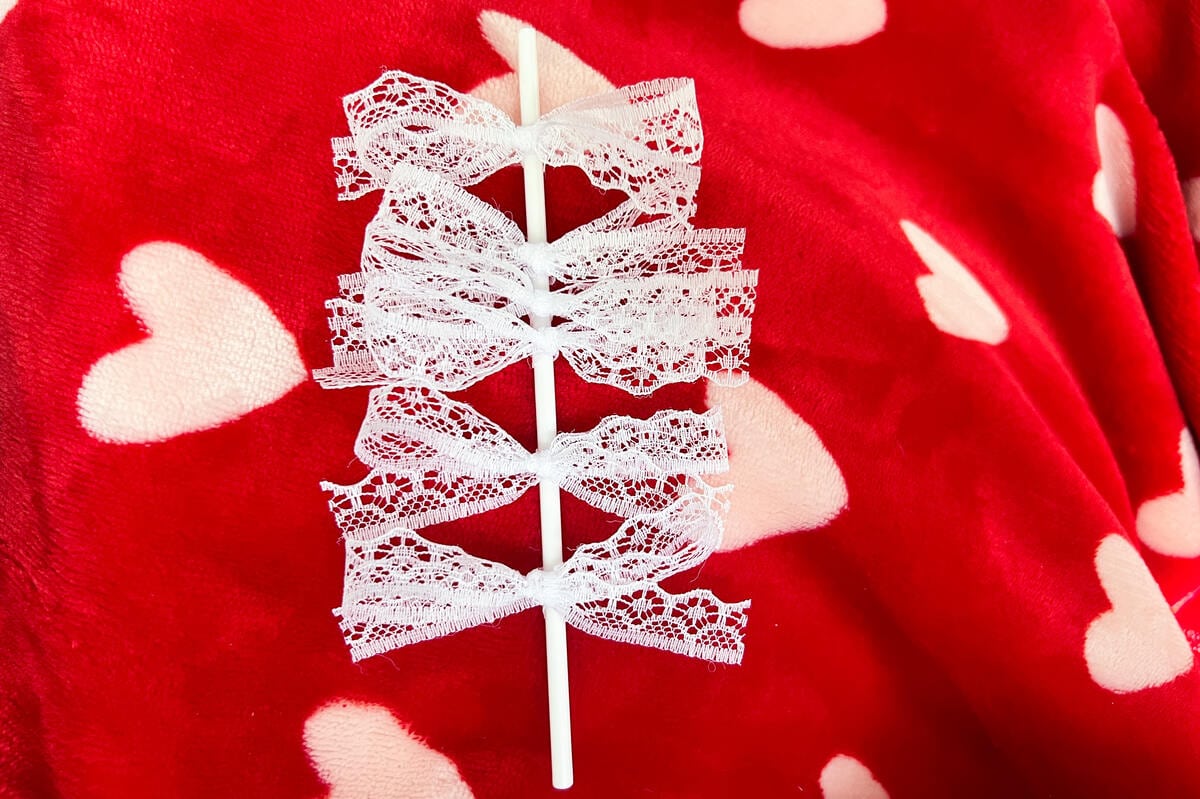
At this point, if you are adding a decorative ribbon, like this lace ribbon, you can tie little bows onto a clean stick. Then you can slide the bows off and slide each onto the stick of a finished cake pop.
Party Themed Cake Pops
Cake Pops are a great dessert for parties. Not only are they easy to grab, they can be decorated to fit any theme. You can customize the flavor and color of the cake, the color of the coating, whether they are decorated with sprinkles or luster dust, the stick, and adornments on the stick like ribbon.
Here are some examples of Cake Pops from some themed parties.
Alice in Wonderland Cake Pops
My daughter saw light pink sparkly cake pops at Fig & Lyle's Bakery. She pointed them out to me and said she wanted me to make them for her birthday. After I made these with iridescent luster dust, she said they were exactly what she wanted!
I tied lace ribbon bows on the sticks toward the tops.
Sesame Street Cake Pops
These Sesame Street Vanilla Cake Pops are made with yellow cake and Easy Vanilla Buttercream. They are dipped in white candy melts. Instead of a stick, I used white and green striped paper straws and added little printed labels that say "Ella Street."

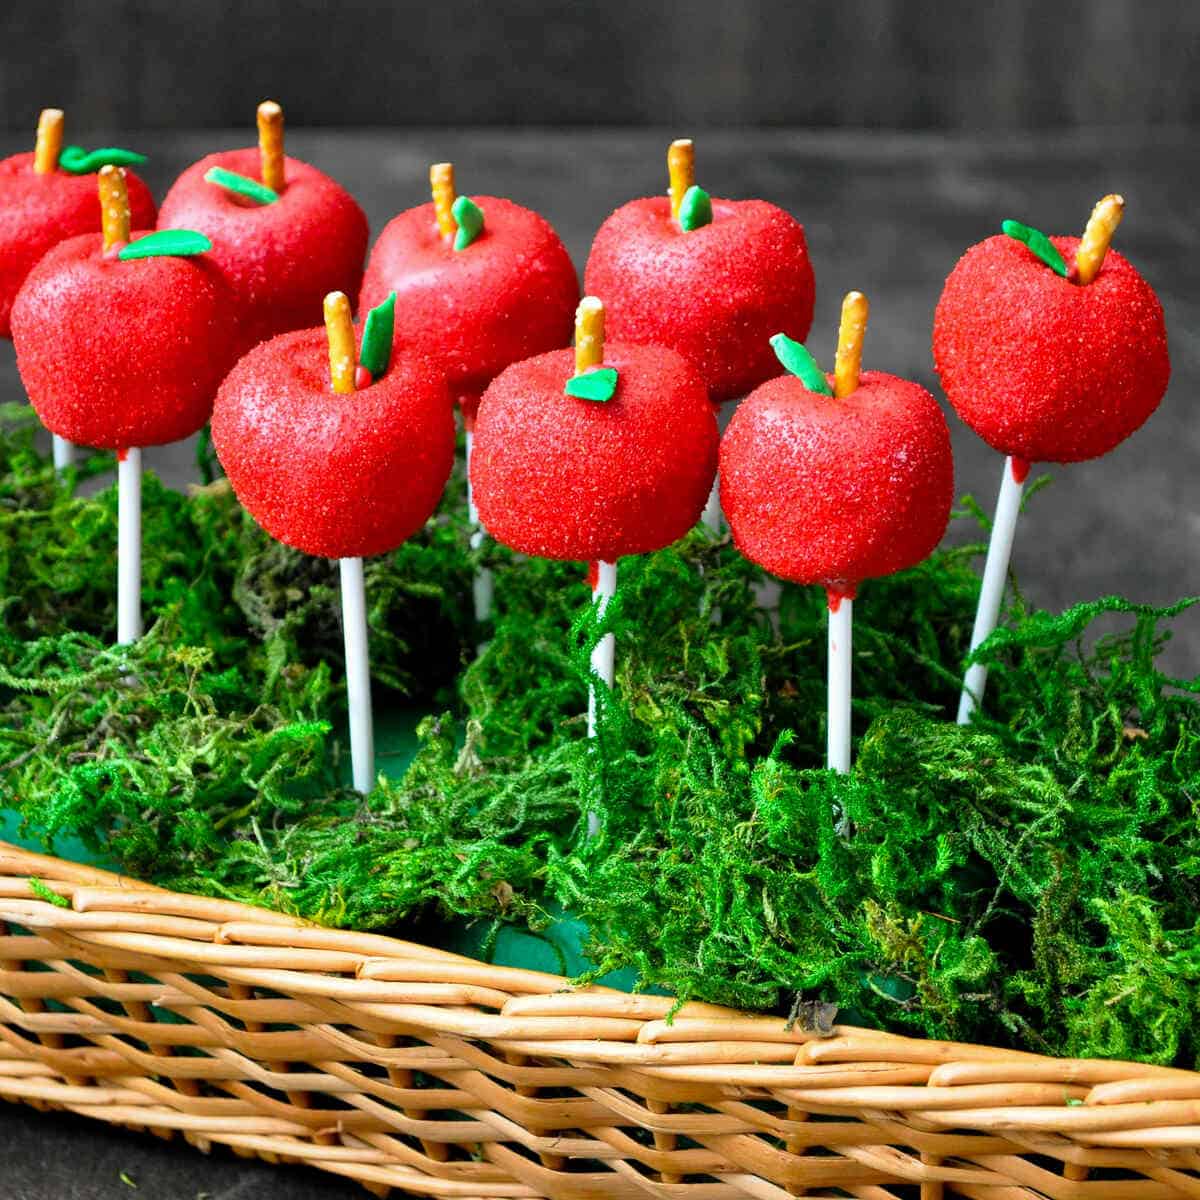
Snow White Cake Pops
These apple shaped Snow White Cake Pops are made with a chocolate cake mix and Easy Chocolate Buttercream, then shaped into apple shapes. They are coated in red candy melts and sprinkled with red sanding sugar then decorated with pretzel stems and green gum paste leaves.
Starbucks Cake Pops
For these Starbucks Cake Pops, I used Funfetti cake mix with Easy Vanilla Buttercream and coated them in green candy melts sprinkled with green sanding sugar.

I used the full cake mix for these, which made 32 cake pops. I froze the leftovers and used them for a Zoo themed party.
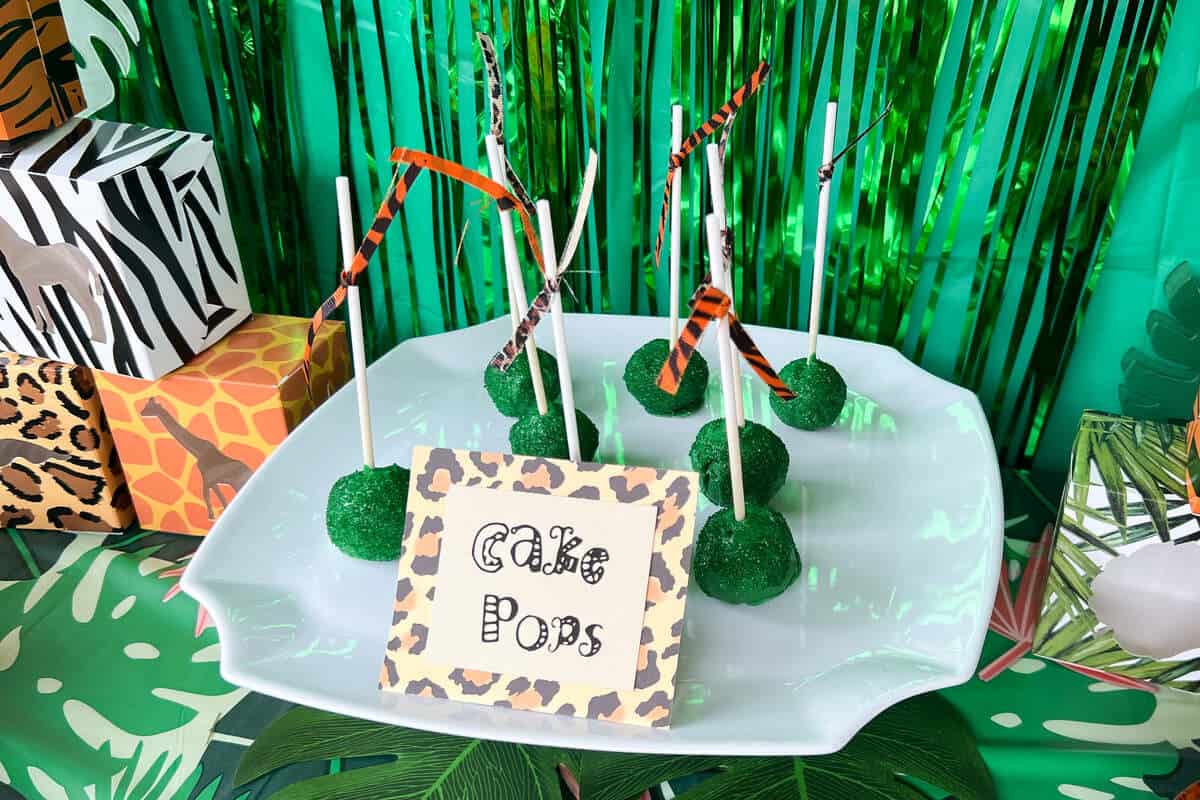
Zoo Safari Cake Pops
These Zoo Safari Cake Pops were leftover from the Starbucks party. I tied animal print ribbons on the sticks.
Princess Cake Pops
For these Princess Cake Pops, instead of sticks I used these plastic princess wands. I used a white cake mix that I tinted purple mixed with Easy Vanilla Buttercream and then coated them in a mixture of pink and blue candy melts (to make purple) and sprinkled them with purple sanding sugar.

Wizard of Oz Cake Pops
For these Ruby Red Cake Pops, I used a red velvet cake mix with store bought cream cheese frosting. They were coated in red candy melts and sprinkled with red sanding sugar. I tied thin blue and white gingham ribbon on each stick to mimic the pattern of Dorothy's dress.

Gluten Free Option
Use a gluten free cake mix. I like King Arthur brand gluten free cake mixes.
📖 Recipe

Easy Cake Pops
Equipment
- 2 9-inch round pans
- Food safe disposable nitrile gloves
- 16 Cake pop sticks
- 1 food grade paintbrush optional
Ingredients
- Non stick baking spray
- 1 box cake mix (such as Duncan Hines, prepared according to package directions)
- ¼-½ cup frosting (homemade or store bought, see note)
- candy melts
- sanding sugar (optional)
- luster dust (optional)
Instructions
Bake the Cake:
- Prepare two 9-inch round cake pans by spraying them with a baking spray such as Pam for Baking.
- Prepare the cake mix batter according to the package directions.

- Divide the batter equally between the two pans.

- Bake the cakes according to the package directions. Remove the pans from the oven and allow to cool for 10 minutes in the pans.

- Remove the cakes from the pans to cooling racks and allow them to cool to room temperature.

- Wrap one of the cakes in plastic wrap, place it in a freezer bag, and freeze it for another use.
Make and Dip the Cake Pops:
- Process the other round cake into crumbs by placing pieces of the cake into the bowl of a stand mixer fitted with a paddle attachment.
- Add about ¼ cup frosting and mix until incorporated. You want all of the crumbs to stick together. Add more frosting if the mixture is not sticking together.
- Wearing food safe nitrile gloves, scoop a few tablespoons of the dough and roll it into a ball. Repeat with the rest of the dough until you have about 16 balls. Place them on a waxed paper lined baking sheet.

- Refrigerate for at least 4 hours or freeze for 30 minutes.
- Melt the candy melts according to the package directions. I use a tall glass, mason jar, or measuring cup and microwave them at 50% power in 30-second intervals until completely melted.

- Dip the end of a cake pop stick into the melted candy melts.
- Carefully insert the stick into the cake ball. Repeat with the remaining cake pops.
- Refrigerate the cake pops for about 10-15 minutes to set the stick. You may need to reheat the candy melts to get them to melt completely again so the candy is smooth enough for dipping.
- Have the sanding sugar ready, if using, with a dish to catch the excess sugar, as well as a new baking sheet covered in waxed paper.
- Taking only a few cake pops out of the refrigerator at a time, dip each cake pop in the melted candy melts, shake off the excess, and quickly shake on some sanding sugar (if using). Place the dipped cake pops on the new baking sheet.

- Once you have dipped all of the cake pops, refrigerate them to set the candy melts.

- If desired, dip a food-grade paintbrush in luster dust and brush across the surface of each cake pop.

- Continue to refrigerate the cake pops until ready to serve.


girl scout troop 71979 says
i loved this it helped me and my girl scout troop with our cooking badge!
Meghan says
What a fun way to earn the badge!! My girls would have loved that!