
This Snow White Doll Cake is the ultimate dessert for a Snow White Birthday Party. The skirt of Snow White's dress and the tree stump are made of chocolate cake and the cake the is decorated with edible moss and fondant flowers, mushrooms, and butterflies.

For my daughter's 5th birthday, she wanted a Snow White Party. We have an official Disney Snow White doll that I knew would be perfect for the cake, similar to this Cinderella Doll Cake I made for my oldest daughter's 4th birthday.
The desserts for this party were these Apple Cake Pops and this Snow White Cake.
Because the party decorations leaned toward woodland forest themed, I tried to tie the cake into those decor items.
Snow White's dress has a fondant bodice and a buttercream buttercream skirt. She stands on top of a chocolate cake tree stump covered in dark chocolate ganache frosting.
The stump is decorated with fondant flowers, mushrooms, and gold butterflies. I added some woodland themed figures to the cake board that is covered in edible moss.
This cake was so cute and, of course, delicious!
Jump to:
Supplies
- Snow White doll
- Wilton Wonder Doll Cake Pan or a large oven-safe bowl
- two 9-inch round cake pans
- cake pan strips
- non-stick baking spray, such as Pam for Baking
- 2 batches Two Layer Chocolate Cake batter
- 3 batches Easy Vanilla Buttercream
- 1 batch Easy Chocolate Buttercream
- white fondant or gum paste
- red, yellow, blue, green and brown food coloring gel
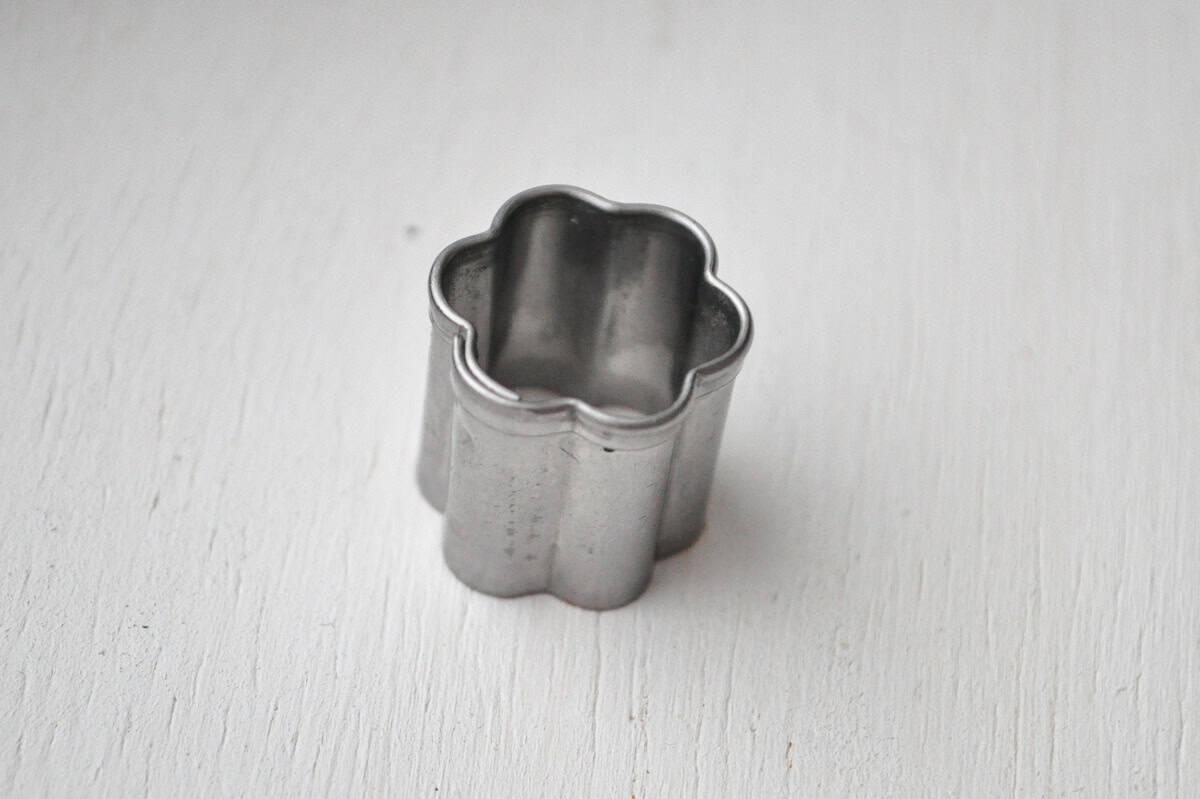
- small flower gum paste cutter, similar to this
- gum paste tools
- gum paste drying rack, similar to this
- 1 star sprinkle
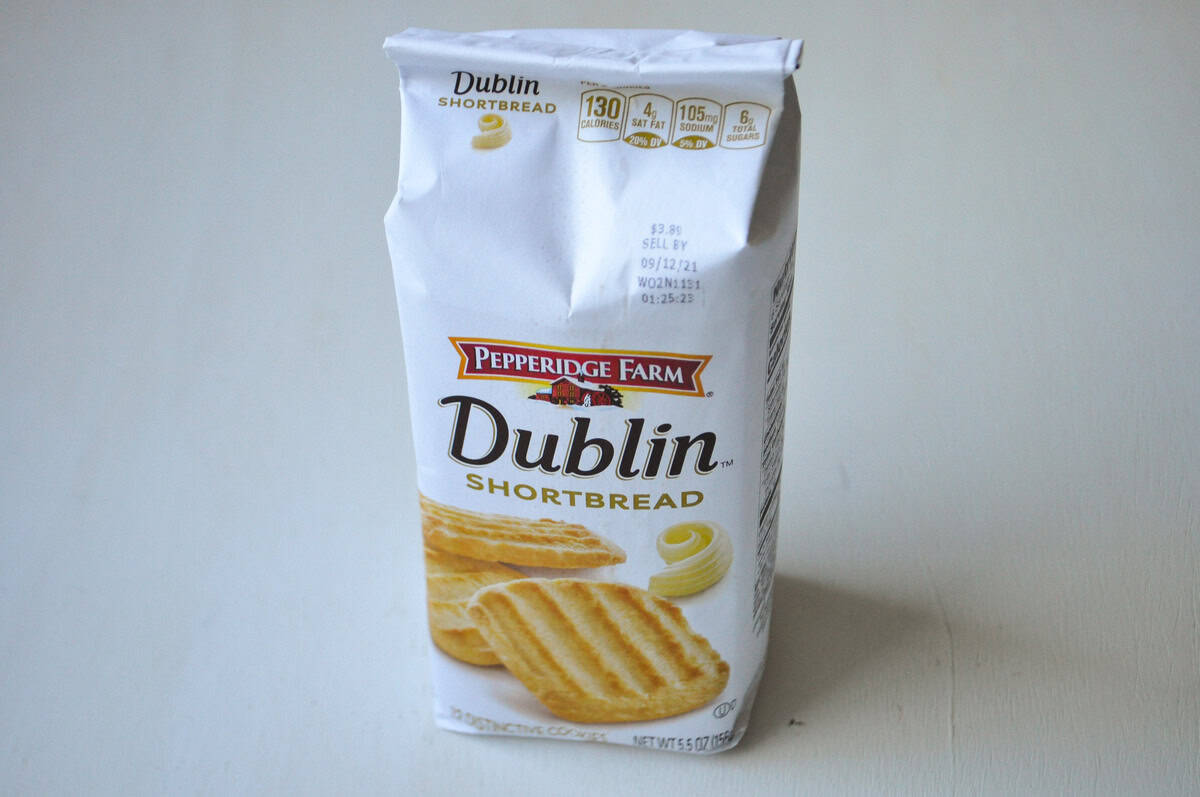
- store bought shortbread cookies
- dark chocolate ganache frosting (recipe below)
- 1 rectangular cardboard cake board 19x13-inches
- woodland figures, optional
- disposable piping bag
- large piping tip, like 2D or 1M
For the optional gold painted butterflies:
- small butterfly cookie cutter
- gold luster dust
- Everclear or vodka
- food-dedicated paint palette
- food-safe paintbrush
Make the Fondant Decorations
I made all of the fondant decorations ahead of time, except for the bodice of Snow White's dress which I made as I was assembling the cake.
I wanted the fondant decorations to dry hard, so making them about a week ahead and leaving them out at room temperature allowed them to harden.
You can use fondant or gum paste for these. I decided on fondant for the bodice of her dress, so I just used fondant for everything. Gum paste will dry hard faster, so keep that in mind if you have time constraints.
I started by coloring some white store bought fondant with red food coloring gel, which I used for the flowers, mushroom caps, the "5" on the cake board, and details of Snow White's dress.
If you'd like to make your own fondant, I have a recipe for Marshmallow Fondant here.
For the flowers, I rolled white and red fondant, separately, into a thin layer with a small fondant rolling pin, using powdered sugar to prevent the fondant from sticking to the surface. Then, I used this small flower cutter to cut out flower shapes.
I shaped them using a gum paste tool to add some texture to the petals.

I used a small round piping tip to cut out round centers for the flowers. You can attach these to the center of the flower using a small amount of water, buttercream, or royal icing if you have it. Drying the flowers on a curved surface like a gum paste drying rack helps maintain the shape.

I used this same tip to cut out white circles to decorate the red mushroom caps.

To shape the mushrooms, I started by molding the fondant in the shape of the rounded mushroom cap, then added a piece for the stem.
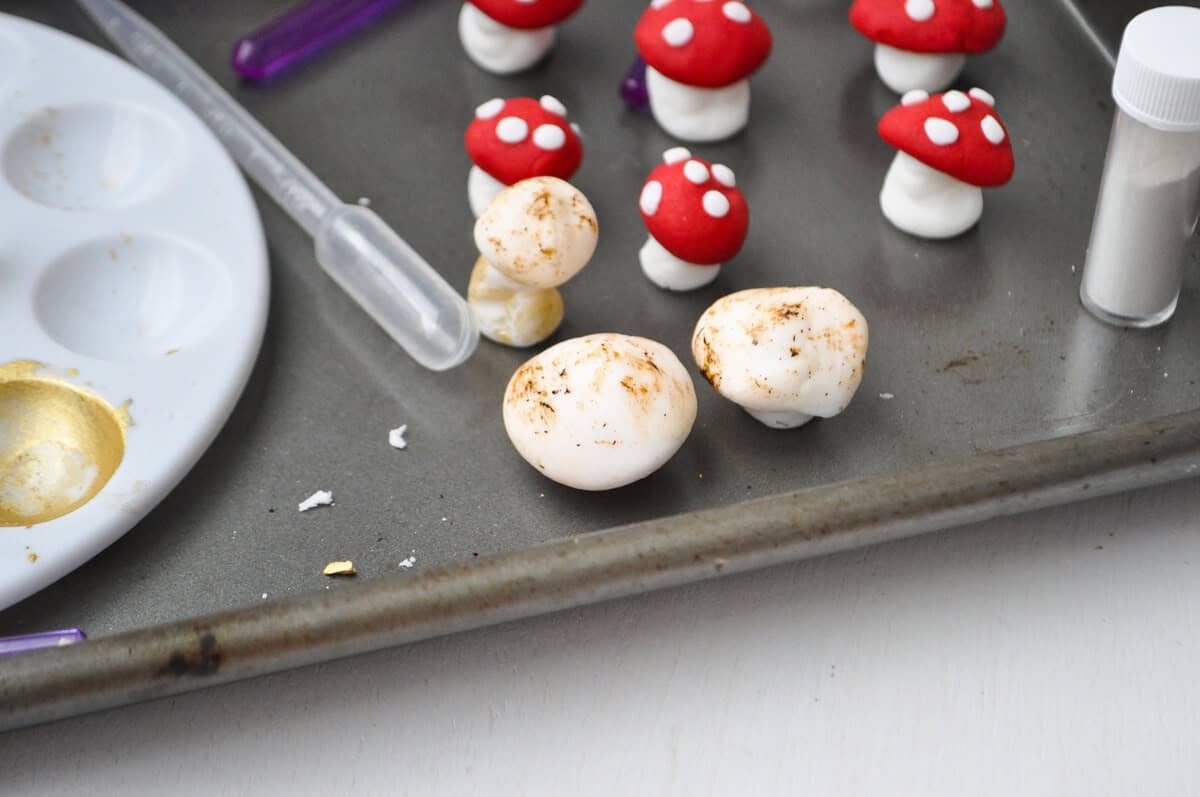
For half of the mushrooms, I left them completely white, the other half I made the cap out of red tinted fondant and then place little white dots of fondant on top.
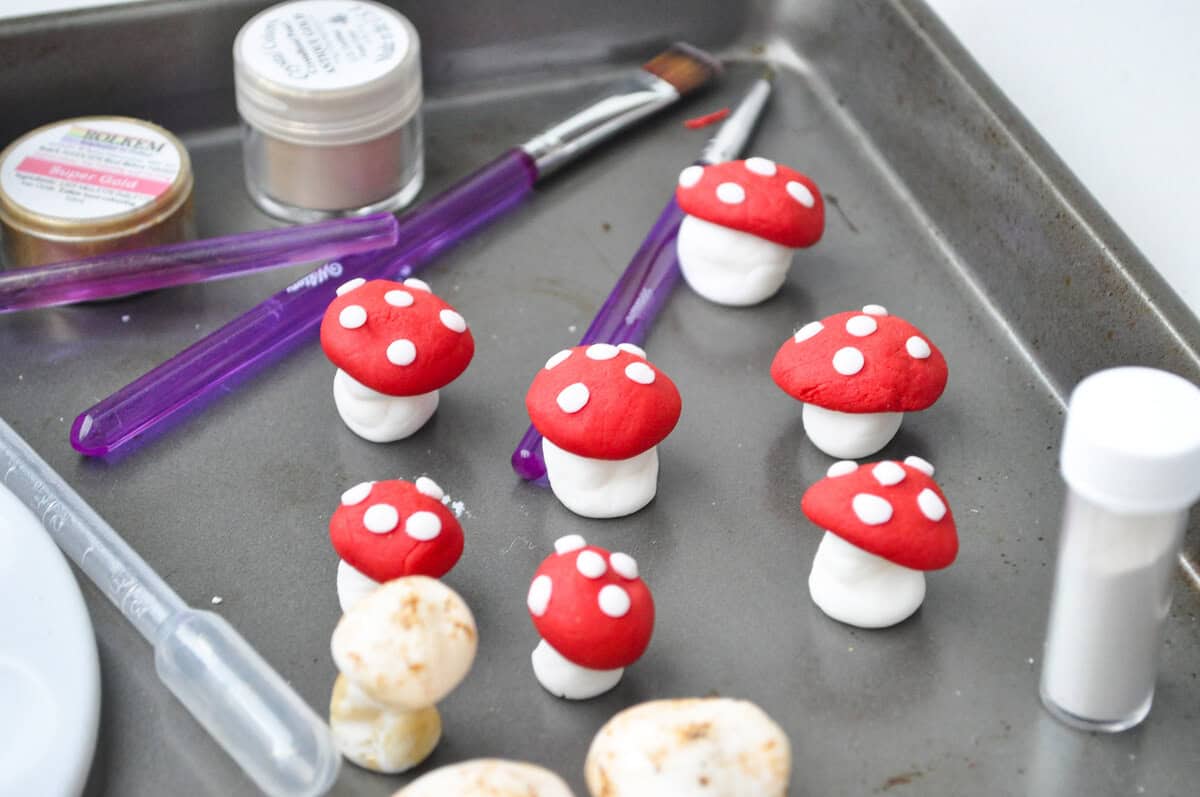
I allowed the mushrooms to dry uncovered for several days at room temperature. After they were mostly dry, I brushed the surface of the white mushrooms with a little bit of brown food coloring gel using a food-safe paintbrush to represent dirt.
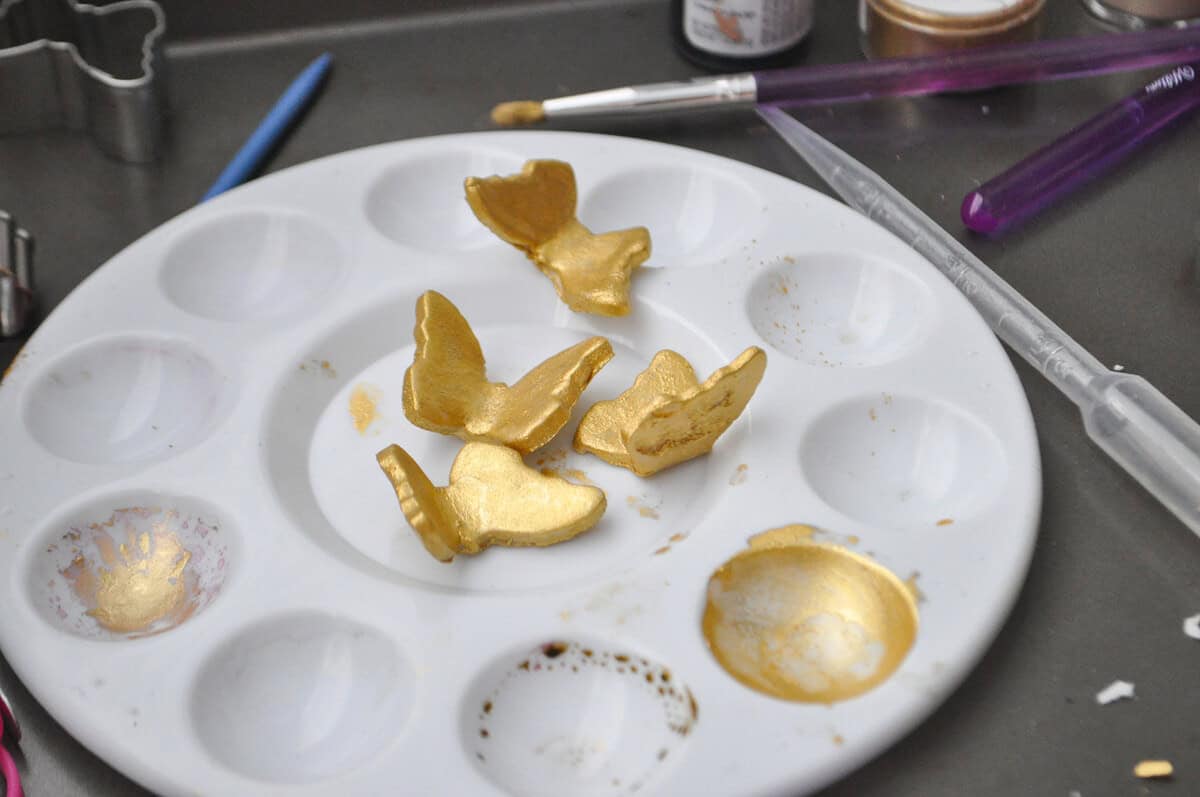
To make the butterflies, I rolled out white fondant and cut it with this small butterfly cutter.

Then, I slightly folded the butterfly into a V shape and placed them on the fondant drying rack to maintain the shape. I allowed them to dry for several days until hard, when I painted them with a suspension of gold luster dust and Everclear. I have more details for painting with gold suspension in my Painted Watercolor Cookies and Gold Painted Macarons posts.
I typed the 5 out in PowerPoint using the "Snow White" font from a site called "Font Magazine" that I'm no longer able to find. I'm sure there are similar fonts available for free. I printed it out to have as a visual guide when cutting the red fondant "5."
Another option is to print the 5 on cardstock, cut it out, and use it as a stencil.

I waited until I was assembling the cake to make the fondant bodice of Snow White's dress. For me, this was easier to do when she was already in the cake and I knew how much of her torso would be covered by the cake.
Make the Edible Moss
To make the edible moss, I recommend using store bought shortbread cookies. They are crunchy and will process into sturdy crumbs.
Place the cookies in a food processor and pulse until all of the pieces have turned to crumbs.
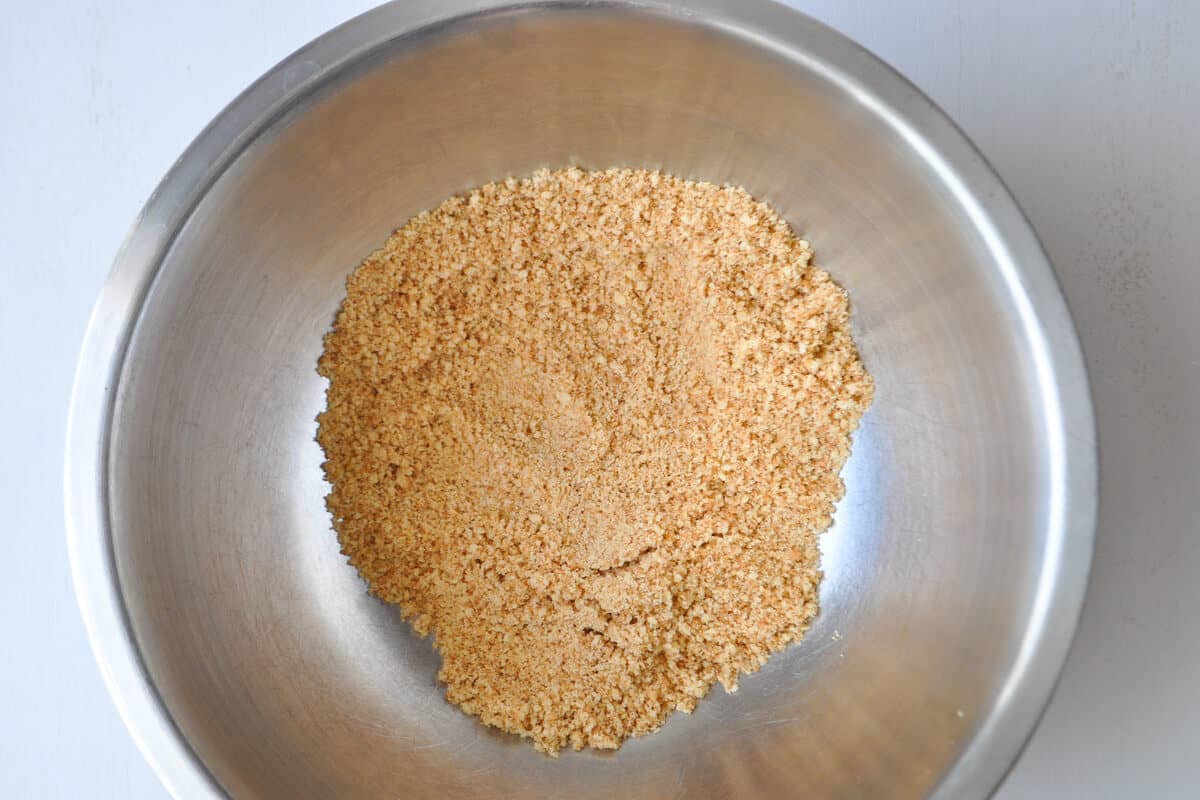
Transfer the crumbs to a medium bowl. Add a small amount of green food coloring and stir until all of the crumbs are the same color. Add a little more food gel if needed to achieve a moss-like color.
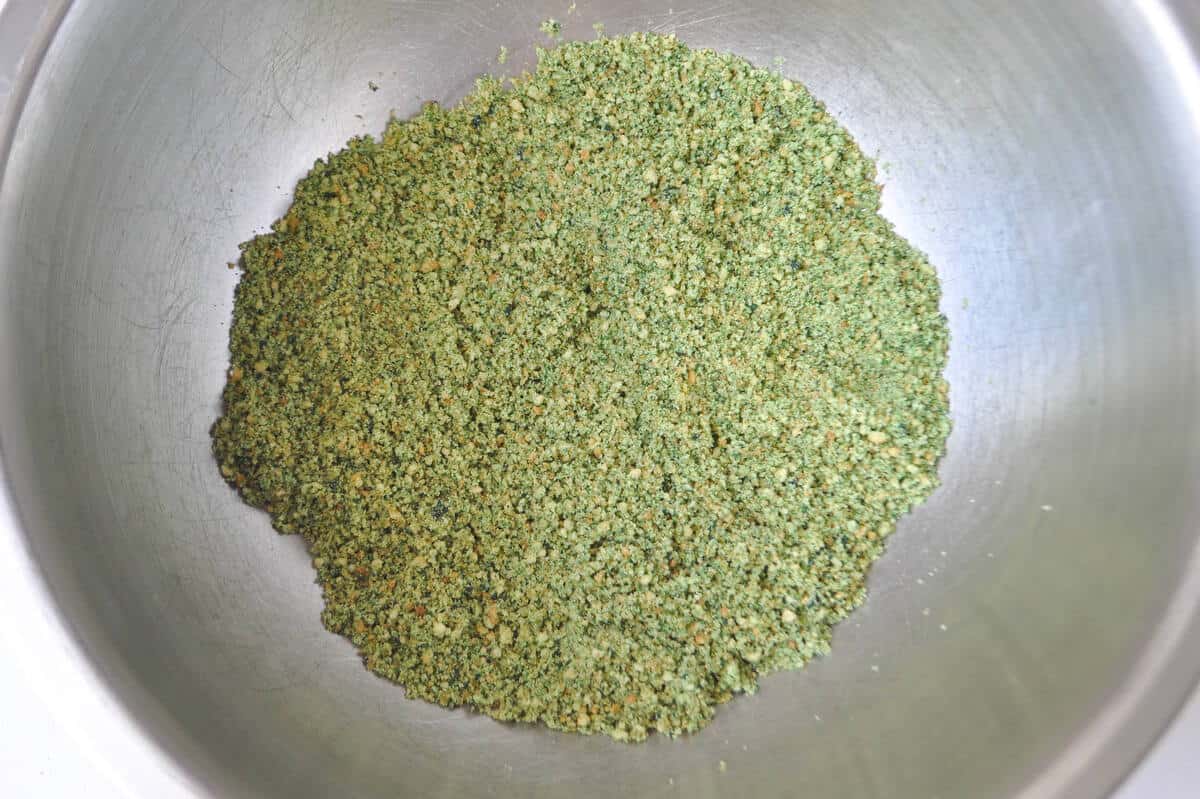
The edible moss can be made in advance and stored in an airtight container at room temperature for up to 1 week.
Bake the Cakes
In general, princess doll cake pans, like the Wilton Wonder Doll Cake Pan that I have, are made to be used with just a doll torso, not the entire doll. I do not like to do that because I want to use the actual Disney Princess doll.
Because of that, I have had trouble with the 11-inch doll being too tall for the cake and having to angle her legs, risking the legs poking through the front of the cake. This happened when I made the Cinderella Cake and I had to patch the cake!
I remembered this when I made a Belle Doll Cake (coming soon), so I added two round cakes (from cake mixes) underneath the rounded cake to add height.
To avoid that issue with this cake, I decided to have Snow White stand on top of a wood stump, which provided more height to the cake and allowed room for her legs.
This worked out really well! Not only did I get the proper height, the stump fit in nicely with the forest theme.
The center rod in a Princess Doll Cake Pan serves two purposes: to heat the center of the cake for more even baking and to have space to put the doll's legs when assembling the cake.

If you don't own this type of pan, you can try baking the cake in an oven-safe bowl, but you may end up with an over-baked outside in order to get the interior to bake.
You can use boxed cake mix for this cake or homemade.
My daughter wanted a chocolate cake, so I used my favorite homemade chocolate cake recipe. It's essentially the Hershey's Black Magic Cake.
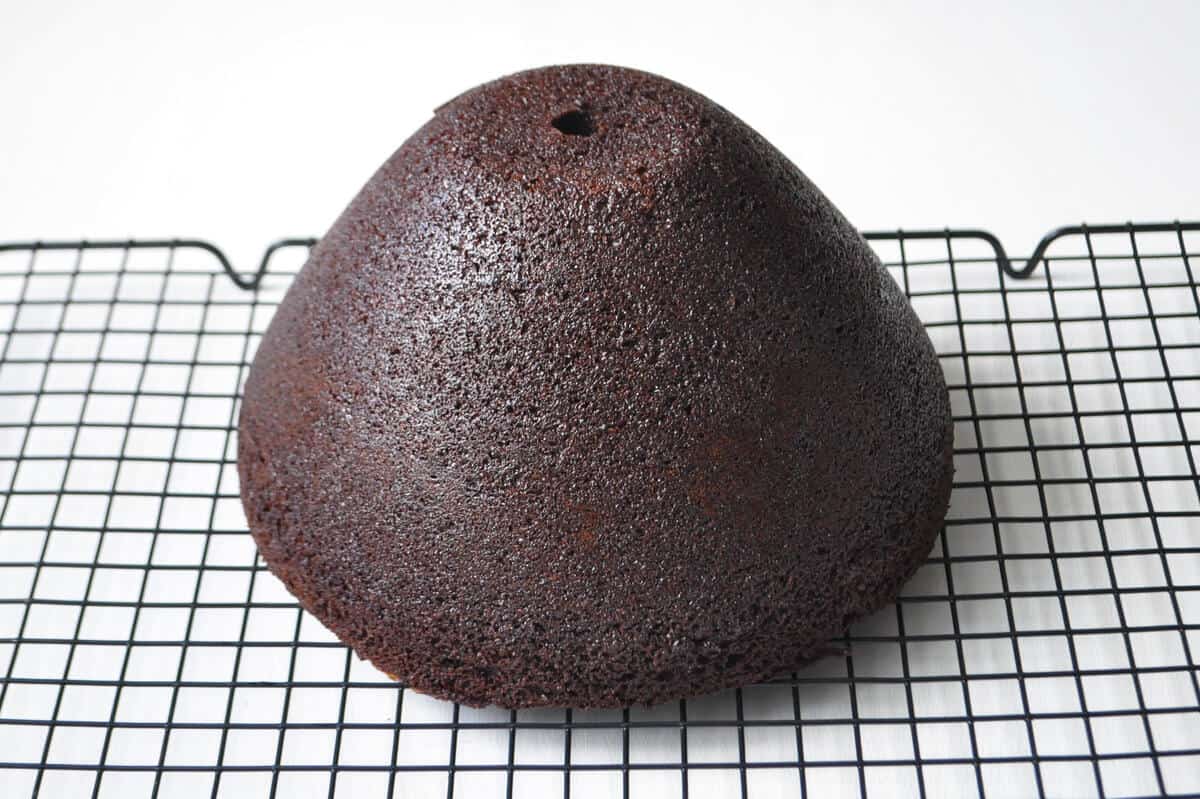
This cake makes more batter than a standard boxed cake mix, so I added a single batch of batter to the princess doll pan. I have had great success using Pam for Baking with this pan. The cake comes out really easily. You can try buttering and flouring the inside, but I do not have experience with that.

I allowed the baked cake to cool for about 10 to 20 minutes in the pan.
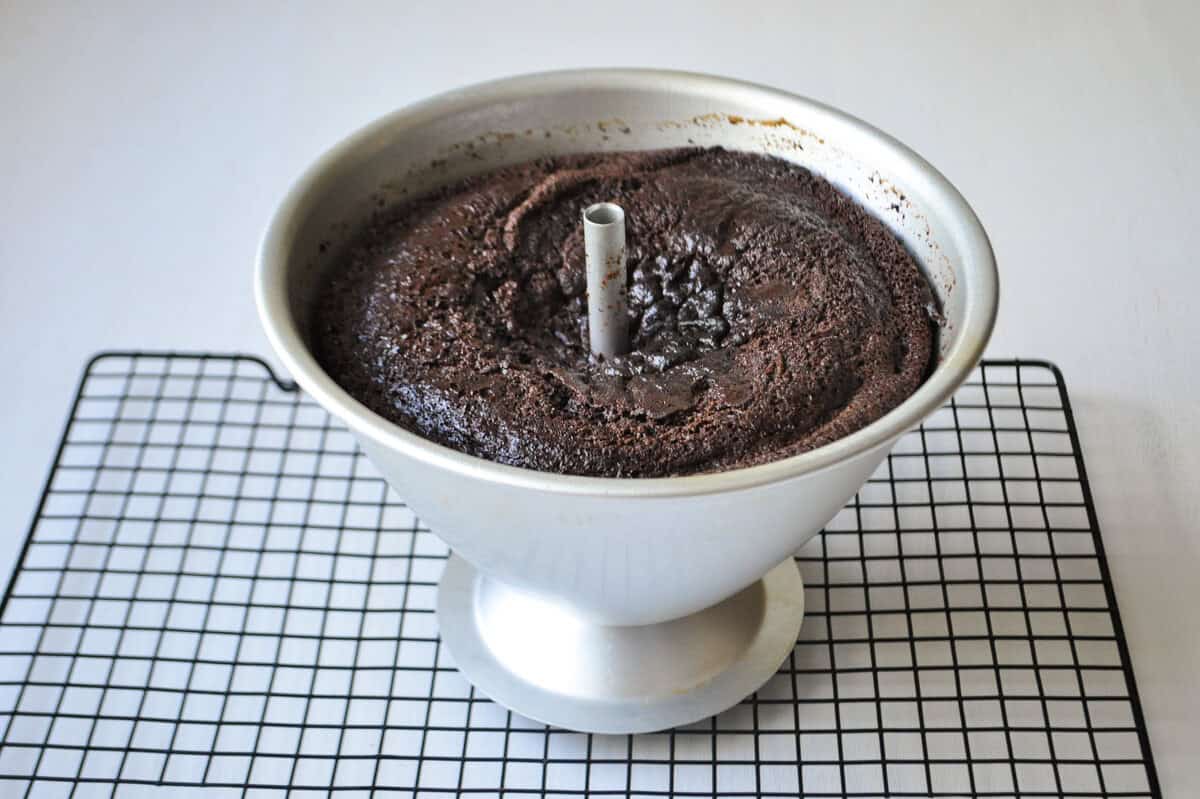
Then, I inverted the cake onto a cooling rack to continue cooling to room temperature.
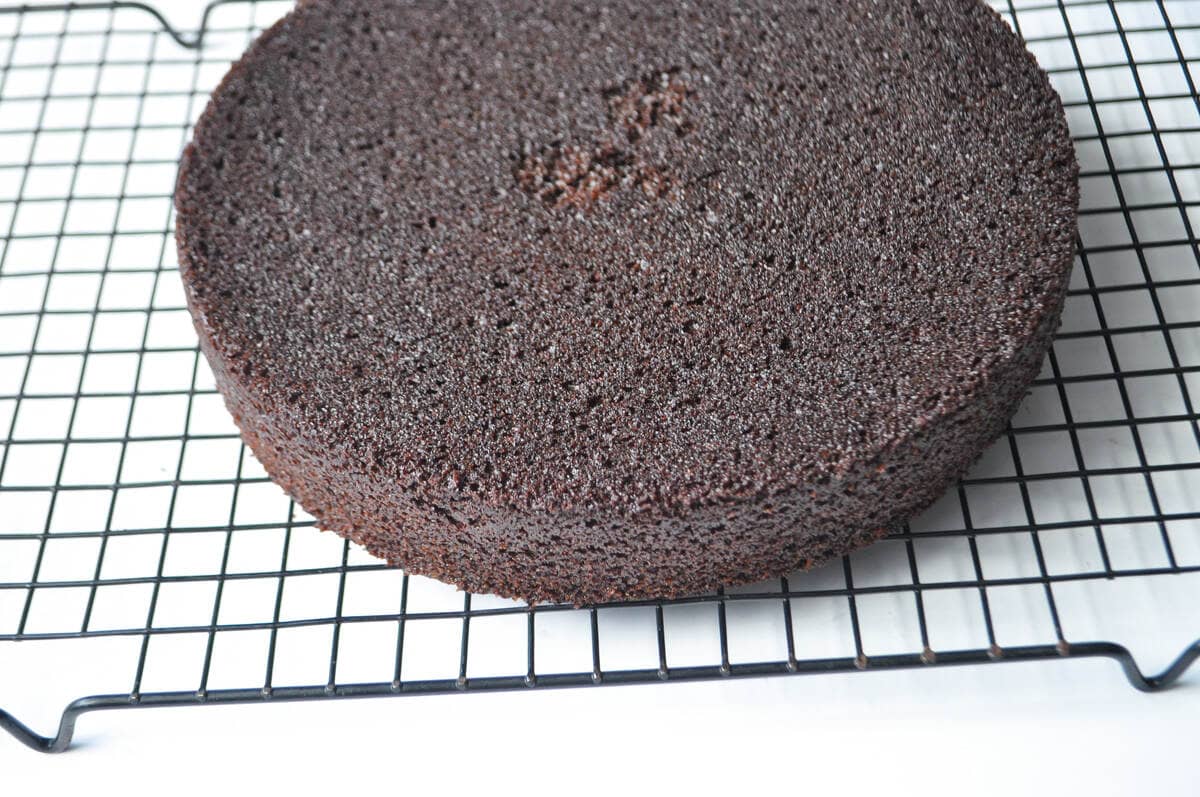
Next, I made another batch of the Two Layer Chocolate Cake batter that I divided equally between two 9-inch round cake pans. One of the cakes was for these Apple Cake Pops, and the other used as the stump on this cake.

If you're not making cake pops, you could choose to make a 2-layer stump or freeze the second cake for a later dessert, such as this Boston Cream Pie. I've never made with chocolate cake before, but I imagine it would be delicious.
After baking the layers, I allowed the cakes to cool in the pan for 10 to 20 minutes before unmolding on wire racks to cool completely.
Once the cakes have cooled to room temperature, you can begin assembling the doll cake.
If you need to break this up into multiple days, tightly wrap the cakes in plastic wrap. Wrap the doll dress cake several times in plastic wrap, and place the wrapped round cake in a gallon sized freezer bag. Keep the cakes at room temperature for up to 2 days before assembling.
Make the Buttercream
Because I was making Easy Chocolate Buttercream for the Apple Cake Pops, I had some leftover for this cake that I used in between the round cake and the dome cake and on the cake board to act as glue for the edible moss.
I used Easy Vanilla Buttercream to crumb coat the skirt of the dress, then to make the yellow rosettes on the skirt.
Make the Ganache Frosting
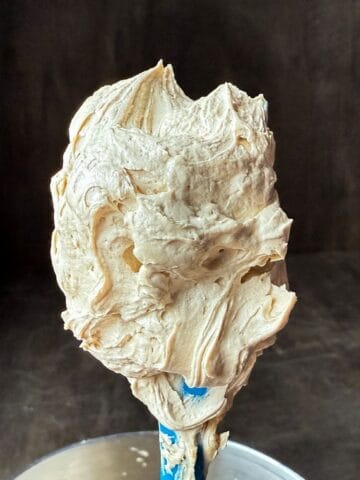
I wanted the stump to look like a section of wood, so I turned to the ganache frosting that I use for Buche de Noel, the French Yule Log Cake.
This is a simple ganache recipe made in a food processor to create a super creamy, smooth frosting. As soon as it's made, it is thin, but it thickens as it cools.
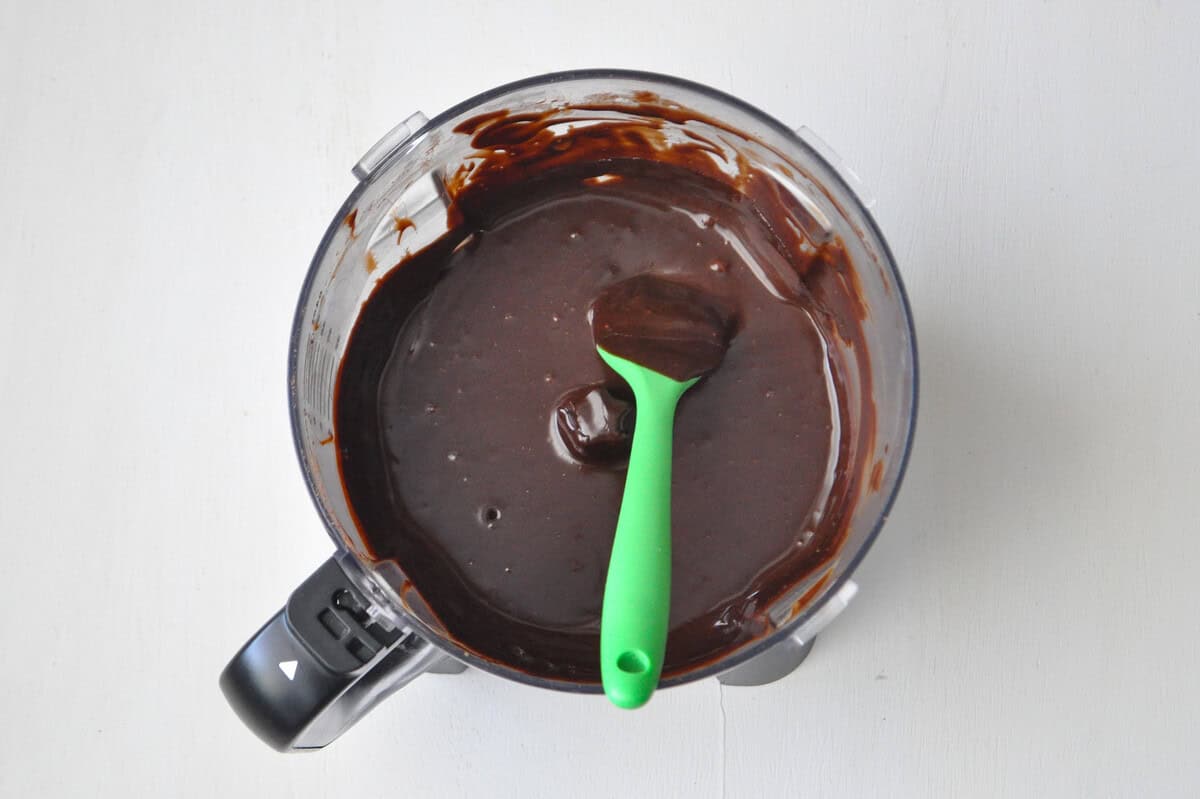
Once it reaches spreadable frosting consistency, it is ready to put on the cake.

Assemble the Cake
To assemble the cake, I spread a layer of Easy Chocolate Buttercream across the entire surface of a 13x19-inch??? cake board. This represents the dirt on the forest floor and also serves as adhesive for the edible moss.
I placed the 9-inch round cake in the upper left corner of the cake board and covered it with the ganache, then added some of the Chocolate Buttercream on the top that would be covered by the dress cake. I also spread a little of the buttercream onto the sides of the round cake to give a little color variation for the stump.
Then, I dragged the tines of a fork across the surface of the stump to look like wood, making a knot in one place.
I also added a little offshoot from the stump, like a knot in the wood, on the right side towards the back, It was just a mound of ganache.

Once the stump was completely covered, I placed the domed cake that would become the skirt of Snow White's dress centered on top of the stump.

I covered the domed cake with a crumb coat of Easy Vanilla Buttercream so the buttercream rosettes would stick better.
I wrapped Snow White's legs tightly in plastic wrap to protect them from the cake. Then, I carefully slide her legs into the center hole of the cake until the area just below her waist hit the cake.
To make the bodice of the dress, I tried to mimic the dress the doll came in but tried to keep it simple. I tinted some fondant with blue food gel. I used a slightly darker blue for the bodice of the dress and a slightly lighter blue for the sleeves.
I cut the fondant into a slight V shape for the neckline and carefully pressed the fondant together in back. Then, I added the lighter blue sleeves and cut out small red shapes to add on the sleeves.
For her white collar, I cut a rounded half circle shape but then used a sharp knife to remove little sections until it fit around the back of her neck and looked like it attached to the bodice of the dress.
Lastly, I placed a single star sprinkle in the middle of the bodice neckline to represent the medallion often seen on Disney Princess dresses.

Here you can see how far down the bodice goes and rests on top of the domed cake.

After the bodice was finished, I tinted some Easy Vanilla Buttercream light yellow. I transferred the buttercream to a disposable buttercream fitted with a large star tip, like a 2D or 1M and piped large rosettes over the surface of the dress in an offset manner.
At this point, I sprinkled the entire cake board with the edible moss, adding a little bit to the sides of the stump.
My girls have a Disney Animators Collection Snow White Playset that is no longer available. It came with this little table, chair, and some of these forest animal figures.

I placed the fondant mushrooms and flowers around the stump, as well as some of the creatures and the gold butterflies. I also placed a gold butterfly on the buttercream skirt of the dress.

My girls have a lot of Calico Critters and Lil' Woodzeez figures and sets, which is where I found the small basket and tiny apples I placed inside it and onto Snow White's wrist.

I could have added more of the fondant decorations, but I tried to show restraint.

Serving the Cake
Needless to say, my daughter absolutely loved this cake!

To serve it, I removed the doll, then sliced into the cake. It looks a little messy here because the doll had been inside the cake. I was still able to make slices to serve.

Gluten Free Option
This chocolate cake tastes amazing made with gluten free 1 to 1 baking flour. Even people who are not gluten free love it made this way!
Instead of using the baking spray with flour, you can just butter the pans and use cocoa powder or gluten free 1 to 1 baking flour to dust the pans.
The rest of the ingredients are gluten free. Check your packaging for possible contaminants.
📖 Recipe

Snow White Doll Cake
Equipment
- 1 Snow White doll
- 1 Wilton Wonder Doll Cake Pan or a large oven-safe bowl
- 2 9-inch round cake pans
- 2 cake pan strips
- 1 rectangular cardboard cake board 19x13-inches
- 1 Small round piping tip like #7
- woodland figures, optional
- 1 small butterfly cookie cutter
- 1 food dedicated paint palette
- 1 food-safe paintbrush
- Disposable piping bag
- 1 large star tip like 2D or 1M
Ingredients
For the Fondant Decorations:
- white fondant or gum paste
- red, blue, and brown food coloring gel
- 1 star sprinkle
For the Edible Moss:
- store bought shortbread cookies
- green food coloring gel
For the Cakes:
- non-stick baking spray (such as Pam for Baking)
- 2 batches Two Layer Chocolate Cake (see note)
For the Dark Chocolate Ganache Frosting:
- 12 ounces 60% cacao bittersweet chocolate (recommended: Ghirardelli)
- 2 cups heavy cream (see note)
For Cake Assembly:
- 1 batch Easy Chocolate Buttercream (see note)
- 3 batches Easy Vanilla Buttercream (see note)
- yellow food coloring gel
Instructions
Make the Fondant Decorations:
- Color some fondant with red food coloring gel.
- To make the flowers, roll white and red fondant, separately, into thin layers with a small fondant rolling pin, using powdered sugar to prevent the fondant from sticking to the surface. Use a small flower cutter to cut out the flower shapes.
- Shape the flowers using a gum paste tool to add some texture to the petals.
- Use a small round piping tip, like a #7, to cut out round centers for the flowers. Attach these to the center of the flower using a small amount of water, buttercream, or royal icing.

- To shape the mushrooms, start by molding the fondant in the shape of the rounded mushroom cap, either white or red, then add a piece for the stem.
- For the red capped mushrooms, place white dots of fondant on top. The white mushrooms will be painted after dried.

- Allow the mushrooms to dry uncovered for several days at room temperature. After they are mostly dry, brush the surface of the white mushrooms with a little bit of brown food coloring gel using a food-safe paintbrush to represent dirt.

- To make the butterflies, roll out white fondant and cut it with a small butterfly cutter.
- Slightly fold the butterflies into V shapes and place them on the fondant drying rack to maintain the shape. Allow them to dry for several days until hard. Make a gold luster dust and Everclear or vodka suspension and paint the surface of the butterflies with liquid gold.

- Roll out a piece of red fondant and use a sharp knife to cut out a number corresponding to the child's age that will later be placed on the cake board. This is optional.

Make the Edible Moss:
- Place the shortbread cookies in a food processor and pulse until all of the pieces have turned to crumbs.

- Transfer the crumbs to a medium bowl.

- Add a small amount of green food coloring and stir until all of the crumbs are the same color. Add a little more food gel if needed to achieve a moss-like color.

- The edible moss can be made in advance and stored in an airtight container at room temperature for up to 1 week.
Bake the Cakes:
- Spray a Princess Doll Cake Pan with non-stick baking spray.

- Pour the batter for a two layer chocolate cake into the pan and bake according to package directions.

- Cool the cake in the pan for 20 minutes.

- Invert the pan onto a cooling rack to remove the cake. Cool to room temperature.

- Add cake baking strips to two 9-inch cake pans and spray them with nonstick baking spray.

- Divide the batter for a two layer chocolate cake evenly between the pans.

- Bake the cakes according to recipe instructions. Cool them in the pans for 10 to 20 minutes.

- Invert the cakes onto cooling racks and cool to room temperature.

- If not assembling the cooled cakes immediately, wrap them several times tightly in plastic wrap. Place the round cake in a gallon sized freezer bag. Use the other layer cake for another project or freeze. Store the domed cake and one round layer at room temperature for up to 2 days.
Make the Ganache Frosting:
- Break the chocolate into pieces and process in a food processor until very fine.12 ounces 60% cacao bittersweet chocolate
- Heat the cream to a boil and, with the processor motor running, pour it through the feed tube in a steady stream. Process a few seconds until smooth.2 cups heavy cream

- Transfer to a bowl and cool completely. It may take several hours to reach frosting consistency.

Assemble the Cake:
- Spread a layer of Easy Chocolate Buttercream or ganache frosting across the entire surface of the rectangular cake board.
- Placed the 9-inch round cake in the upper left corner of the cake board and cover it with the ganache, then add some of the Chocolate Buttercream on the top that will be covered by the dress cake. Spread a little of the buttercream onto the sides of the round cake to give a little color variation for the stump.

- Drag the tines of a fork across the surface of the stump to look like wood, making a knot in a few spots if desired.
- Add mound of ganache on the right side toward the back to represent a little offshoot from the stump.
- Place the domed cake centered on top of the stump.

- Cover the domed cake with a crumb coat of Easy Vanilla Buttercream.
- Wrap Snow White's legs tightly in plastic wrap to protect them from the cake. Carefully slide her legs into the center hole of the cake until just below her waist hits the cake.
- To make the bodice of the dress, tint some fondant two shades of blue with blue food gel.
- Roll the darker blue fondant into a rectangle shape and cut the top front into a slight V shape for the neckline. Carefully press the fondant together in back. Add the lighter blue fondant sleeves, then cut out small red shapes to decorate the sleeves.

- For her white collar, roll out white fondant and cut a rounded half circle shape. Use a sharp knife to remove little sections until it fits around the back of Snow White's neck and looks like it attaches to the bodice of the dress.
- Place a single star sprinkle in the middle of the bodice neckline to represent the medallion often seen on Disney Princess dresses.
- Tint some Easy Vanilla Buttercream light yellow. Transfer the buttercream to a disposable buttercream fitted with a large star tip, like a 2D or 1M. Pipe large rosettes over the surface of the dress in an offset pattern.
- Sprinkle the entire cake board with the edible moss, adding a little bit to the sides of the stump.
- Place the fondant flowers and mushrooms around the stump. Place the gold butterflies on the stump and on the skirt of Snow White's dress.

- Use small woodland figurines to decorate the cake board, if desired.

- Place the red number of the child's age on the cake board, if using.

Leave a Reply