
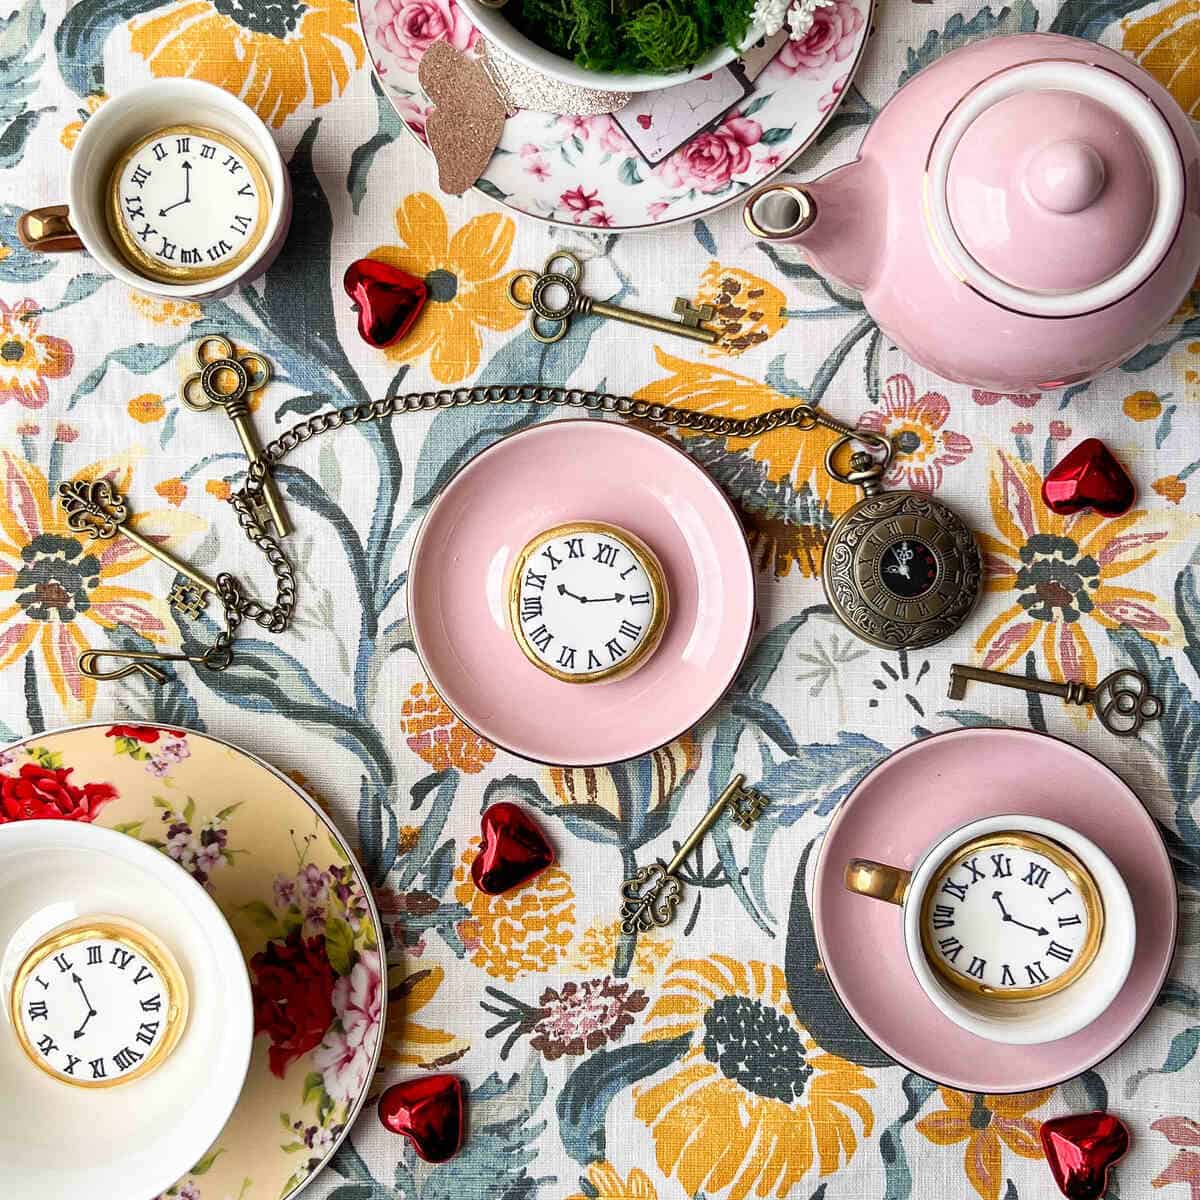
These Royal Icing Clock Cookies are ideal for a birthday with an Alice in Wonderland or Mad Hatter's Tea Party theme. These represent the pocket watch carried by the White Rabbit and have a Roman numeral face and a gold border.
My middle daughter chose an Alice in Wonderland theme for her 11th birthday. I had been gently pushing one of the girls to choose this theme for a while, so I was so excited to finally tackle it.
This ended up being one of my favorite parties! The story is so themed that finding decor to fit is really easy.
I wanted to make cookies that look like the face of a clock to represent the pocket watch carried by the White Rabbit.
These cookies were a big hit at the party. My dad didn't believe I had drawn the clock faces on the cookies!
I see a lot of flaws in how I spaced the Roman numerals, but that just fits into the charm of the Alice in Wonderland theme, like the sizing of these Alice in Wonderland Petit Fours.
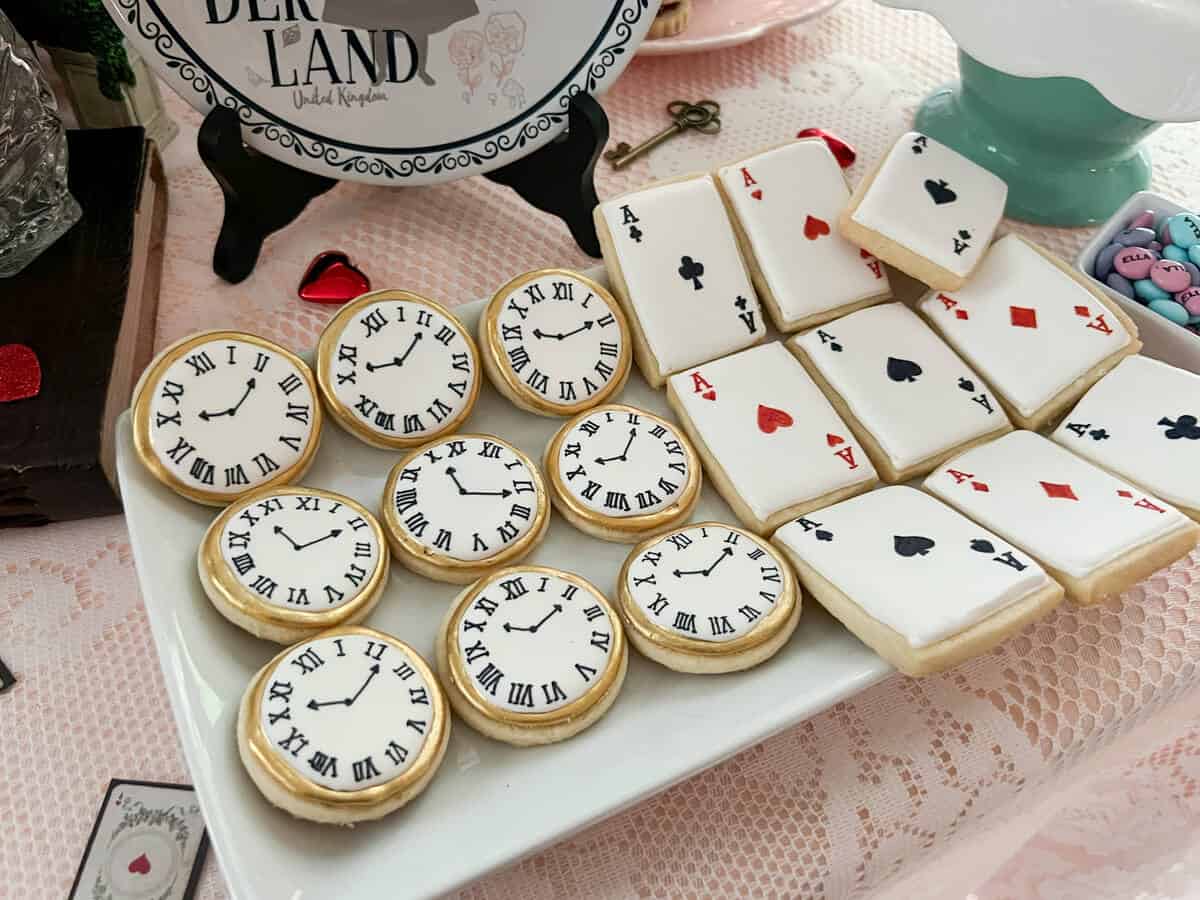
I made these cookies alongside Playing Card Cookies and love how both sets turned out. These are actually quite simple to make!
Jump to:
Materials
- your favorite shortbread or sugar cookies, cut with a small round biscuit cutter
- Easy Royal Icing
- gold food coloring gel
- disposable piping bags
- food dedicated paint palette
- food grade paintbrush
- gold luster dust
- Everclear or vodka
- disposable transfer pipette
- black food coloring pen or marker, such as FooDoodlers
Bake the Cookies
You will need dough for your favorite shortbread or sugar cookies. Cut the dough with a small round cookie cutter or biscuit cutter. I wanted these cookies to be pretty tiny, so I used the smallest circular biscuit cutter in my set, which measures 1.75-inches in diameter.
I used a single batch of shortbread cookies for these cookies as well as the Playing Card Cookies and some heart shaped ones that I painted for Valentine's Day following my Painted Watercolor Cookies method.
For that reason, I only ended up making 12 clock cookies. A full batch of dough would have yielded about 40 clock cookies. This will vary depending on the size of your cutter and the recipe you use for the dough.
Bake the cookies according to your recipe's instructions, and allow them to cool to room temperature before adding the royal icing.
Outline the Cookies
Starting with the stock royal icing, add about a ¼ cup to a bowl and add very small amounts of warm water to achieve outline consistency icing, carefully stirring with a small silicone spatula to avoid introducing bubbles into the icing.
Then, add gold food coloring gel to achieve a goldenrod color. This gel does not actually make the icing shiny gold; it will just tint it a color that is the ideal base color for being overlayed with edible liquid gold after the icing has dried.

Transfer the icing to a disposable piping bag and cut off a very small piece of the tip to make a small round opening. Start by just snipping off a tiny amount; you can always cut more if the opening is too small.

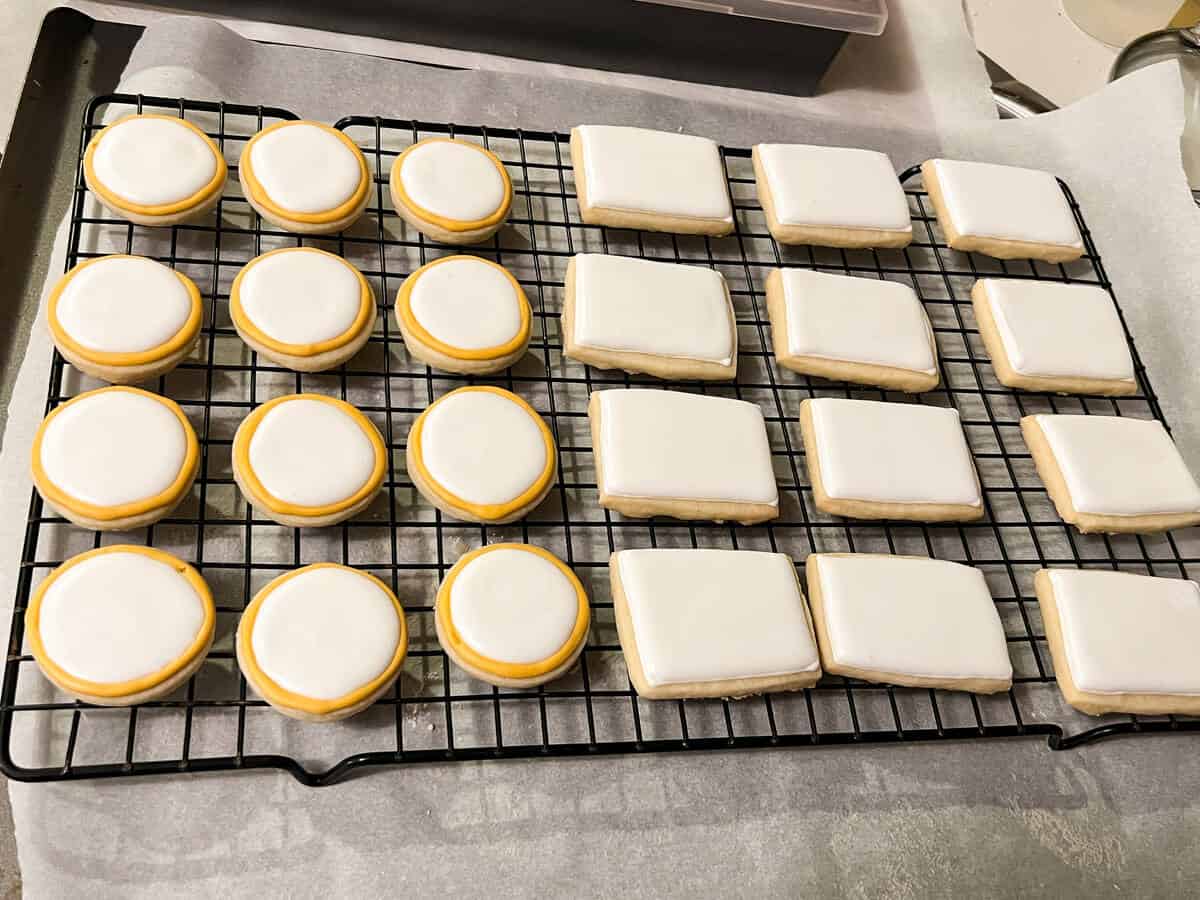
Outline the the cookies with the gold icing.

Alternatively, you could use a stiffer gold icing and pipe the border with a small star tip. This would give a more decorative border with grooves and would work better on a larger cookie. You want to have enough space in the flooded area to have room to draw the clock face later.
Allow the outline to dry at least 1 hour before proceeding to the flood step.

Flood the Cookies
Prepare flood consistency untinted (white) royal icing by thinning stock royal icing with small amounts of water until desired consistency is achieved.
Transfer the icing to a disposable piping bag, and cut off a small amount of the tip. Fill the center of each cookie with the white icing. Use a toothpick or a scribe tool to swirl the icing on the cookie to pop any bubbles.
If you are also making Playing Card Cookies, you can fill those at the same time.
Allow the cookies to dry overnight before proceeding to paint the border with gold luster dust.
Paint with Liquid Gold
Add some gold luster dust to the well of a food dedicated paint palette. Add some Everclear or vodka to another well of the palette or to a small bowl.
Use a plastic transfer pipette to add a few drops of alcohol to the gold dust. Mix the dust into the alcohol using a food grade paintbrush until the gold is completely suspended. You may need to add more dust or alcohol depending on whether the suspension is too thin or too thick, respectively.

I have purchased my gold luster dust locally, but I have heard good things about the gold dust from Truly Mad Plastics.
Using a thin food grade paintbrush, carefully paint the liquid gold on the goldenrod colored outline. The alcohol will evaporate quickly leaving behind a shiny gold frame for the clock.

Make sure the gold has dried completely before proceeding with drawing the clock face.
Draw the Clock Face
Before you draw the clock face, make sure the flooded icing has had sufficient time to dry hard, about 24 hours depending on the temperature and humidity in your work space. Otherwise, the tip of the marker could poke into the icing.
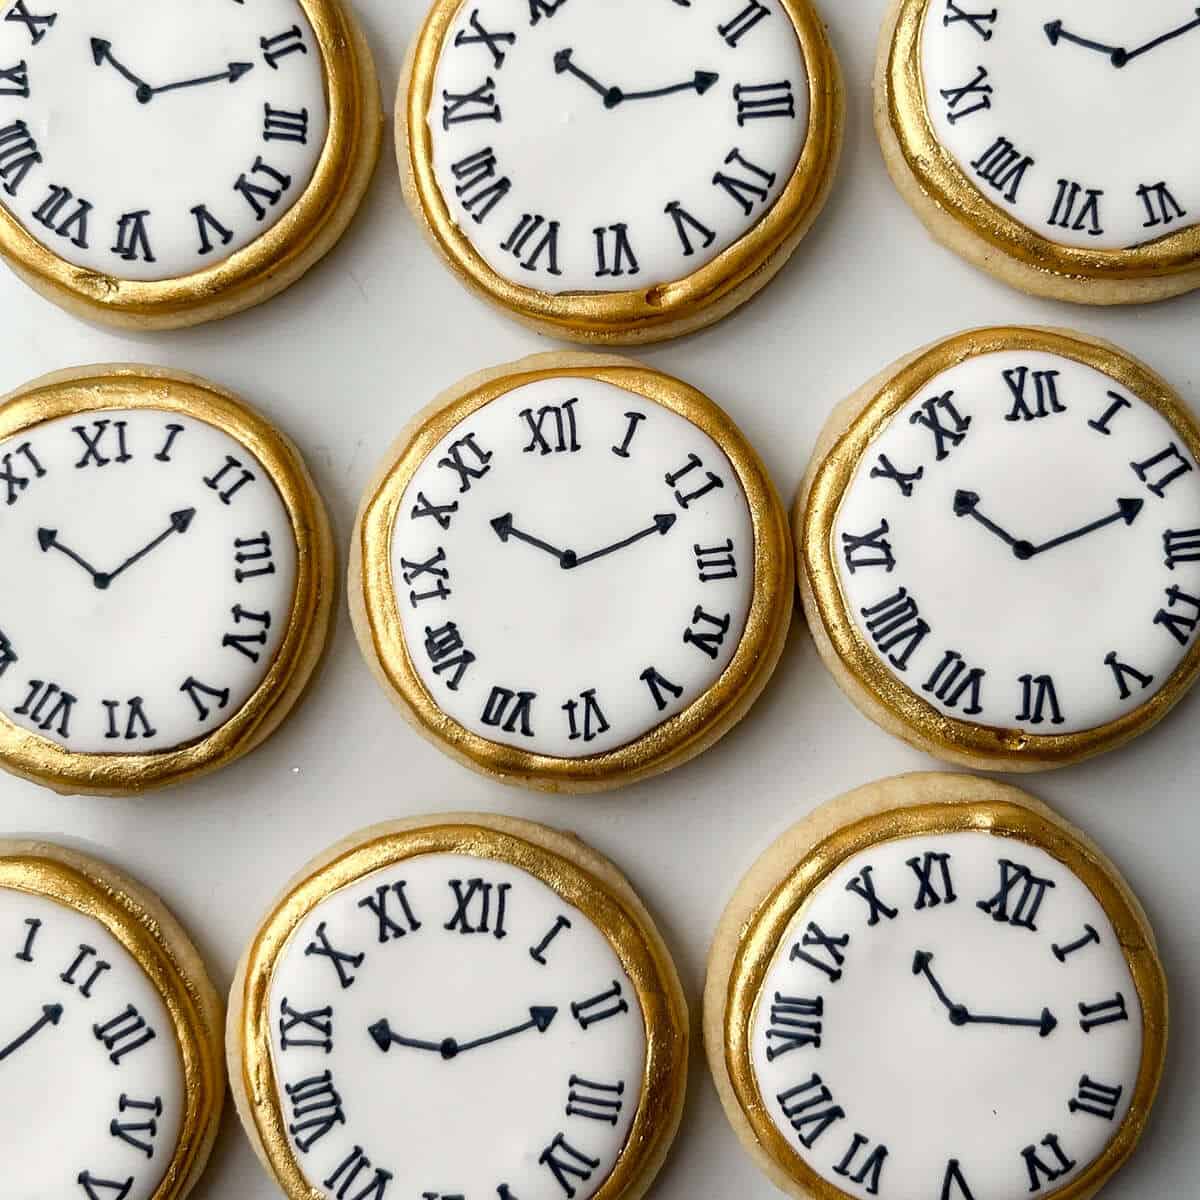
Use a black food coloring pen or marker, such as a FooDoodlers, to draw the Roman numerals and hands of the clock.

I recommend starting by placing a small circle in the very center of the cookie which will be the point where the two hands will meet.
Then, draw the the 12 (XII) at the very top, followed by the 6 (VI) on the opposite side, then the 3 (III) halfway between the 12 and the 6 and the 9 (IX) halfway between the 6 and the 12. Next, fill in the other numbers.
Finally, add the hands of the clock. You can have the short and long hands pointing wherever you want. I decided to pick around 10:10 and did the same on all the cookies, but you could mix it up and put different times on them. You can also make more decorative hands for the clock. I just kept it simple with such a small space.
Storage
The cookies should be stored in an airtight container at room temperature in a single layer until serving. I do NOT recommend stacking royal icing cookies. The grease from the top cookie can transfer onto the icing of the bottom cookie and distort the design.
If you don't have enough space for a single layer, I recommend using aluminum foil to separate the layers to prevent grease transfer. The grease can soak through waxed paper or even, to a lesser extent, parchment paper.
Gluten Free Option
Use your favorite gluten free shortbread or sugar cookie recipes. Always check your ingredient packages for possible gluten contamination.
📖 Recipe

Royal Icing Clock Cookies
Equipment
- disposable piping bags
- food dedicated paint palette
- food grade paintbrush
- disposable transfer pipette
Ingredients
- 1 batch shortbread or sugar cookie dough (see note)
- 1 batch Easy Royal Icing (see note)
- gold food coloring gel
- gold luster dust
- Everclear or vodka
- black food coloring pen or marker (such as FooDoodlers)
Instructions
Bake the Cookies
- Roll the dough to ¼-inch thickness and cut into cookies with a small round cookie cutter or biscuit cutter. For small cookies, the diameter should measure 1.75-inches.
- Bake the cookies according to your recipe's instructions and allow them to cool to room temperature before adding the royal icing.
Outline the Cookies
- Starting with the stock royal icing, add about ¼ cup to a bowl and add very small amounts of warm water to achieve outline consistency icing, carefully stirring with a small silicone spatula to avoid introducing bubbles into the icing.
- Add gold food coloring gel to achieve a goldenrod color.
- Transfer the icing to a disposable piping bag and cut off a very small piece of the tip to make a small round opening. Start by just snipping off a tiny amount; you can always cut more if the opening is too small.
- Outline the cookies with the gold icing.
- Allow the outline to dry at least 1 hour before proceeding to the flood step.
Flood the Cookies
- Prepare flood consistency untinted (white) royal icing by thinning stock royal icing with small amounts of water until desired consistency is achieved.
- Transfer the icing to a disposable piping tip and cut off a small amount of the tip. Fill the center of each cookie with the white icing. Use a toothpick or a scribe tool to swirl the icing on the cookie to pop any bubbles.
- Allow the cookies to dry overnight before proceeding to paint the border with gold luster dust.
Paint with Liquid Gold
- Add some gold luster dust to the well of a food dedicated paint palette. Add some Everclear or vodka to another well of the palette or to a small bowl.
- Use a plastic transfer pipette to add a few drops of alcohol to the gold dust. Mix the dust into the alcohol using a food grade paintbrush until the gold is completely suspended. You may need to add more dust or alcohol depending if the suspension is too thin or too thick, respectively.
- Using a thin food grade paintbrush, carefully paint the liquid gold on the goldenrod colored outline. The alcohol will evaporate quickly leaving behind a shiny gold frame for the clock.
- Make sure the gold has dried completely before proceeding with drawing the clock face.
Draw the Clock Face
- Make sure the flooded icing has had sufficient time to dry hard, about 24 hours depending on the temperature and humidity in your work space.
- Use a black food coloring pen or marker to draw the Roman numerals and hands of the clock. Start by placing a small circle in the very center of the cookie which will be the point where the two hands will meet. Then, draw the the 12 (XII) at the very top, followed by the 6 (VI) on the opposite side, then the 3 (III) halfway between the 12 and the 6 and the 9 (IX) halfway between the 6 and the 12. Fill in the other numbers. Add the hands of the clock.


Leave a Reply