
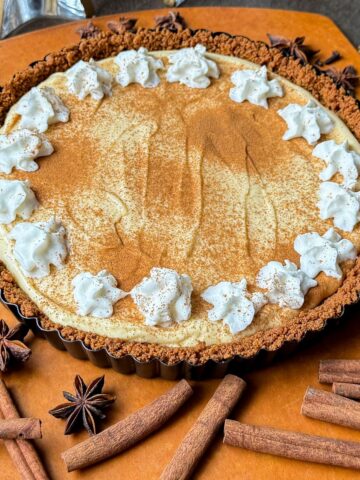
Homemade Marshmallows are so much softer than store bought and make the perfect holiday gift! They can be coated in chocolate and toasted coconut for homemade candies.

This post was originally published as the 8th Day of Christmas in my 12 Days of Christmas Series.
To be honest, I've never really liked marshmallows. Most kids just love them and will eat them out of the bag - not me.
Don't get me wrong, I loved marshmallows in Rice Krispie treats and in fluff form, but keep them away from my hot chocolate please! On Girl Scout camping trips my s'mores consisted of a piece of chocolate on a graham cracker, that's it.
So why in the world would I ever try making homemade marshmallows you ask? Well, last year a coworker made them and convinced me that I must try fresh, homemade marshmallows before I officially give up on marshmallows for good.
I am SO glad because homemade marshmallows are amazing! They are so soft and virtually begin to melt into delicious gooeyness the minute they hit a hot cup of cocoa - nothing like the store bought kind.
When I made these last year, Bob helped me since it takes about 10 minutes of beating with an electric mixer and we only had a handheld. When I got my stand mixer in October, one of the first things I thought was how easy it was going to be to make these marshmallows!
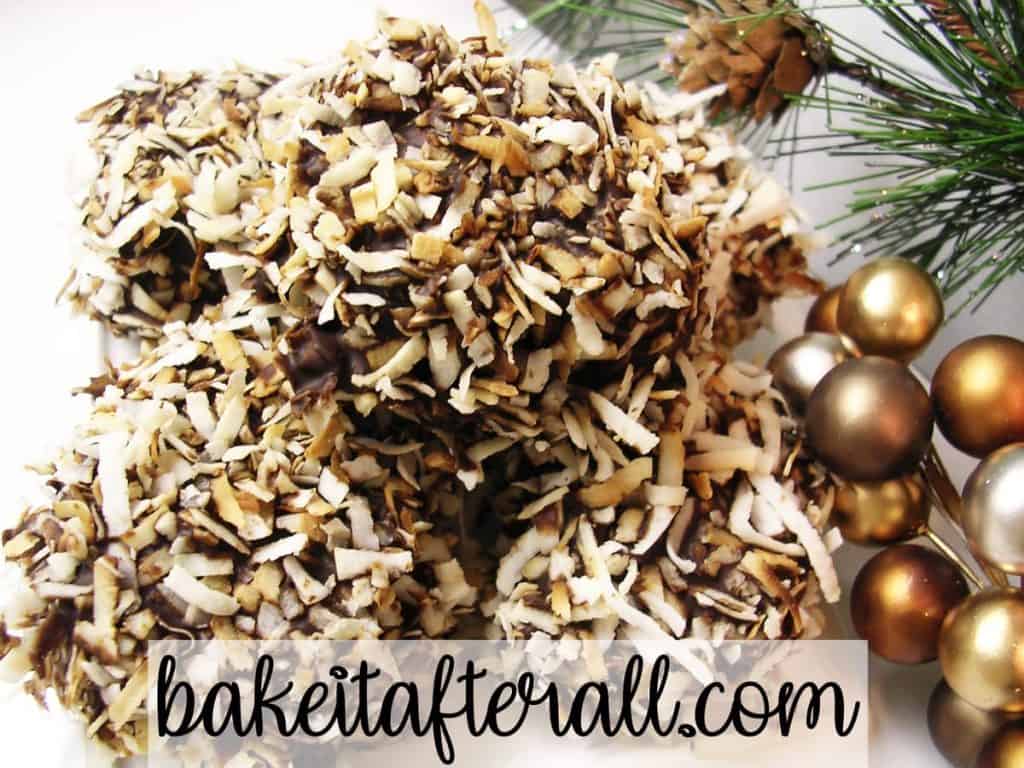
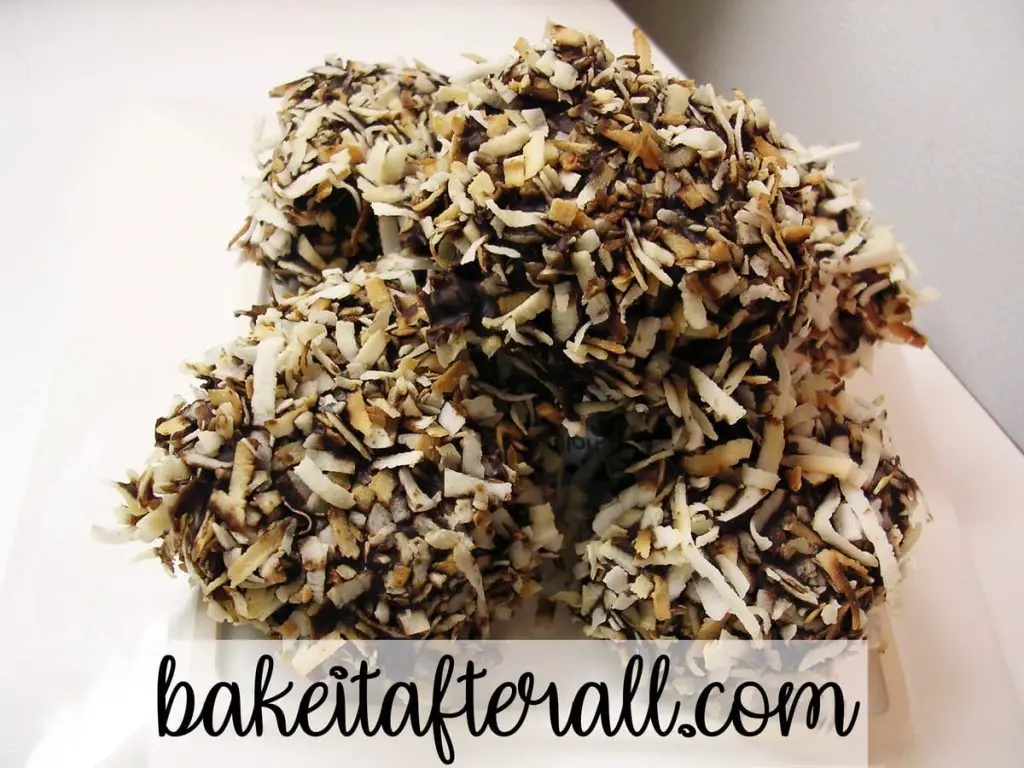
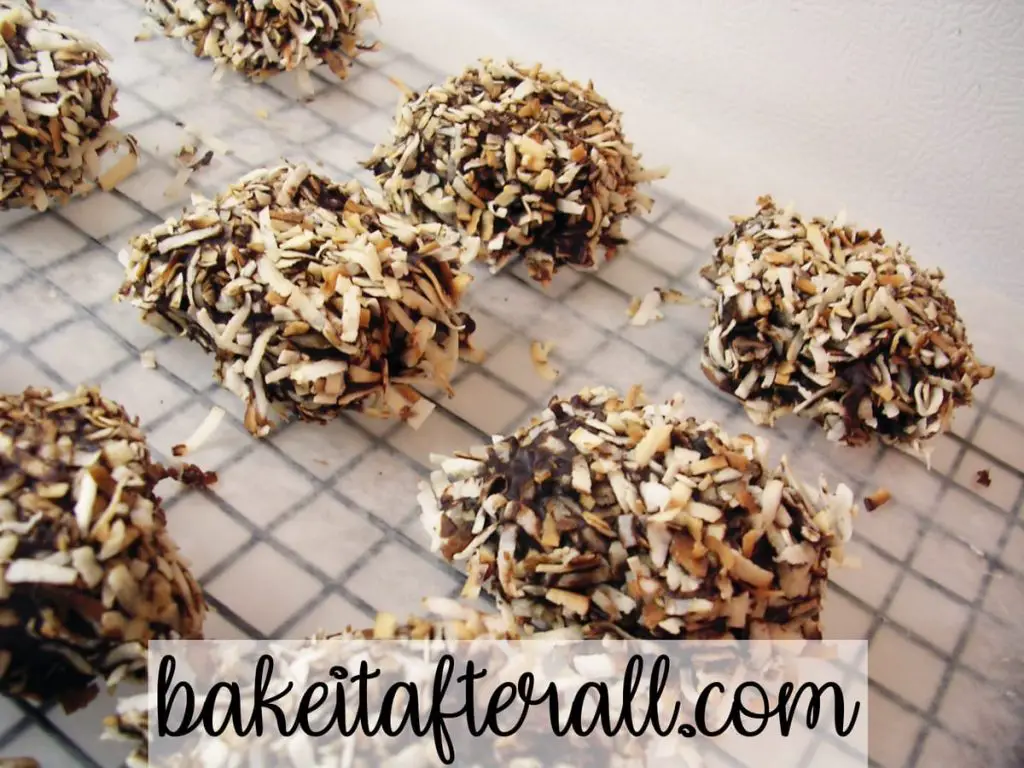
This year I decided to spruce up my marshmallows for my holiday gift packages by dipping them in chocolate and rolling them in toasted coconut - sort of to make a candy to stand alone rather than to serve as a drink topping. Wow! So delish. I only wish I had made more of those!
This recipe is so versatile - you can add any extract you want to "batter" - think peppermint, almond, etc. You can even color the marshmallows or add cocoa powder to make them chocolate. You can roll them in just about anything. Whatever you do, just make these!
Jump to:
Recipe Details
I cannot stress the importance of powdered sugar here. Just like cornmeal is for pizza making (if you aren't using parchment paper), powdered sugar is a must for marshmallow making to avoid sticking. These things will stick like no other, and you may have a heck of time getting them out of the pan - that's normal (for me at least).
I run a plastic knife or spatula around the edges of the pan first, then use a spatula to force the marshmallows (in an intact sheet) out of the pan, almost like scraping ice off a windshield.
Have a big pile-o-powdered sugar waiting when it plops on your working surface, and have another pile ready when you start cutting them.
Once they are cut, roll them in the sugar. I usually transfer them to a big wire strainer at this point and shake out the excess powdered sugar before packing them up.
Toasted Coconut Chocolate Dipped Marshmallows
To make the chocolate covered and toasted coconut dipped marshmallows, first toast the coconut in a skillet on the stove or in the oven.
Then, melt your favorite chocolate and dip each marshmallow in the chocolate and immediately roll in the toasted coconut. Place on waxed paper to set.
Serving Suggestions
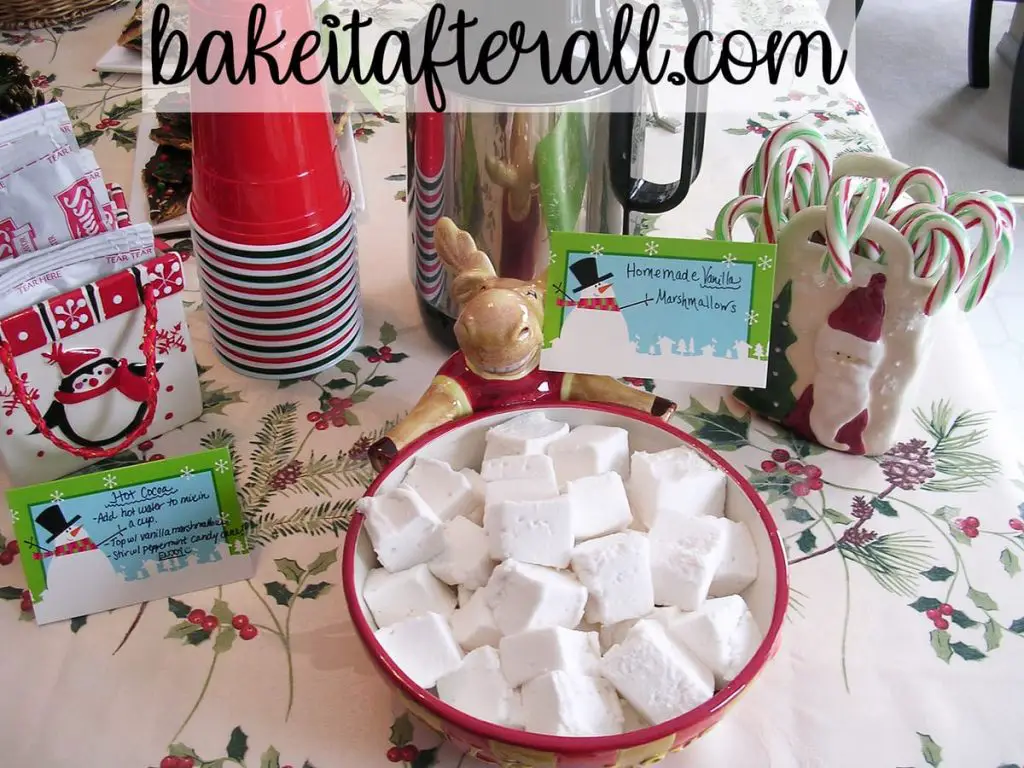
I have given these in holiday goodie baskets and care packages before with some packets of hot chocolate.
I have also served them in a mini hot chocolate bar at our Holiday Open House Party. At that party, I had trays of the Toasted Coconut Chocolate Covered Marshmallows out like candy.
Gluten Free Option
These marshmallows are naturally gluten free!
Looking for More Recipes for Holiday Gifting?
Check out these homemade edible holiday gifts:
Triple Chocolate Biscotti
Poppy Seed Bread
Pineapple Carrot Bread
Santa's Whiskers Cookies
Espresso Chocolate Chip Shortbread Cookies
Coconut Macaroons
Chocolate Cracker Candy
Oreo Truffles
Cookie Dough Truffles
📖 Recipe

Homemade Marshmallows
Ingredients
- water
- 3 cups granulated sugar
- 1 ¼ cups light corn syrup
- ½ teaspoon salt
- 4 envelopes unflavored gelatin
- 1 tablespoon vanilla extract
- powdered sugar for slicing
Instructions
- In a large saucepan over medium-high heat, combine ¾ cup water, sugar, corn syrup, and salt.3 cups granulated sugar, 1 ¼ cups light corn syrup, ½ teaspoon salt
- Meanwhile, in the bowl of a stand mixer (or in a large mixing bowl), place ¾ cup water and sprinkle gelatin on top; let plump.4 envelopes unflavored gelatin
- Insert candy thermometer into sugar mixture, making sure not to touch it to the sides or bottom of the pan. Bring sugar mixture to a boil and let keep rolling boil until mixture passes 235°F, about 3-5 minutes.
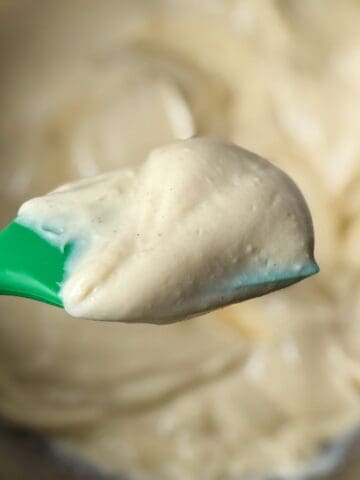
- With mixer on low, carefully pour sugar mixture into mixer bowl and slowly raise beater to high speed. Be careful at this step because if you go up too high the marshmallow mixture will start spraying everywhere.
- Beat sugar mixture on high for 5 minutes and then add vanilla. If you'd like to add other flavors here like peppermint, cocoa powder for chocolate, or color, add now.1 tablespoon vanilla extract
- Continue beating mixture an additional 5 minutes.
- Meanwhile, oil a 13 x 9-inch pan for large marshmallows or two 10 x 10-inch pans for small marshmallows. Dust the pan with powdered sugar liberally.
- When done beating, pour sugar mixture into pan(s), smooth top and tap to release extra air.
- Leave on counter for at least 3 hours or overnight to form.
- Generously sprinkle working surface with powdered sugar, turn out marshmallow mixture, generously sprinkle with powdered sugar, and cut as desired, lightly coating marshmallow shapes with powdered sugar to avoid sticking.
- If desired, dip the marshmallows first in melted chocolate and then into toasted coconut. Let harden in the fridge for a few hours or overnight.

Melissa says
Homemade marshmallows are one of my favorite things to make! They are so addicting!
Maria says
The coconut took these over the top! YUM!
Bob says
Oh man, those look wicked good! I want to make my own marshmallows, but it's just not in the cards in this tiny, stand mixer free kitchen.
Kathleen says
These look off the hook fab-u-lous!! Great blog. I'm happy I found you!
Kerstin says
I'm drooling! The chocolate and coconut just take these over the top! I haven't made homemade marshmallows yet, but they are on my list.
Paula says
ohh gotta try these!!! Heard about them at work today!!!
PECHE6337 says
Thank you!!