
These Easy Chocolate Frogs are solid chocolate and ideal for a Harry Potter Birthday Party or Halloween. They can also be used for an amphibian or reptile party.
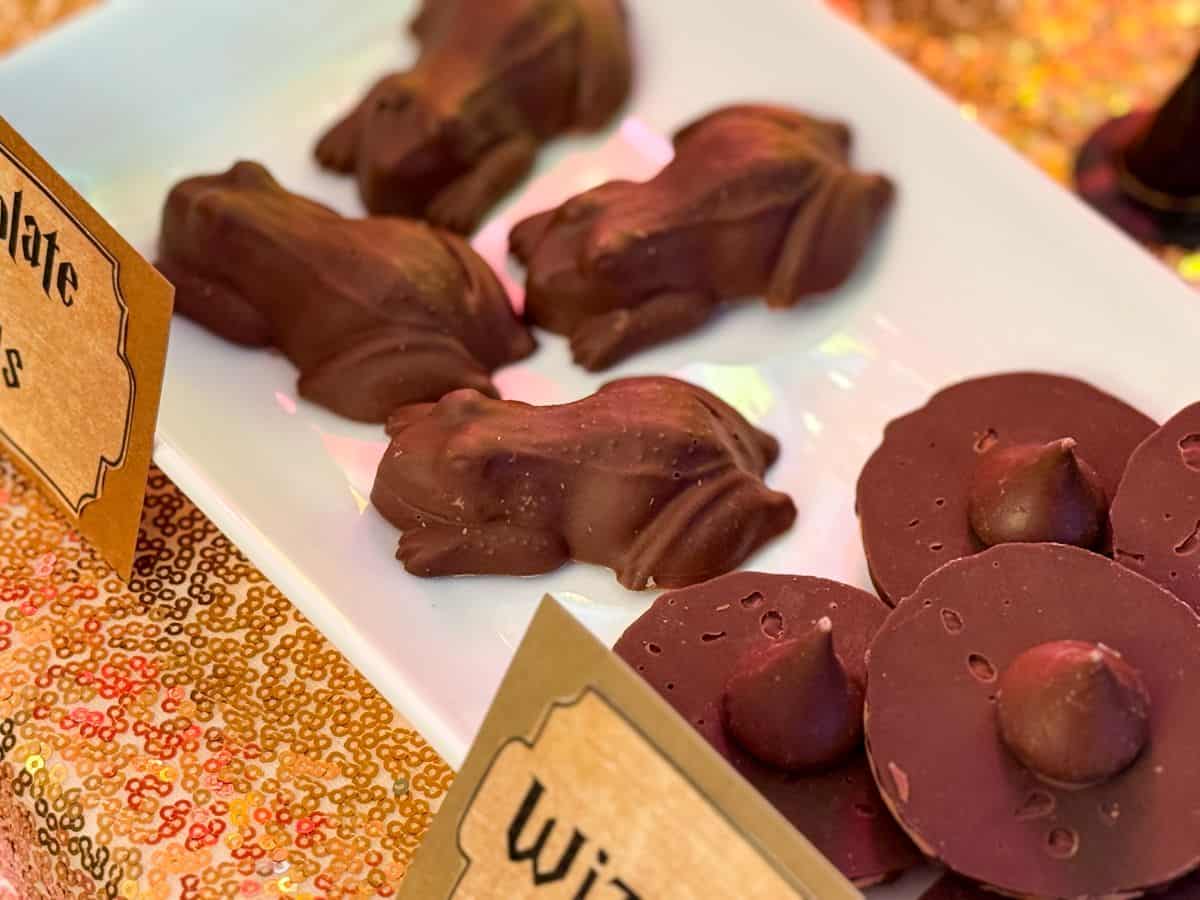
For my daughter's Harry Potter Birthday Party, she asked for chocolate frogs after seeing them on Pinterest. I thought they were so cool, and I knew my nephews would flip for them.
I made them with milk chocolate. Because I filled the mold completely, the frogs were solid chocolate. I didn't really expect our family members, especially the adults, to want to eat this much chocolate, especially with so many other treats on the dessert table, so I only made 8.
I was wrong about that; these ended up being the first to go! I guess it's hard to pass up a solid chocolate frog.
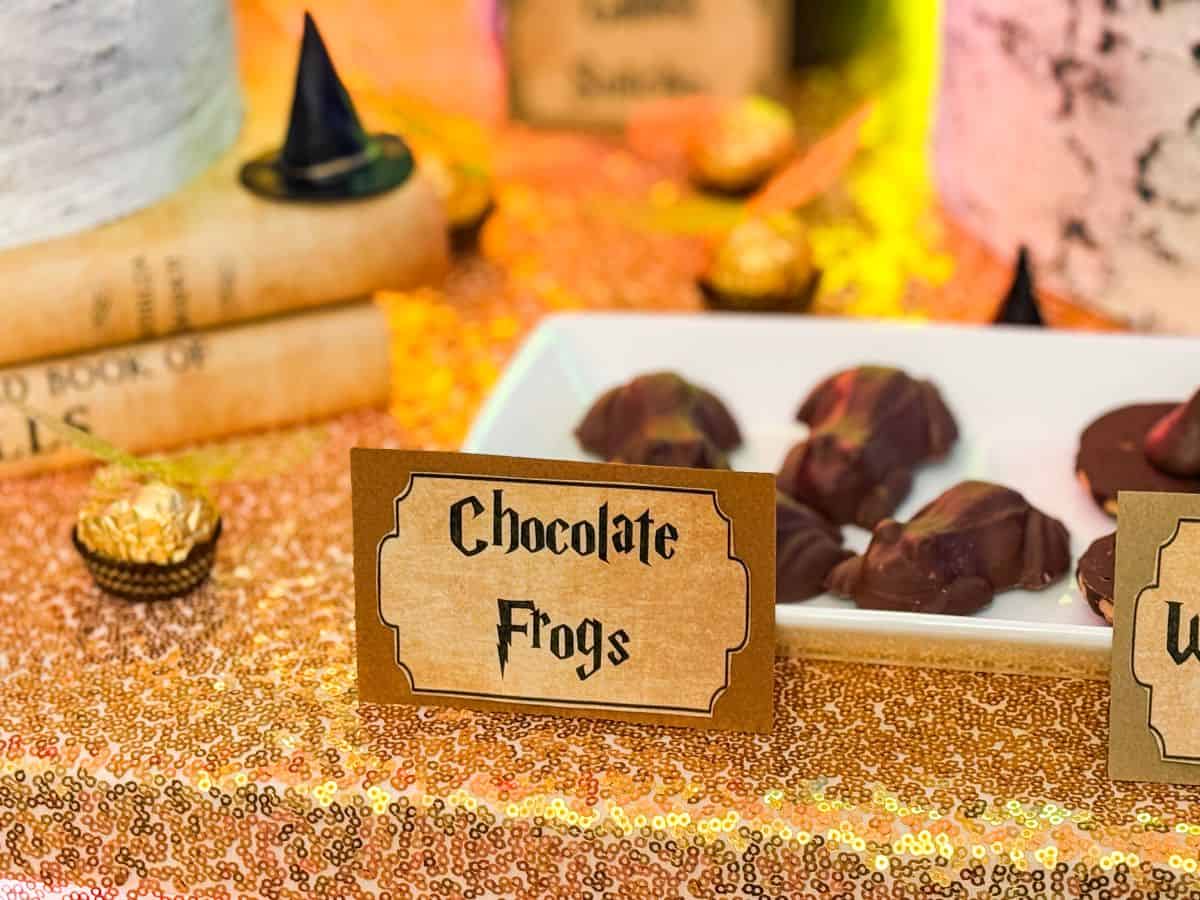
I was pleasantly surprised how easy these were to make. The mold has some nice details like little bumps on the frog's skin, and the chocolate comes out of the mold very easily.
I would love to experiment with different colors and decorations on these frogs in the future!
PLANNING A HARRY POTTER PARTY? CHECK OUT ALL THE PARTY DECOR DETAILS AND RECIPES HERE!
Jump to:
Supplies
- silicone frog molds
- rimmed baking sheet
- chocolate fountain chocolate, Candy Melts or melting wafers
- 2-cup glass measuring cup
- small silicone spatula
- offset spatula
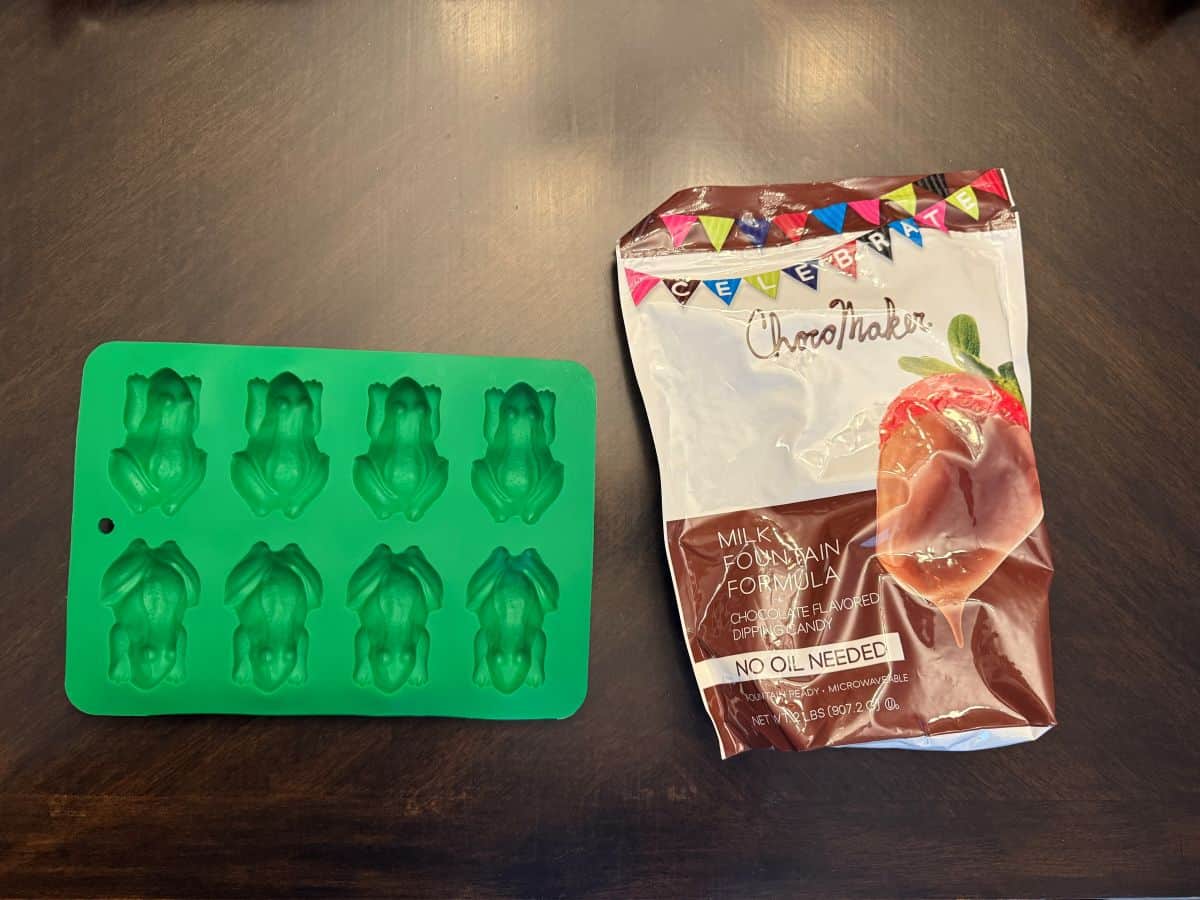
I like to use chocolate that is formulated for use in a chocolate fountain. Years ago, it was recommended to me by a friend who owns a home bakery. The chocolate melts really smoothly and is easier to work with. I found this brand at Walmart.
If you want, you can use Candy Melts, melted chocolate bars or even chocolate chips. I find that Ghirardelli brand chocolate chips melt nicely, and I use them for ganache.
Candy Melts come in all colors, so it would be fun to make different color frogs or even white. I do not recommend trying to color white chocolate. If you want a color, purchase that color in Candy Melts.
If you really want a custom color that you cannot find in Candy Melts, make sure your food coloring is fat soluble (oil-based) or a powder, not a water-based food coloring. It may cause the white chocolate to seize.
Melt the Chocolate
Although I do not show this in the photo, I recommend placing the mold on a baking sheet that will fit in your refrigerator. I had to transfer mine after filling with chocolate, which is not ideal.
Place the chocolate in a glass measuring cup. Microwave according to the package directions. This usually involves melting in 30-second increments, stirring after each one, until just melted.
Fill the Mold
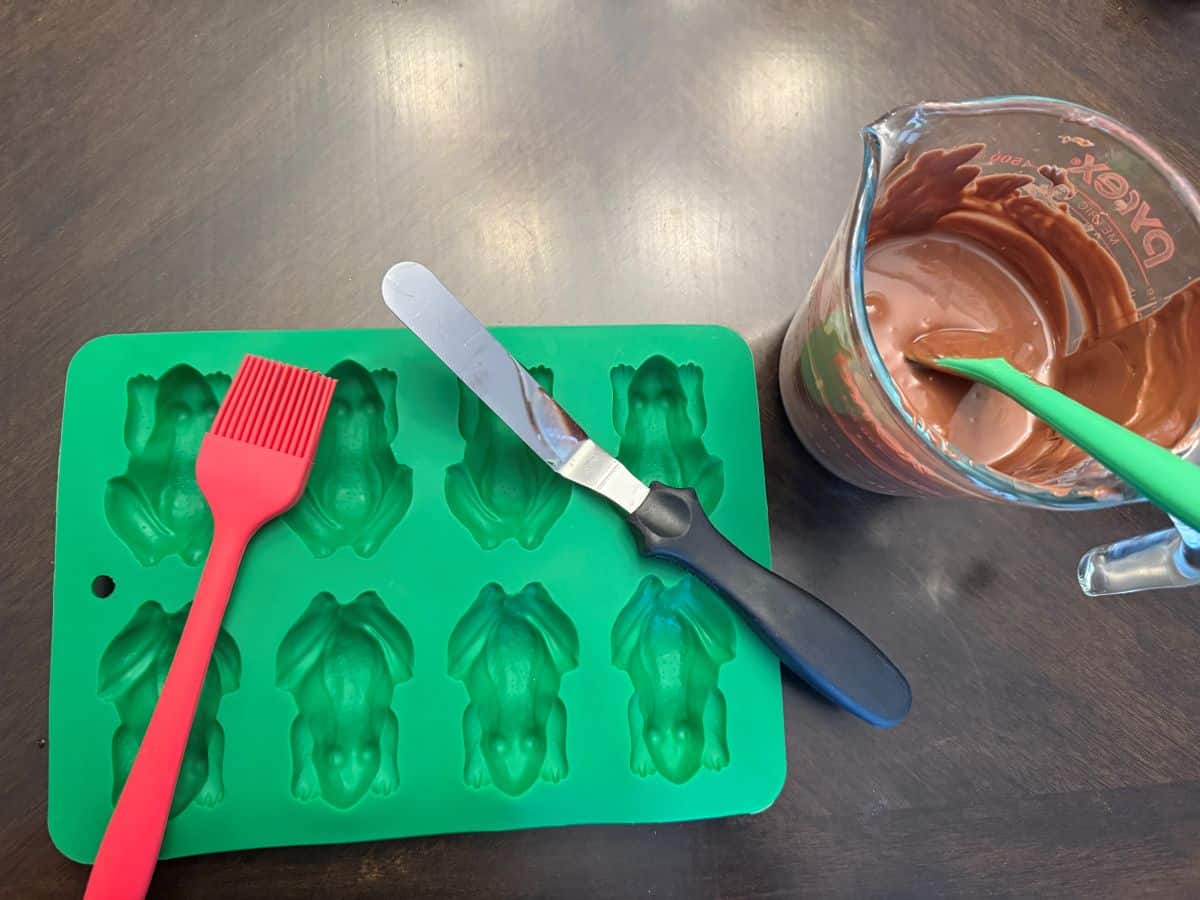
Once the chocolate is smooth with no remaining solid chocolate, carefully pour it into the mold. Use a small silicone spatula to guide the chocolate into the crevices of the mold, pushing down on the chocolate to make sure there are no air bubbles.
If you have trouble getting the chocolate into the crevices, you can use a silicone pastry brush initially to paint the chocolate in the mold before filling.
Once all of the frogs have been filled, use a small silicone spatula and offset spatula to scrape the mold and remove excess chocolate around the frogs.
Take extra time to really clean up the edges where the chocolate meets the silicone because you want a sharp edge at the bottom of the frog.
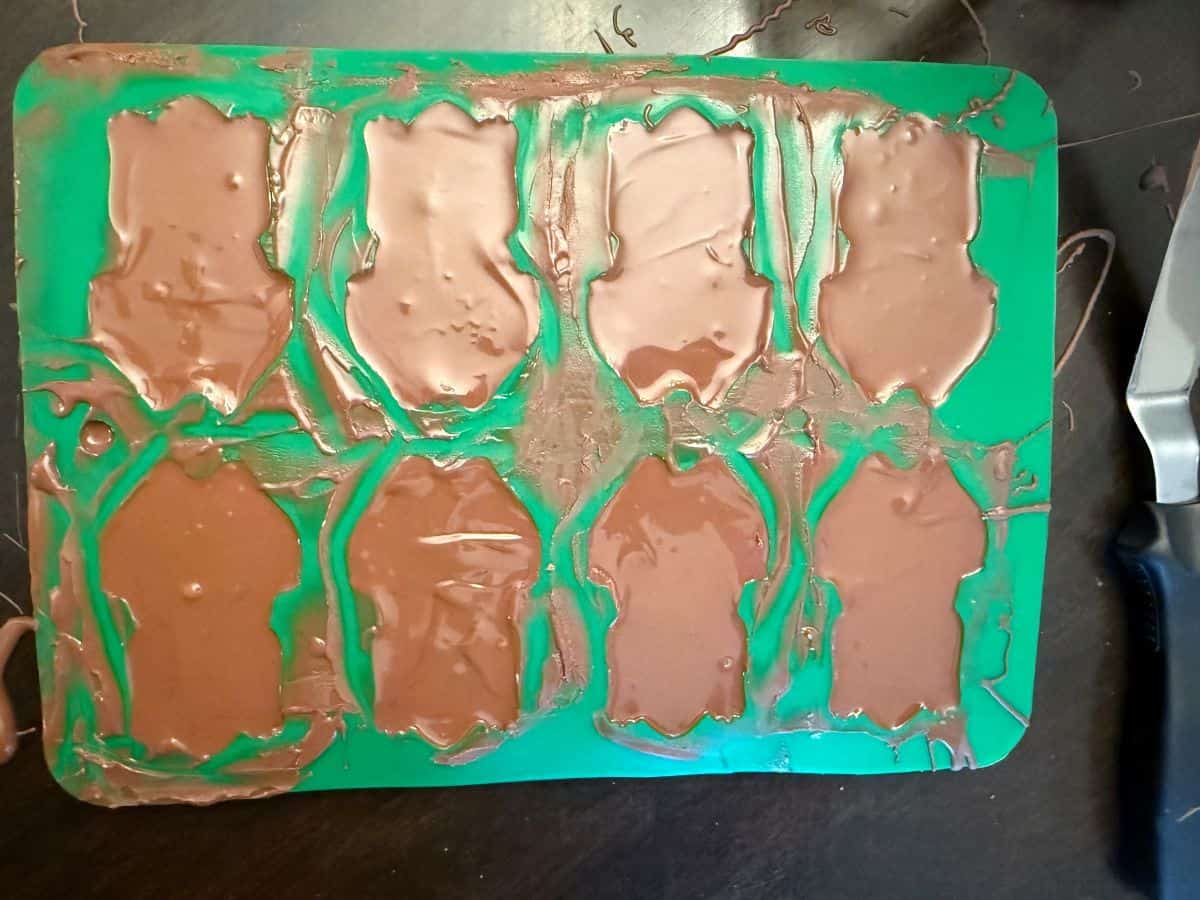
Place the baking sheet with the mold in the refrigerator. Chill until the chocolate is completely set, at least 2 hours but longer is fine.
Unmold the Chocolates
Carefully press up on the silicone from underneath a frog, pressing in different areas to loosen the entire top surface of the frog. Repeat with the remaining frogs.
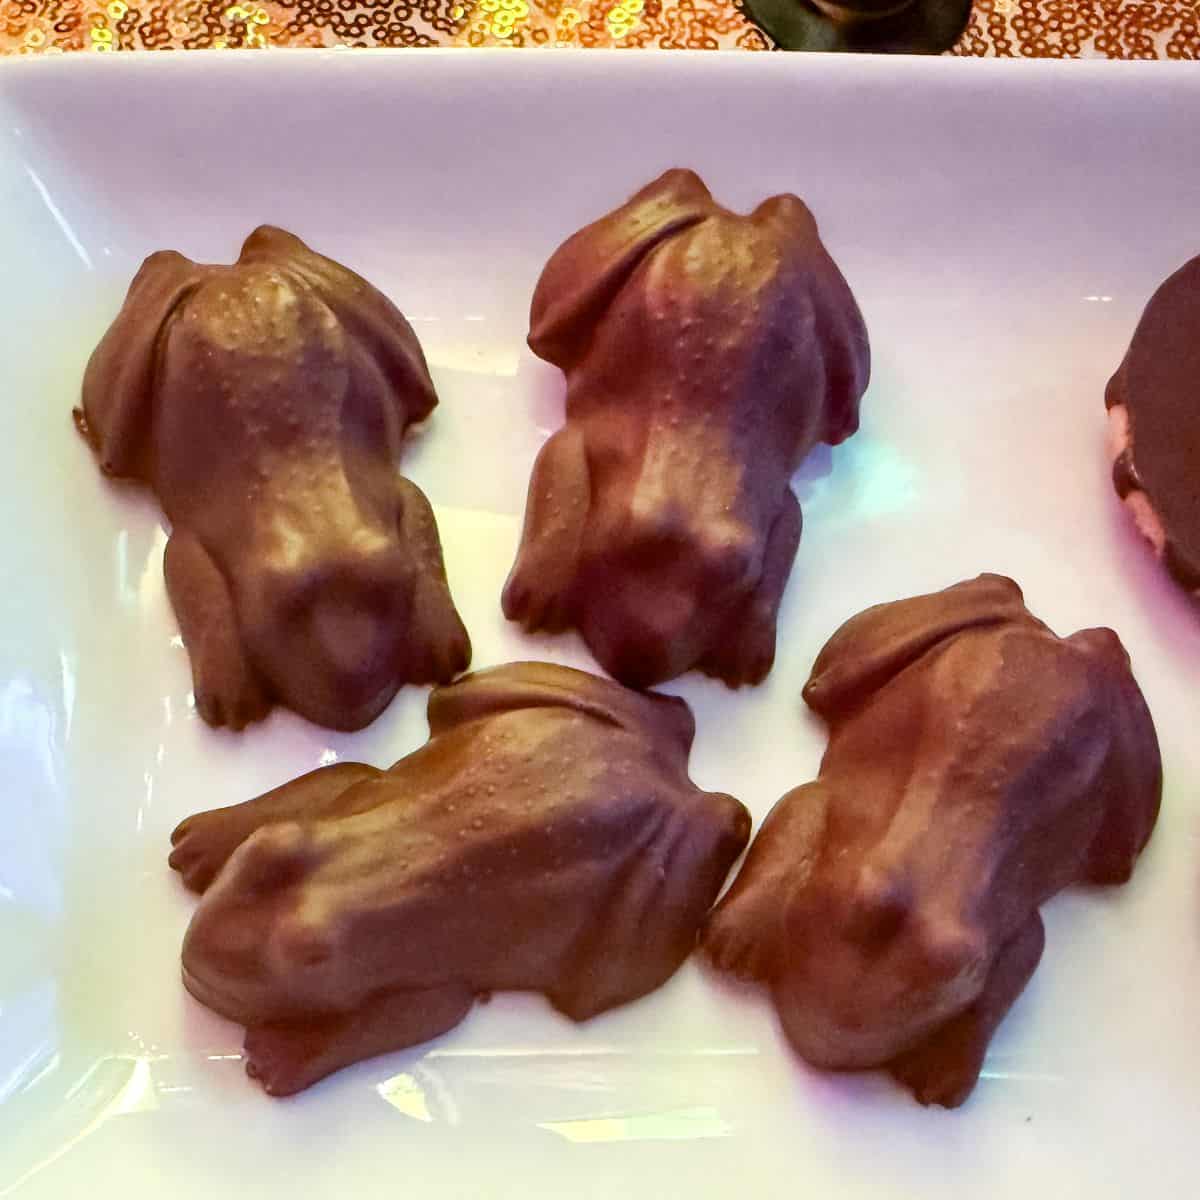
Because I chose milk chocolate to go with the color scheme for a Harry Potter Party, I just kept the frogs undecorated. Depending on the color chocolate you use, you could paint them with gold or colored luster dust, add gold leaf, or sprinkle them with edible glitter. There are a lot of options for decorations for the frogs.
Storage
Store the chocolate frogs in an airtight container in the refrigerator or at room temperature until ready to serve.
Gluten Free Option
These frogs are naturally gluten free. Check the packaging of your chocolate for possible gluten contaminants.
📖 Recipe
Easy Chocolate Frogs
Equipment
- 1 silicone frog mold
- 1 rimmed baking sheet
- 1 offset spatula
Ingredients
- 1½ cups chocolate fountain chips, Candy Melts or melting wafers
- metallic or colored luster dust (optional)
Instructions
- Place the mold on a baking sheet that will fit in your refrigerator.
- Place the chocolate in a glass measuring cup. Microwave according to the package directions. This usually involves melting in 30-second increments, stirring after each one, until just melted.1½ cups chocolate fountain chips, Candy Melts or melting wafers
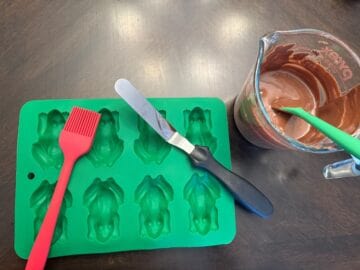
- Once the chocolate is smooth with no remaining solid chocolate, carefully pour it into the mold. Use a small silicone spatula to guide the chocolate into the crevices of the mold, pushing down on the chocolate to make sure there are no air bubbles. If you have trouble getting the chocolate into the crevices, you can use a silicone pastry brush initially to paint the chocolate in the mold before filling.
- Once all of the frogs have been filled, use a small silicone spatula and offset spatula to scrape the mold and remove excess chocolate around the frogs. Take extra time to really clean up the edges where the chocolate meets the silicone because you want a sharp edge at the bottom of the frog.
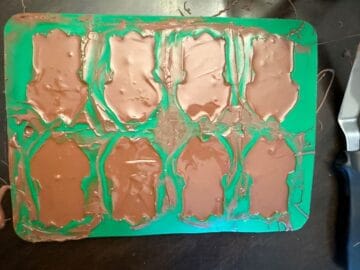
- Place the baking sheet with the mold in the refrigerator. Chill until the chocolate is completely set, at least 2 hours but longer is fine.
- To unmold, carefully press up on the silicone from underneath a frog, pressing in different areas to loosen the entire top surface of the frog. Repeat with the remaining frogs.
- Optional: dust the frogs with metallic or colored luster dust or sprinkle with edible glitter.
- Store the chocolate frogs in an airtight container in the refrigerator or at room temperature until ready to serve.
Leave a Reply