
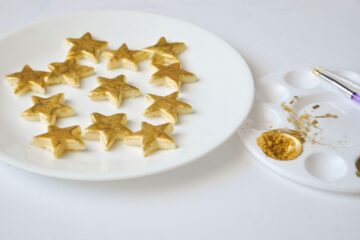
This step-by-step tutorial shows you how to make Gold Painted Cookies with edible gold luster dust. These cookies add elegance and style to dessert tables, cookie trays, and more.
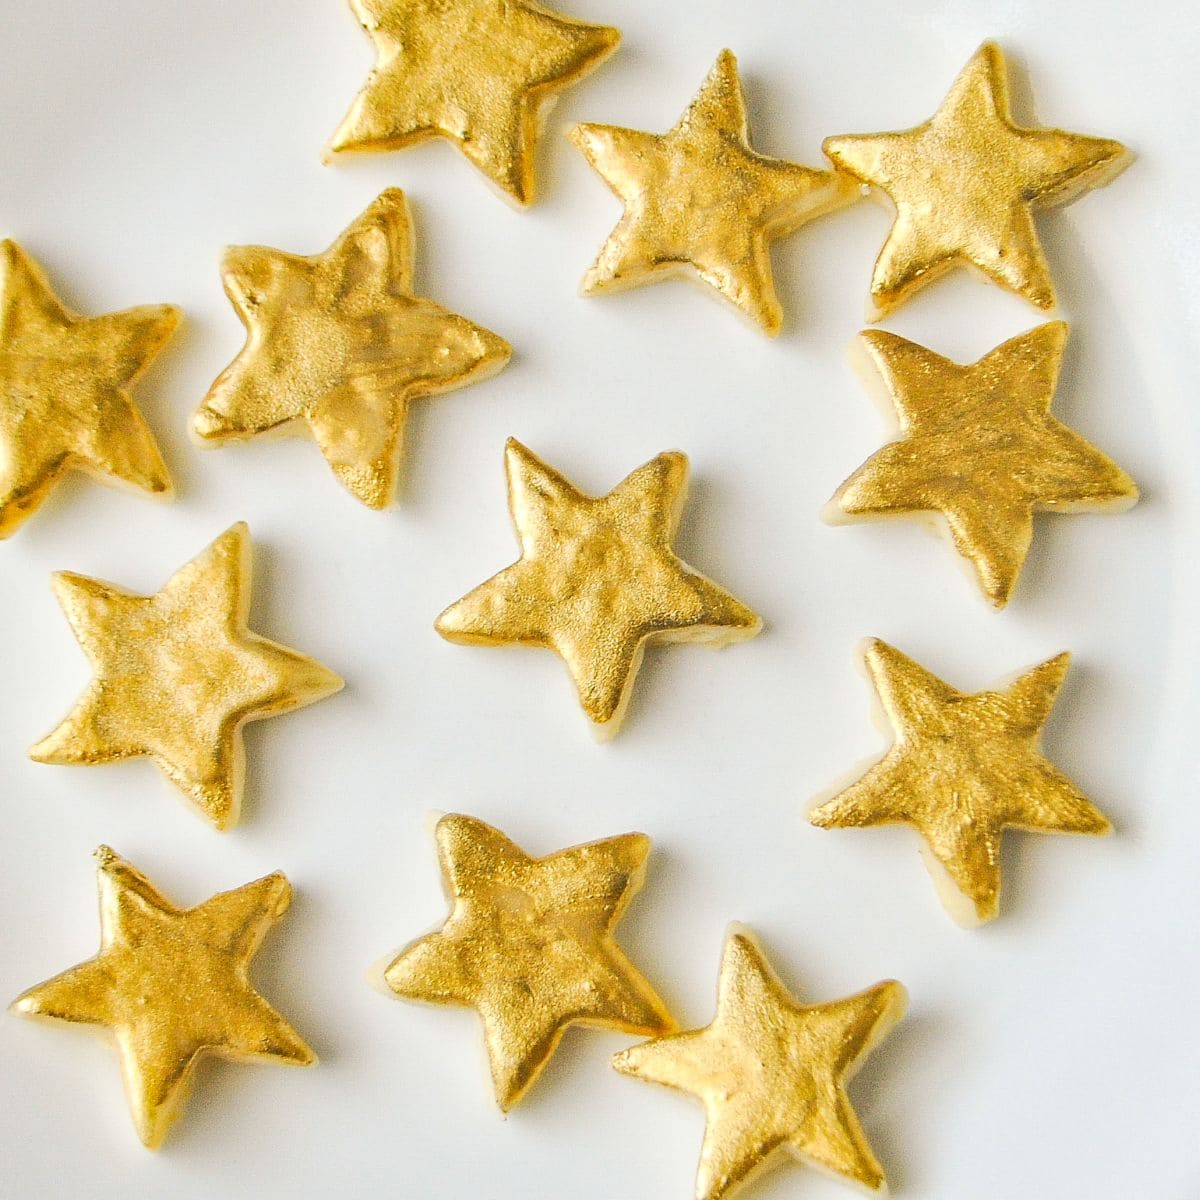
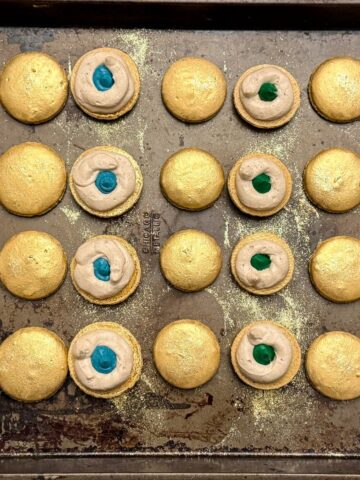
After discovering edible gold luster dust, I have tried many applications, like on fondant for this Rainbow Unicorn Cake, on royal icing for these Unicorn Cookies, and even on Nut Free Macarons.
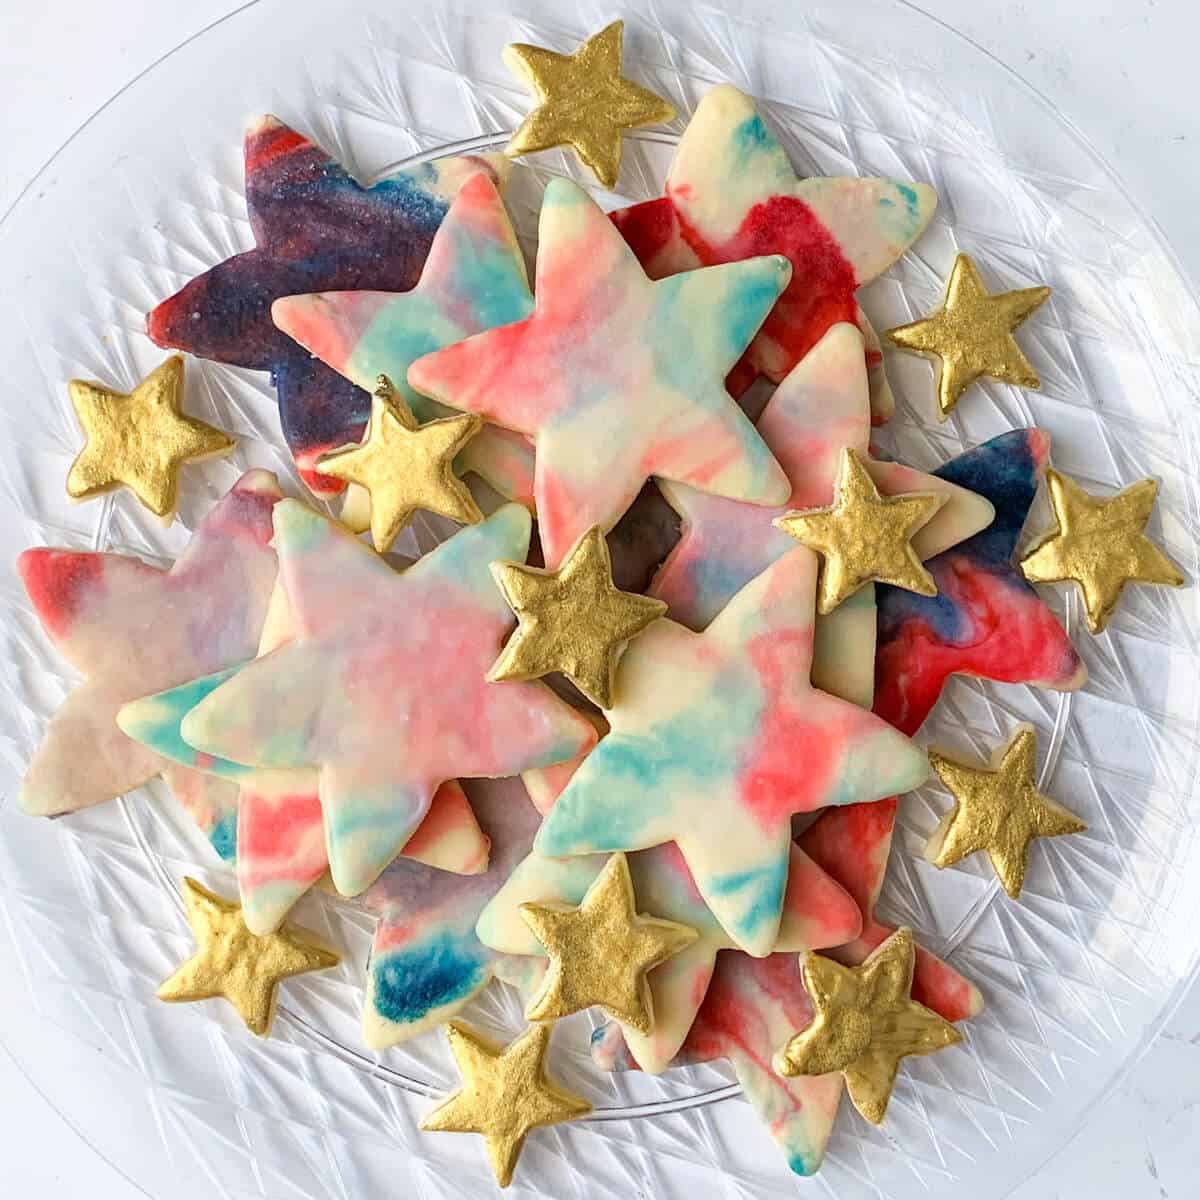
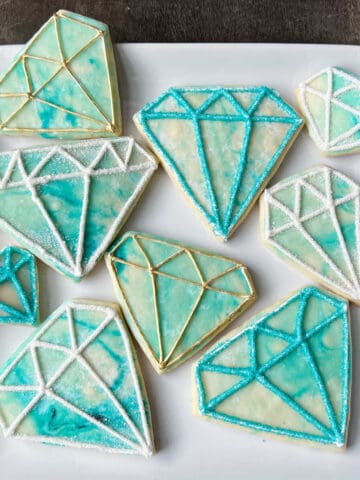
Here, I provide a step by step tutorial for how to paint cookies using a simple, egg free icing glaze that is not royal icing. I have previously shown how to make Painted Watercolor Cookies using a similar method.
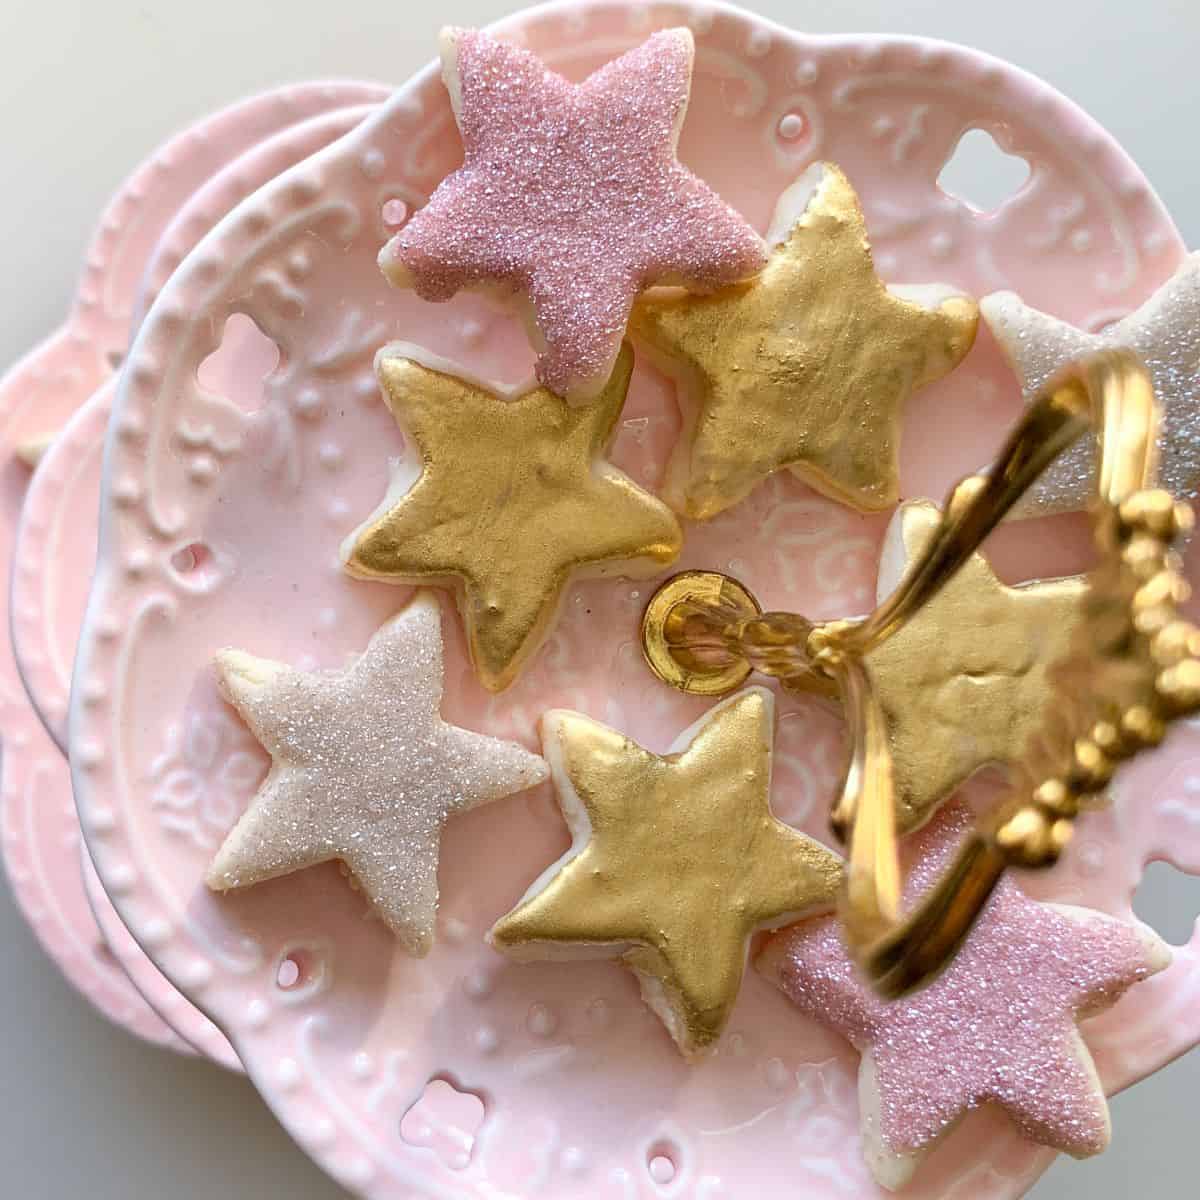
The cookies can be left plain gold, like I did for my oldest daughter's Golden Birthday Party.

Another option is to add some minimal royal icing designs on top, like with these Snowflake Cookies that I made for a Nutcracker Birthday Party.
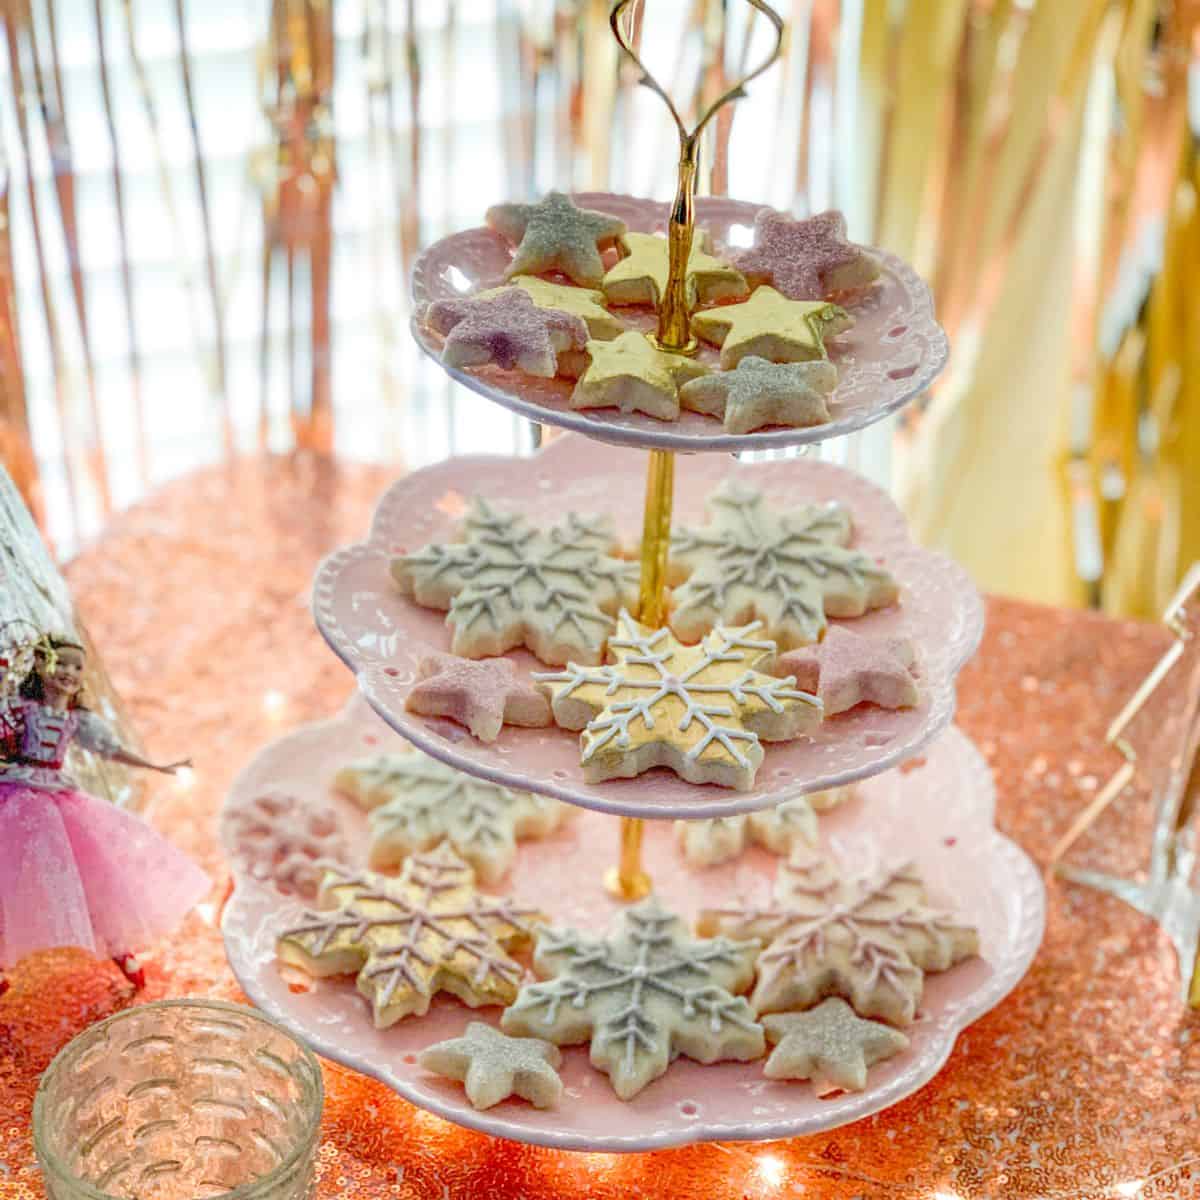
This is a simple technique that elevates a basic cookie to an elegant edible decoration!
Jump to:
Supplies
- your favorite sugar or shortbread cookies
- simple cookie icing
- edible gold luster dust
- Paint palette dedicated to food
- Food grade paintbrush
- Disposable transfer pipette
- Everclear or vodka
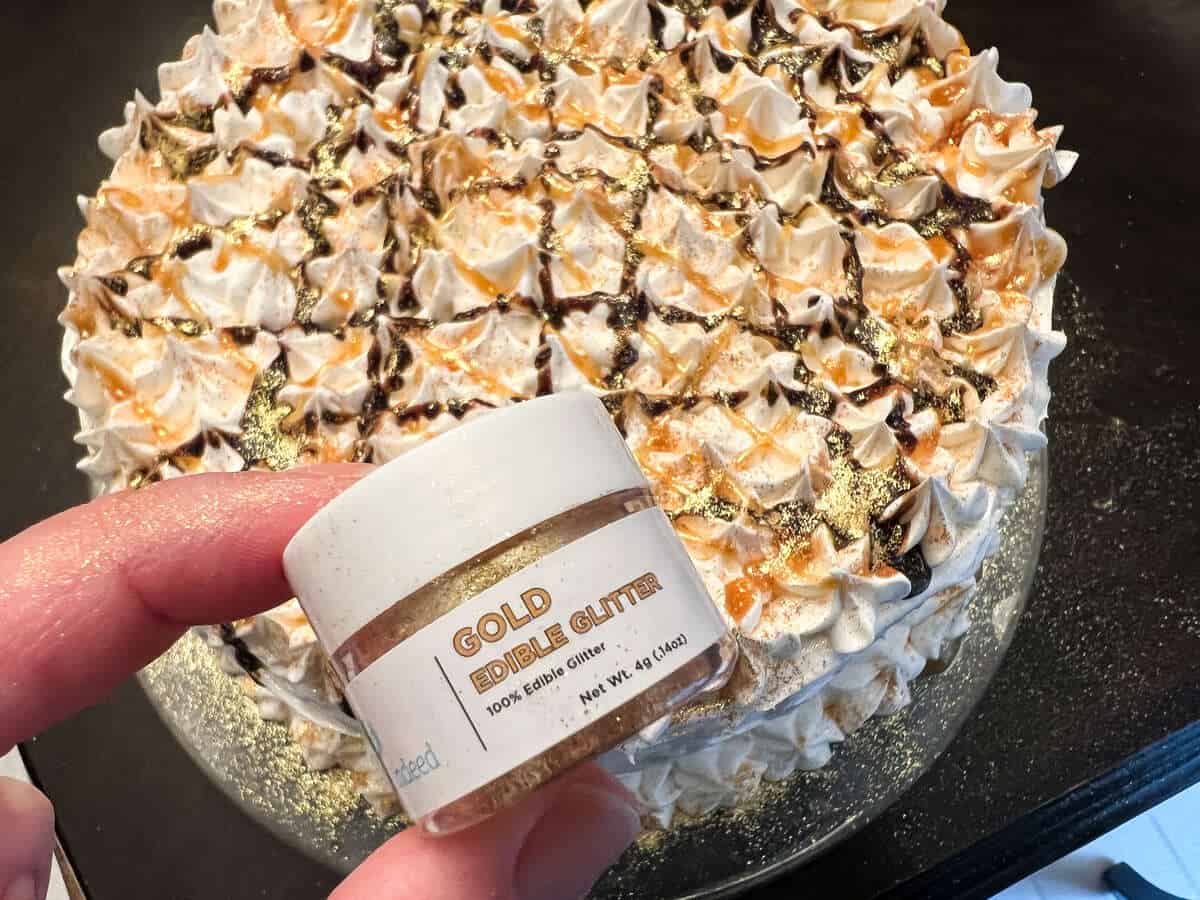
- edible gold glitter, optional
I buy my gold luster dust locally, but I have heard good things about the gold luster dust from Truly Mad Plastics.
Ice the Cookies
I like to use this shortbread cookie recipe with simple vanilla cookie glaze. The cookie base is not overly sweet, so when the icing is added, it is the perfect amount of sweetness.
You can use any flavor of extract you want: vanilla, almond, rum, or another flavor.
If you prefer a sugar cookie rather than shortbread, you can use your favorite cut out sugar cookie recipe.
Mix up the cookie glaze and either dip the cookies, top side down, into the glaze or brush it on using a pastry brush.
Use a toothpick or scribe tool to pop any bubbles.
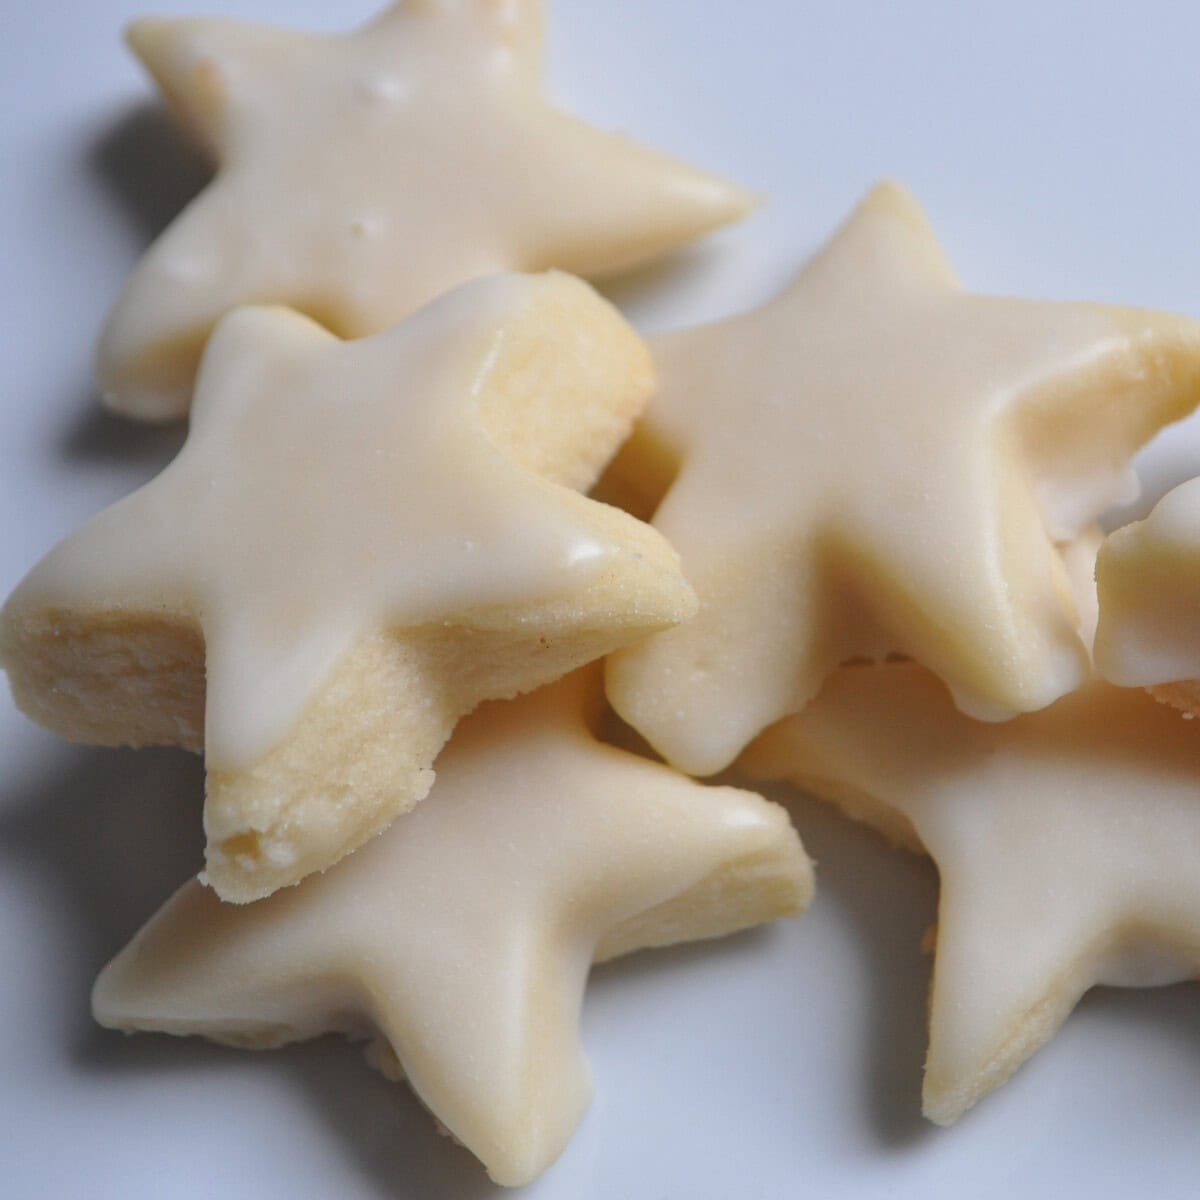
Allow the glaze to set at room temperature. You will want the glaze to be completely dry before painting with the gold suspension.
Make the Gold Suspension
Tap some edible gold luster dust into a well of a food-dedicated paint palette.
Pour some Everclear or vodka into a small bowl. I exclusively use Everclear due to the high alcohol content and, therefore, quicker evaporation. I have had some pitting issues when using vodka or clear extracts.
Use a disposable transfer pipette to add a few drops of alcohol to the well with the luster dust.
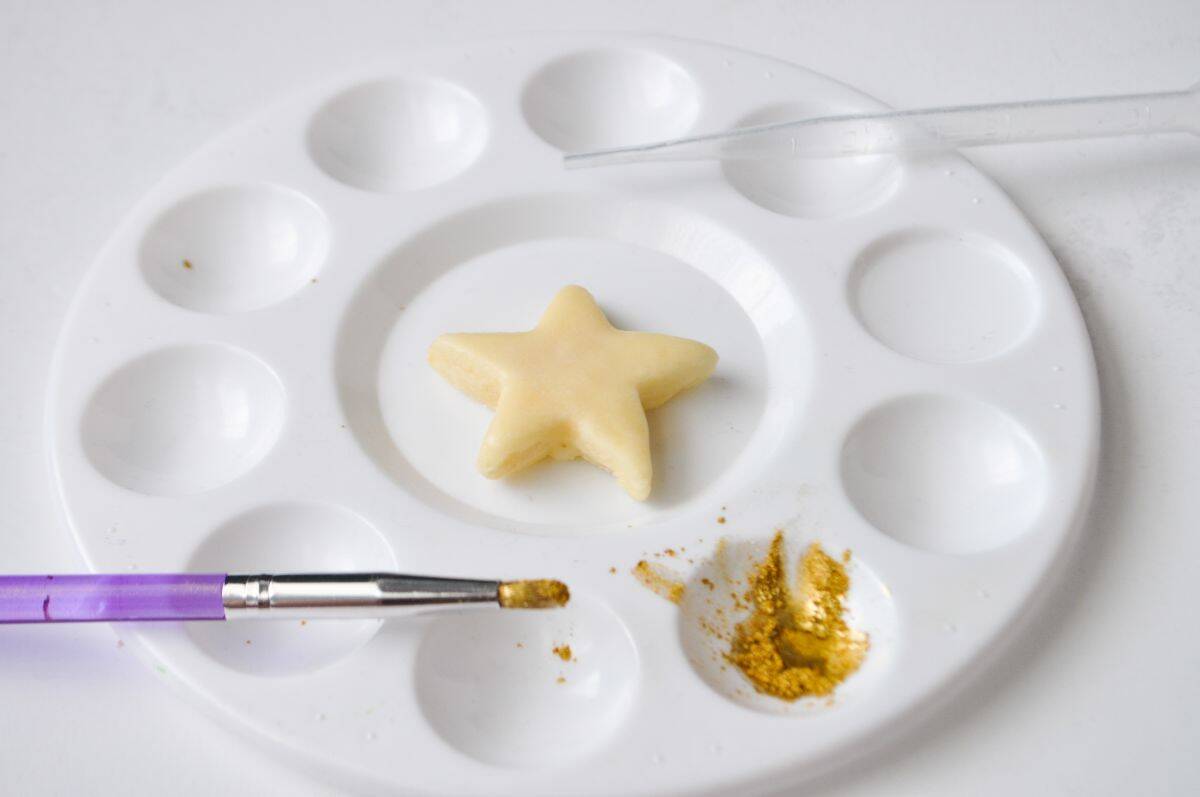
Stir it around with a food grade paintbrush to make the liquid gold suspension. You may need to add more dust or more alcohol to achieve the right consistency.

Paint the Cookies
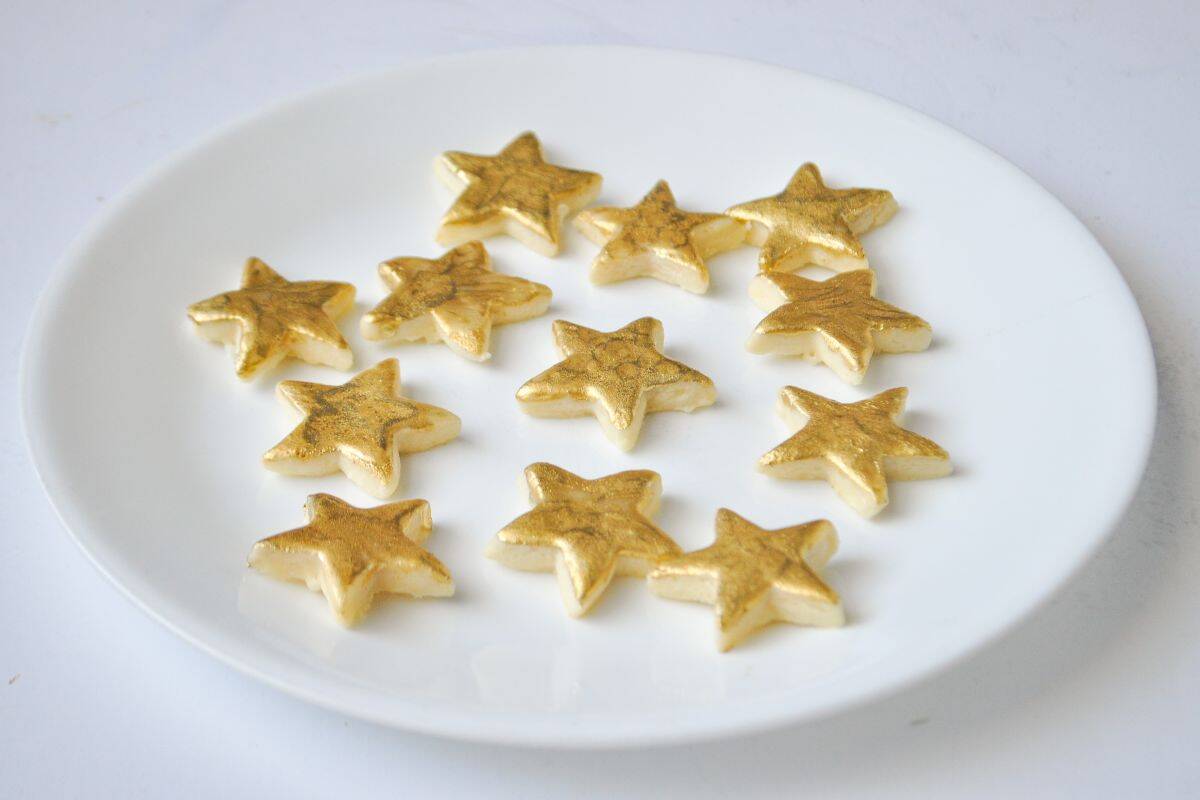
Dip the paintbrush into the suspension and then quickly brush it across the surface of the iced cookie.
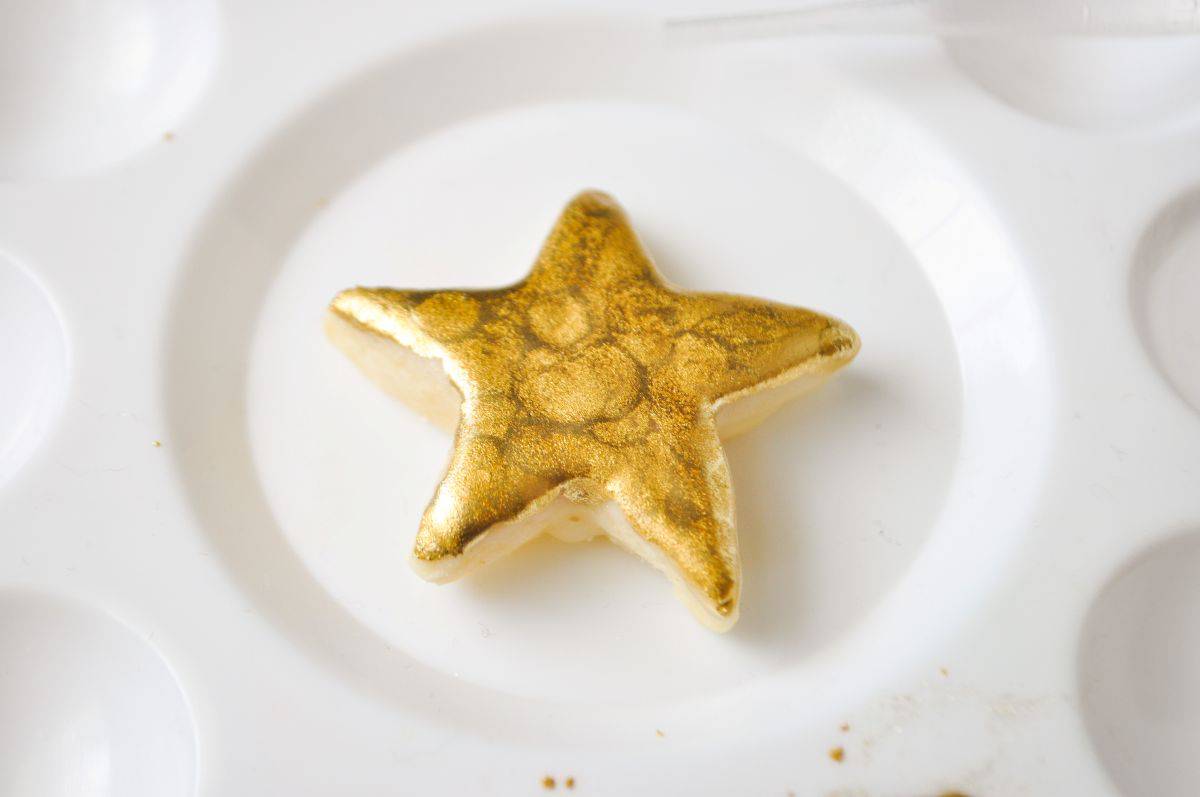
Try to use long brush strokes and work fast to achieve a more uniform look. The alcohol evaporates quickly.
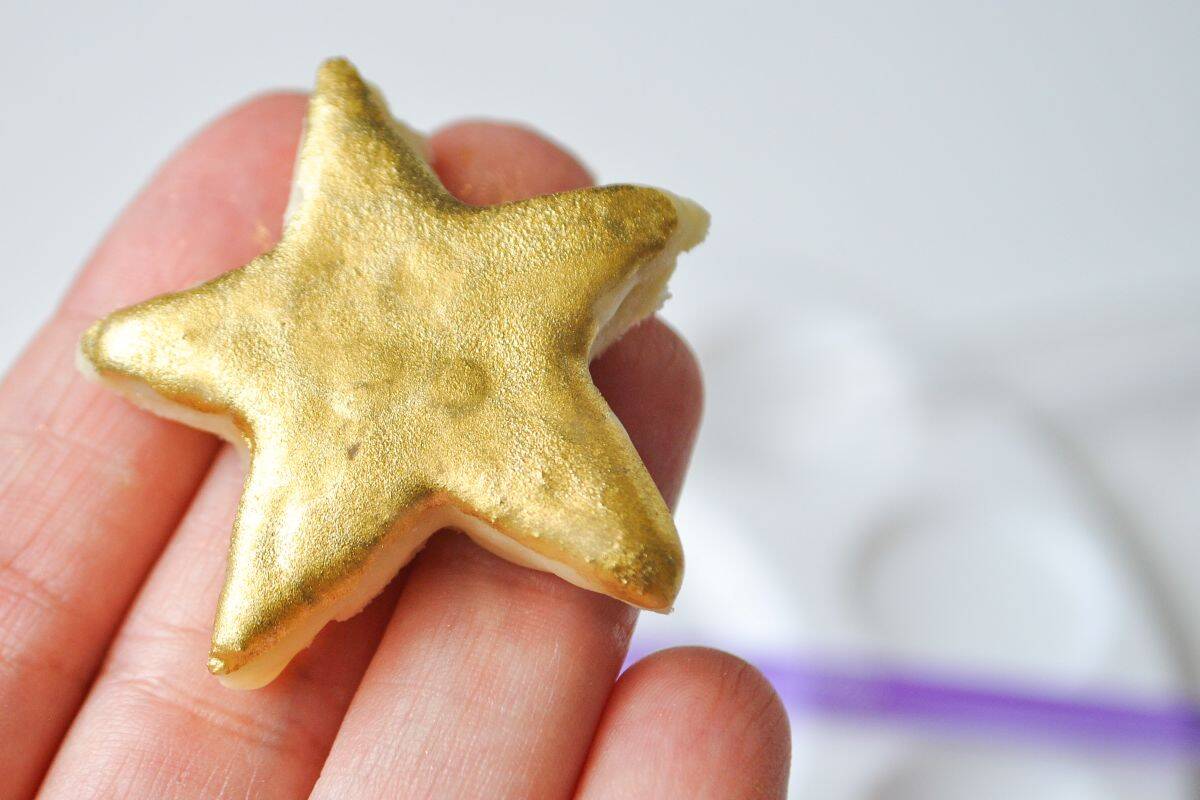
As you paint the other cookies, you may need to add more alcohol to the dust if the liquid starts to become too thick or clumpy. Make more of the suspension as needed to paint all of the cookies.
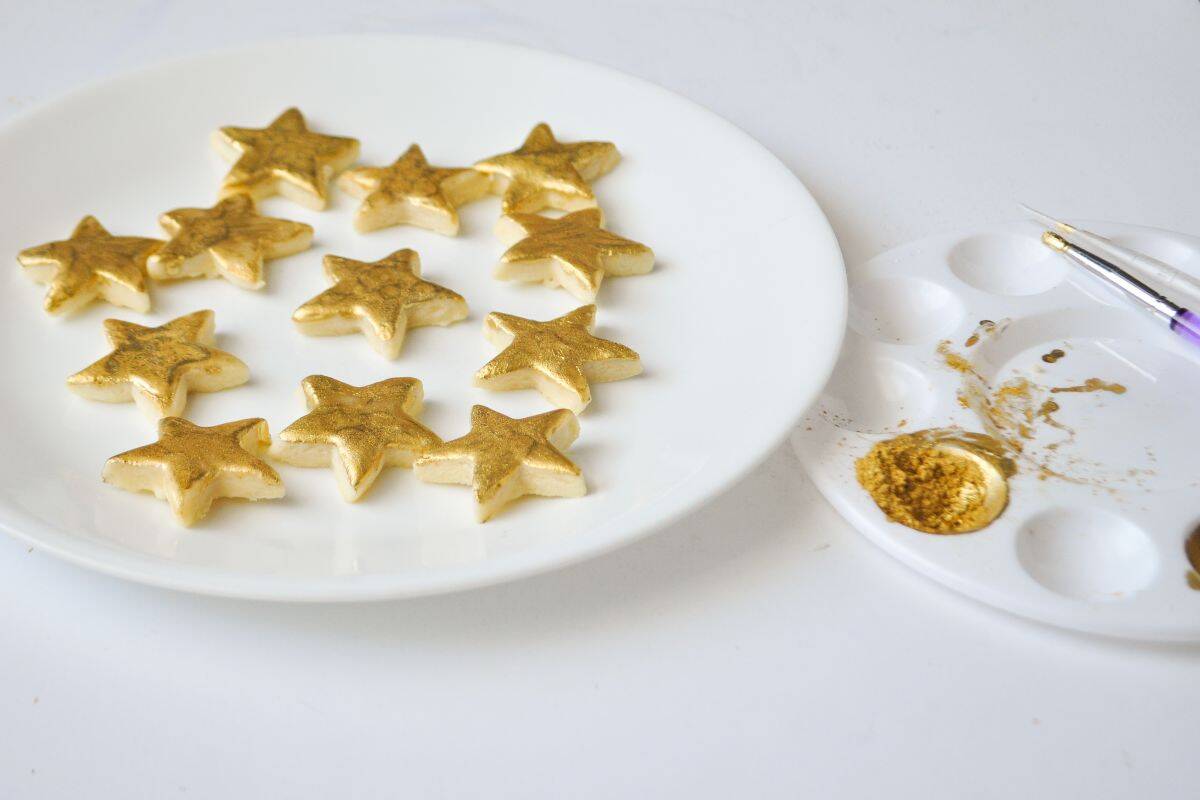
As an optional last step, sprinkle with edible gold glitter for an extra sparkly look!
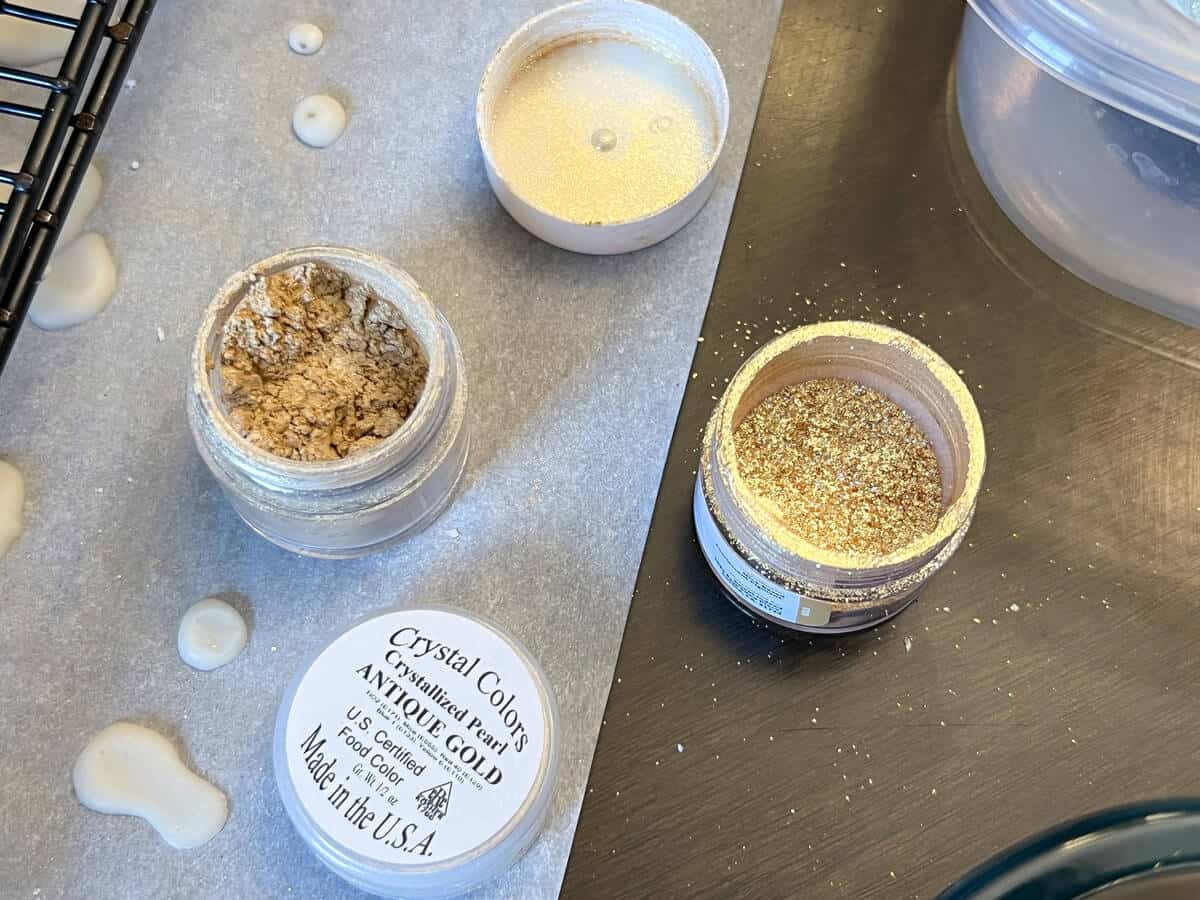
I used this glitter for my daughter's Caramel Mocha Ice Cream Cake on her Golden Birthday and now find any excuse to add it to other desserts, including on Gold Painted Macarons. It's so sparkly and beautiful!
Storage
Store the cookies in single layers separated by wax or parchment paper in an airtight container at room temperature.
Gluten Free Option
Use your favorite gluten free sugar cookie or shortbread cookie recipe. I typically use a gluten free measure for measure flour, like Bob's Red Mill, in place of all purpose flour in cookie recipes. The resulting cookies are more crumbly than those made with all purpose flour, but they taste the same.
📖 Recipe

Gold Painted Cookies
Equipment
- Paint palette dedicated to food
- food grade paintbrush
- disposable transfer pipette
- toothpick or scribe tool
Ingredients
- your favorite sugar or shortbread cookies
For the Cookie Icing:
- 2 cups powdered sugar
- ¼ cup milk
- ½ teaspoon extract of choice (vanilla, almond, etc.)
For Painting:
- edible gold luster dust
- Everclear or vodka
- edible gold glitter (optional)
Instructions
Ice the Cookies:
- In a small bowl, mix together the icing ingredients, taking care not to introduce too many bubbles. If necessary, add more milk or powdered sugar to achieve a dippable consistency2 cups powdered sugar, ½ teaspoon extract of choice, ¼ cup milk
- Cover the bowl with a damp paper towel to avoid crusting.
- Place a wire rack over a parchment or waxed paper lined cookie sheet or work surface. Gently stir the icing to make sure it's fully mixed.
- Dip the top surface of each cookie into the icing and place the cookies on the wire rack to allow excess icing to drip off. Alternatively, use a silicone pastry brush to apply the icing to the surface of each cookie. Use a toothpick or scribe tool to pop any bubbles on the surface of the icing immediately after dipping.
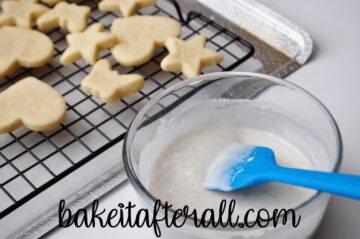
- Allow the glaze to set at room temperature. You will want the glaze to be completely dry before painting with the gold suspension. Store the cookies in a single layer in an airtight container at room temperature if painting will be done later.
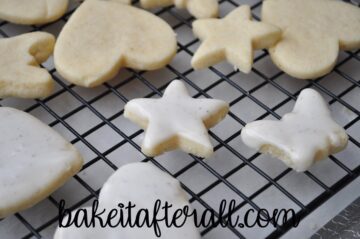
Make the Gold Suspension:
- Tap some edible gold luster dust into a well of a food-dedicated paint palette.
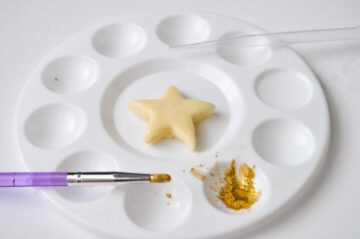
- Pour some Everclear or vodka into a small bowl.
- Use a disposable transfer pipette to add a few drops of alcohol to the well with the luster dust.
- Stir it around with a food grade paintbrush to make the liquid gold suspension. You may need to add more dust or more alcohol to achieve the right consistency.

Paint the Cookies
- Dip the paintbrush into the suspension and then quickly brush it across the surface of the iced cookie. Try to use long brush strokes and work fast to achieve a more uniform look. The alcohol evaporates quickly. As you paint the other cookies, you may need to add more alcohol to the dust if the liquid starts to become too thick or clumpy. Make more of the suspension as needed to paint all of the cookies.
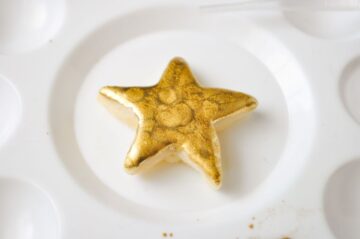
- As an optional last step, sprinkle with edible gold glitter for an extra sparkly look.
- Store the cookies in single layers separated by wax or parchment paper in an airtight container at room temperature.

Leave a Reply