
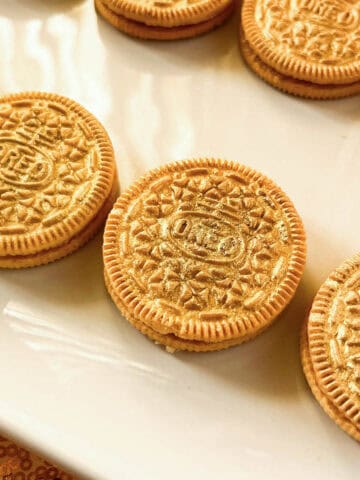
These Geode Oreo Cookies are painted with edible gold and have blue rock sugar geodes with a gold painted border. They are an easy, no-bake treat that can be displayed on a dessert table for a gem or geode birthday party.

For my oldest daughter's 12th birthday, she wanted a Geode and Gemstone Birthday Party. I saw some Geode Oreos on Pinterest and thought we could put our own spin on them.
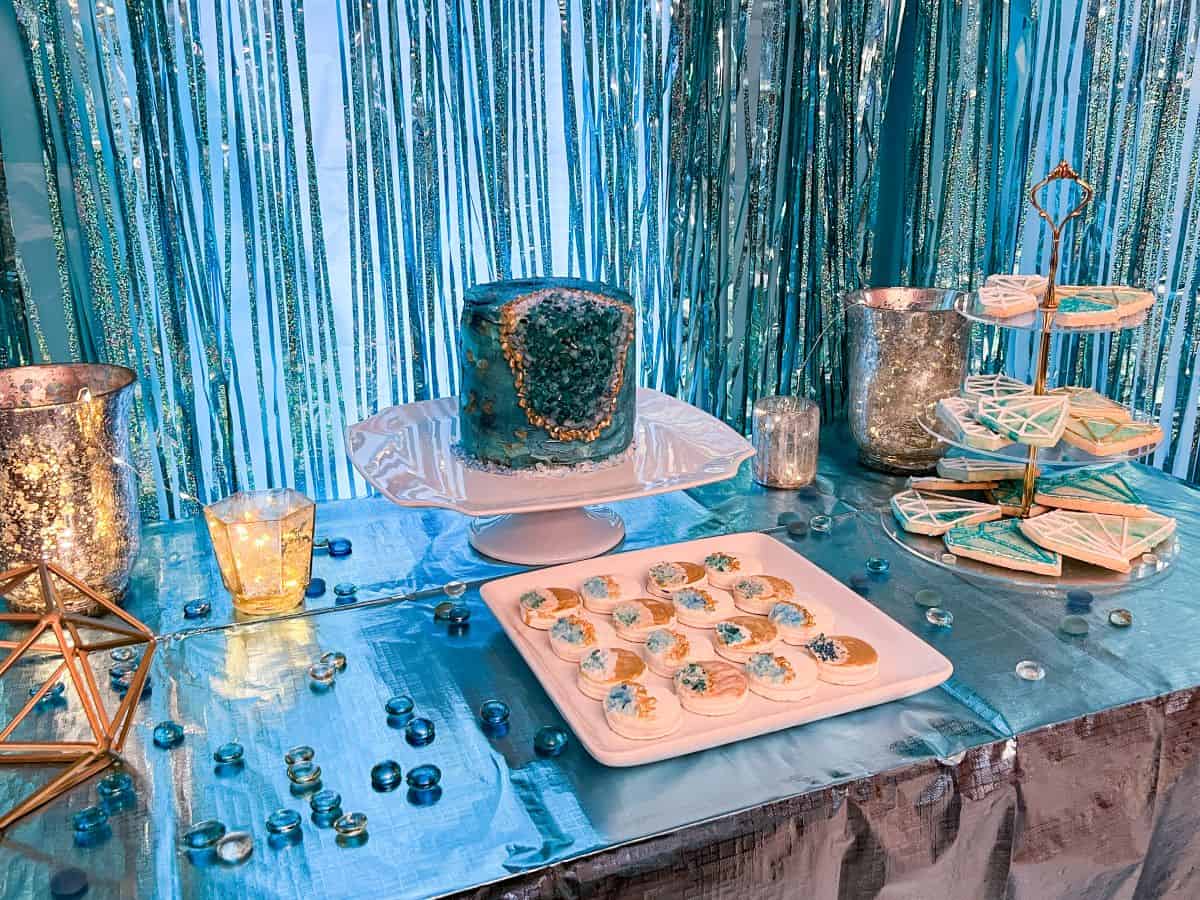
Her favorite color is blue, so we knew we wanted to incorporate that into the design. We love using edible gold luster dust to paint cookies, so we thought these would look nice with blue and gold.

I like using some no-bake items when designing a dessert table because they save me time when I'm baking other treats, including a cake. These were simple to make and so beautiful. My daughter and her friends really enjoyed these, along with these Diamond Gemstone Cookies!
Jump to:
Supplies
- white fudge Oreo cookies
- edible gold luster dust
- paint palette dedicated to food
- food grade paintbrush
- disposable transfer pipette
- Everclear or vodka
- edible gold glitter, optional
- white rock sugar
- blue food coloring
- white chocolate or melting wafers
I buy my gold luster dust locally, but I have heard good things about the gold luster dust from Truly Mad Plastics.
Paint Cookies Gold
I painted half of the cookies with an edible gold luster dust suspension and left half of them plain.
To make the liquid gold suspension, add some gold luster dust to the well of a food dedicated paint palette. Use a disposable transfer pipette to add some drops of clear alcohol, like Everclear or vodka, to the dust.
Mix the dust into the liquid using a food grade paintbrush.
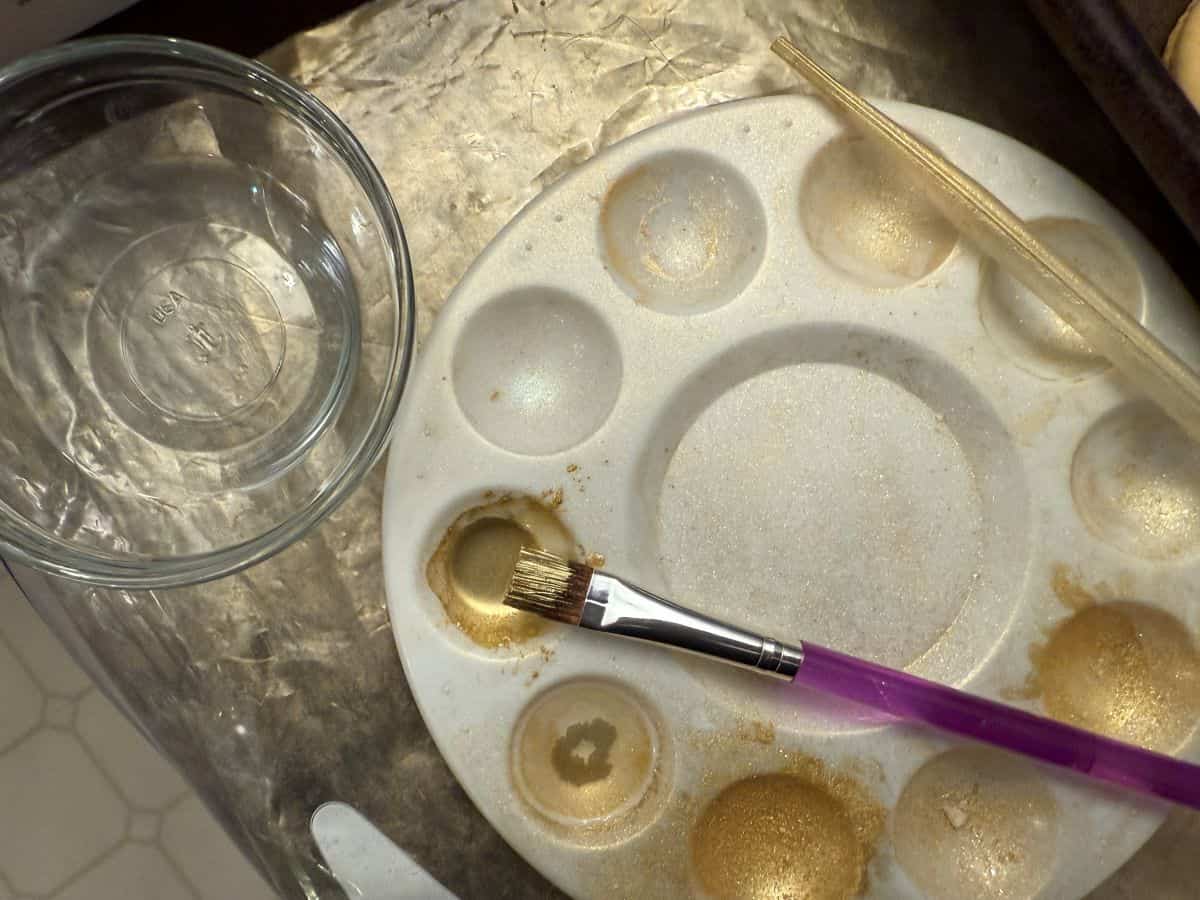
Once the proper consistency is achieved, dip the brush into the liquid gold, allow the excess to run off, then swipe it across the surface of the cookies in long, broad brushstrokes. Work quickly, as the alcohol will evaporate fast.
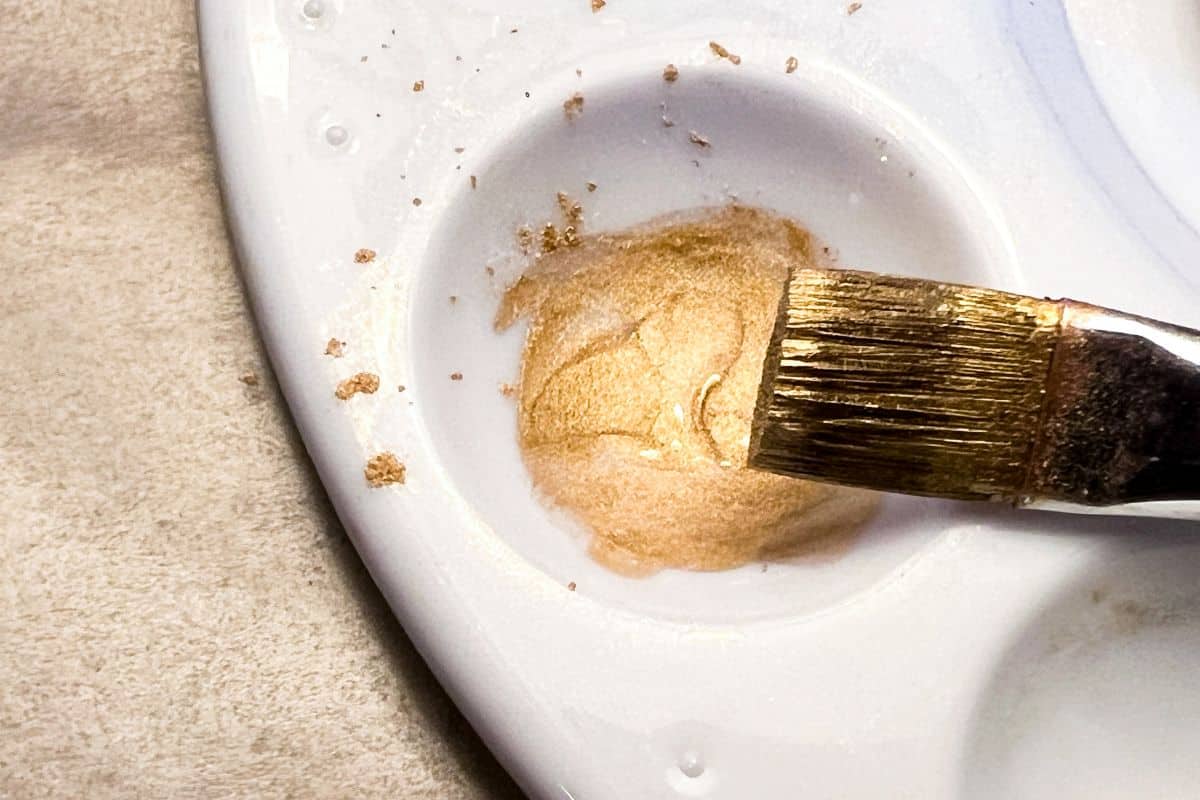
You can apply more than one coat if needed. Allow the gold to dry at room temperature.
As an optional step, sprinkle the gold painted cookies with edible gold glitter for extra sparkle.
Tint Rock Sugar
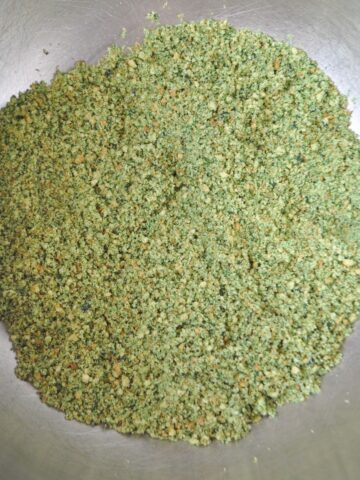
Crush the white rock sugar in a gallon sized freezer bag with a meat tenderizer.
Add some of the crushed sugar to a sandwich bag with a few drops of blue food coloring. Seal the bag and mix it around in your hands to distribute the color to all of the sugar.
The remaining white crushed sugar can be used as the edge of the geode and left untinted and painted gold.
Attach Rock Sugar
Melt the white chocolate or melting wafers according to package directions. For mine, I placed them in a microwave safe bowl and heated at 50% power in 30 second intervals, stirring after each round, until just melted.
Then, use a silicone pastry brush or spoon to spread on a section of the edge of an Oreo cookie. Immediately add some crushed white sugar as a border and the blue sugar to cover the rest of the melted chocolate.

Allow the white chocolate to set before proceeding.
Paint Gold Edge
On some of the cookies, I added a gold edge on the geode.
To do this, first mix up the edible gold luster dust just as when painting the cookies.

Allow the excess liquid to run off of the paintbrush, then paint the white rock sugar edge of the geode until the entire edge is gold. Reapply gold if needed to achieve a uniform color.

Allow the gold to dry at room temperature.
Storage
Store the cookies in an airtight container at room temperature for up to several weeks.
Gluten Free Option
I have not seen gluten free white fudge Oreos, but you can purchase gluten free Oreos and dip them in white melting wafers before decorating them. This adds an additional step, but the overall design will be the same.
📖 Recipe

Geode Oreo Cookies
Equipment
- Paint palette dedicated to food
- food grade paintbrush
- disposable transfer pipette
Ingredients
- 24 white fudge Oreo cookies
- edible gold luster dust
- Everclear or vodka
- edible gold glitter (optional)
- white rock sugar
- blue food coloring
- white chocolate or melting wafers
Instructions
Paint Cookies Gold:
- To make the liquid gold suspension, add some gold luster dust to the well of a food dedicated paint palette. Use a disposable transfer pipette to add some drops of clear alcohol, like Everclear or vodka, to the dust.
- Mix the dust into the liquid using a food grade paintbrush.
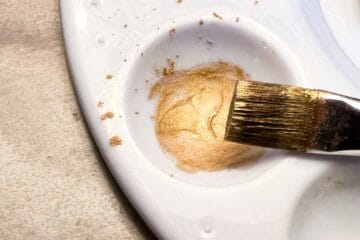
- Once the proper consistency is achieved, dip the brush into the liquid gold, allow the excess to run off, then swipe it across the surface of the cookies in long, broad brushstrokes. Work quickly, as the alcohol will evaporate fast. You can apply more than one coat if needed. Allow the gold to dry at room temperature.
- As an optional step, sprinkle the gold painted cookies with edible gold glitter for extra sparkle.
Tint Rock Sugar:
- Crush the white rock sugar in a gallon sized freezer bag with a meat tenderizer.
- Add a portion of the crushed sugar to a sandwich bag with a few drops of blue food coloring. Seal the bag and mix it around in your hands to distribute the color to all of the sugar. Leave the remaining crushed sugar untinted.
Attach Rock Sugar:
- Melt the white chocolate or melting wafers according to package directions. For example, place the wafers in a microwave safe bowl and heat at 50% power in 30 second intervals, stirring after each round, until just melted.
- Use a silicone pastry brush or spoon to spread on a section of the edge of an Oreo cookie. Immediately add some crushed white sugar as a border and the blue sugar to cover the rest of the melted chocolate.

- Allow the white chocolate to set before proceeding.
Paint Gold Edge:
- Mix up the edible gold luster dust just as when painting the cookies. Use a smaller paintbrush for this step.

- Allow the excess liquid to run off of the paintbrush, then paint the white rock sugar edge of the geode on some of the cookies until the entire edge is gold. Reapply gold if needed to achieve a uniform color.

- Allow the gold to dry at room temperature.
- Store the cookies in an airtight container at room temperature for up to several weeks.


Leave a Reply