
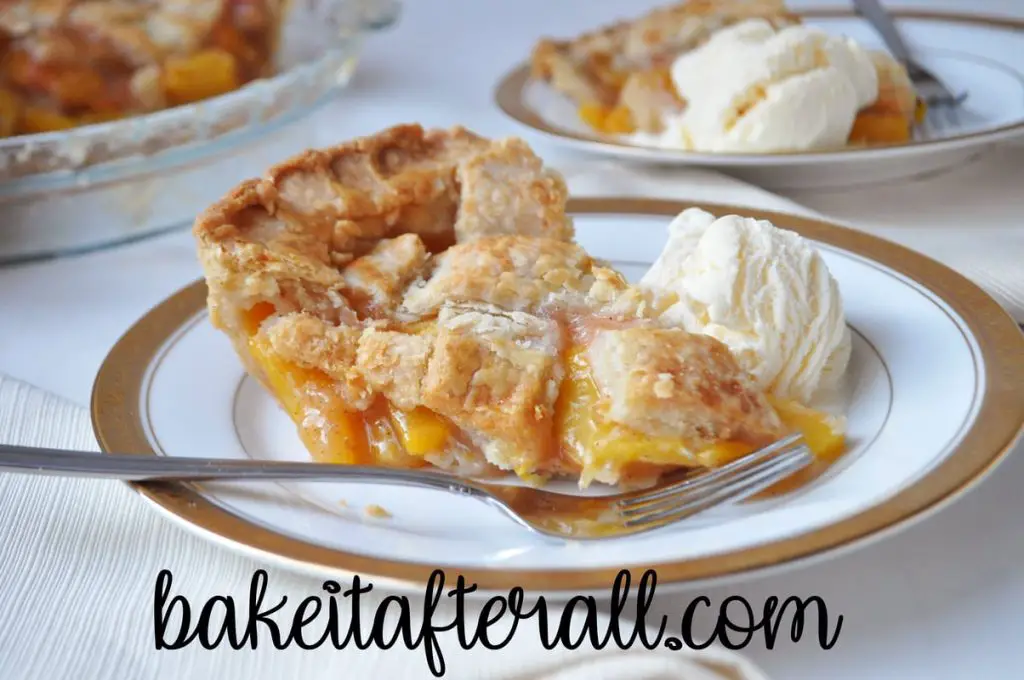
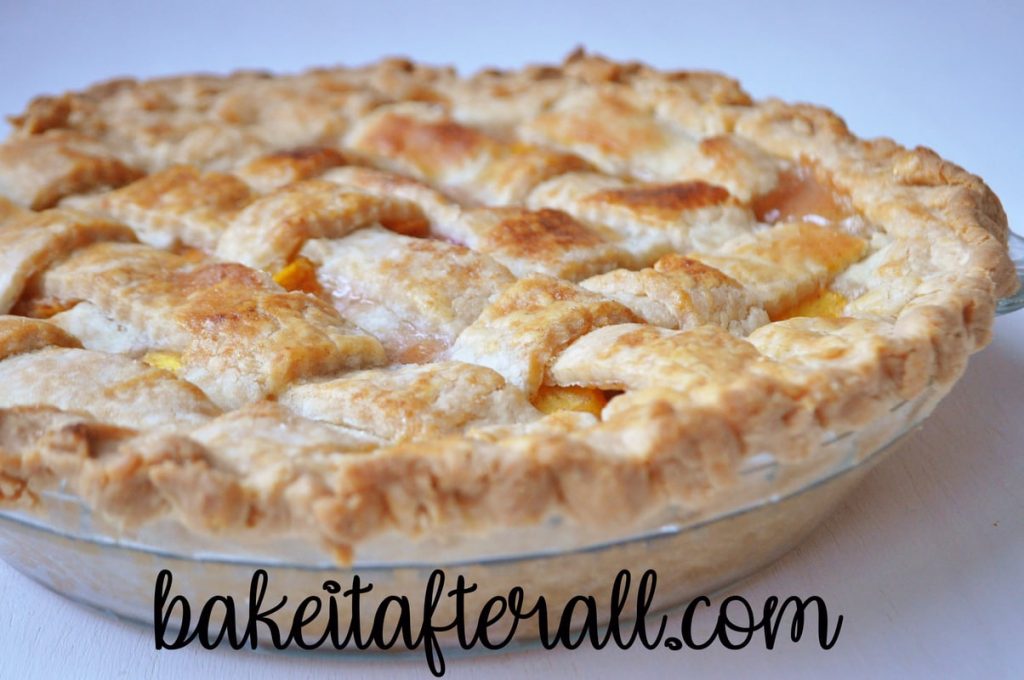
This Easy Fresh Peach Pie recipe is the ultimate summer dessert. A buttery, flaky pie crust surrounding sweet baked peaches. Best served with vanilla ice cream!
One of my favorite pies is Fresh Peach Pie. In the Midwestern United States where I live, peaches reach their peak in July. Each July, I look forward to making a Fresh Peach Pie.
The girls and I have "Pie Baking Day" at least twice a year: in the fall for apple pie (or Apple Crumble Pizza Pie) and in July for Fresh Peach Pie.
While it sounds simple, peach pie can be tricky. Often the peach filling is runny and makes for a soggy bottom crust. Over years of research, I've tested many homemade peach pie recipes and finally found a combination I consider to be the best homemade peach pie recipe!
It combines my favorite All Butter Pie Crust (which I have also adapted as Gluten Free Pie Crust) with a fresh peach filling that will not make your bottom crust soggy. In the words of the iconic Mary Berry, "no soggy bottoms!"
Through much trial and error, I am sharing my tips with step by step photos to show you how to make this simple peach pie recipe. For an even simpler peach pie, you may use frozen peaches in place of fresh. I have included this variation in the recipe card notes.
Jump to:
Choosing a Pie Crust Recipe
Last week, I posted my favorite Gluten Free Pie Crust recipe. It is an all butter (no shortening) pie dough recipe that can be made with traditional all purpose flour for those not avoiding gluten. If you're not avoiding gluten, use my All Butter Pie Dough recipe.
My America's Test Kitchen Complete TV Show Cookbook recommends a lattice top for a Fresh Peach Pie. Fresh peaches are so juicy that the lattice allows for some steam to escape and the peach mixture to thicken. I've made Fresh Peach Pies in the past where the pie was just floating in liquid after being cut. This excess liquid then makes the bottom crust soggy.
I've made Fresh Peach Pie with a lattice top and with a full solid top (cut with vents for steam), and both are great. If you choose to do a lattice top or a full double crust pie, you'll need to make enough pie dough for a two crust pie. If you prefer to purchase your pie dough, most packages come with 2 crusts.
Crumb Topping
I know some people prefer a crumb topping on peach pie. In that case, you'll only need enough pie dough for a single crust pie. You'll follow the steps for adding the bottom crust to the pie plate and fill it with the peach mixture. Then, you'll add a crumble topping. The crumble mixture from Apple Crumble Pizza Pie is a great one! I also love the crumble recipe used for Peach Blueberry Crumbles.
Making the Bottom Crust
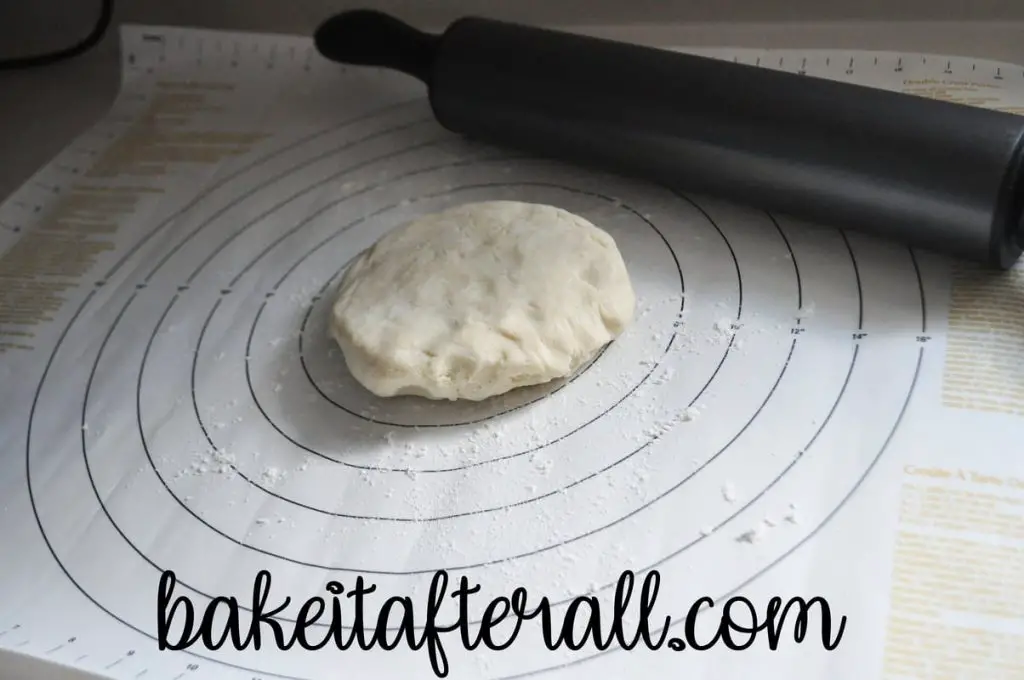
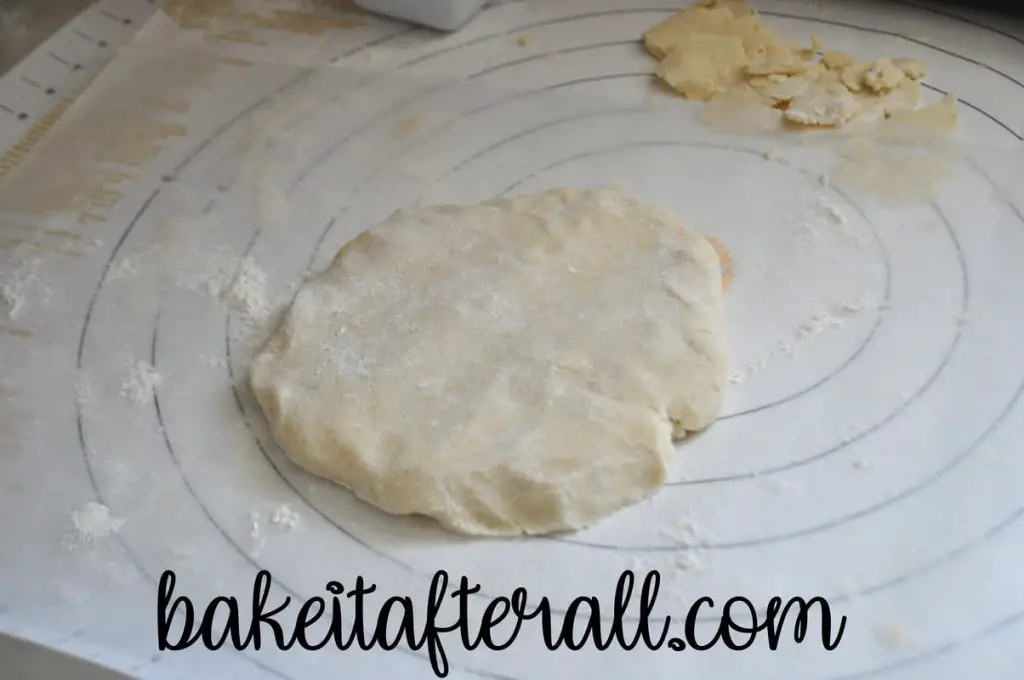
If you made your dough ahead of time or are using packaged refrigerated dough, you may need to let the dough sit at room temperature for a bit until it is easy to roll. Otherwise the dough might start to split when you apply the pressure of a rolling pin.
I like to use a pastry mat for rolling out my dough. It has measured markings so you know how big to roll it. I find the gluten free pie dough to be more fragile than traditional pie dough. The easiest way to work with it is to roll it out onto a piece of waxed paper and then transfer it to the pie plate. I will take you through how I did this without the waxed paper and why that is not ideal.
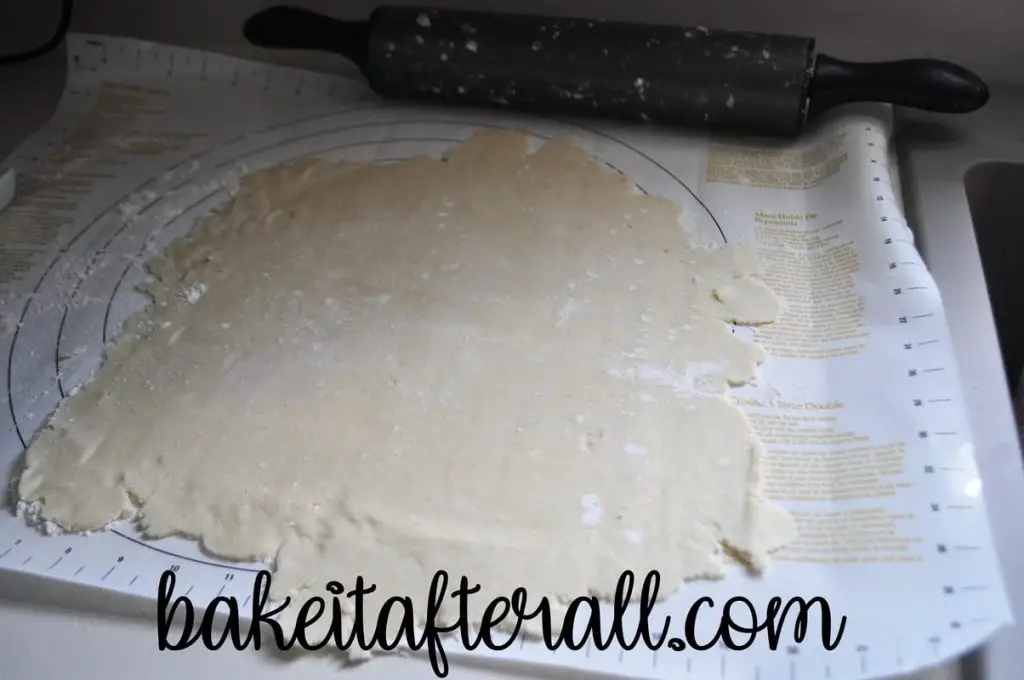
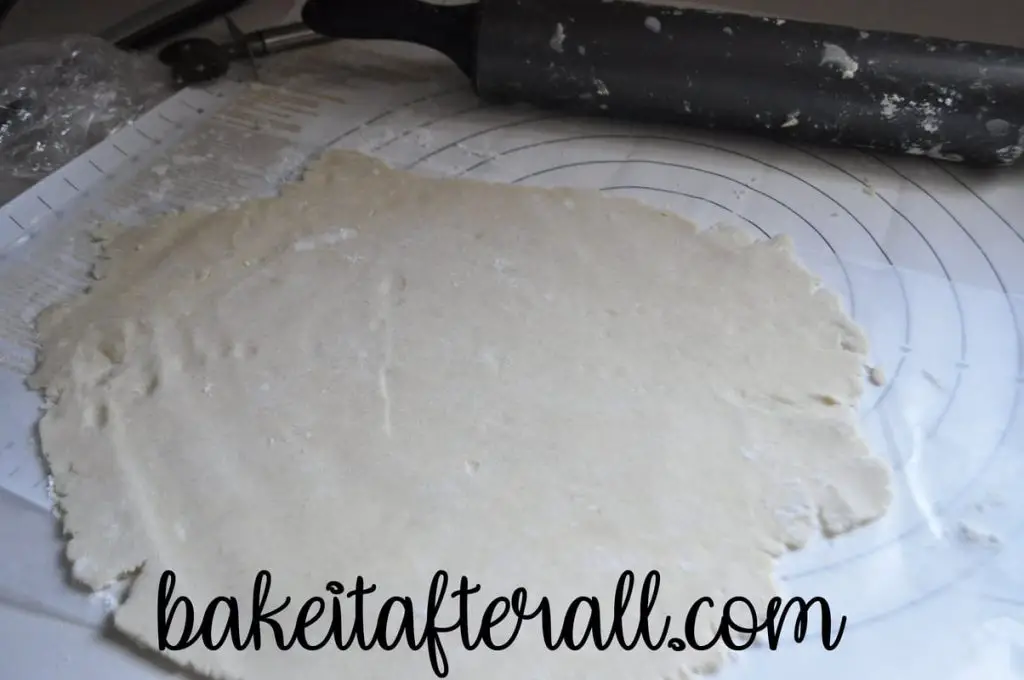
Make sure to use flour underneath and on top of your dough to prevent it from sticking to your hands or to the rolling pin. The dough is rolled into a 12-inch circle.
Typically, the way I transfer my pie dough to a pie plate is by folding it into fourths by folding in half and then in half again.
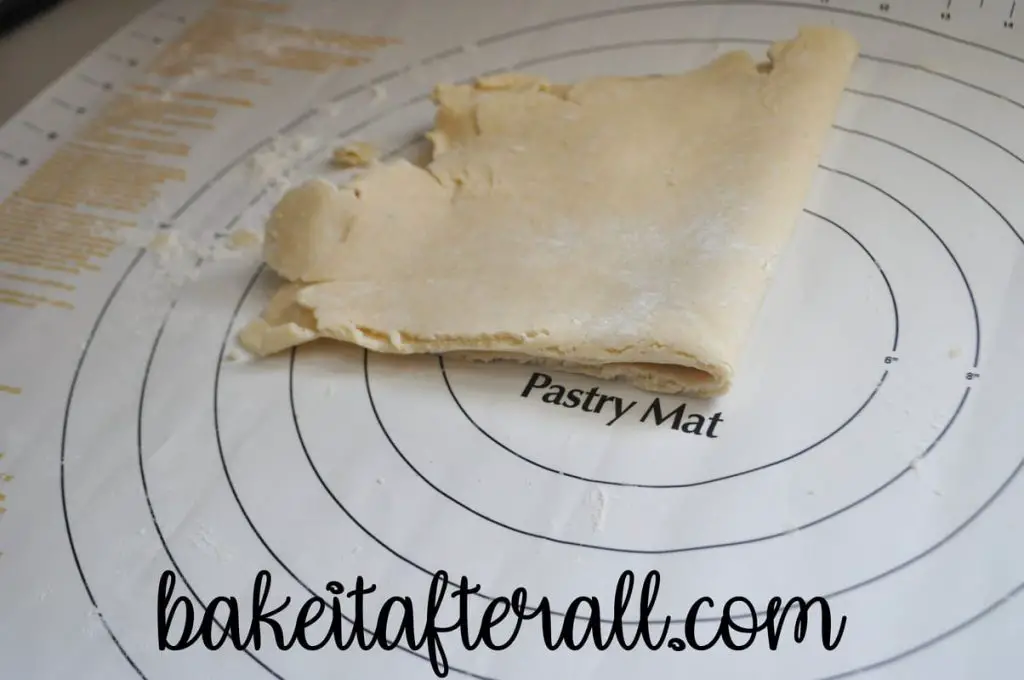
Then I line up the point where the dough is folded into the center of the pie plate and carefully unfold it. Another good way to transfer the bottom pie dough is to roll it around a rolling pin and then carefully unroll it over the pie plate. As this is the gluten free pie dough and is more fragile than traditional pie dough, you can see several areas where the dough is torn.
That's ok and can be fixed, but I think a better strategy would have been rolling it onto waxed paper and using that to transfer it to the pie plate. I did this recently for Chicken Pot Pie, and it worked very well.
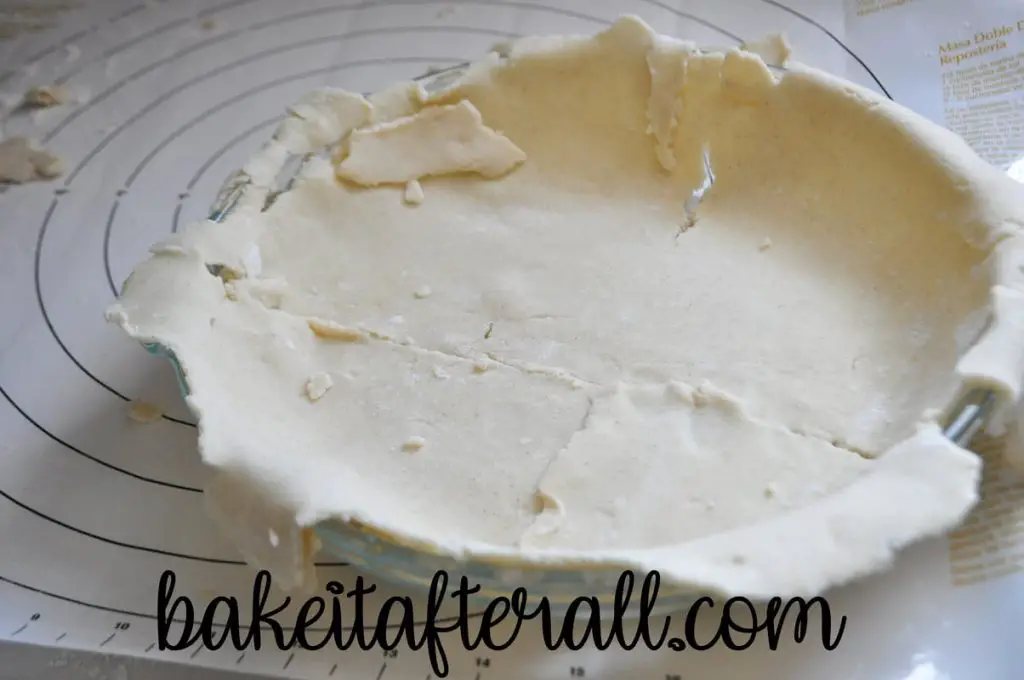
The most important thing is that you patch these tears and holes. Press the dough together or add a piece of the overhanging dough and make sure there are no holes or tears in the bottom crust. If there are, the juice from the peaches will seep through and start to burn underneath. Not only that, but the juice will also get super sticky when baked and make it very difficult to get the pie out of the pie plate.
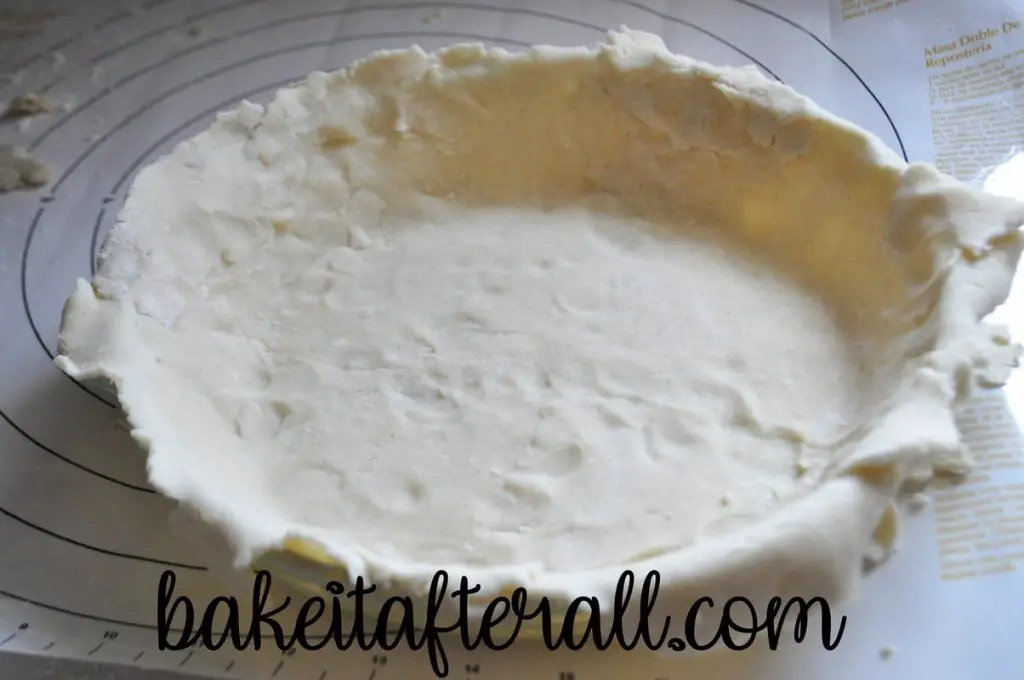
If the dough seems soft, you may slip it into the refrigerator for a bit to chill. Otherwise, set it aside to make the top crust.
Making the Lattice Top Crust
I made the lattice top crust using a piece of waxed paper. This made working with the fragile gluten free pie dough much easier! I sprinkled flour on top of the waxed paper and on top of the dough before rolling it thin and even.
I rolled the dough into a 12 inch round (ish) shape. The width of my waxed paper is 12 inches, so I used that as a guide by rolling it from the center out to each edge.
I then used my favorite wooden ruler (circa the 1980s) to make markings in 1-inch increments using a double sided pastry cutter.
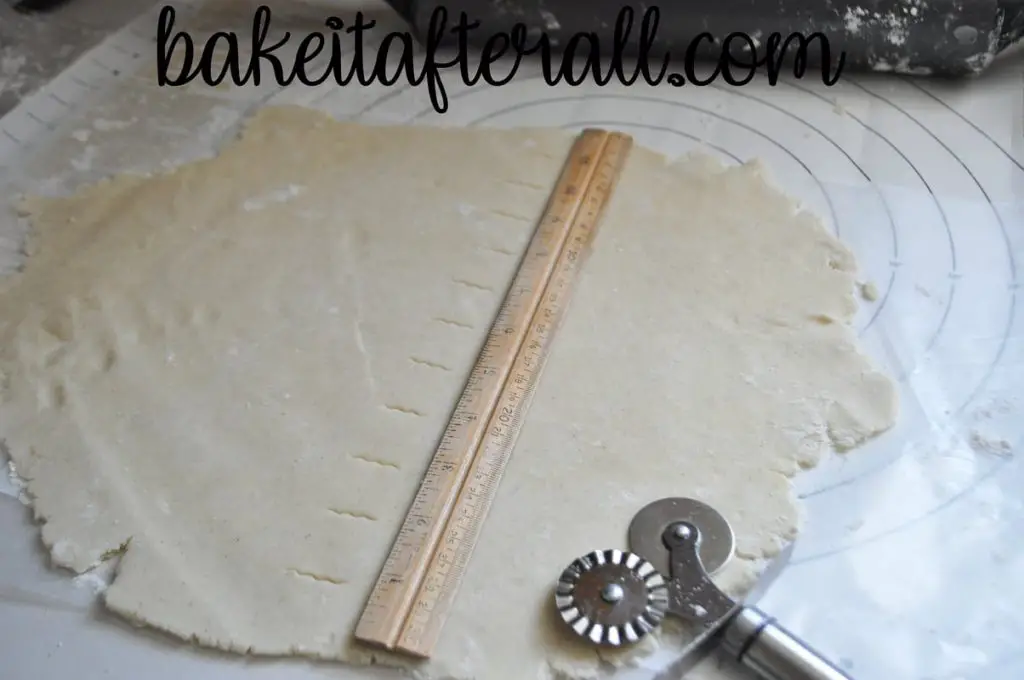
Then I used the ruler as a guide and rolled the pastry cutter along the edge (using the crimped side) to make long 1-inch thick strips.
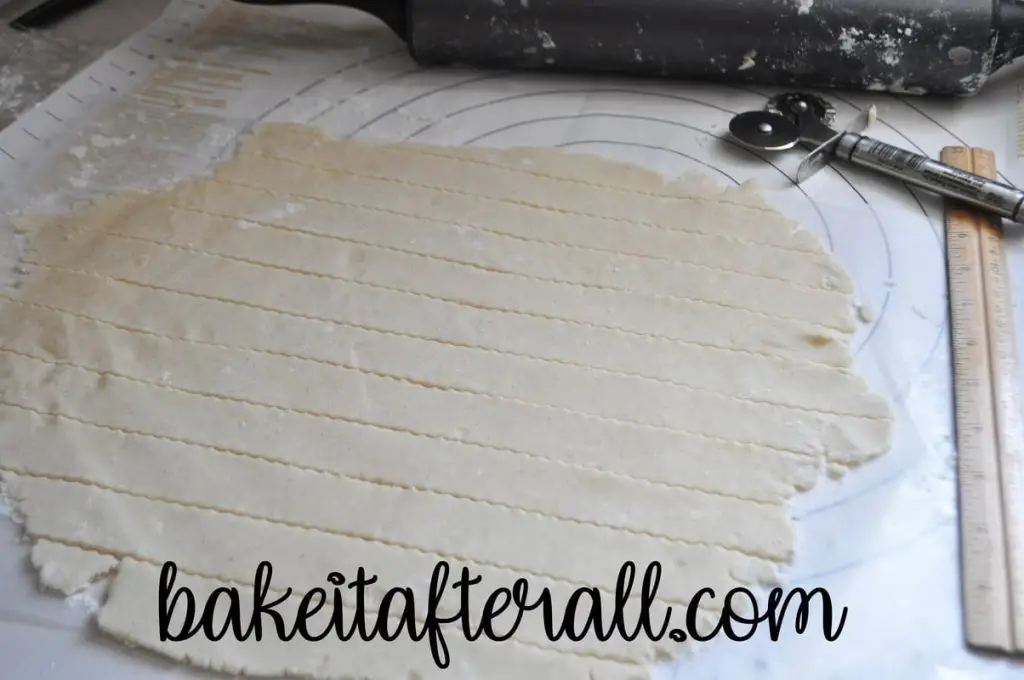
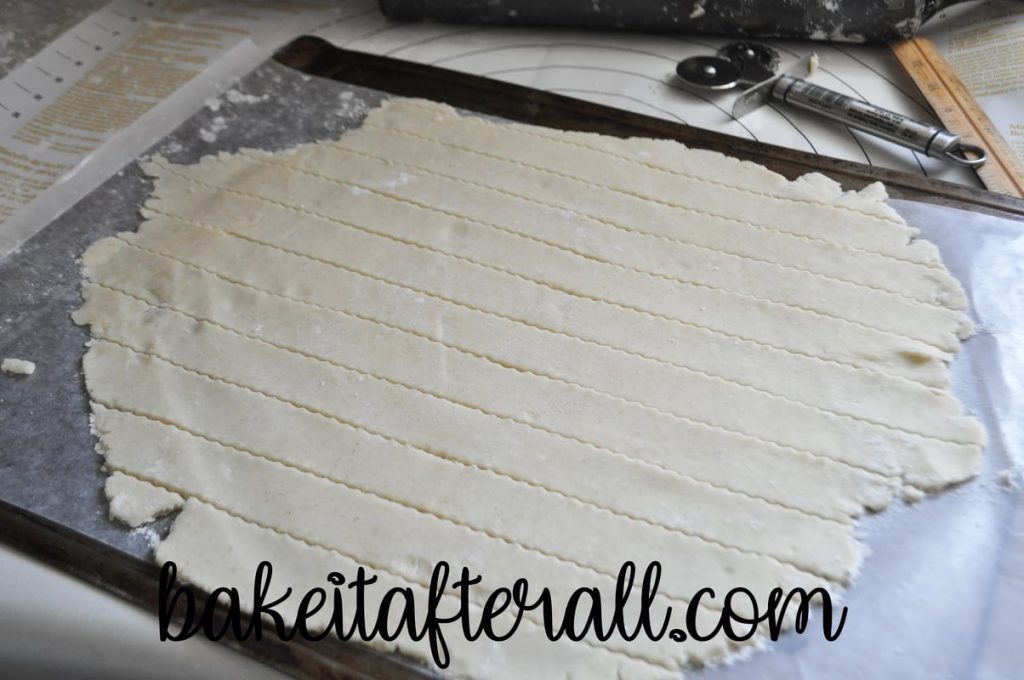
At this point, the dough was getting rather warm, so I slid a flat cookie sheet underneath and put the entire thing in the refrigerator to chill for a few minutes while I made the fresh peach pie filling.
Preparing the Filling
I have tried numerous peach pie recipes through the years. I had assumed that the recipe for homemade peach pie from America's Test Kitchen would be the best. In true ATK fashion, their recipe is a bit complicated in that it has you mix together the peach filling and allow it to sit for 1 hour to allow the peaches time to release their juices. Then you drain the juices, reserving only ¼ cup to add back to the peaches.
The overall goal of this process is to ensure that the filling is not too liquidy and runny. I have tried this method, and it is time consuming. I also didn't like the idea of dumping peach juice (along with some of the sugar and cinnamon). Furthermore, I still found the pie to be runny.
My Betty Crocker Cookbook has an easier recipe for fresh peach pie that just calls for tossing the sliced peaches with some sugar, flour, cinnamon, and lemon juice. The small amount of flour helps thicken the filling. The peach mixture is immediately added to the pie and baked.
I have had much more success with this recipe! No more Fresh Peach Pie that is swimming in peach juice. Because this recipe eliminates the need for an hour long step in making the filling, it is so quick and simple; thus, the Easy Fresh Peach Pie recipe was born!
Now let's go through how to make Fresh Peach Pie filling.
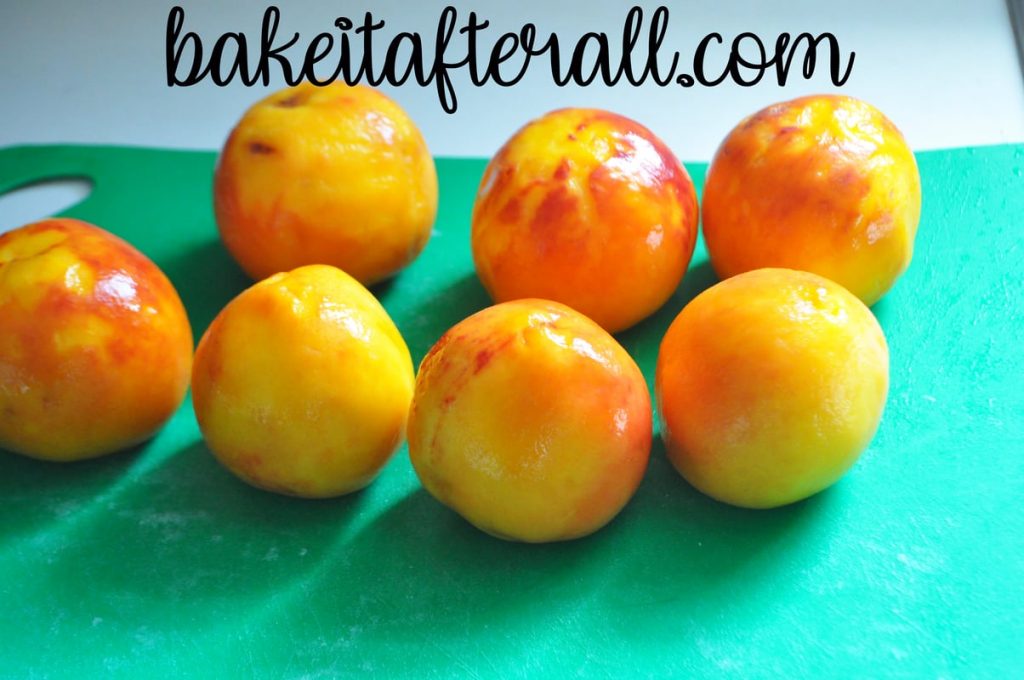
The most time consuming part of my Fresh Peach Pie is peeling and slicing the peaches. The easiest way to peel a peach is to blanch it in boiling water for a few seconds. If the skin is not easy to peel, re-dip the peach for a few more seconds and repeat until the skin is easy to peel. The peach skin should come off easily in large sections.
These peaches have been dipped in boiling water.

These are the peeled peaches.
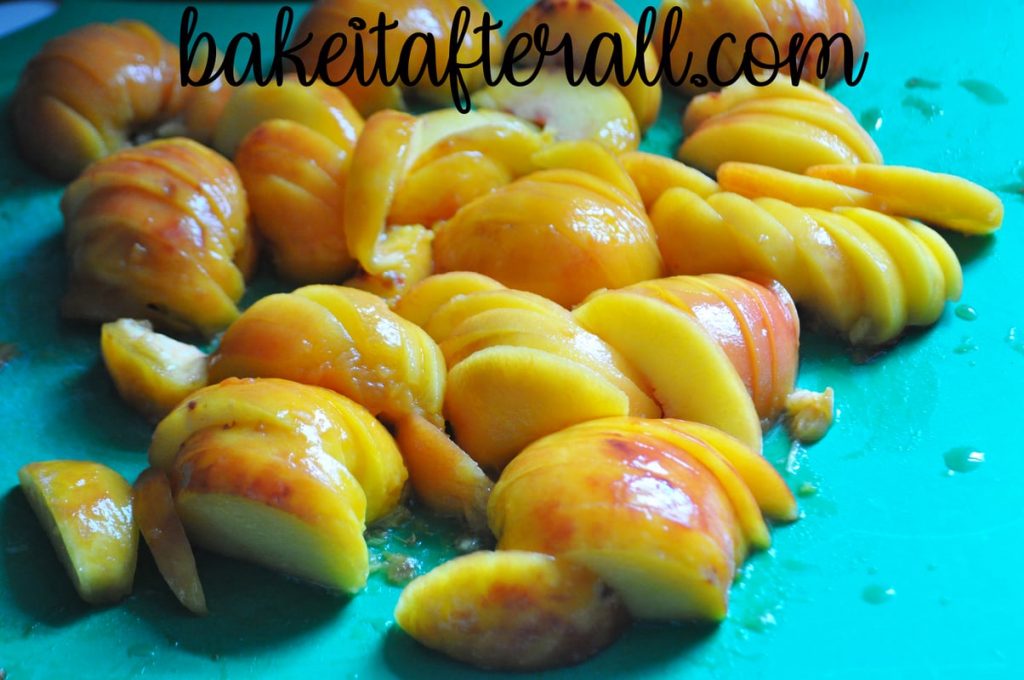
The peaches then need to be cut in half, the pit removed, and then sliced.
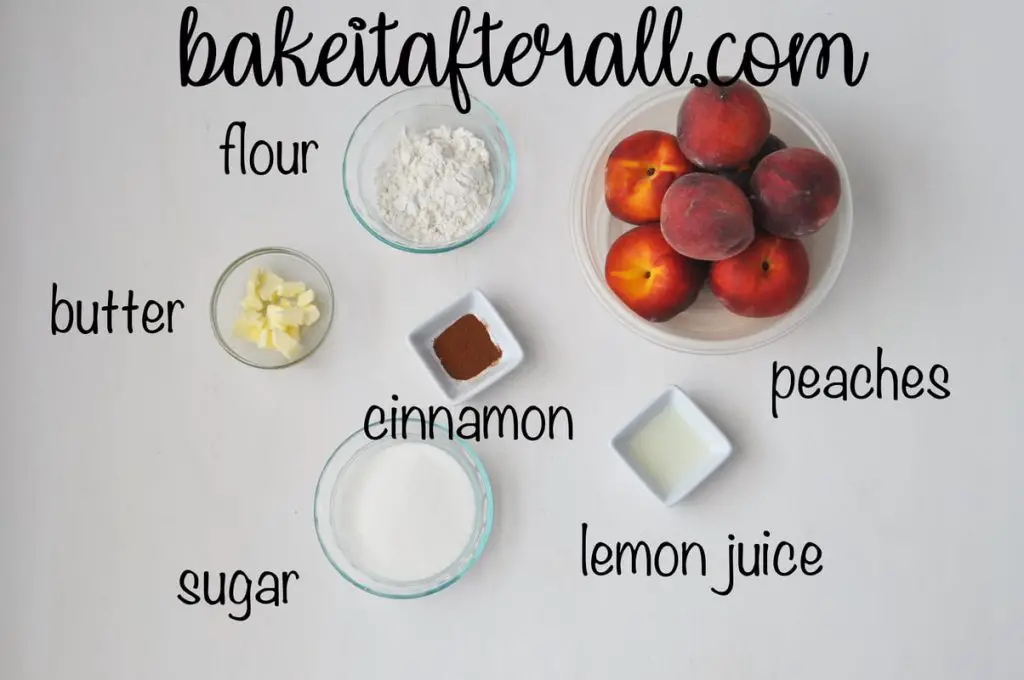
The sugar, flour, and cinnamon are mixed in a large bowl, then the lemon juice and the fresh peach slices are tossed with this mixture.
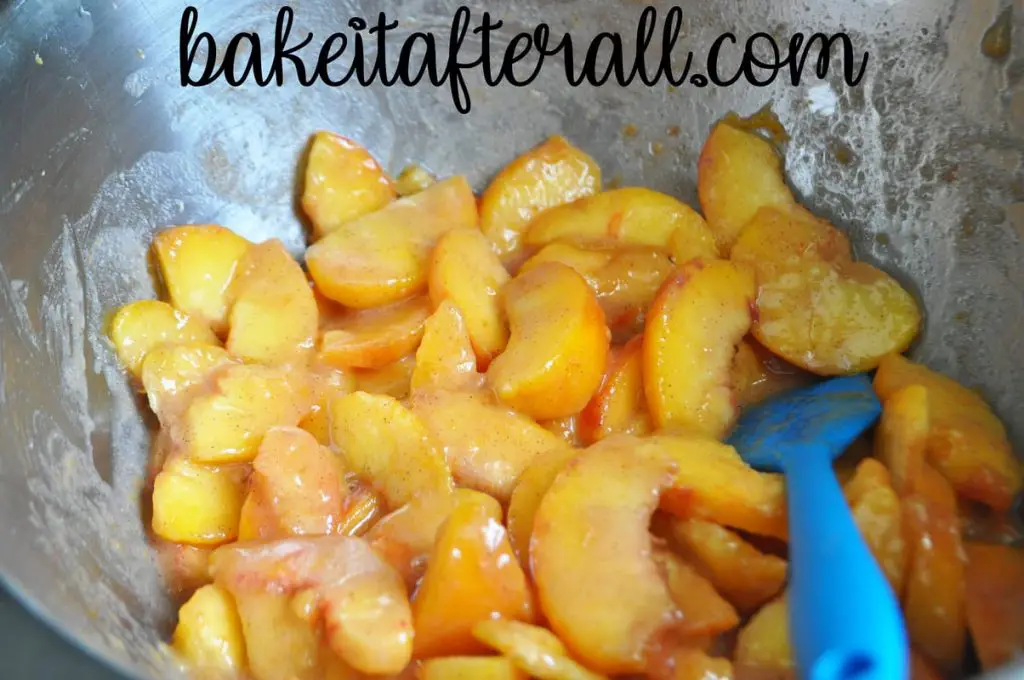
It's now ready to be added to the pie and should be done immediately so that the peaches don't leach too much juice.
Assembling the Pie
The peach mixture is then poured into the pie plate lined with the bottom crust.

Scatter the diced butter over the peaches.
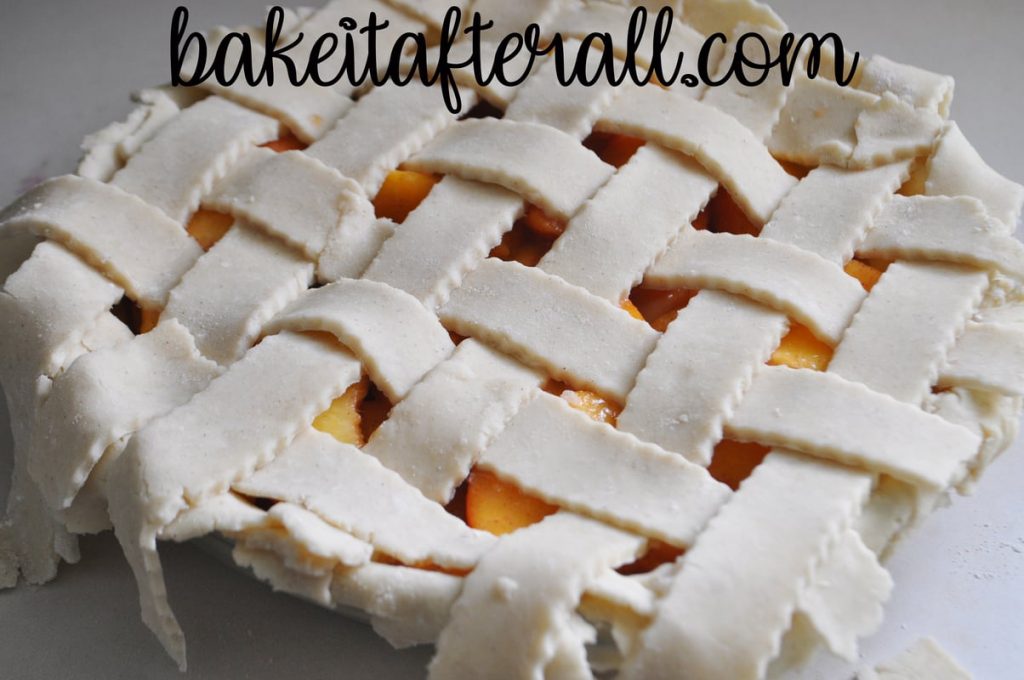
To make a lattice top crust, I arranged half of the 1-inch thick slices of pie dough all in one direction across the pie, leaving some spaces.
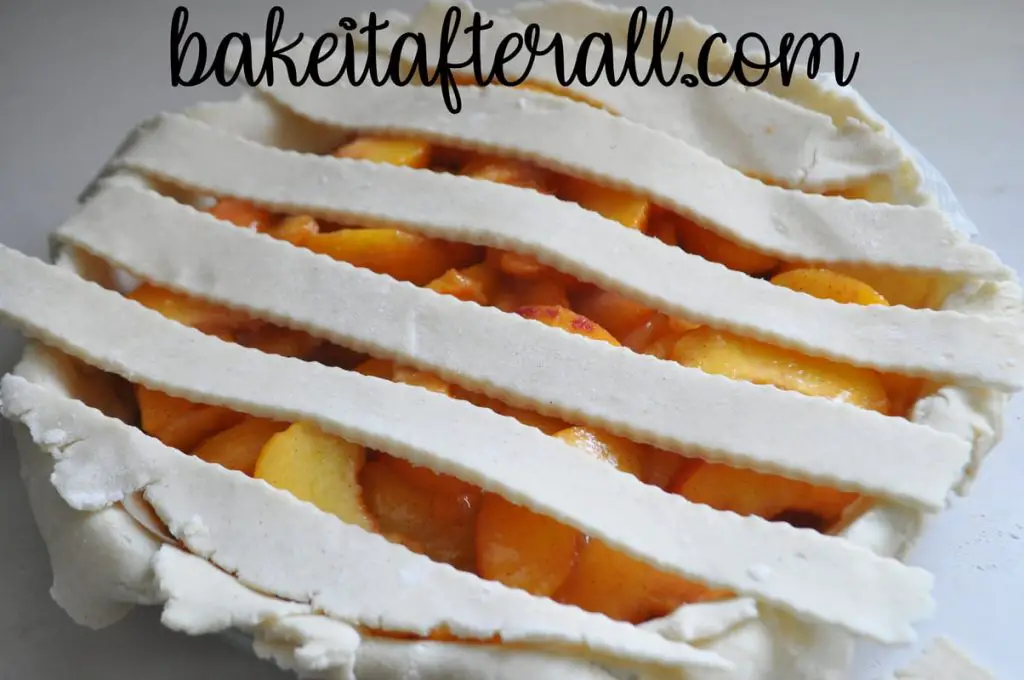
To make the lattice pattern, I folded back every other strip at the half way point, then laid down a strip running perpendicular to the other strips. Then I unfolded the strips. Next, I folded back every other strip (the ones that were not already fold back), and added another strip parallel to the one just added. I repeated this method to form the lattice pattern.
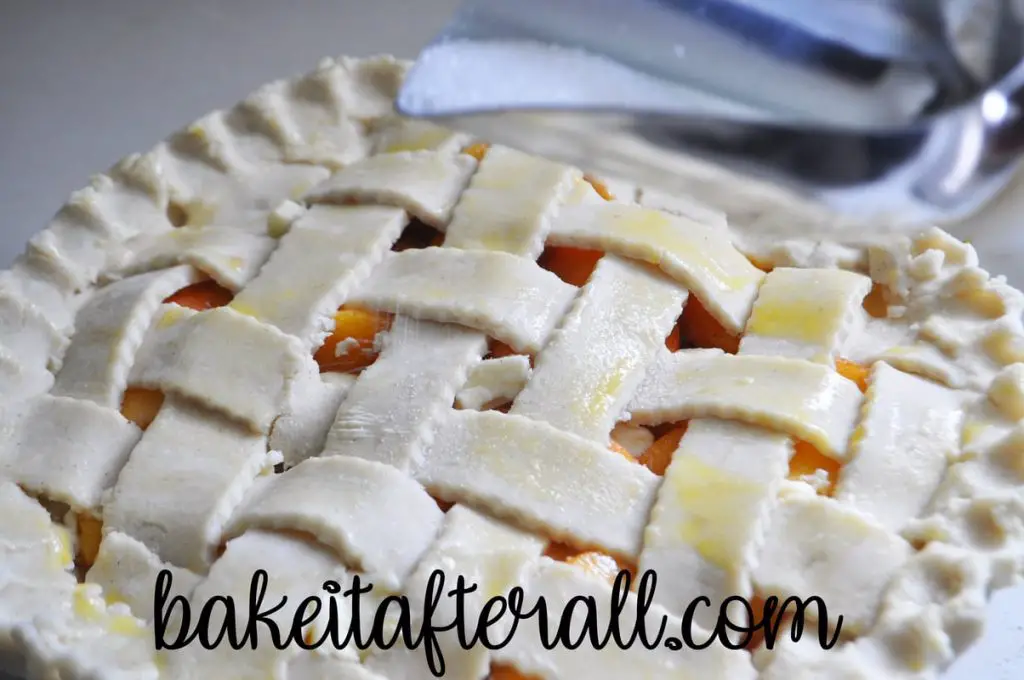
Then I pressed the edges of the pie together and removed the excess dough as necessary. To make a fluted edge, I used my index and middle finger of one hand and index finger of my other hand to make the pattern around the edges of the pie. I forgot to add the diced butter on top of the peaches, so I shoved it in through the holes in the lattice top now. (Oops).

You can bake the pie just like this, or do an egg wash. To do this, I beat an egg lightly and then brushed it on with a silicone pastry brush. You can use cream or milk instead of egg if you prefer or are making the pie for someone with an egg allergy.
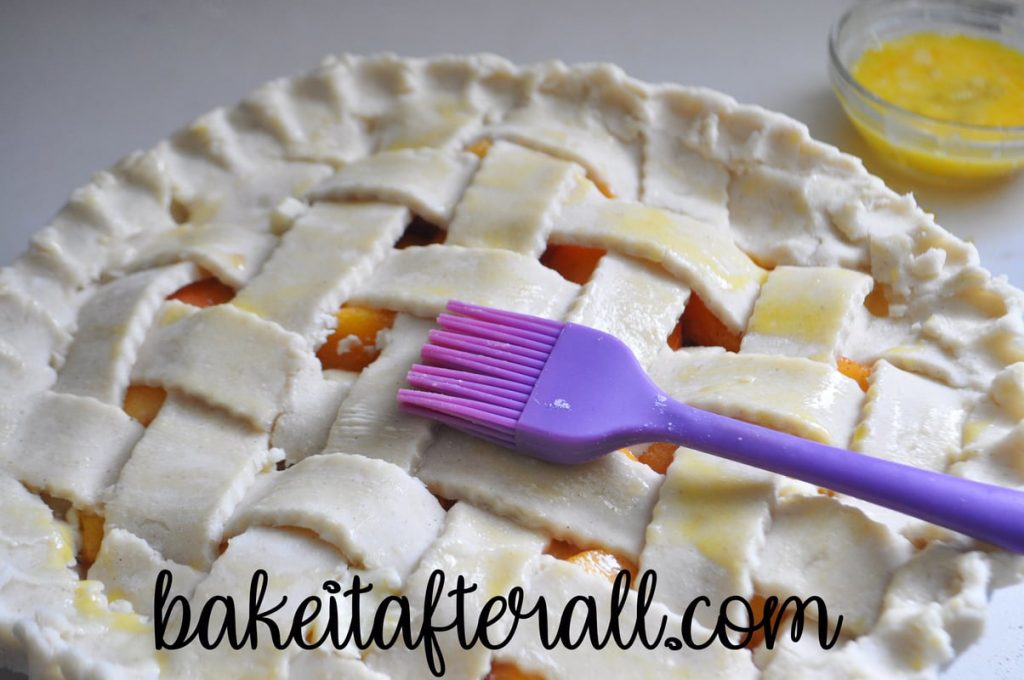
I sprinkled some granulated sugar over the pie to stick to the egg wash. Some people prefer the rustic look of sanding sugar or raw sugar. Whatever you prefer to use is fine.
Baking the Pie
Before placing the pie in the oven, I made a ring using aluminum foil. To do this, I cut a piece of aluminum foil the size of the pie, then I folded it in half. I cut a half circle at the folded portion, so when I opened it up, there was a circle missing from the center of the foil. This could then be placed over the pie to protect the outer edges from browning too quickly.

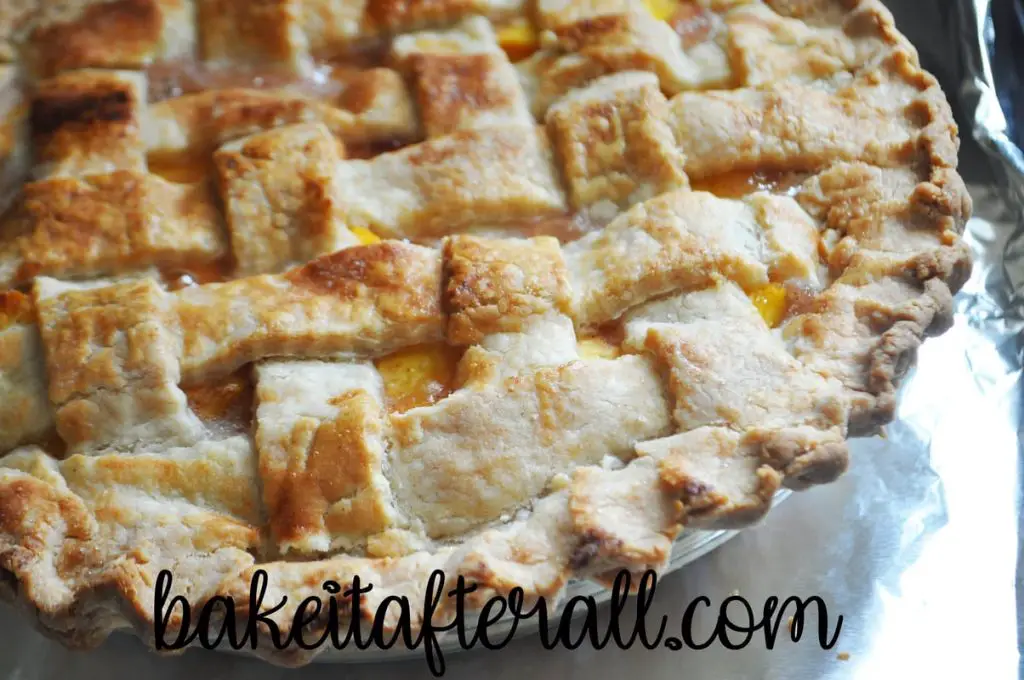
The pie is baked on a lower rack in the oven for around 30 minutes, then the foil ring is removed to allow the outer crust to brown for around 15 more minutes. Foil is your friend when baking pies: you can use it to prevent areas from browning more or remove it to encourage more browning. Don't be afraid to take it off and add it back as needed. If you notice that the bottom crust is not brown but the top is, just cover the whole top of the pie loosely with foil and allow it to continue to bake.
The pie needs to cool for at least 1 hour, perhaps 2, to allow the filling to set. Otherwise, if you cut it, the juices will run out and make your bottom crust soggy.
Serving the Pie
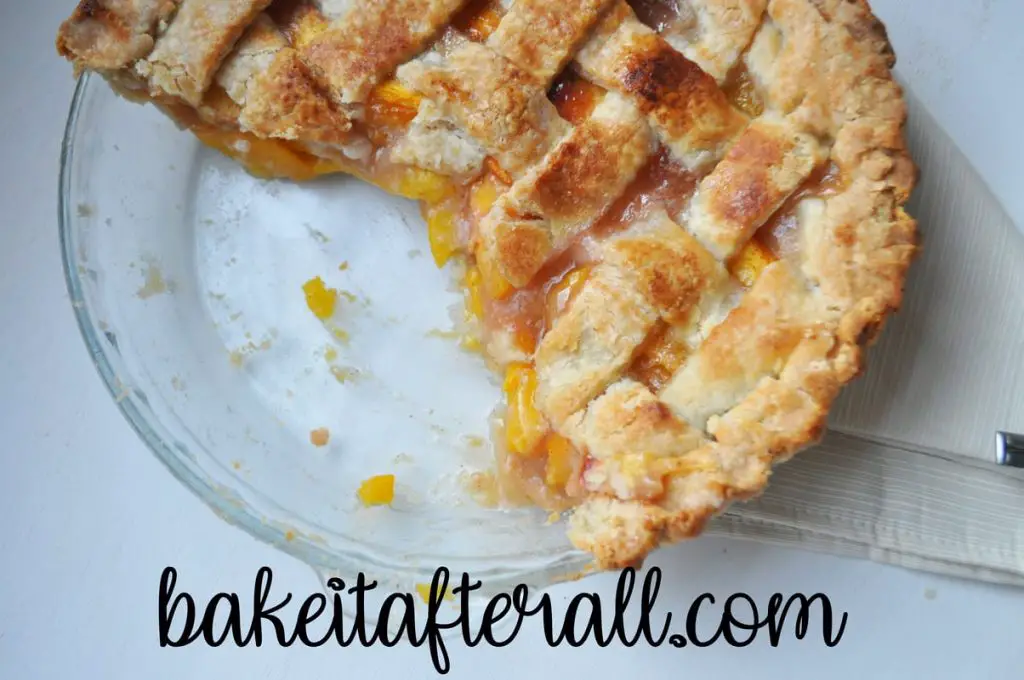
After the pie has cooled enough so the filling has set, the pie is cut and served. I always serve it with vanilla ice cream. It's a must for our family.

You can see how the filling is nice and set and not running all over the plate. The crust is browned and flaky.

Remember this is my Gluten Free Pie Crust, but the recipe is the same if you're not avoiding gluten. Just use all purpose flour. I also have this recipe as All Butter Pie Crust.

There is nothing dry about this Easy Homemade Peach Pie, but it's not floating in liquid peach juice either. The perfect balance to avoid a soggy bottom crust!
Gluten Free Option
I use Bob's Red Mill Gluten Free 1 to 1 Baking Flour in place of all purpose flour in the fresh peach filling and in the gluten free all butter pie dough for an entirely gluten free peach pie!
📖 Recipe

Easy Fresh Peach Pie
Equipment
- 9-inch pie plate
Ingredients
- pie dough for 2 crust pie (see note)
Peach Filling:
- 6 cups sliced fresh peaches (6-8 medium sized peaches)
- ⅔ cups granulated sugar
- ⅓ cup flour (all purpose or gluten free)
- ¼ teaspoon ground cinnamon
- 1 teaspoon lemon juice
- 1 tablespoon butter, diced into small pieces (optional)
Egg Wash (optional):
- 1 egg (lightly beaten)
- 1 tablespoon granulated sugar
Instructions
- Set a pot of water on the stove and turn to high. Heat to a boil.
- Preheat oven to 425°F and adjust a rack to the lowest or lower middle position in the oven. Line a sided baking sheet with aluminum foil and set aside.
Prepare the Pie Crust:
- Roll out bottom crust into a 12-inch circle and fit into a 9-inch pie plate, letting the excess hang over the sides. Cover with plastic wrap and refrigerate until ready to fill with the peach mixture.
- Roll out top crust and cut into lattice if desired. Slip into refrigerator if the pie dough is getting too warm.
Prepare the Peach Filling:
- Dip peaches in boiling water for a few seconds, remove to a cutting board and peel off skin. If the skin is hard to peel, dip them again for a few more seconds. The skin should come off easily.
- Cut peaches in half, remove pits, and cut into slices.
- In a large bowl, mix together sugar, flour, and cinnamon. Stir in lemon juice and peaches. Gently toss to coat evenly.
Assemble the Pie:
- Place the pie plate lined with the bottom crust on top of the aluminum lined baking sheet. Immediately transfer peach mixture to the bottom crust. Scatter diced butter over the peaches.
- Transfer the top crust on top of the peaches. If making a lattice top, place on all of the slices going in one direction, then fold back every other strip at the center and add a strip going perpendicular to the other strips. Unfold the strips. Then fold every other strip (that was not folded before) and add another strip of dough parallel to the strip just added. Repeat across top of pie until lattice is complete.
- Pinch together the edges of the crust. Using your index and middle finger on one hand and index finger on the other hand, make a fluted pattern around the edges if desired.
- Brush top crust with egg wash (or cream/milk if avoiding egg) using a pastry brush. Sprinkle with granulated sugar or sanding sugar.
- Add an aluminum foil ring to protect the edges of the crust.
Bake the Pie:
- Place the pie on the baking sheet in the oven. Bake until the center of crust is starting to turn golden, about 30 minutes.
- Remove the aluminum foil ring and bake until edges brown and juice begins to bubble, approximately 15 more minutes. If the edges start getting too brown before the middle looks done, add the ring back on top. If the bottom crust is not browning as quickly as the top crust, cover the entire pie loosely with foil to prevent the top from getting too brown.
- Cool the pie on a wire rack for 1 - 2 hours until the filling has set. Serve warm or at room temperature.


Suey says
Nothing better than fresh peach pie. I need to try your crust recipe. Looks good.
Suey says
Delicious looking pie. I need to try your crust recipe.