
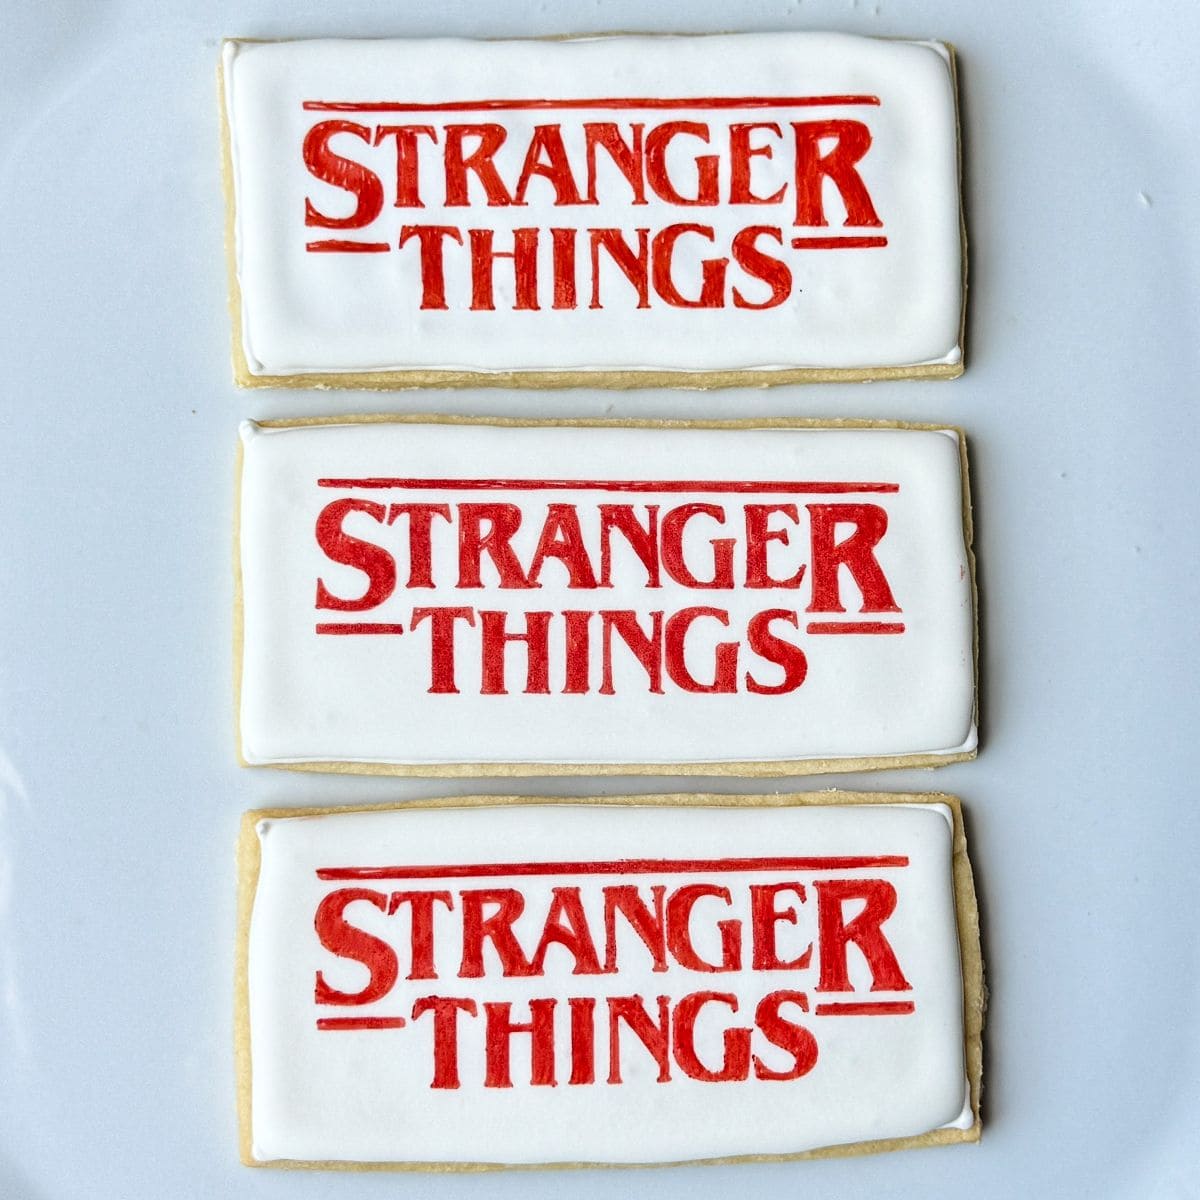
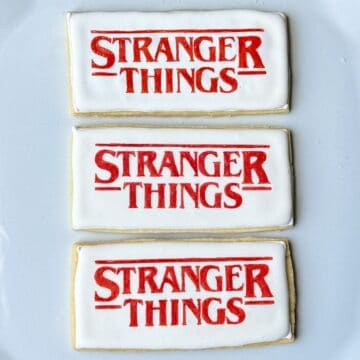
These Stranger Things Cookies are decorated with royal icing. The logo is traced using an edible marker with a homemade stencil. They make a great favor for a Stranger Things party!
My daughter wanted some Stranger Things desserts for her friend birthday party this year. We decided on Stranger Things Cupcakes for the treat at the party and these Stranger Things Cookies as the party favor for her friends to take home.
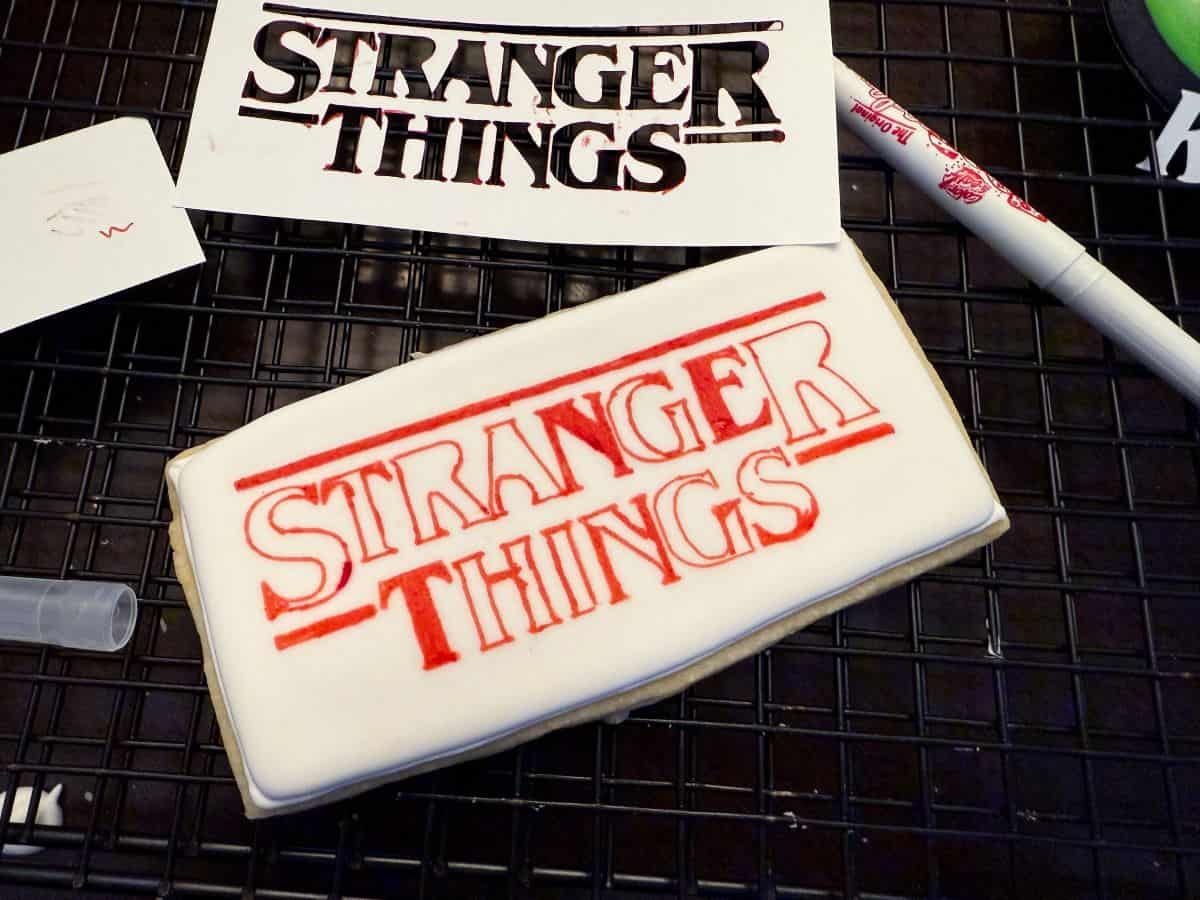
I wanted to keep the design simple yet immediately recognizable, so we went with the Stranger Things logo in red edible marker on top of white royal icing covered cookies.
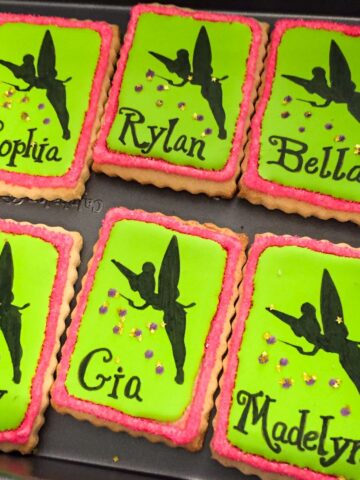
To do this, I created a cardstock stencil, just like I did with these Personalized Tinkerbell Cookies. These turned out exactly as we envisioned!
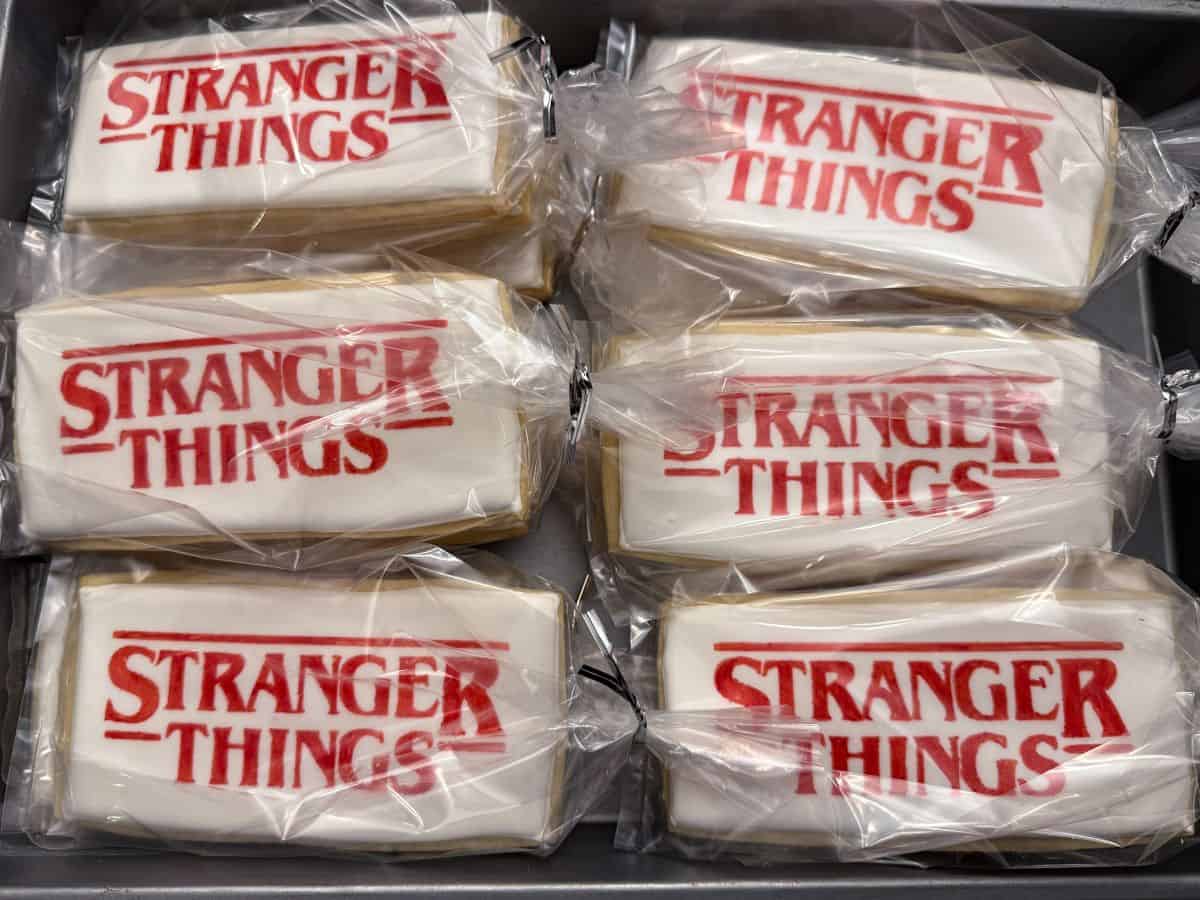
I packaged them in clear treat bags secured with twist ties for easy distribution. A red or black ribbon would have also been nice.
Jump to:
Supplies
- your favorite shortbread or sugar cookie dough
- ruler
- metal cake scraper or straight edge/knife
- Easy Royal Icing
- disposable piping bags
- toothpicks or scribe tool
- Silhouette cutting machine or equivalent machine
- white cardstock
- red food coloring pen or marker, such as FooDoodlers
Bake the Cookies
To make the cookies, start with dough from your favorite shortbread or sugar cookies. I used this shortbread cookie recipe. One batch of shortbread cookies made 8 of these large cookies, so I doubled the recipe.
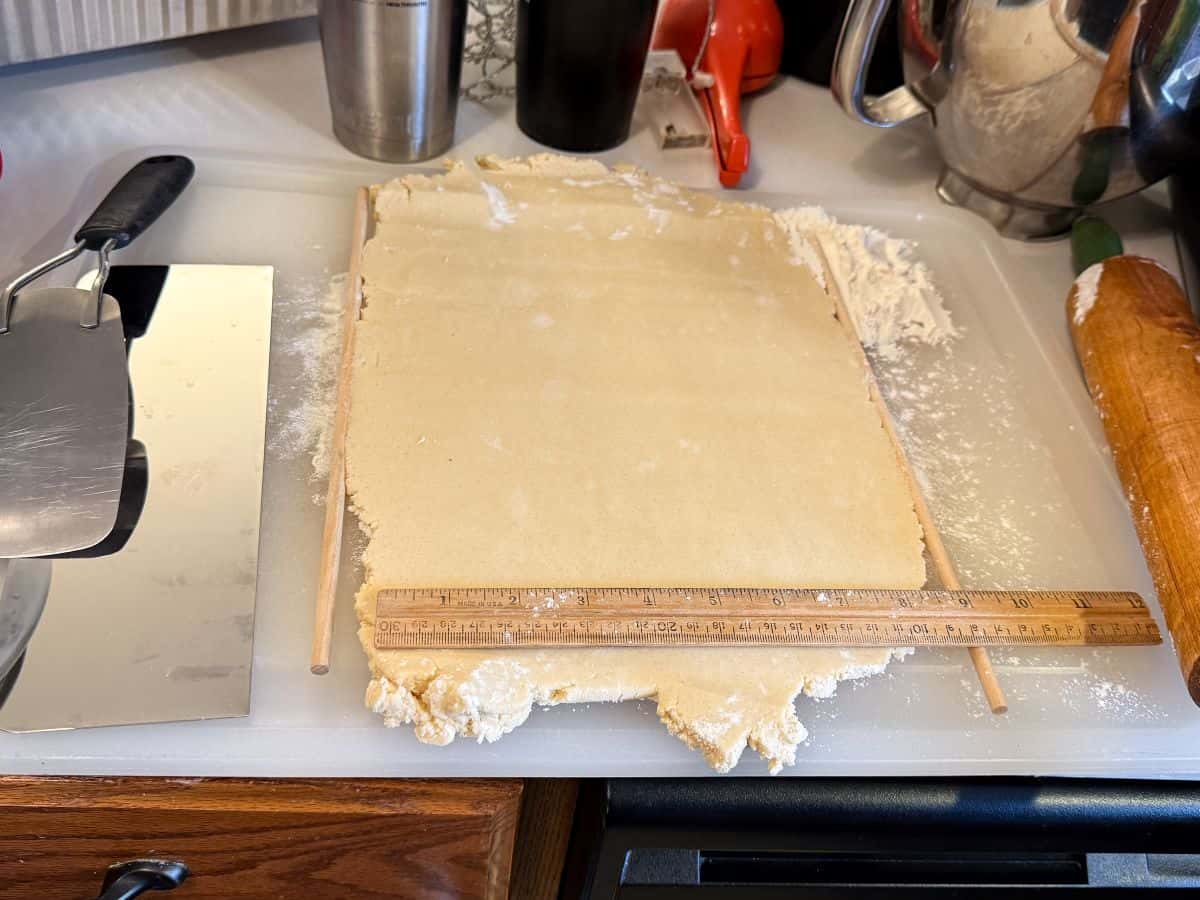
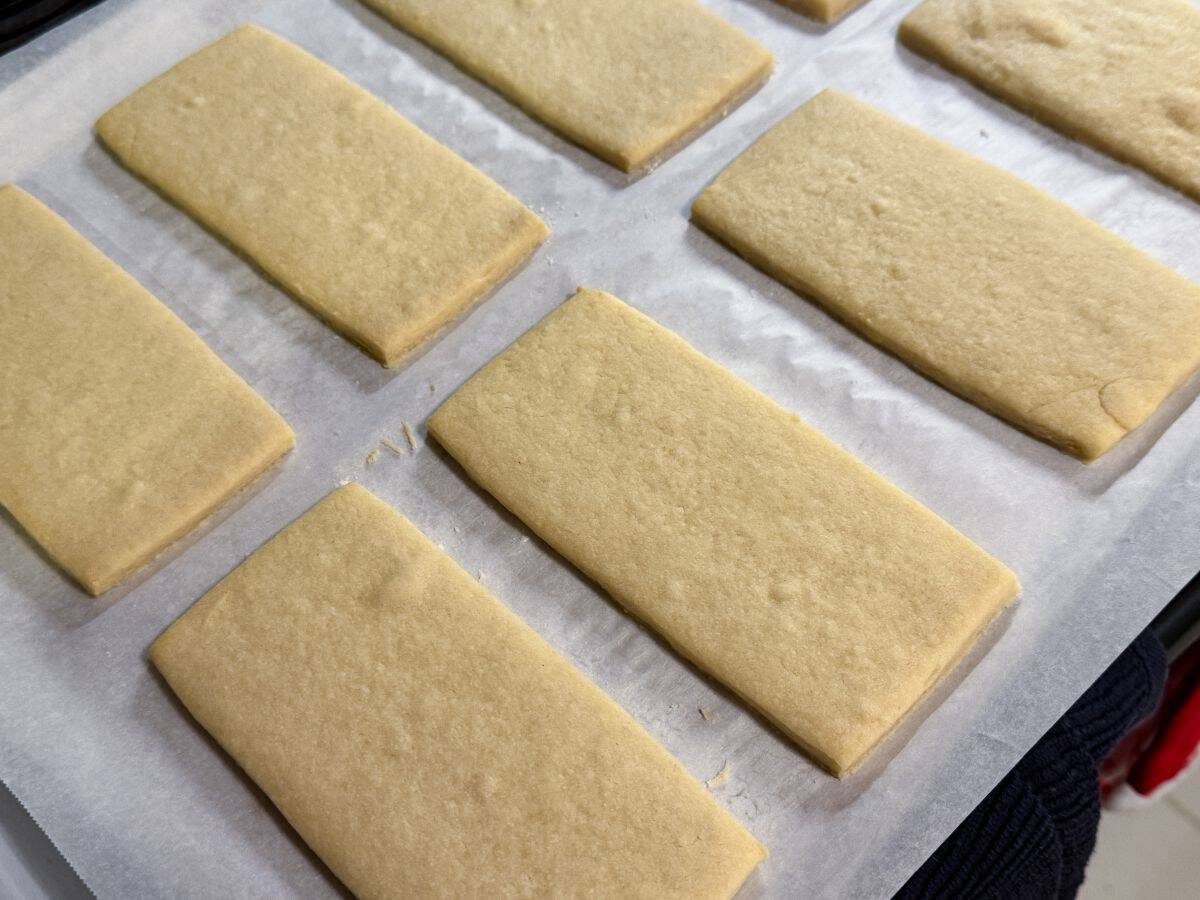
Roll the dough to ¼-inch thickness. I use ¼-inch wooden dowel rods as rolling pin guides when I'm rolling dough.
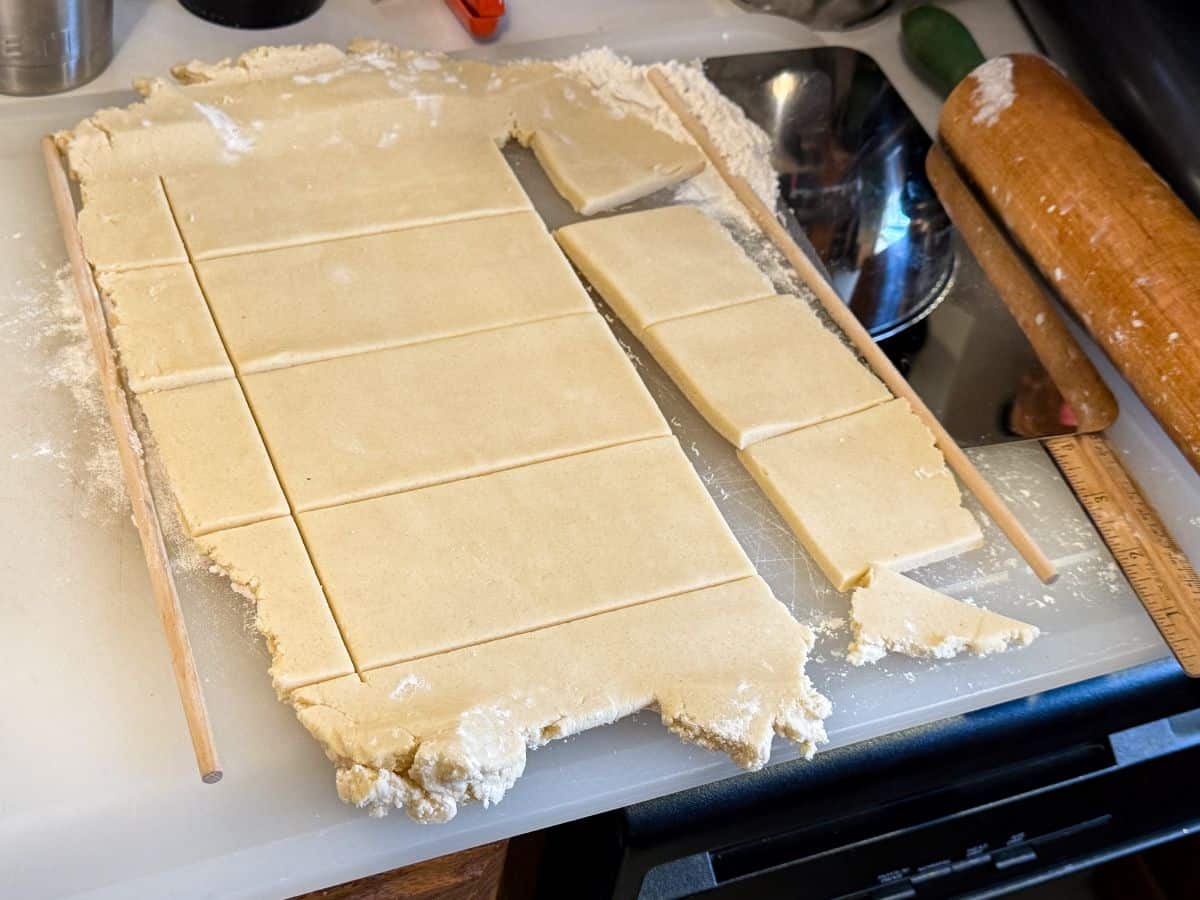
Use a ruler and metal straight edge to cut the dough into 2.5 x 5.5-inch rectangles. I used my metal cake scraper.
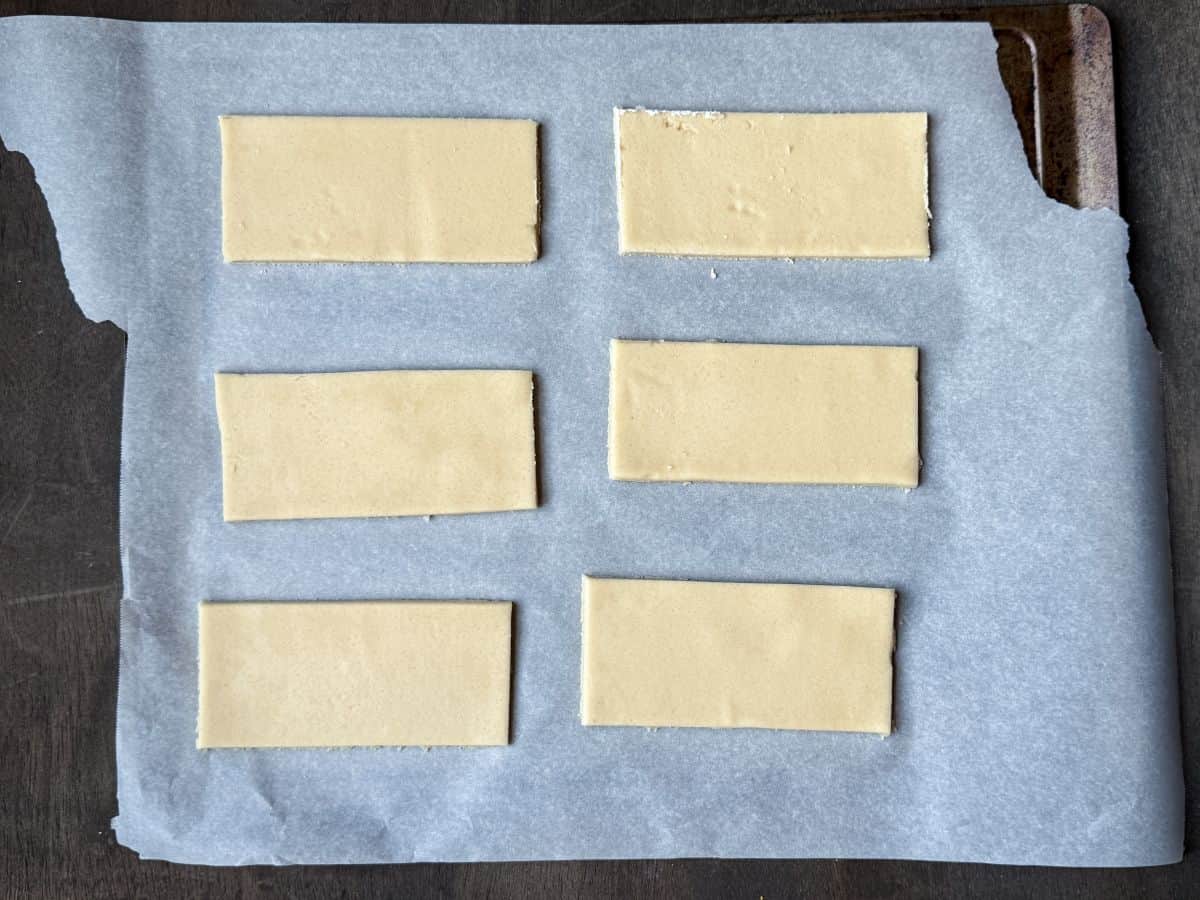
Arrange the cookies on a parchment lined cookie sheet, leaving some space between the cookies for minor spreading.
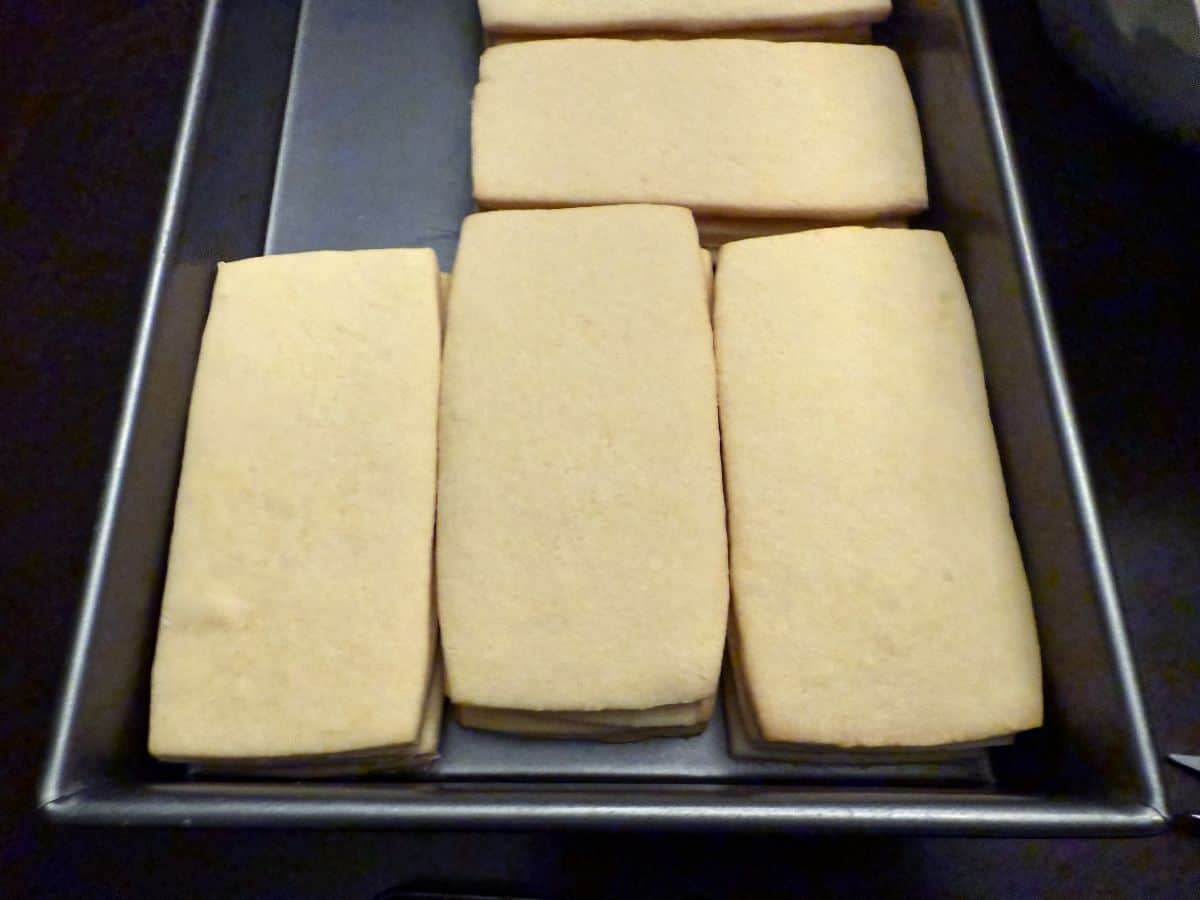
Bake the cookies according to your recipe's instructions and allow them to cool to room temperature before adding the royal icing.
If you will be adding the icing on a different day, stack the cookies in an airtight container and store at room temperature.
Outline the Cookies
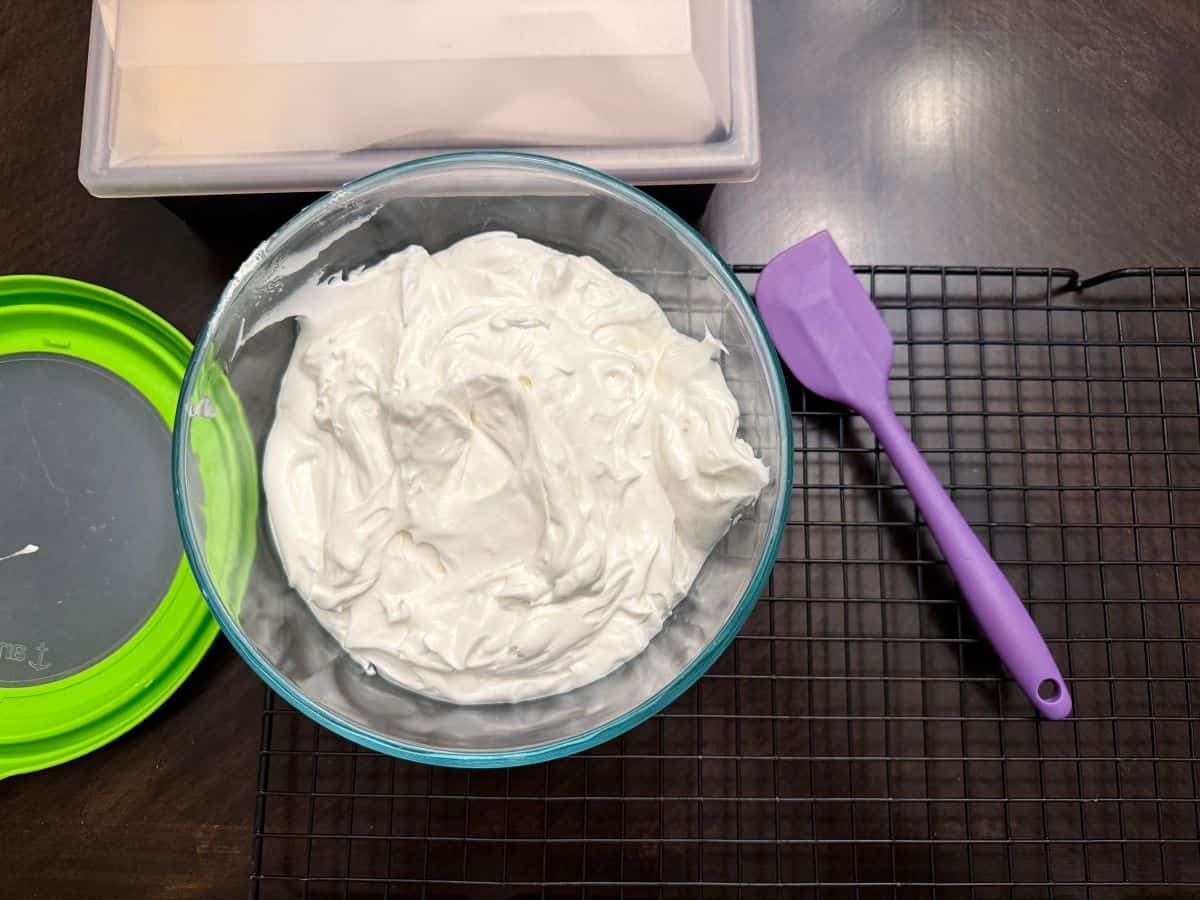
Starting with untinted (white) stock royal icing, add about ¼ cup to a bowl. Add very small amounts of warm water to achieve outline consistency icing, carefully stirring with a small silicone spatula to avoid introducing bubbles into the icing.
Transfer the icing to a disposable piping bag and cut off a very small piece of the tip to make a small round opening.
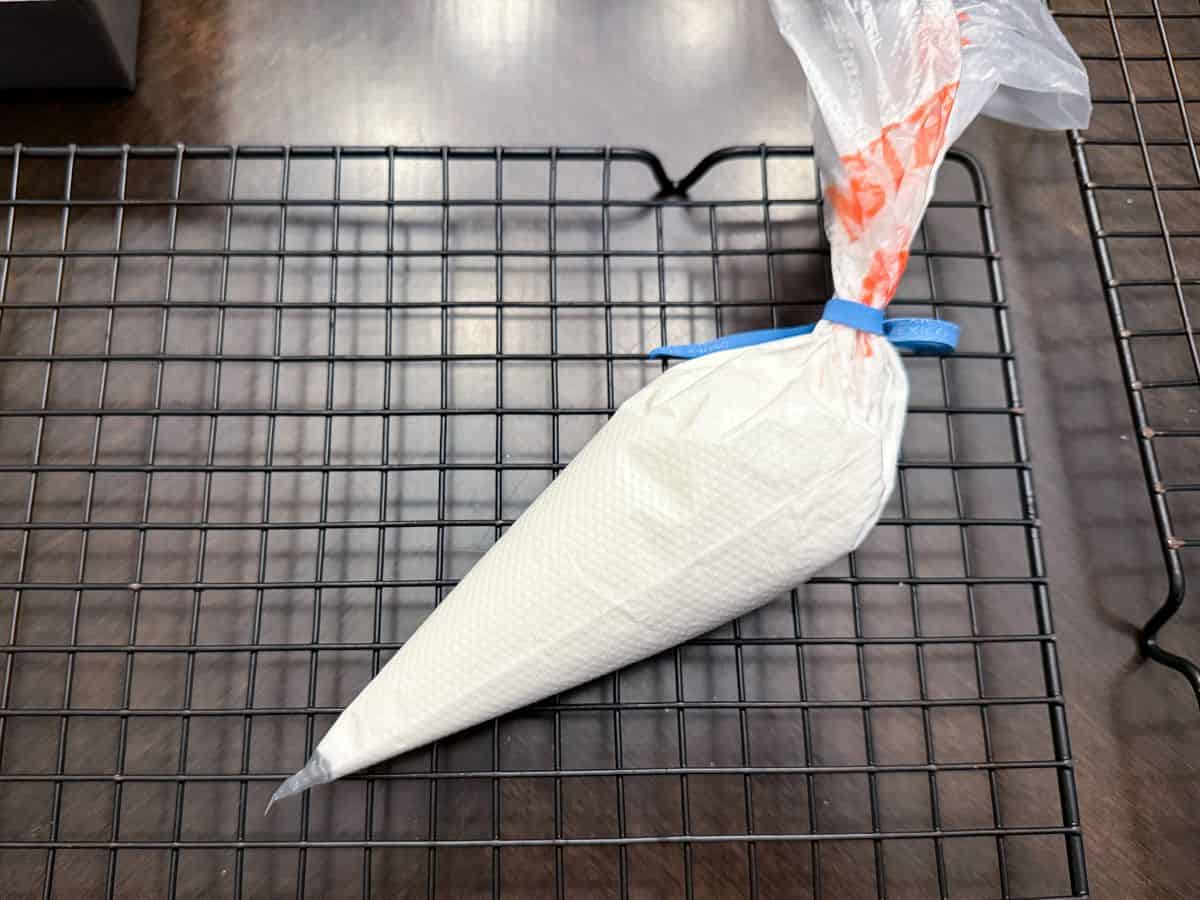
Start by just snipping off a tiny amount; you can always cut more if the opening is too small.
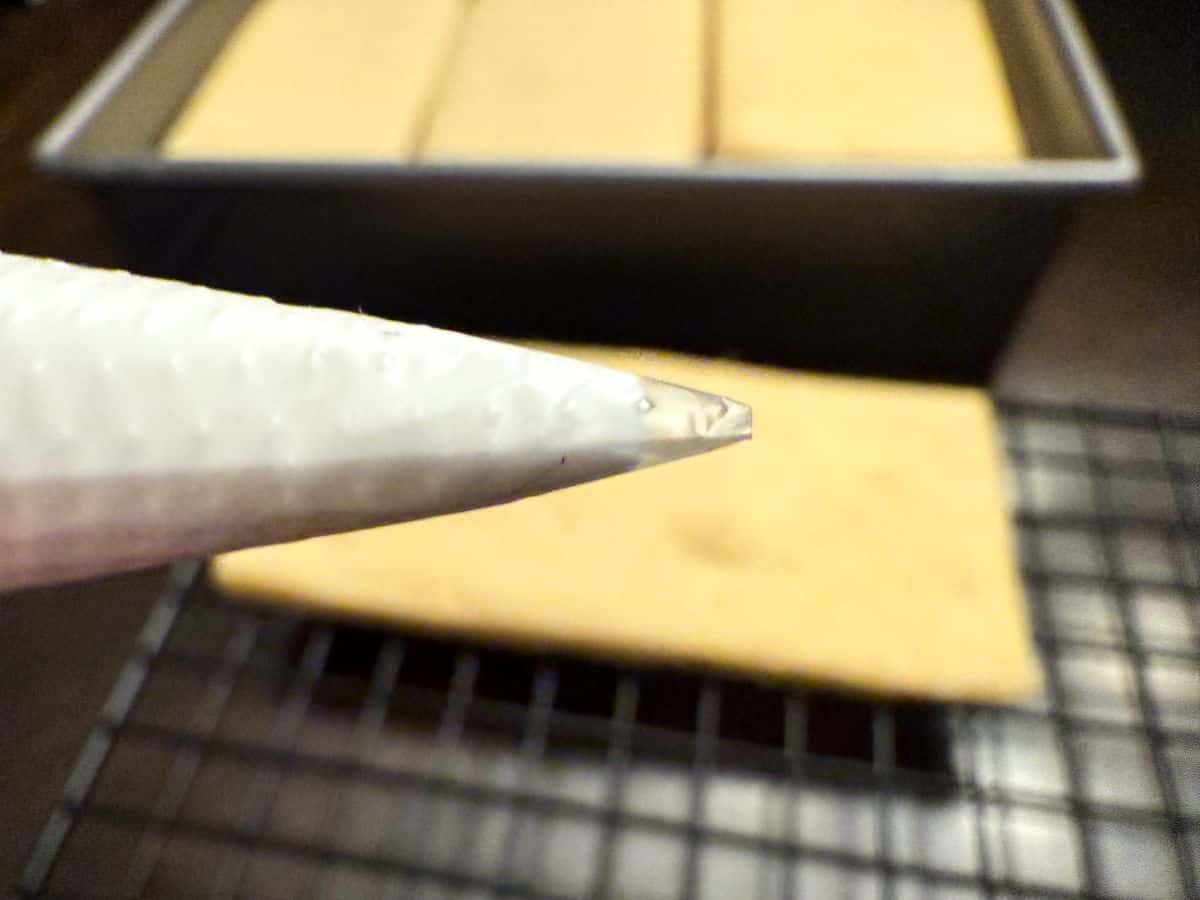
Outline the cookies by piping a rectangular border on the top of each cookie.
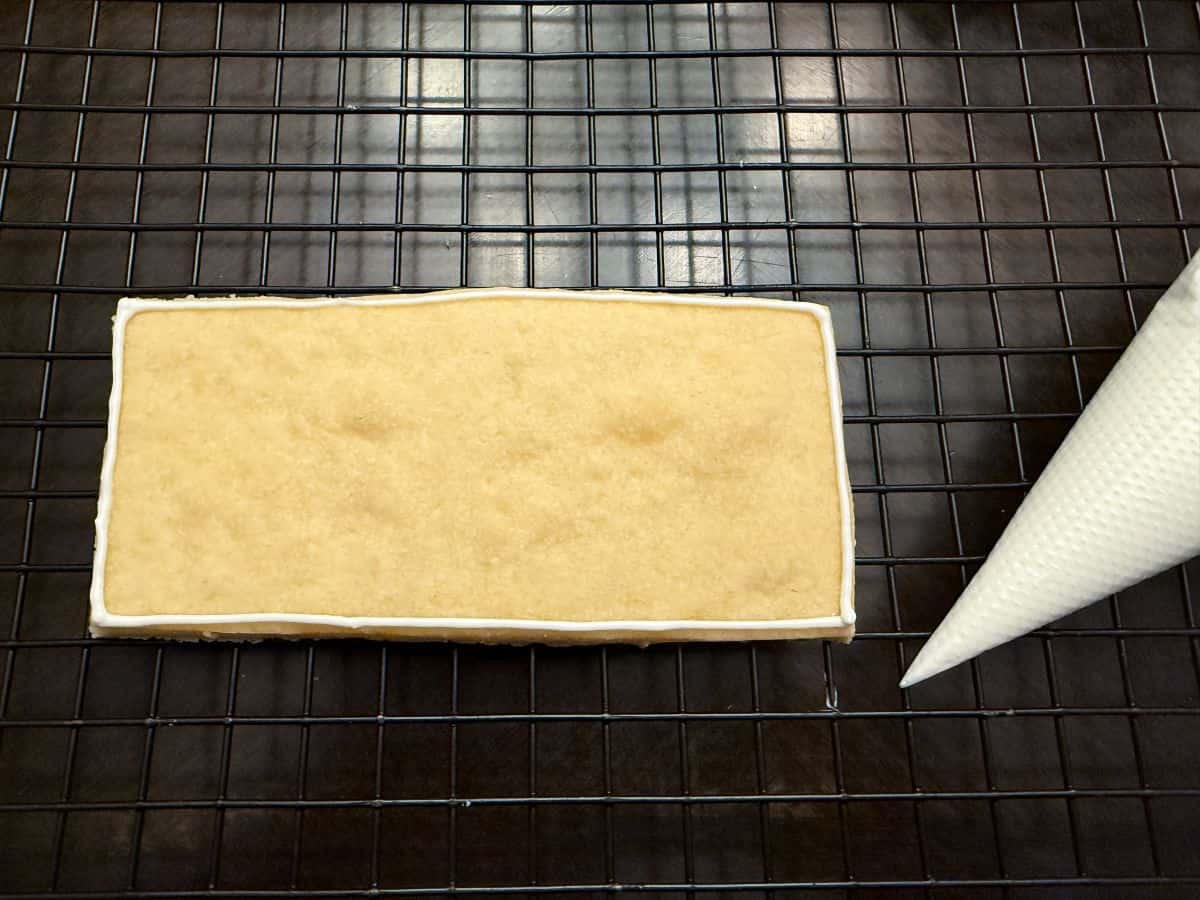
Allow the outline to dry at least 1 hour before proceeding to the flood step.
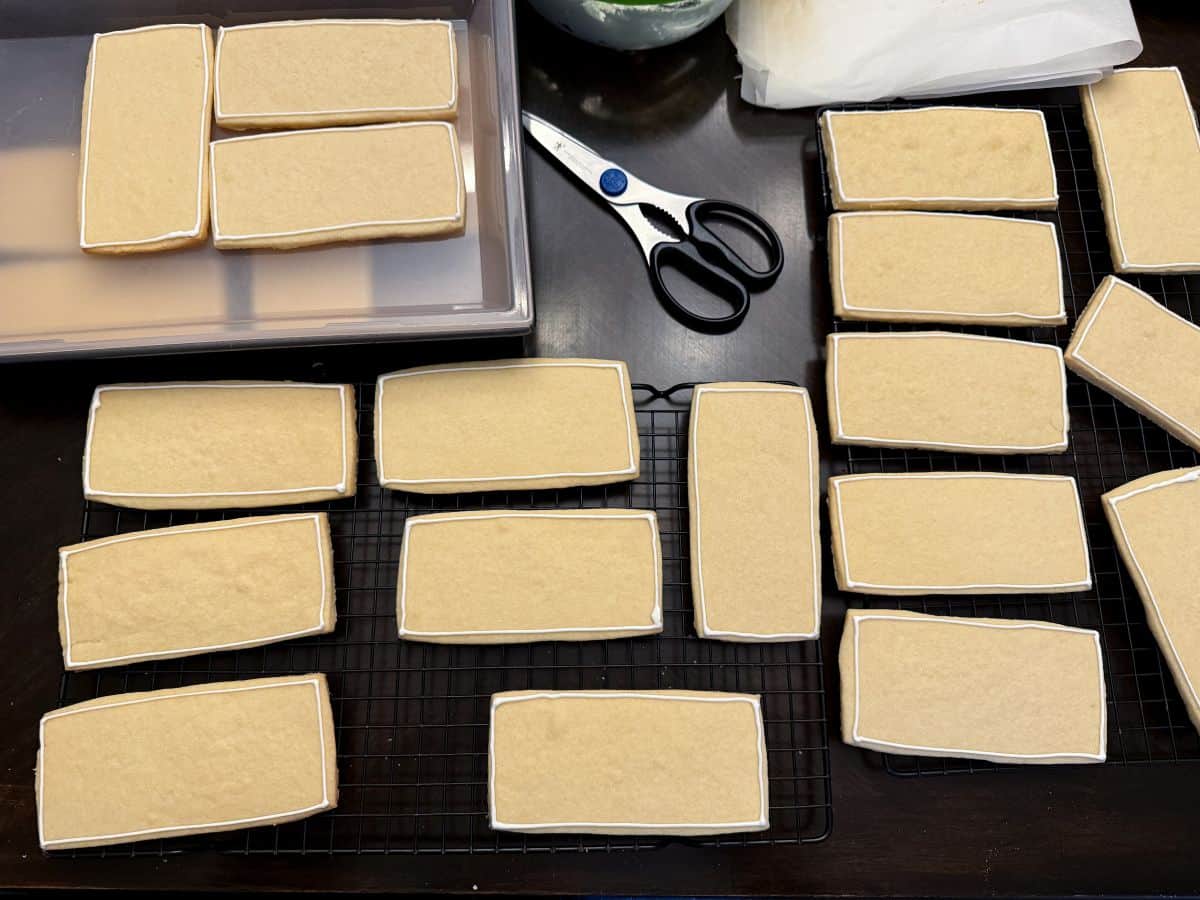
Flood with Royal Icing
Prepare flood consistency untinted (white) royal icing by thinning stock royal icing with small amounts of water until desired consistency is achieved.
Transfer the icing to a disposable piping bag.

Cut off a small amount of the tip.
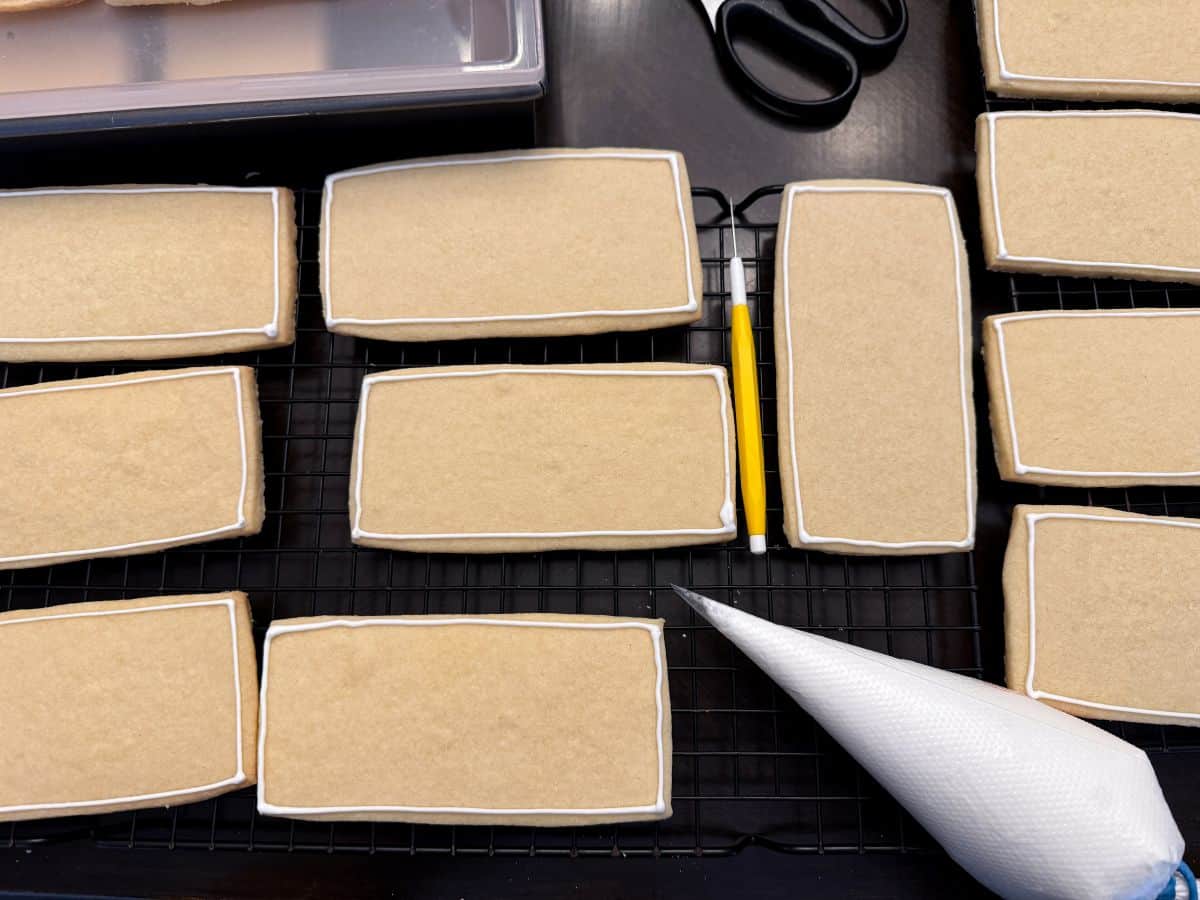
Fill the center of each cookie with the white icing. Use a toothpick or a scribe tool to swirl the icing on the cookie to pop any bubbles.
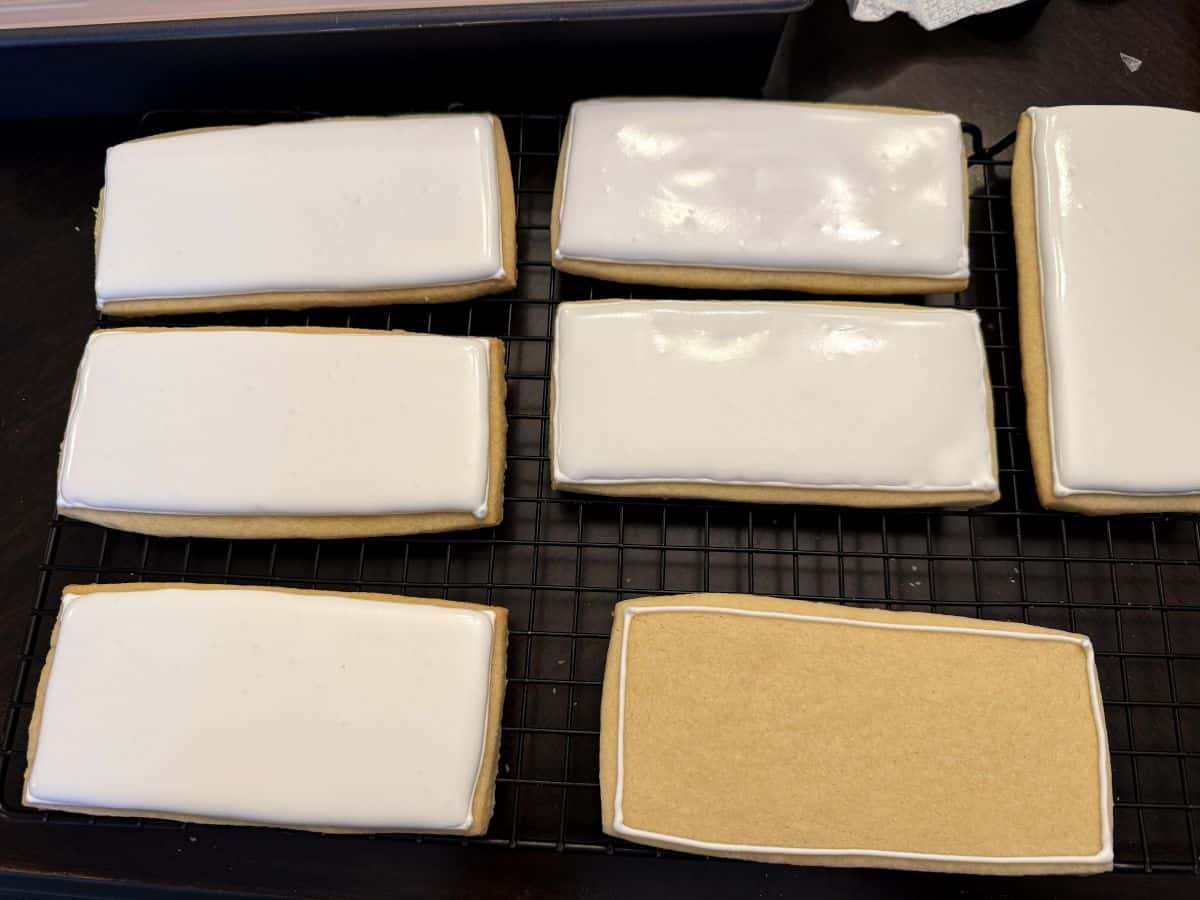
Allow the icing to dry completely at room temperature, about 18 to 24 hours, before adding the details.
Make the Stencil
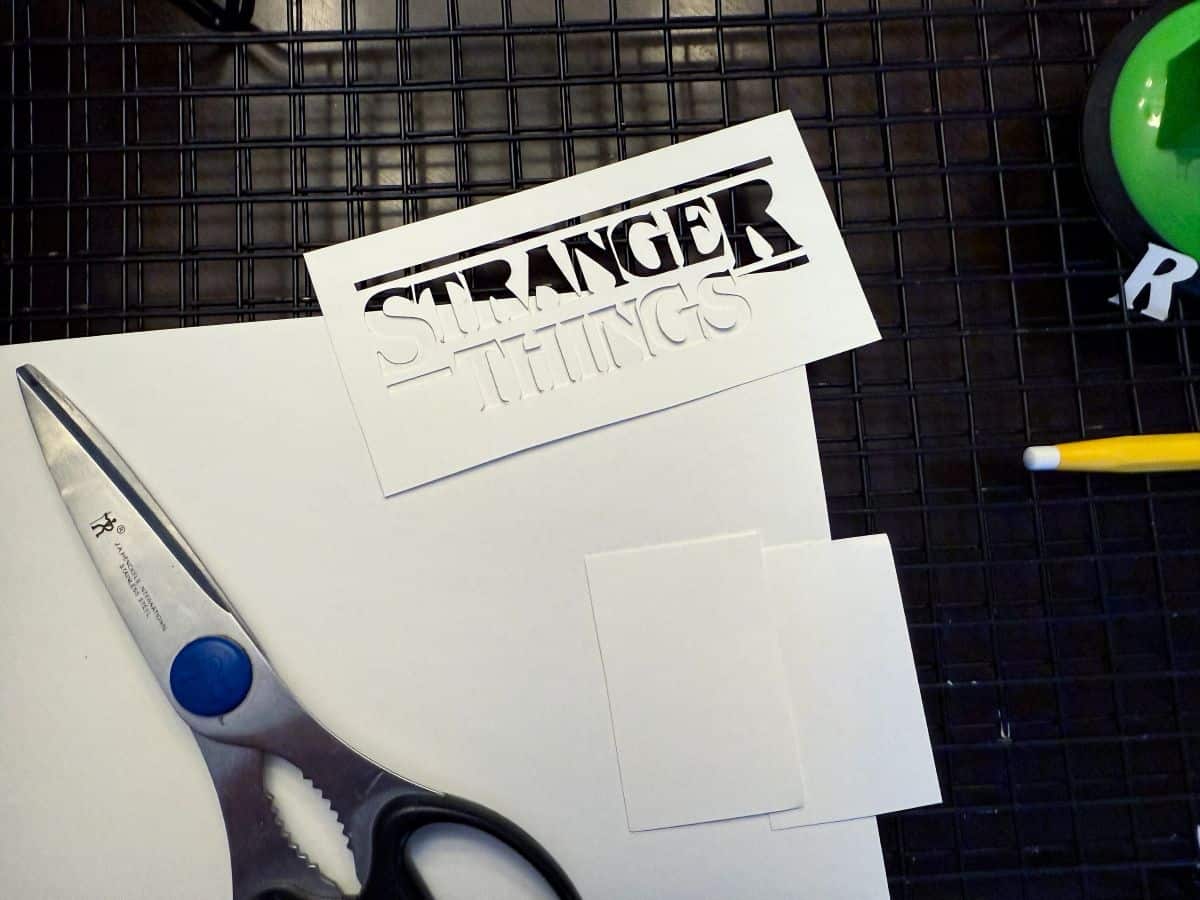
I use my Silhouette Portrait to cut stencils out of plain white cardstock, like with these Tinkerbell Cookies.
I found the Stranger Things logo and downloaded it as a jpg, then used Silhouette Studio to convert it to a cut file, adjusting the size to be slightly smaller than the cookies.
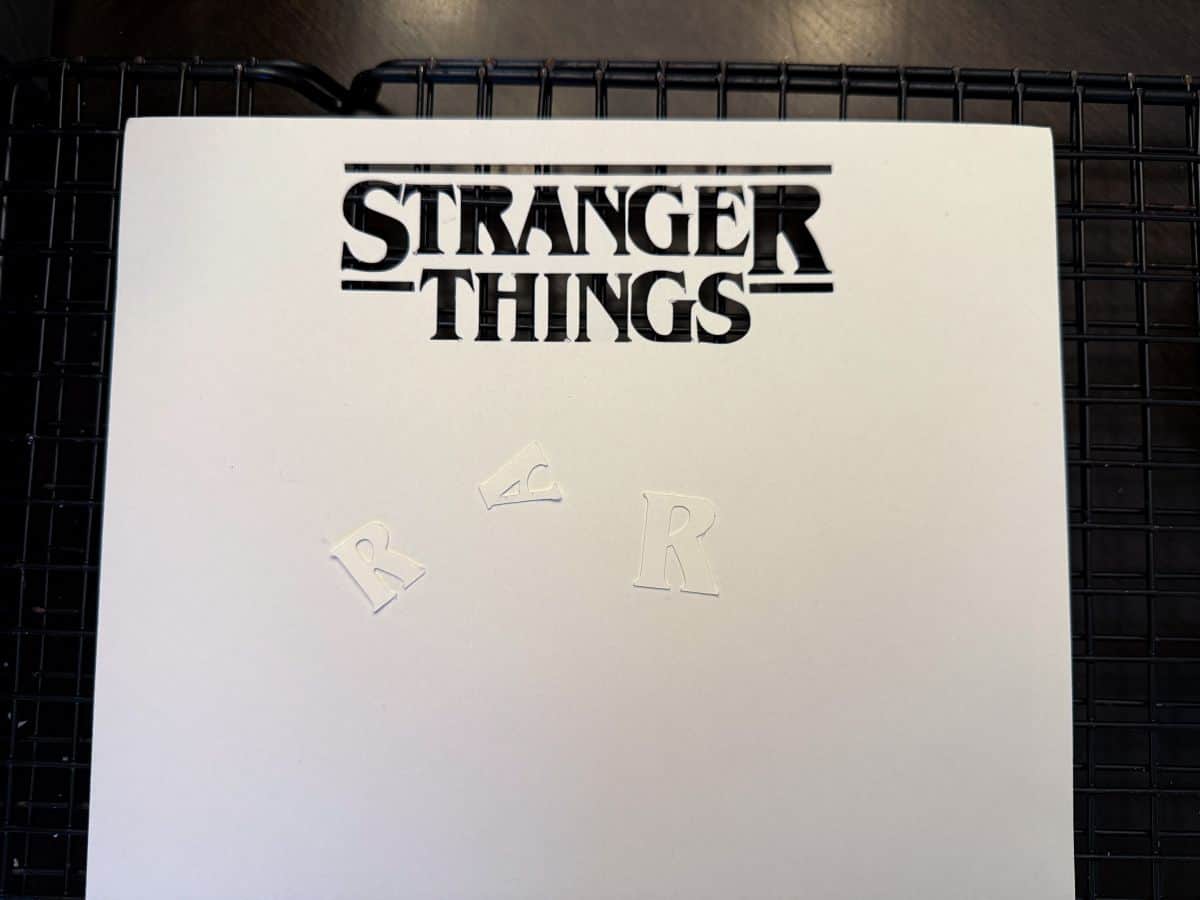
After the design was cut, I trimmed the stencil to be about the size of the cookies.
Due to the logo font, the inside of the "A" and "R"s does not stay attached, but I kept those letters as a guide to know the shape of this inside portion of the letters.
Draw the Details
Make sure your iced cookies have had at least 18 to 24 hours to dry before proceeding to this step. Otherwise, when you press on the surface of the cookie with the marker, you will make indentations in the nice, smooth icing.
Note that the temperature and humidity of your work space may affect dry time, so you may require more than 24 hours for full hardening of the icing.
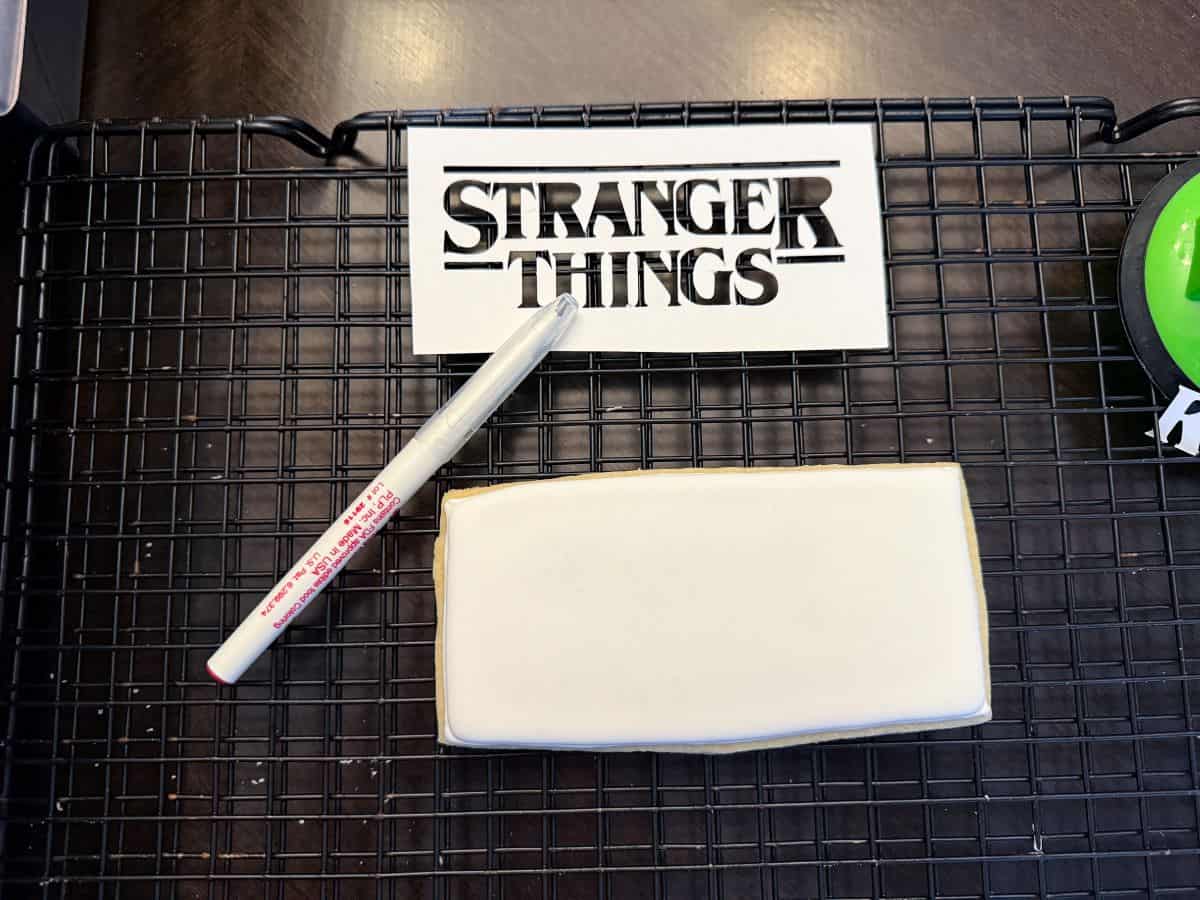
Place the stencil on top of the cookie.
I like to use the stencil to trace the outline of the design on the cookie with a red food coloring pen, such as a FooDoodlers, then remove the stencil and color inside the outline using the marker.
You can use the inside piece for the "R"s and the "A" as a guide to draw the inner piece.
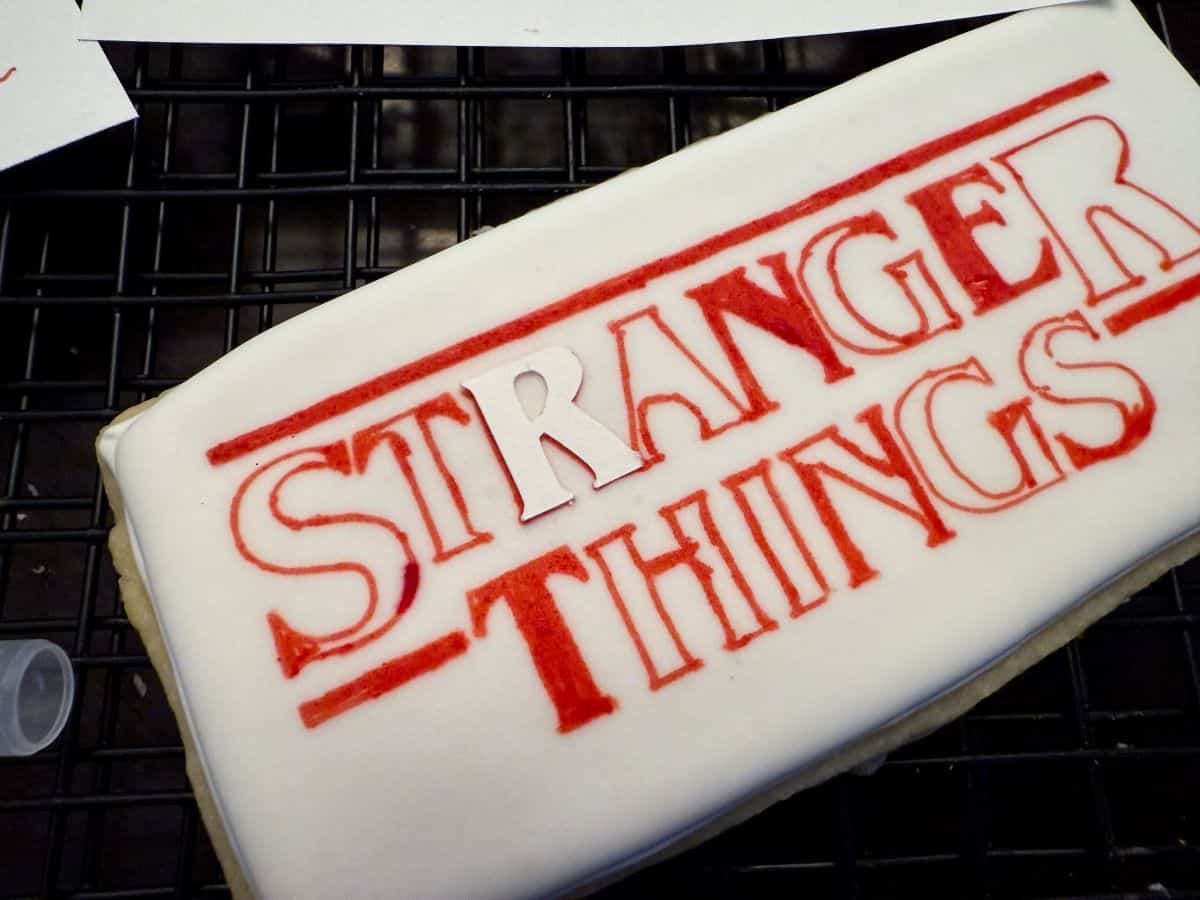
Another option is to keep the stencil in place the entire time you fill in the design. With this method, make sure to keep the stencil in place so it doesn't shift and affect the design.
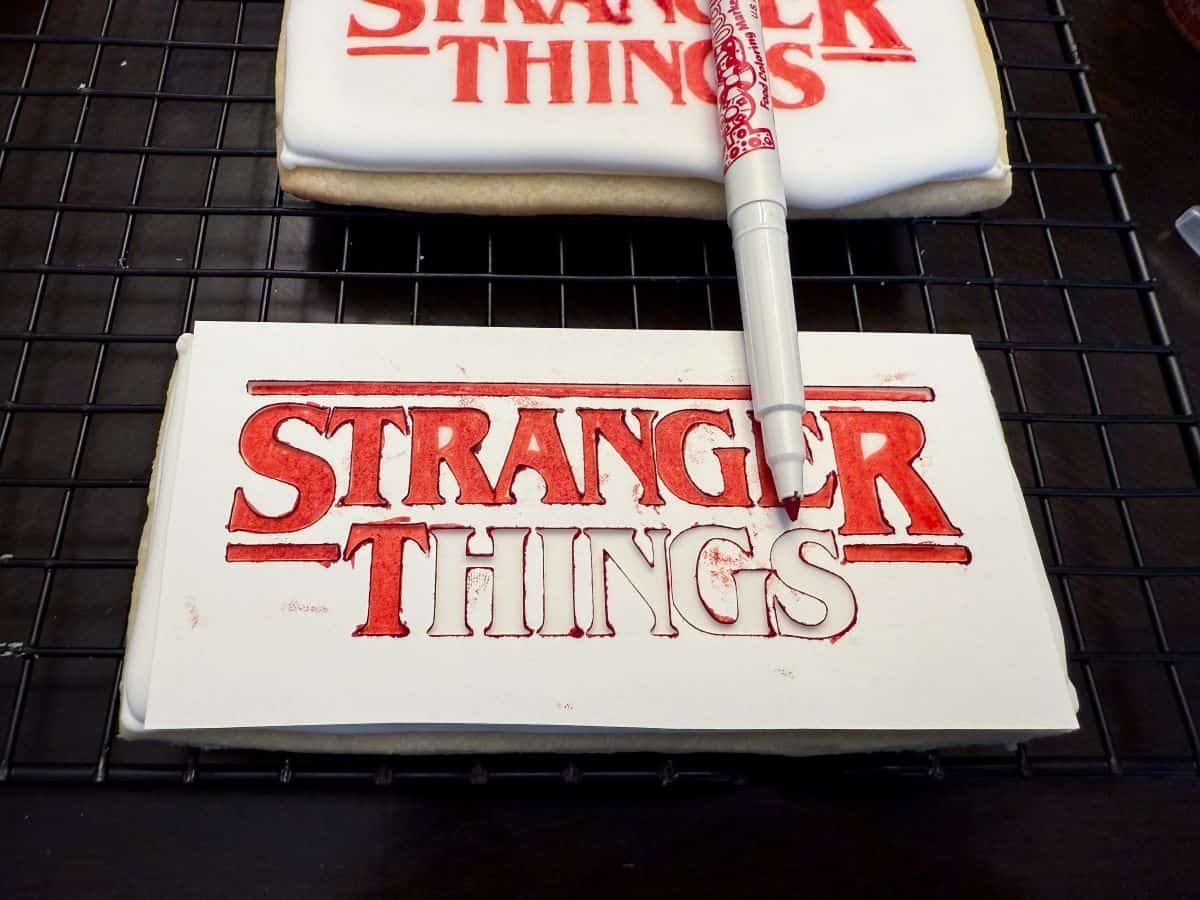
The food coloring markers I use dry almost instantly, but I let them dry for a bit before storing them.

Storage
I never recommend stacking royal icing cookies. The grease from the top cookie can transfer to the royal icing of the bottom cookie and ruin the design.
I prefer to store them in a single layer in an airtight container at room temperature. If you must stack them, use aluminum foil between the layers. The grease can still soak through waxed paper or sometimes even parchment paper, depending on your cookie recipe.
Packaging
To package the cookies in treat bags, place each completely dry cookie into a clear cellophane treat bag and secure with twist tie or ribbon.
Gluten Free Option
Use your favorite gluten free sugar cookie or shortbread cookie recipe. The rest of the ingredients are gluten free. Please check your ingredient packaging for possible gluten contaminants.
📖 Recipe
Stranger Things Cookies
Equipment
- Ruler
- metal cake scraper or straight edge/knife
- disposable piping bags
- toothpicks or scribe tool
- Silhouette cutting machine or equivalent machine
- white cardstock
Ingredients
- 2 batches your favorite shortbread or sugar cookie dough (see note)
- 1 batch Easy Royal Icing (see note)
- 1 red food coloring pen or marker (such as FooDoodlers)
Instructions
Bake the Cookies
- Roll the cookie dough to ¼-inch thickness.
- Use a ruler and metal straight edge to cut the dough into 2.5 x 5.5-inch rectangles.
- Arrange the cookies on a parchment lined cookie sheet, leaving some space between the cookies for minor spreading.
- Bake the cookies according to your recipe's instructions.
- Allow them to cool to room temperature. If you will be adding the icing on a different day, stack the cookies in an airtight container and store at room temperature.
Outline the Cookies
- Starting with untinted (white) stock royal icing, add about ¼ cup to a bowl. Add very small amounts of warm water to achieve outline consistency icing, carefully stirring with a small silicone spatula to avoid introducing bubbles into the icing.
- Transfer the icing to a disposable piping bag and cut off a very small piece of the tip to make a small round opening.
- Start by just snipping off a tiny amount; you can always cut more if the opening is too small.
- Outline the cookies by piping a rectangular border on the top of each cookie.
- Allow the outline to dry at least 1 hour before proceeding to the flood step.
Flood with Royal Icing
- Prepare flood consistency untinted (white) royal icing by thinning stock royal icing with small amounts of water until desired consistency is achieved.
- Transfer the icing to a disposable piping bag.
- Cut off a small amount of the tip.
- Fill the center of each cookie with the white icing. Use a toothpick or a scribe tool to swirl the icing on the cookie to pop any bubbles.
- Allow the icing to dry completely at room temperature, about 18 to 24 hours, before adding the details.
Make the Stencil
- Find and download the Stranger Things logo to your computer. Use the software for a Silhouette Cutting machine, or equivalent machine, to adjust the size of the logo to be slightly smaller than the cookies.
- Cut the logo out of white cardstock using the cutting machine.
- Trim the stencil to be about the size of the cookies.
- Due to the logo font, the inside of the "A" and "R"s does not stay attached, but keep those letters as a guide to know the shape of the inside portion of the letters.
Draw the Details
- Make sure your iced cookies have had at least 18 to 24 hours to dry before proceeding to this step. Otherwise, when you press on the surface of the cookie with the marker, you will make indentations in the nice, smooth icing. Note that the temperature and humidity of your work space may affect dry time, so you may require more than 24 hours for full hardening of the icing.
- Place the stencil on top of a cookie.
- Using a red food coloring pen or marker, trace the outline of the design on the cookie. Remove the stencil and color inside the outline using the pen/marker.
- Use the loose letters for "A" and the "R"s as a guide to draw the inner piece of those letters.
- Allow the red design to dry fully before storing or packaging the cookies.

Susan G says
These are so cute and clever. I’m sure they were a hit at the party!
Meghan says
Thank you!!