
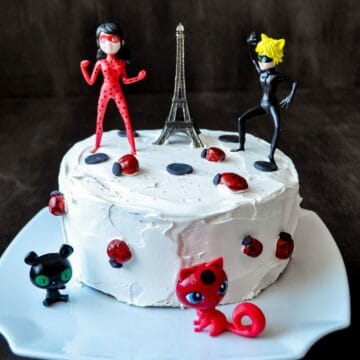
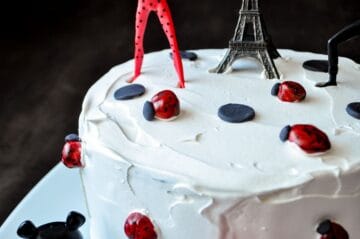
This Miraculous Birthday Cake features a simple design with fondant ladybugs and black circles and figurines of Ladybug, Cat Noir, Tikki, Plagg and an Eiffel Tower. A cute birthday cake for fans of the Netflix show.
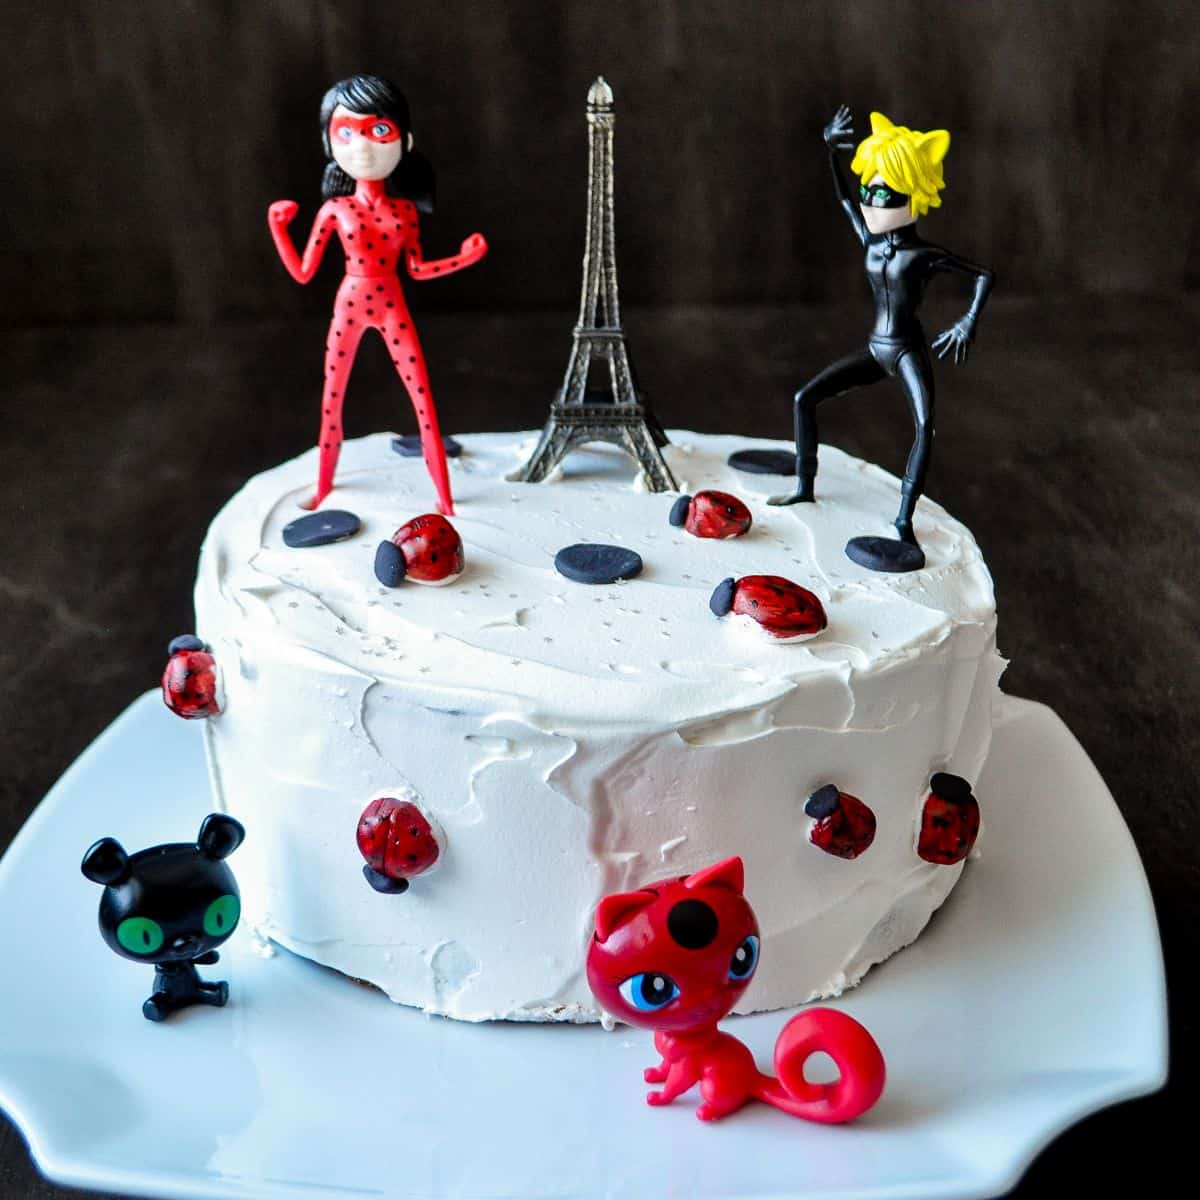
When my middle daughter was turning 7, she asked for a cake that featured one of her favorite shows, Netflix's Miraculous. This was many years ago, but new seasons of this show are still being made!
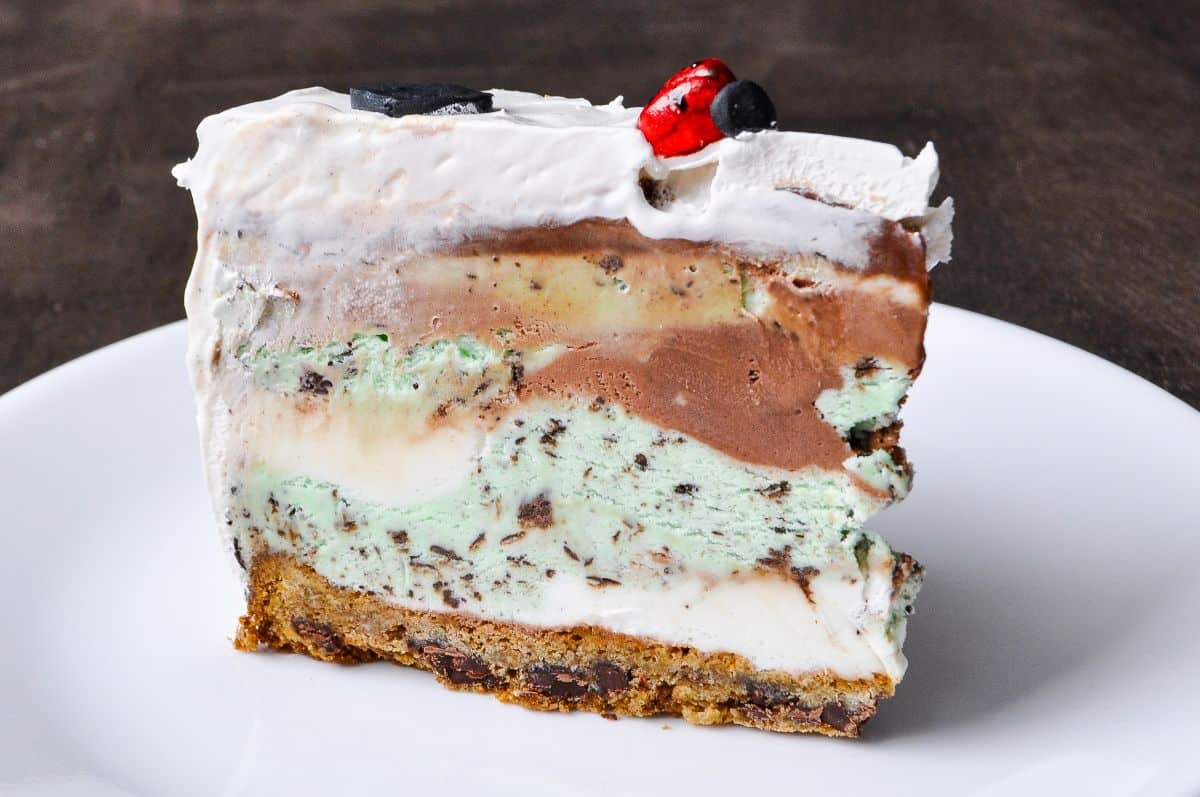
As for the type and flavor of cake, my daughter wanted a homemade ice cream cake with vanilla, chocolate, and mint chocolate chip ice cream and a chocolate chip cookie crust.
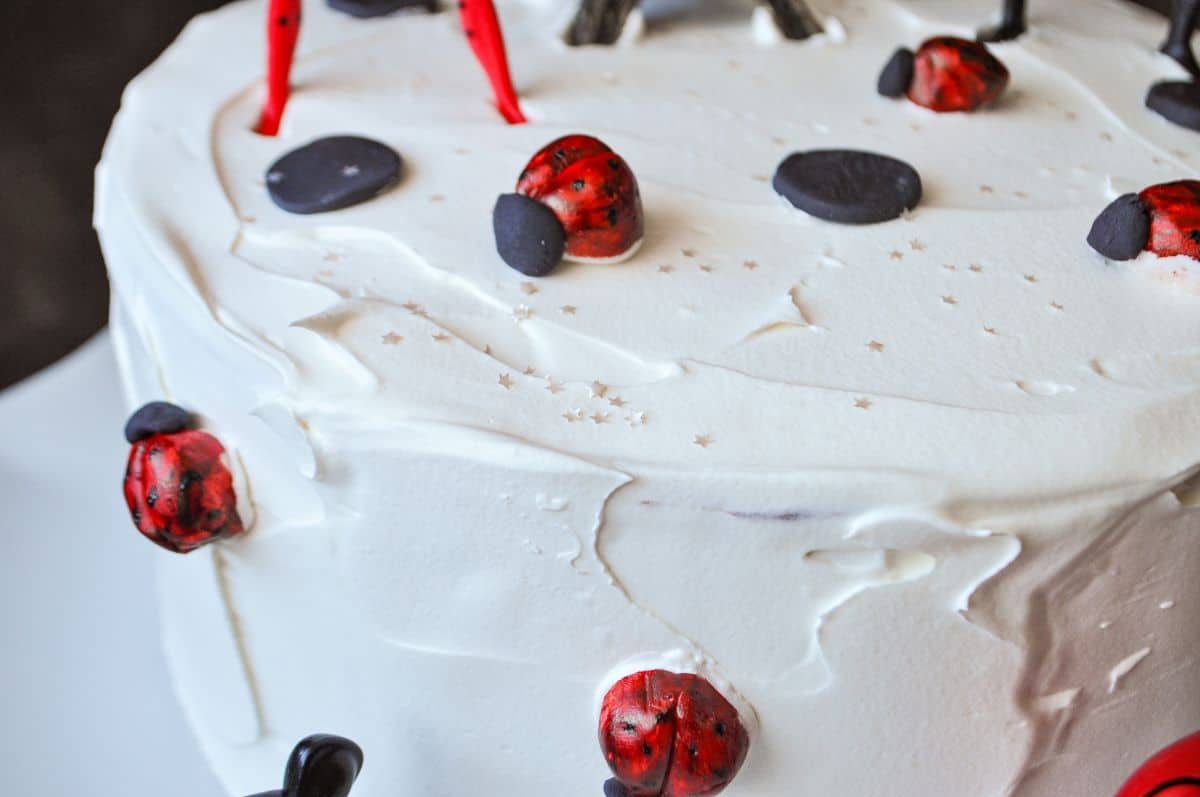
I decided to keep the design simple with just white whipped topping as the frosting. I made some small fondant ladybugs and black circles to place on the cake. Since the show takes place in Paris, I placed a small Eiffel Tower on top. We already had some Miraculous figurines, so I placed those on and around the cake.
I sprinkled some edible silver stars on top just to give it a little sparkle.
My daughter loved this cake!
Jump to:
Supplies
Other than the cake ingredients, you will need:
- white and black rolled fondant
- food dedicated paint palette
- red and black food coloring gel
- food safe paintbrush
- small fondant rolling pin with guides
- medium sized metal piping tip, like #2D
- 9-inch springform pan
- clear acetate sheet
- Eiffel Tower figurine
- Miraculous figurines (Ladybug, Cat Noir, Tikki and Plagg)
- Wilton Edible Accents silver stars
I purchased the Miraculous figures a long time ago. The closest I can find to them now is this set.
Make the Fondant Ladybugs
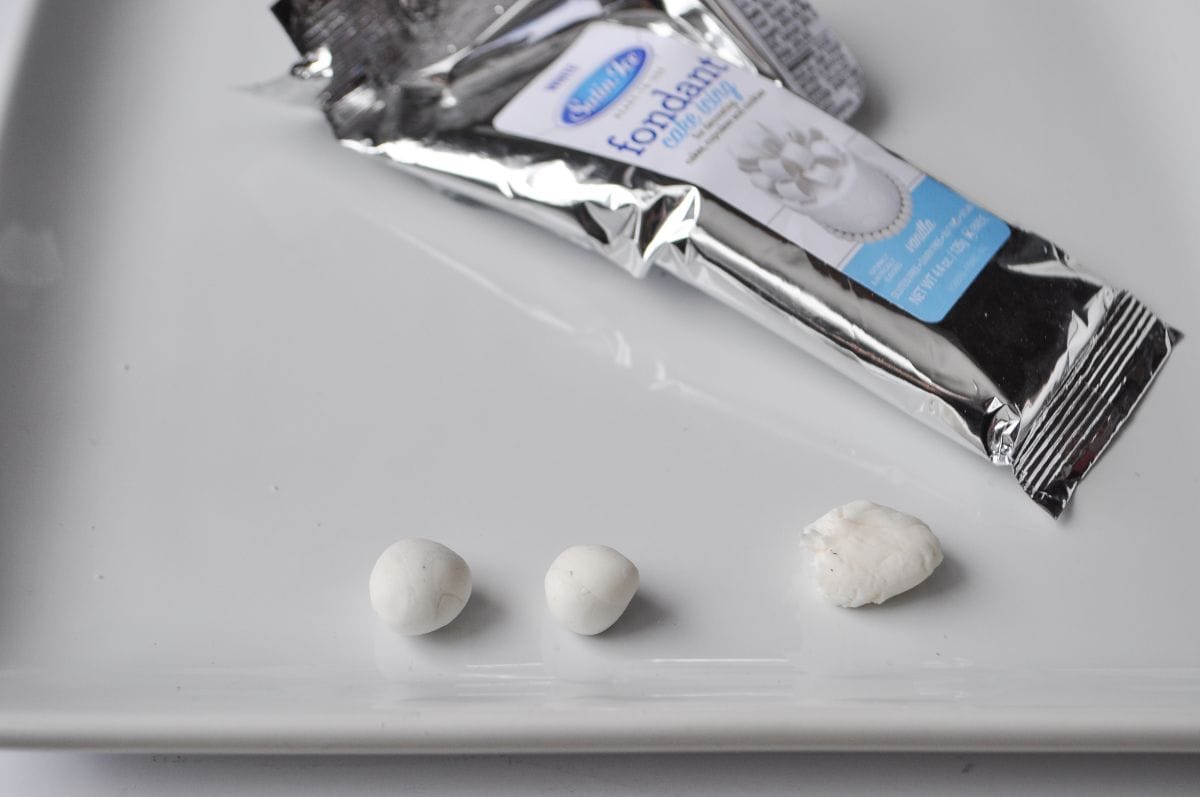
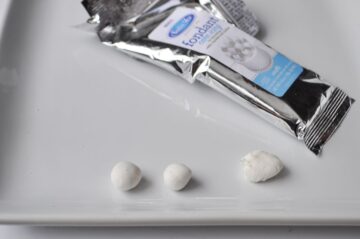
To make the ladybugs, I used packaged white fondant. I broke off small pieces and rolled them into balls.
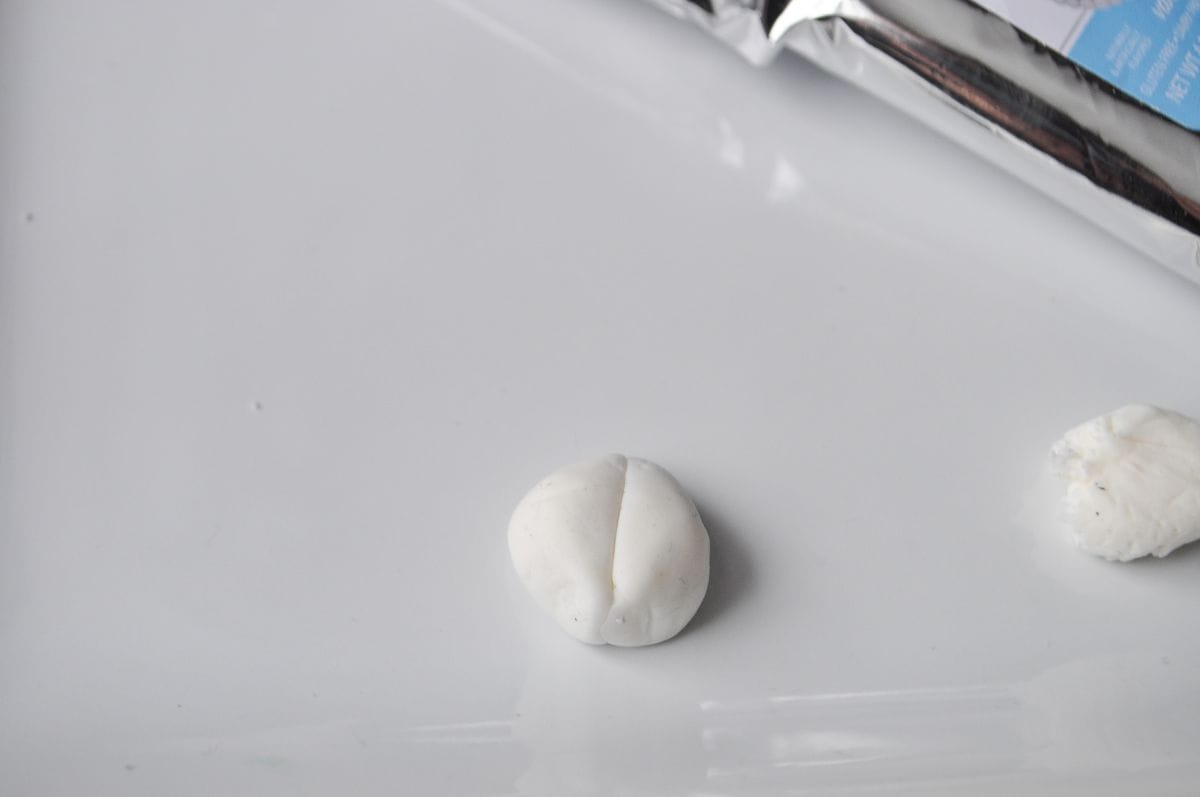
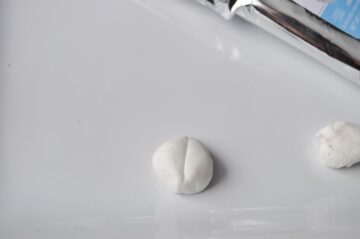
Then, I flattened the balls to look like the body of a ladybug and used a small knife to make an indent down the center to represent the divide of a ladybug's wings.
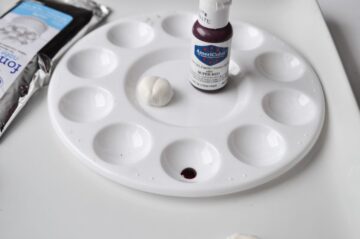
To make the ladybugs red, I chose to paint them with red food coloring gel. If you prefer them to have a more uniform look, you can just add the red gel to the fondant before shaping the bodies. Squeeze a drop of gel into the well of a food dedicated paint palette.
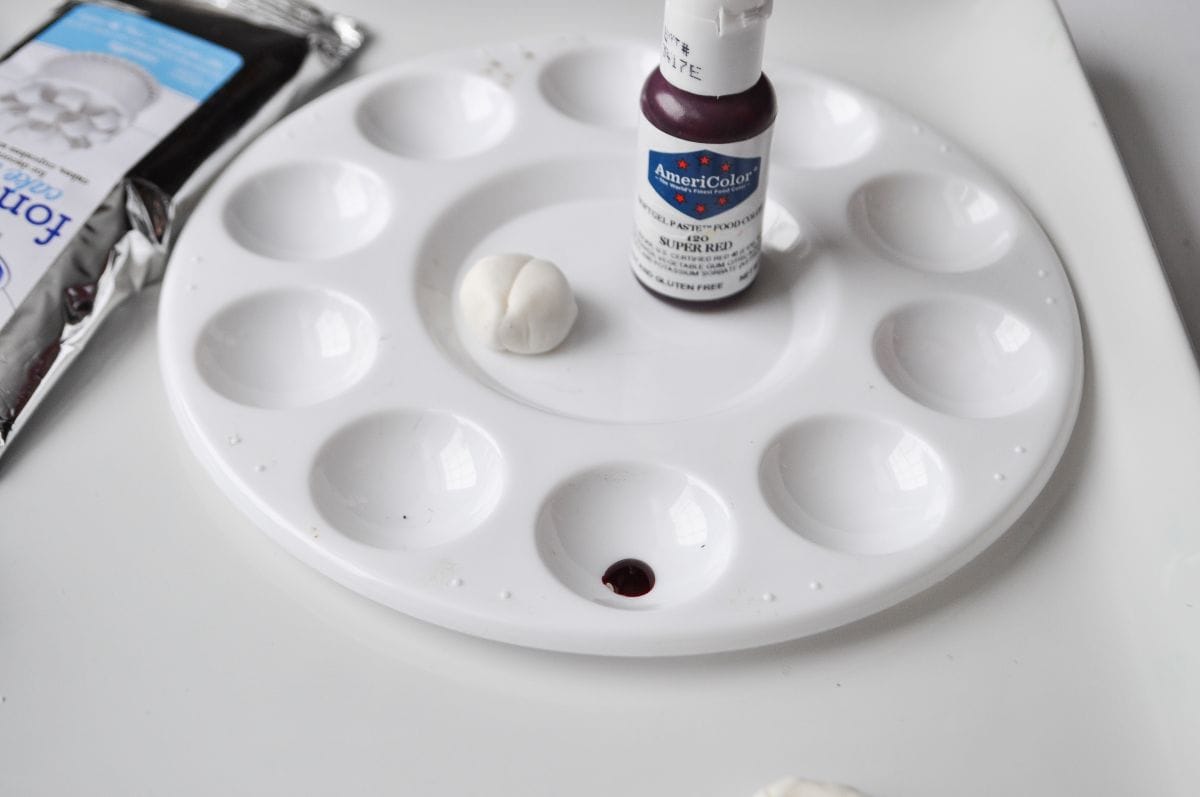
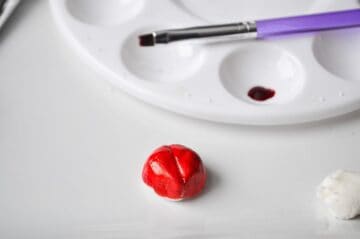
I painted the entire body with the red gel using a food grade paintbrush. If you find the gel is too thick, you can add a drop of clear alcohol (like Everclear or vodka) or extract.
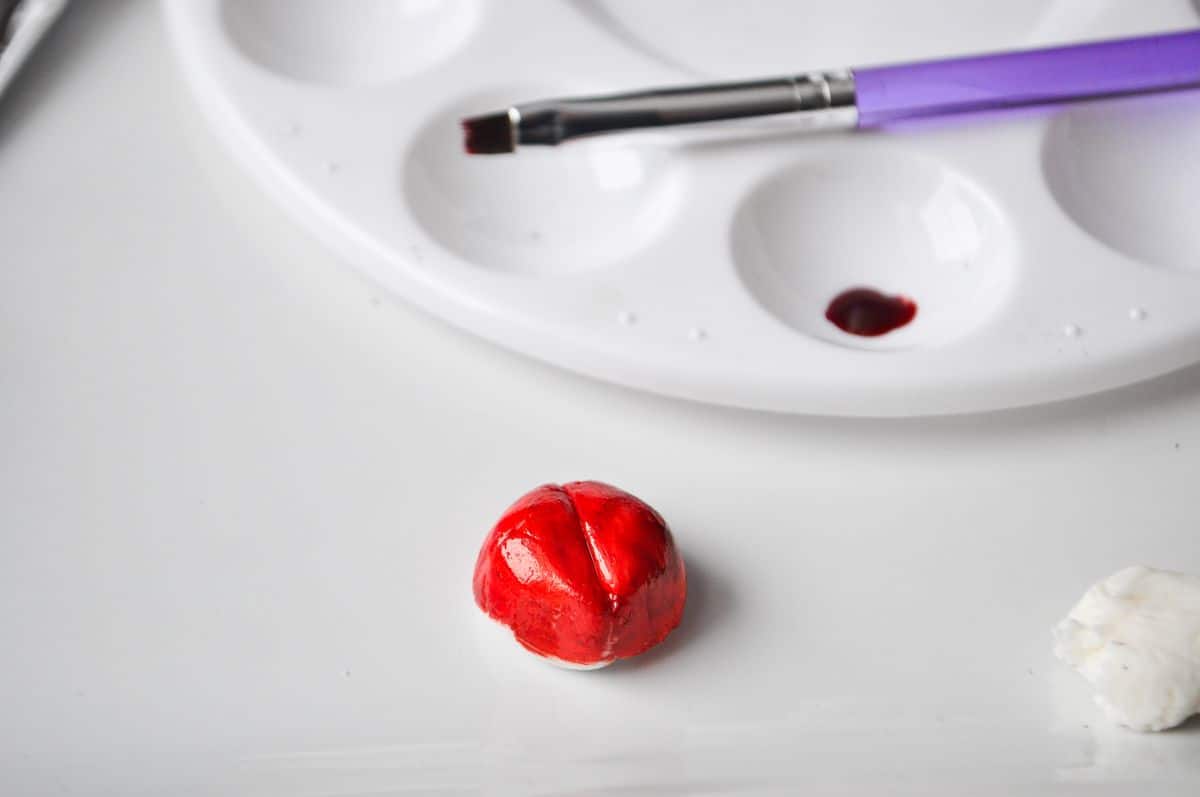
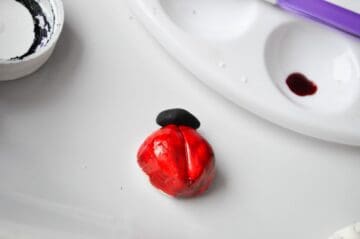
Next, I broke off a small piece of black fondant and shaped it into a head and pressed it on the body.
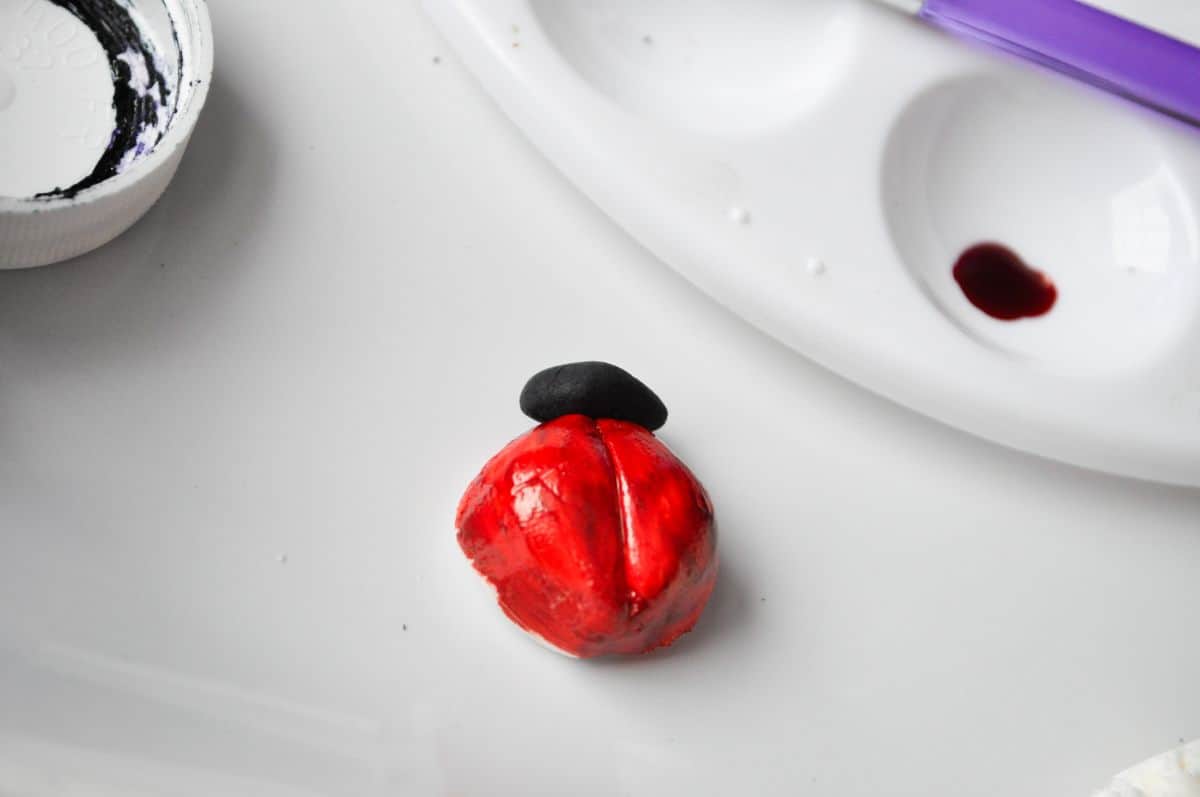
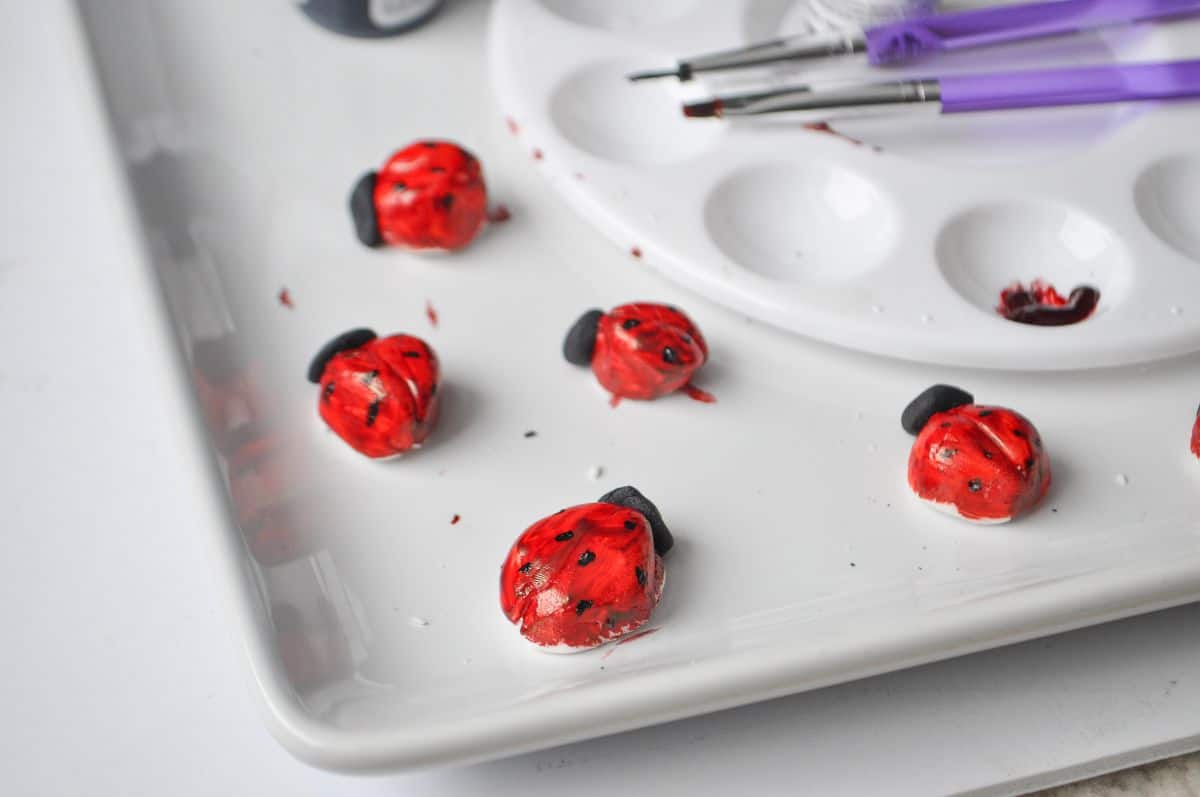
Lastly, I used a fine paintbrush to apply small spots of black food coloring gel to the red body of the ladybug.
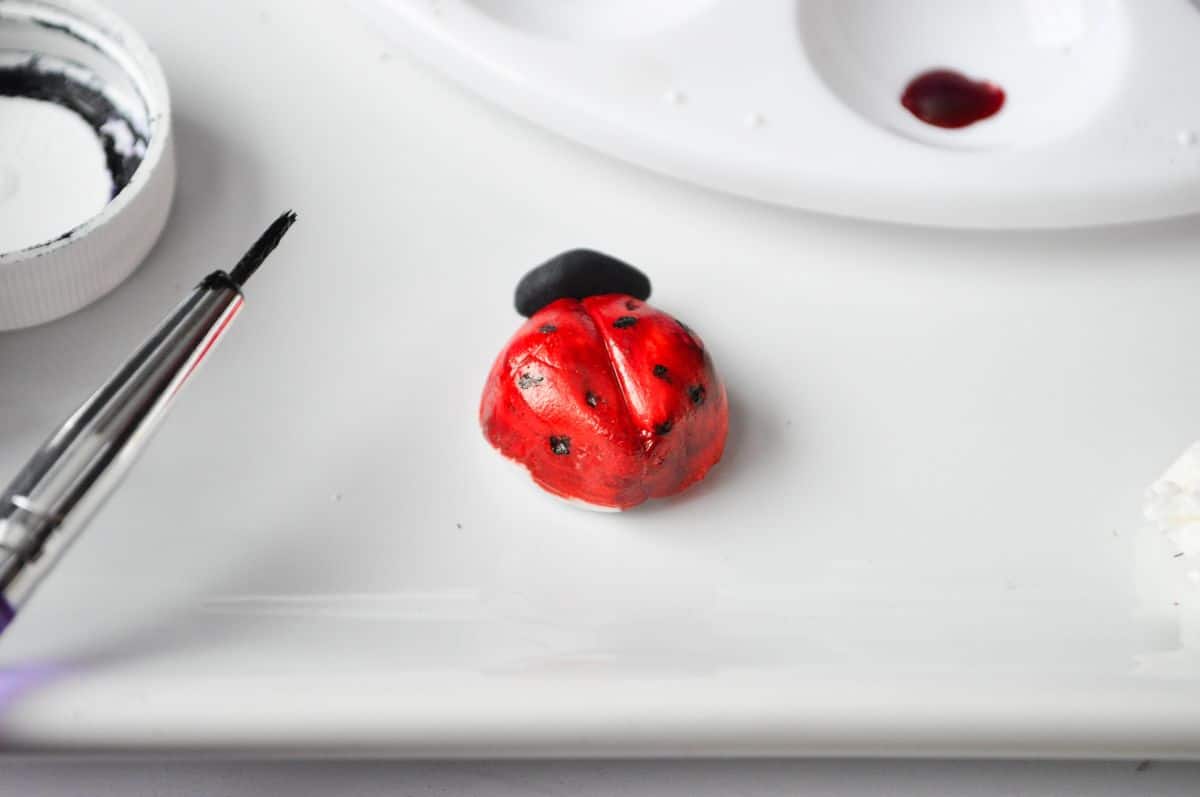
To cover the entire cake, you'll need about 7 to 10 ladybugs.
To make the black fondant circles, I used packaged black fondant. You can also add black food gel to white fondant. It can use up a lot of the gel, so I prefer to purchase it already tinted.
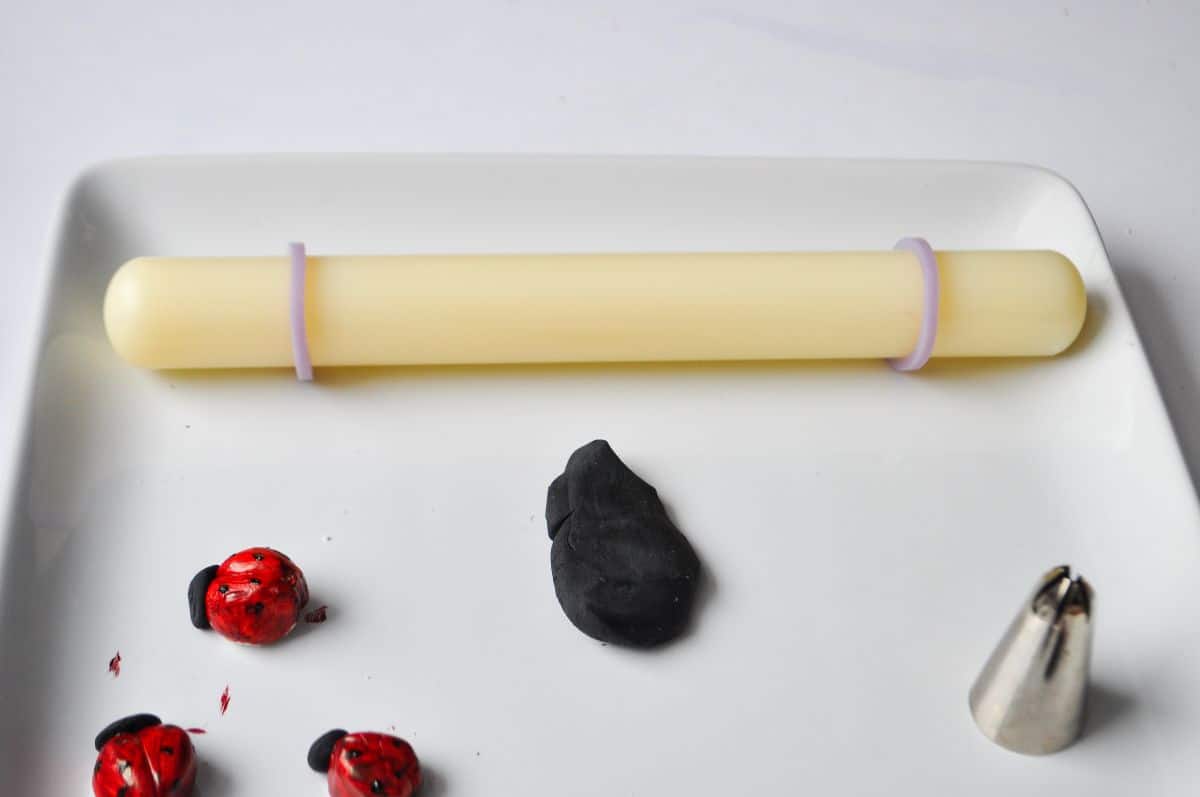
First, I rolled the black fondant into a thin, even layer using a small fondant rolling pin.
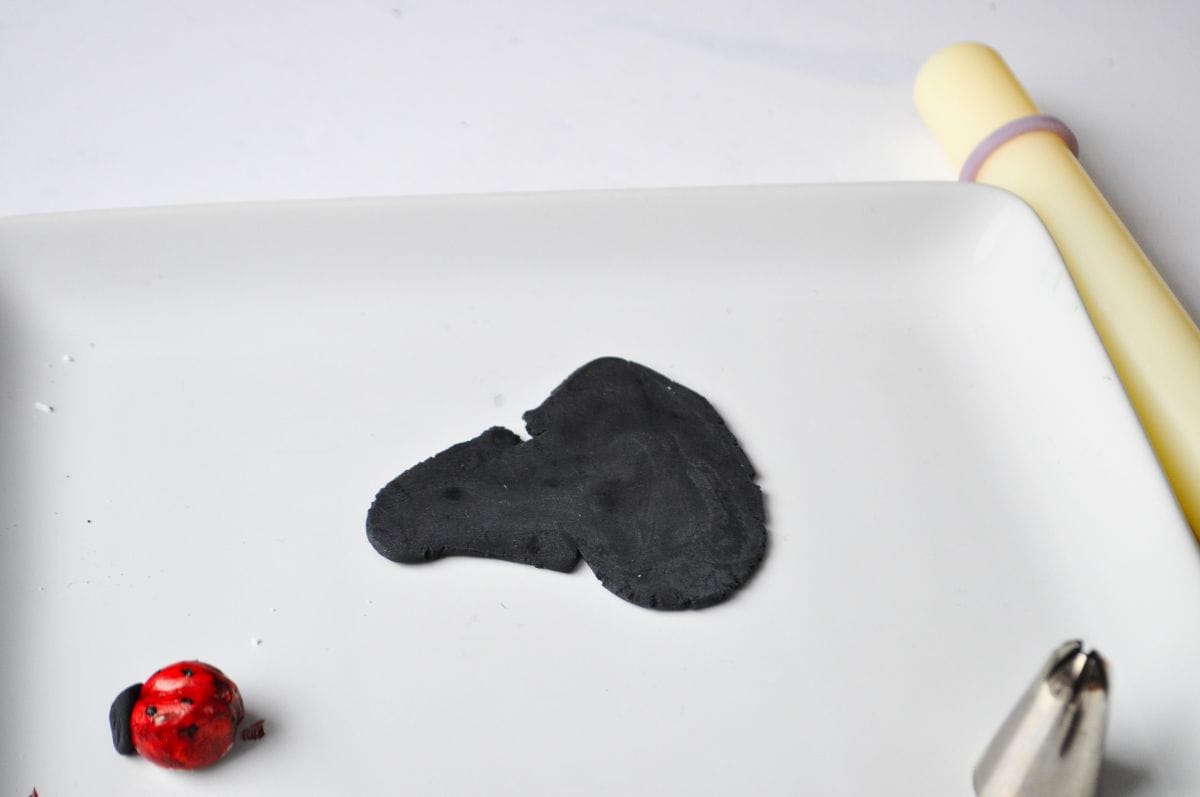
Then, I use the wide round opening of a metal piping tip to cut circles of fondant.
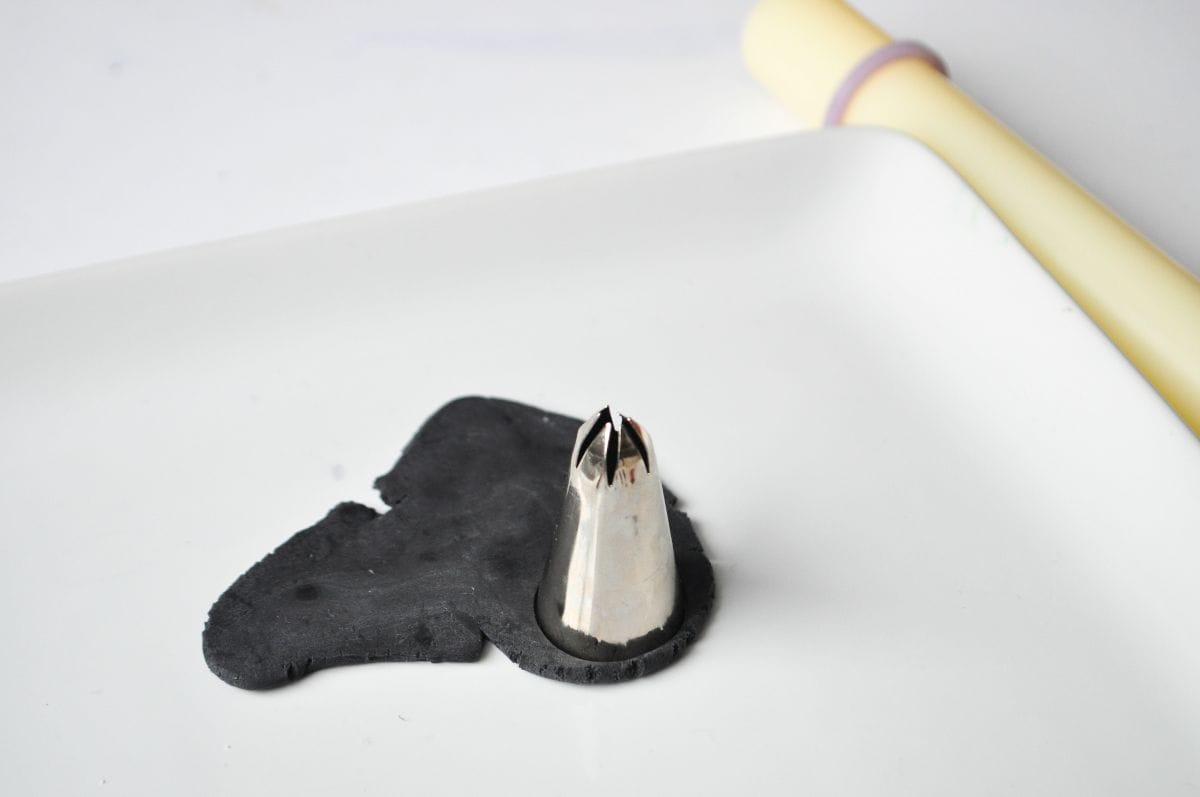
I only used the black circles on the top of the cake, so I made 5 of them.
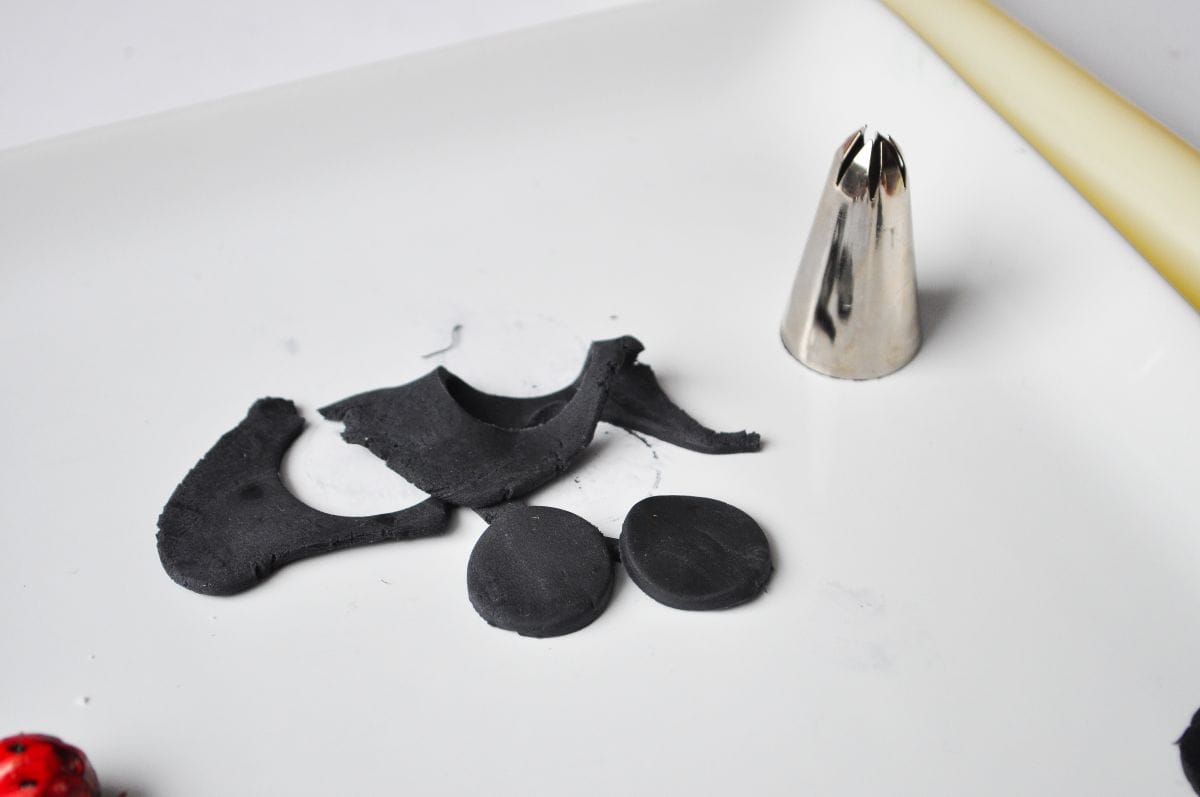
The fondant decorations can dry at room temperature until you are ready to decorate the cake.
Prepare the Pan
I used a chocolate chip cookie crust for this cake, but you can also use a crushed Oreo crust or brownie crust.
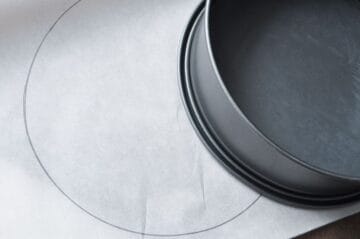
I like to use a springform pan for making round ice cream cakes so it's easy to remove the pan and slice the cake before serving. I trace the outer edge of the pan onto parchment paper using a pencil, then cut out the circle a little smaller than my tracing.
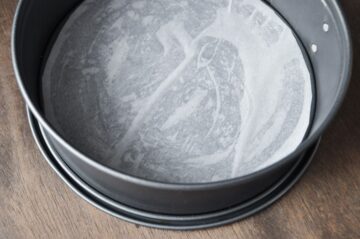
Then, I butter the bottom of the pan and stick the parchment round on top. This helps it adhere to the pan and stay in place.
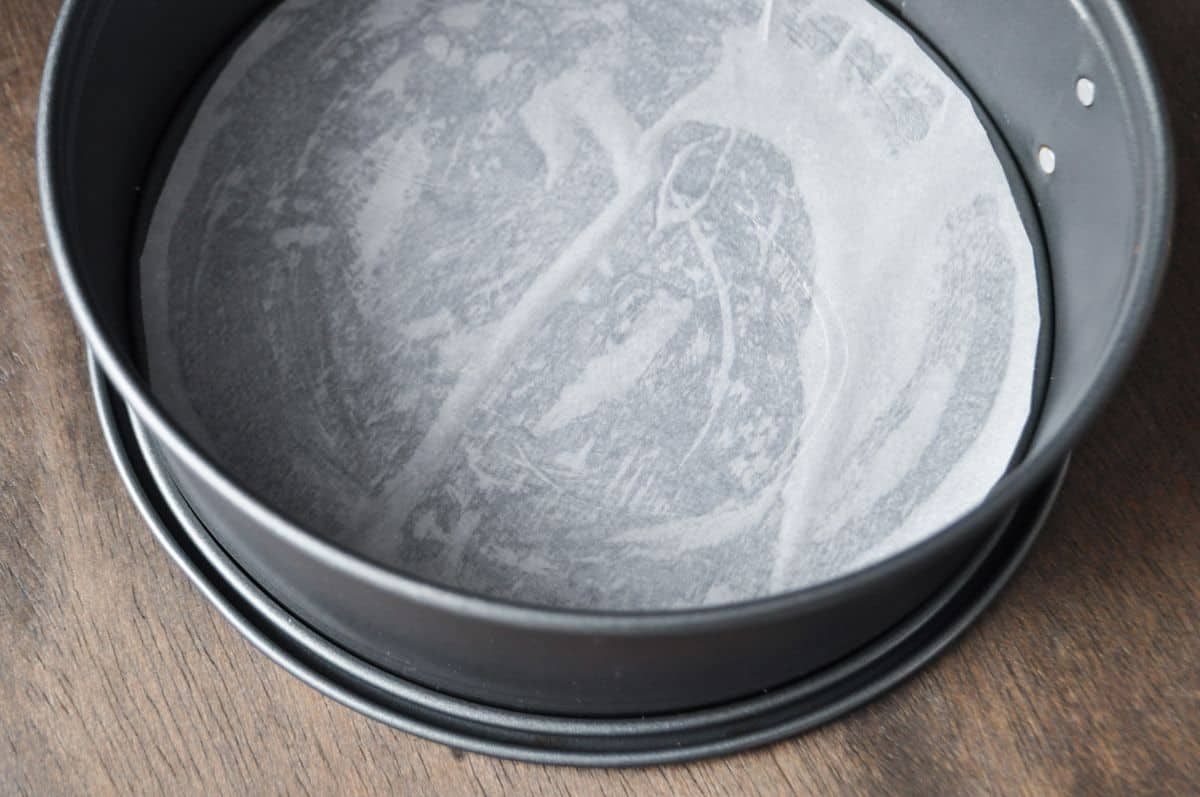
Next, butter the top of the paper and sides of the pan. The pan is now ready for the cookie dough.
Make the Crust
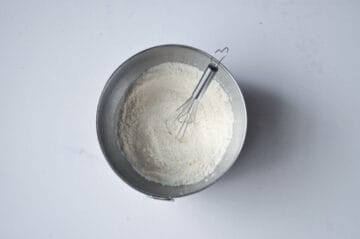
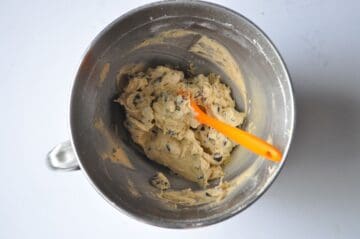
First, sift together the dry ingredients in a small bowl and set aside. Beat the butter and sugars together, then add the egg and vanilla. Slowly add the dry ingredient mixture, then stir in the chocolate chips.
Transfer the cookie dough to the prepared pan, spreading the dough into an even layer, leaving about ½-inch of space around the edge of the pan to allow room for the dough to spread.
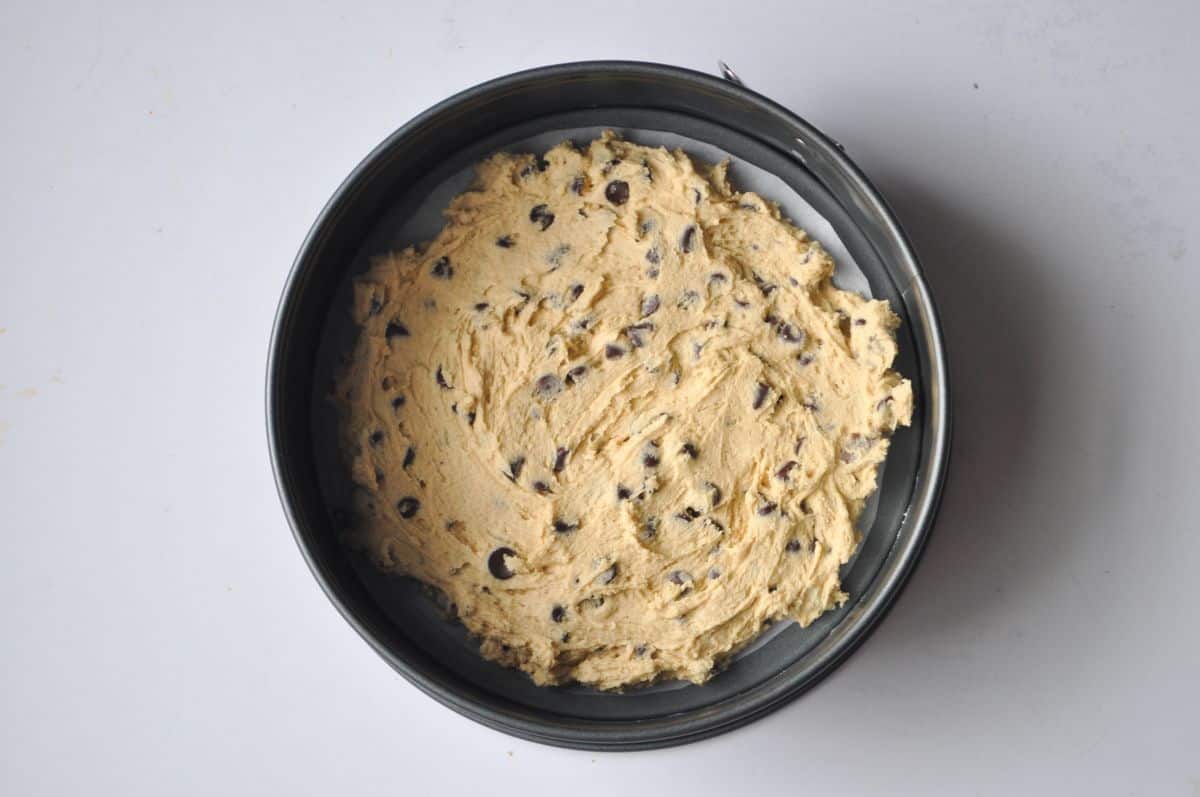
Bake the cookie until browned.
You can see how the crust forms a nice uniform layer when you leave room for the cookie to spread during baking.
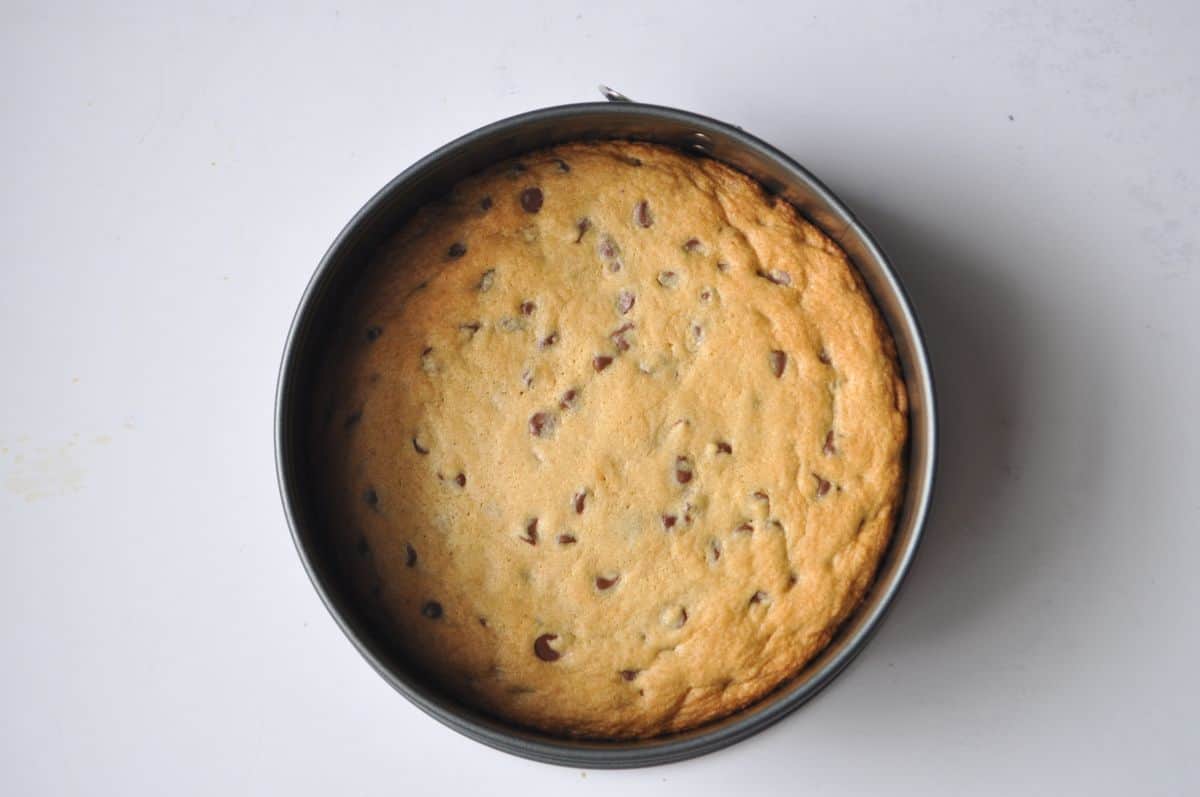
If you prefer a thicker cookie and don't mind an uneven thickness, try using the Chocolate Chip Cookie Cake recipe for the crust.
Allow the crust to cool.
Add the Ice Cream
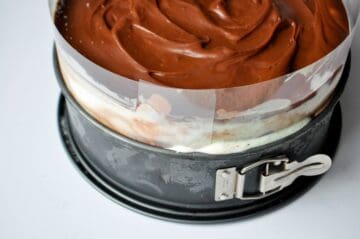
At this point, I added a strip of clear acetate to the inside edge of the pan to add some height to the pan because I wanted my ice cream cake to be taller than the pan. This is sometimes referred to as a "cake collar." I taped the acetate in place with clear tape.
If you don't have acetate, you can use less ice cream to ensure that all of your layers will fit beneath the top edge of the pan, as I did with the Brownie Peppermint Ice Cream Cake.
Once the acetate was in place, I added the softened ice cream. You can use any flavor of ice cream you like.
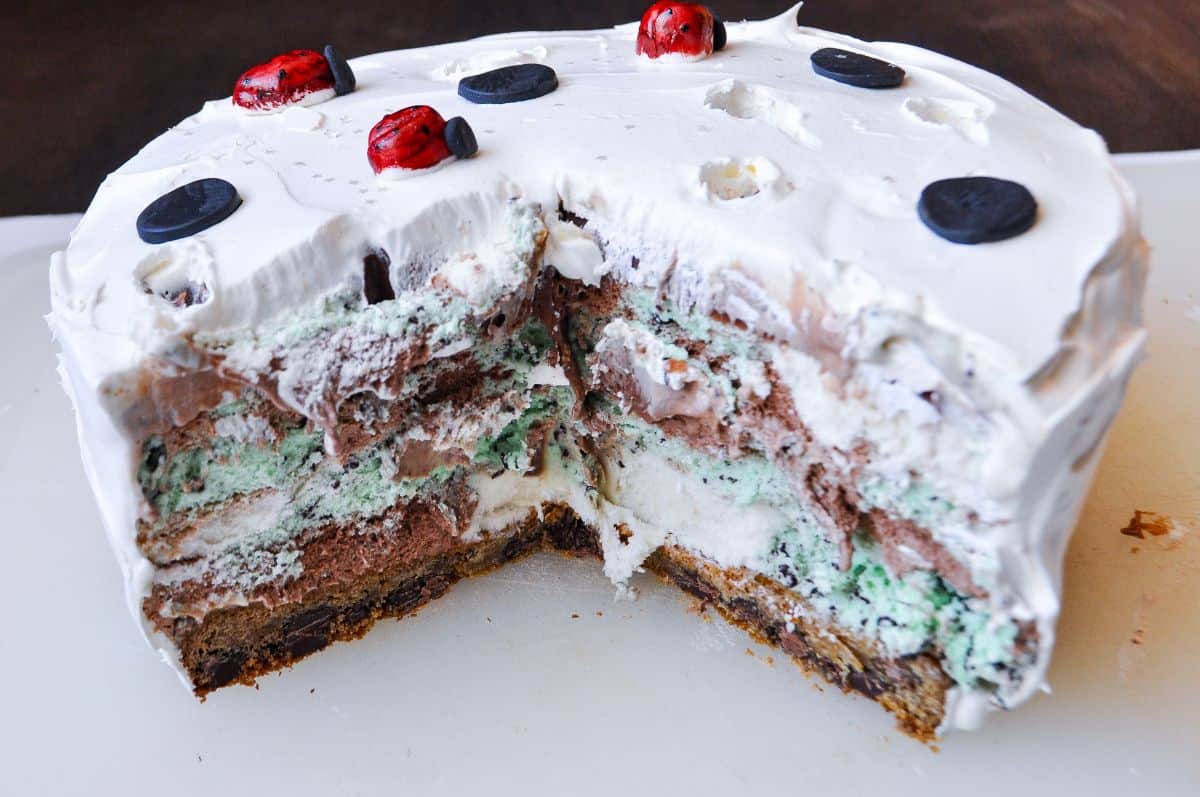
My daughter wanted vanilla, chocolate and mint chocolate chip, so I did alternating scoops of each then smoothed them together so there weren't gaps.
The ice cream layer will need to be frozen for at least 2 hours to set. Meanwhile, make the hot fudge.
Make the Hot Fudge
To make the fudge layer, combine powdered sugar, chocolate chips, evaporated milk, and butter in a small saucepan and bring to a boil for 8 minutes, stirring occasionally. I like using small silicone spatulas for this purpose.
Remove the pan from heat and stir in the vanilla.
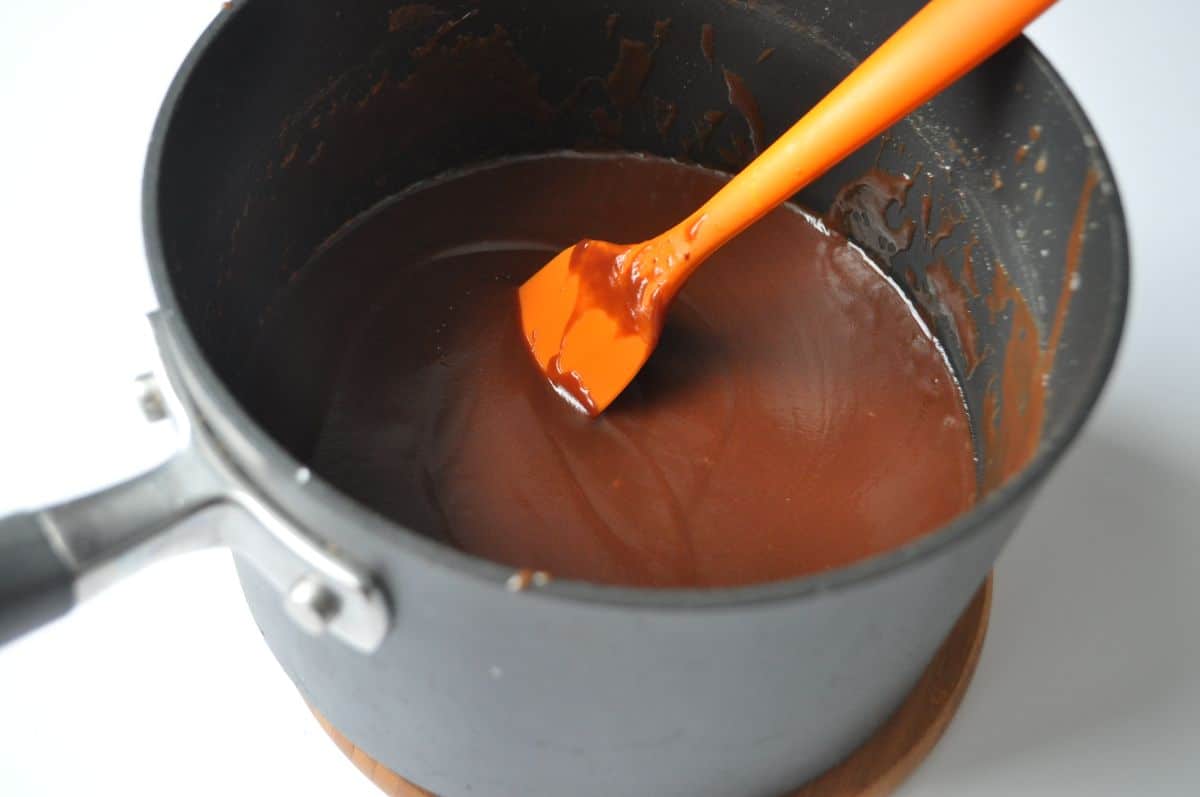
Allow the fudge sauce to cool to room temperature.
Once the cake has been frozen for at least 2 hours, spoon on the cooled hot fudge sauce and freeze the cake until firm before adding the whipped topping.
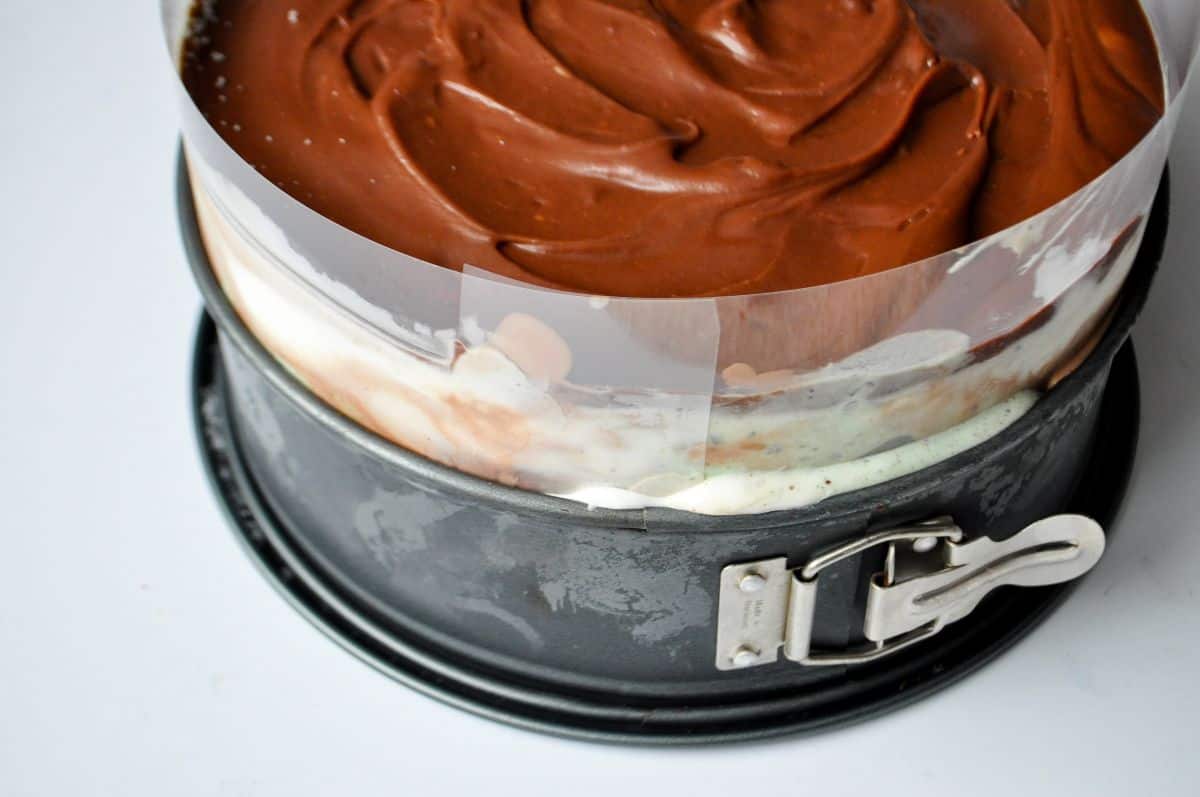
Frost the Cake
Once the fudge layer is firm, you can start frosting the cake.
First, carefully remove the metal ring of the springform pan.
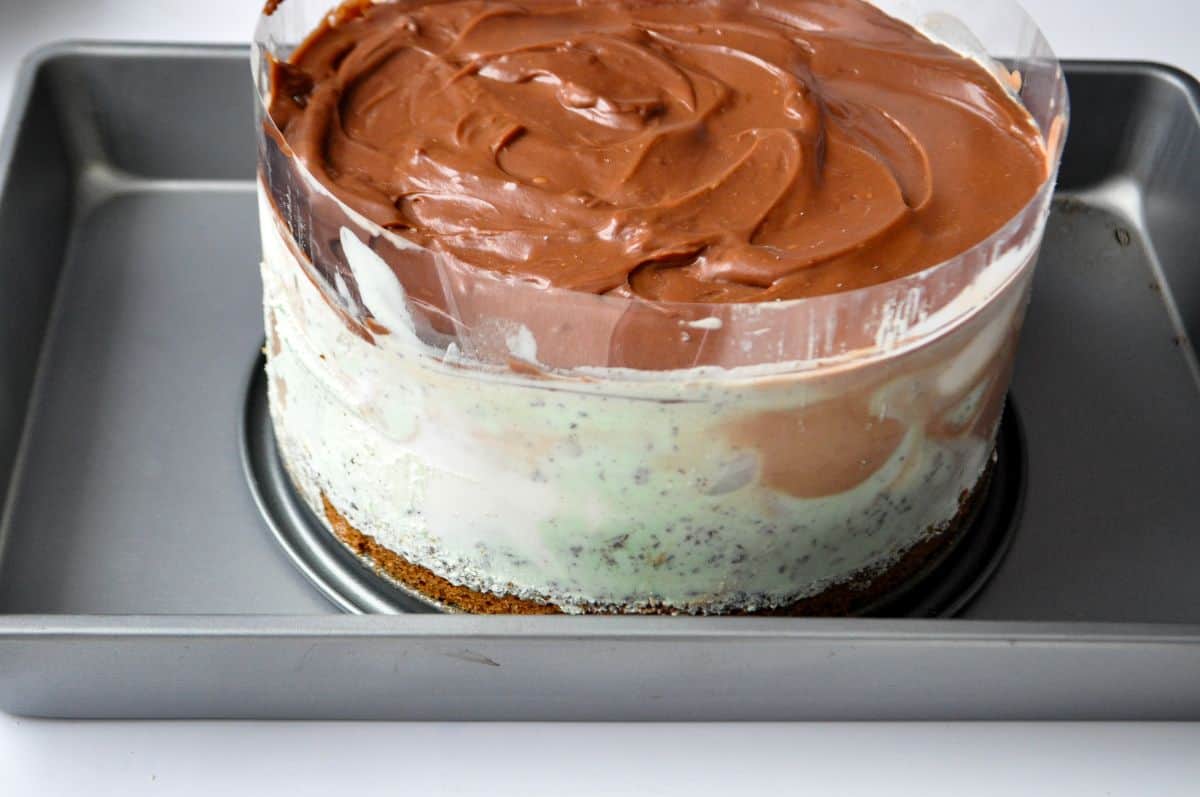
Next, peel off the acetate sheet. You can wash and reuse the acetate.
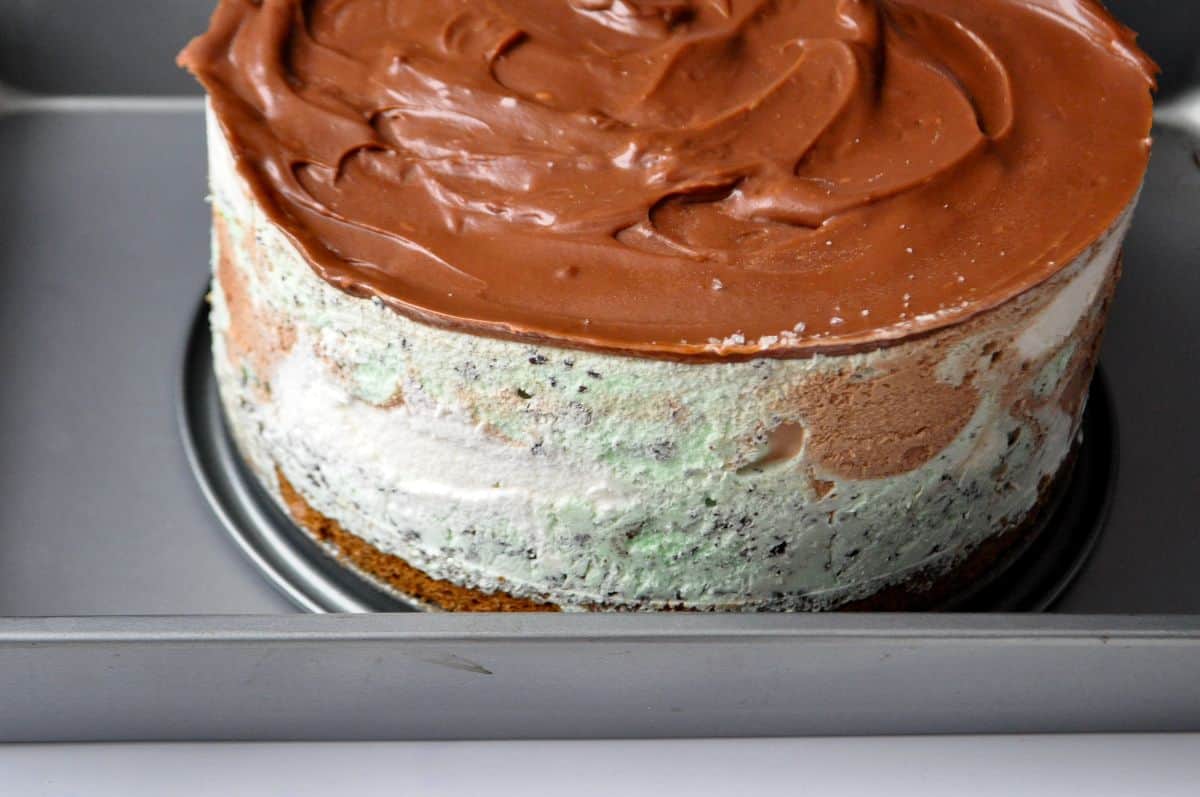
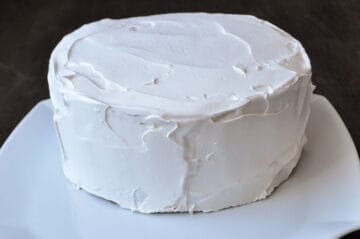
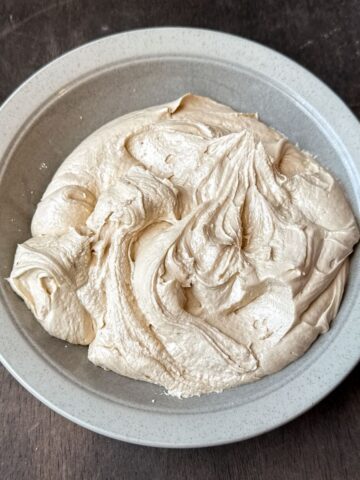
Place a large mound of whipped topping on the top of the cake.
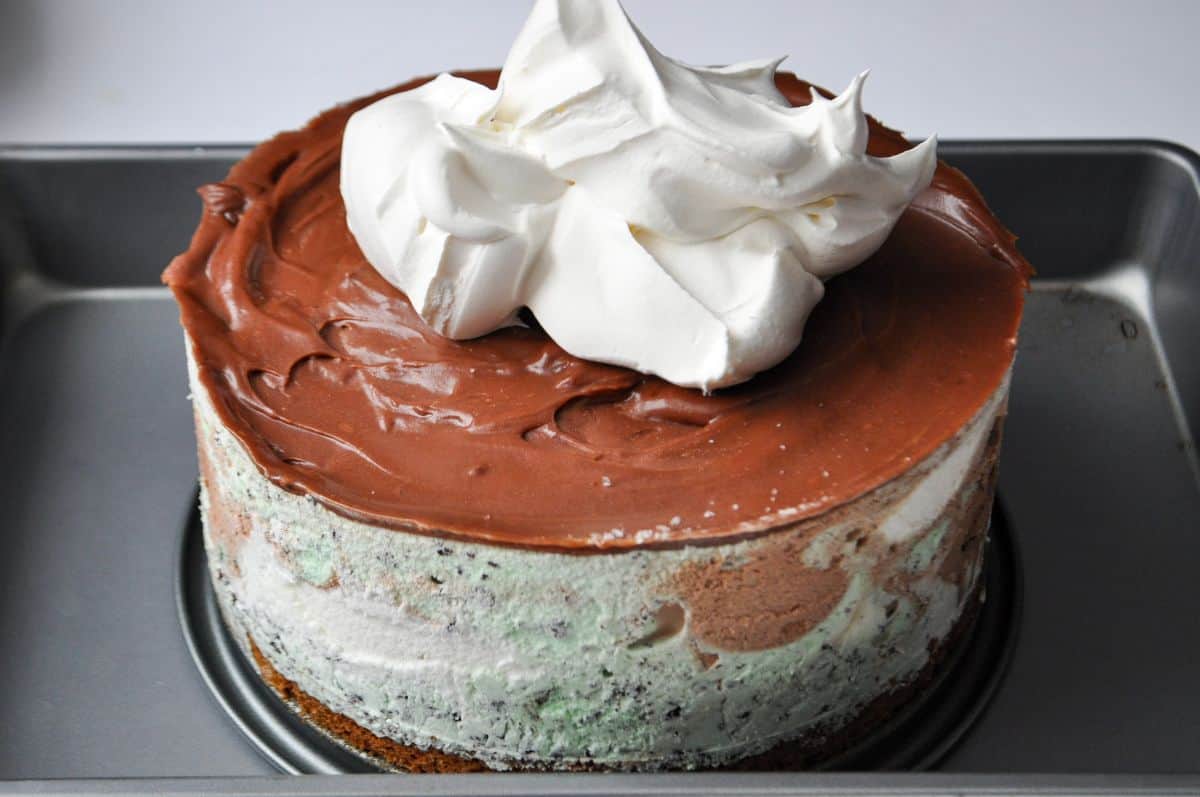
Use a metal offset spatula to spread an even layer of topping to entirely frost the cake.
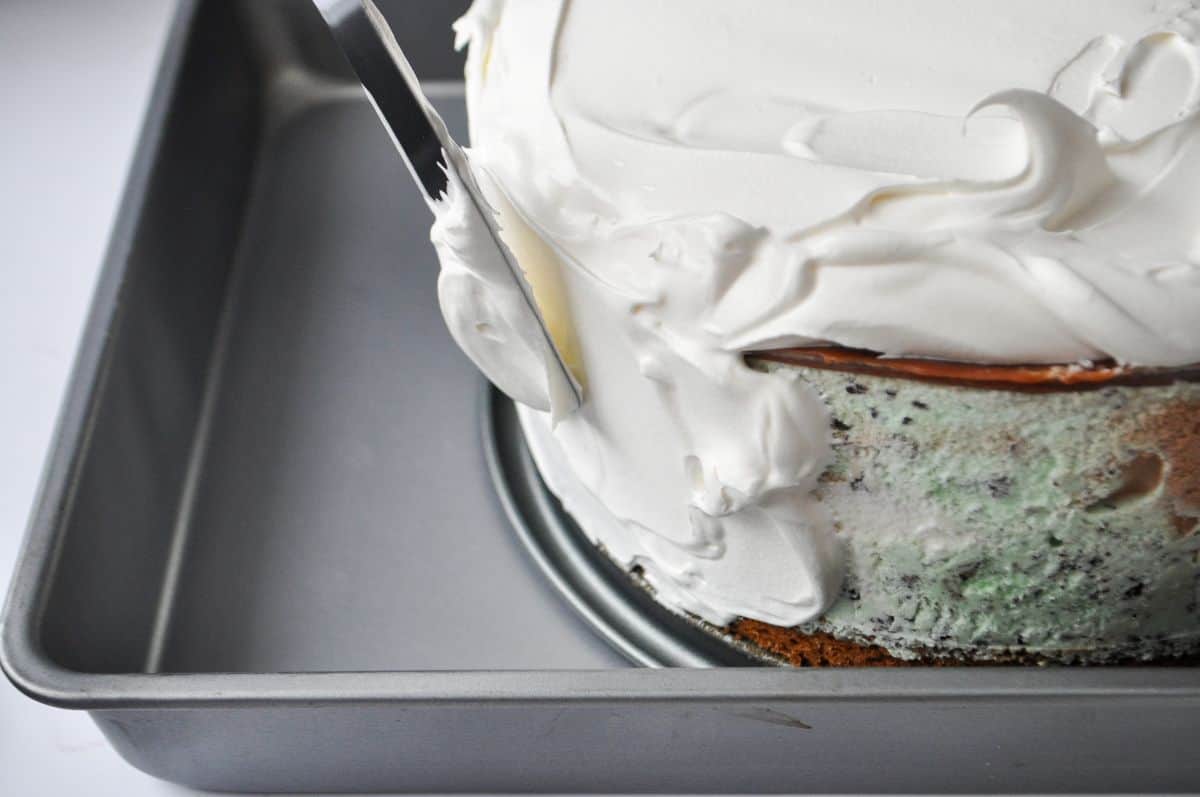
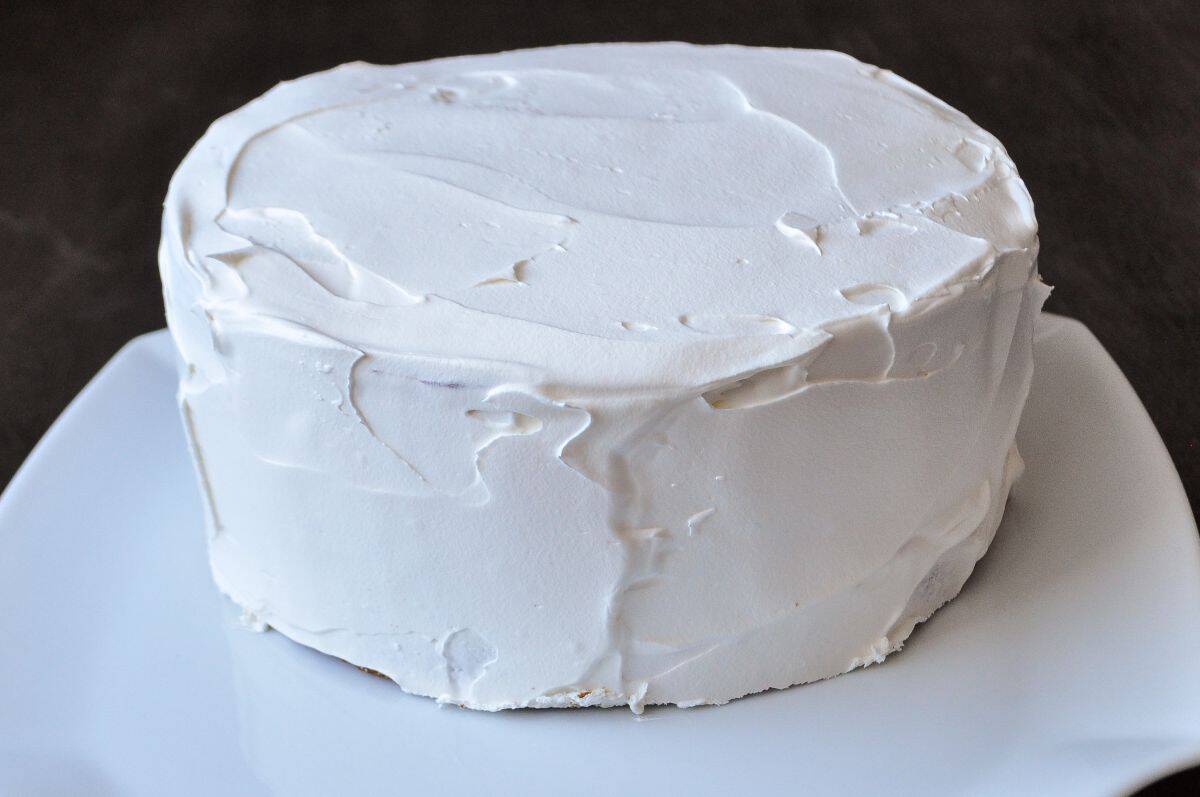
Once the cake is coated, decorate immediately white the topping is still soft.
Decorate
Place a miniature Eiffel Tower on top of the cake, then place Ladybug and Cat Noir on each side.
Press the fondant lady bugs and black circles into the topping on the top and sides of the cake.
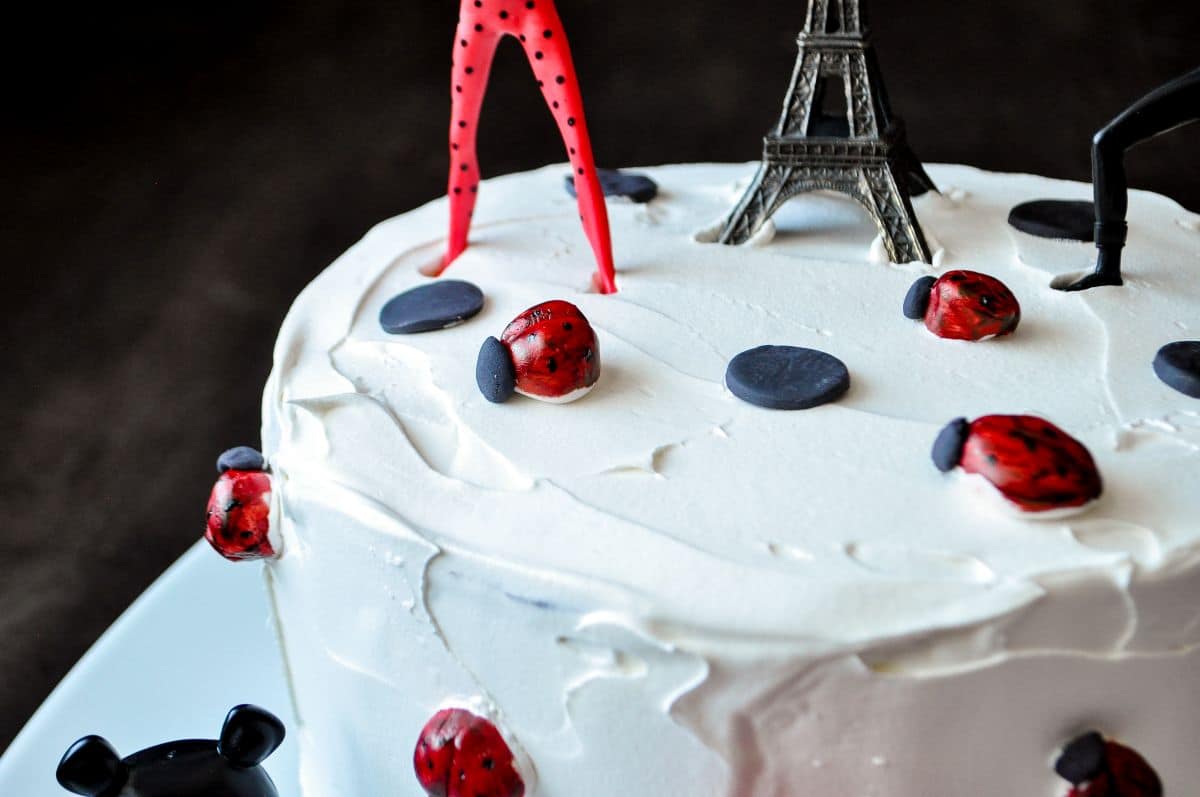
Sprinkle silver edible stars on top, if desired.
Storage
The cake should be frozen for at least 3 hours before serving to set the topping.
Serving
You may want to get the cake out about 10 to 15 minutes before slicing, depending on the temperature of the room. For birthdays, this usually equals the time for singing and blowing out candles.
Transfer the cake to a cutting board, sliding it off the bottom of the springform pan. Use a large chef's knife to cut a big wedge of the cake first. This will make slicing the cake easier. It will take some work to get through the frozen cake and crust.
Gluten Free Option
Use a gluten free flour blend, such as Bob's Red Mill Gluten Free 1 to 1 Baking Flour, in place of all purpose flour in the cookie portion of the recipe for an entirely gluten free dessert.
📖 Recipe
Miraculous Birthday Cake
Equipment
- food dedicated paint palette
- food-safe paintbrush
- small fondant rolling pin with guides
- medium sized metal piping tip, like #2D
- 9-inch springform pan
- clear acetate sheet
- Eiffel Tower figurine
- Miraculous figurines (Ladybug, Cat Noir, Tikki and Plagg)
Ingredients
For the Fondant Decorations:
- white and black rolled fondant
- red and black food coloring gel
For the Chocolate Chip Cookie Crust:
- ¾ cup all purpose flour
- ¾ teaspoon cornstarch
- ⅜ teaspoon baking soda
- ¼ teaspoon salt
- 5⅓ tablespoons butter (softened, ⅓ cup)
- ¼ cup brown sugar
- ¼ cup granulated sugar
- 1 egg
- ¾ teaspoon vanilla
- ⅔ cup chocolate chips
For the Ice Cream Layer:
- 1 gallon ice cream (flavor(s) of choice)
For the Hot Fudge Layer:
- 1 cup powdered sugar
- ⅓ cup semisweet chocolate chips
- 6 ounces evaporated milk
- 4 tablespoons butter
- ½ teaspoon vanilla extract
For the Cake Assembly:
- 12 ounces whipped topping (thawed such as Cool Whip)
- Wilton Edible Accents silver stars (optional)
Instructions
Make the Fondant Ladybugs:
- Break off small pieces of white fondant and roll them into balls.
- Flatten the balls to look like the body of a ladybug. Use a small knife to make an indent down the center to represent the divide of a ladybug's wings.
- Squeeze a drop of gel into the well of a food dedicated paint palette.
- Paint the entire body with the red gel using a food grade paintbrush. If you find the gel is too thick, you can add a drop of clear alcohol (like Everclear or vodka) or extract. If you prefer them to have a more uniform look, you can just add the red gel to the fondant before shaping the bodies.
- Break off a small piece of black fondant and shaped it into a head and press it on the body.
- Use a fine paintbrush to apply small spots of black food coloring gel to the red body of the ladybug. To cover the entire cake, you'll need about 7 to 10 ladybugs.
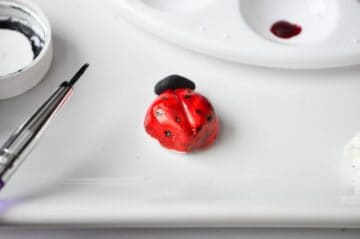
- To make the black fondant circles, either use packaged black fondant or add black food gel to the white fondant to achieve a deep black color.
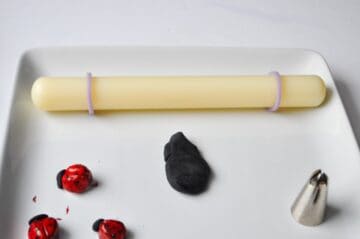
- Roll the black fondant into a thin, even layer using a small fondant rolling pin.
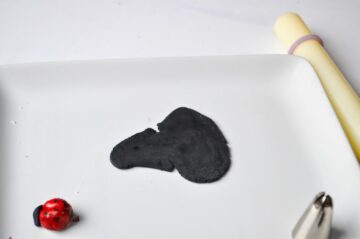
- Use the wide round opening of a metal piping tip to cut circles of fondant. You will need at least 5 circles.
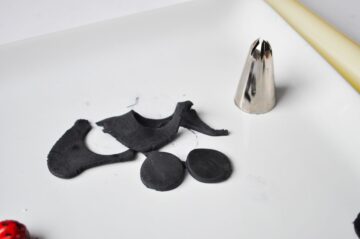
- The fondant decorations can dry at room temperature.
Make the Crust:
- Preheat oven to 375°F.
- Trace the outer edge of the pan onto parchment paper using a pencil, then cut out the circle a little smaller than the tracing.
- Butter the bottom of the pan and stick the parchment round on top. Butter the top of the paper and sides of the pan.
- Sift together the dry ingredients in a small bowl and set aside.¾ cup all purpose flour, ¾ teaspoon cornstarch, ⅜ teaspoon baking soda, ¼ teaspoon salt
- Beat the butter and sugars together, then add the egg and vanilla. Slowly add the dry ingredient mixture, then stir in the chocolate chips.5⅓ tablespoons butter, ¼ cup brown sugar, ¼ cup granulated sugar, 1 egg, ¾ teaspoon vanilla, ⅔ cup chocolate chips
- Transfer the cookie dough to the prepared pan, spreading the dough into an even layer, leaving about ½-inch of space around the edge of the pan to allow room for the dough to spread.
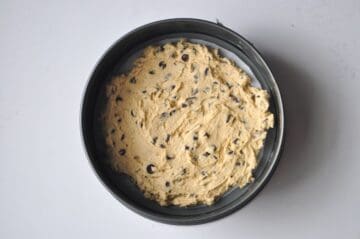
- Bake for 10 to 15 minutes, until browned and cooked through.
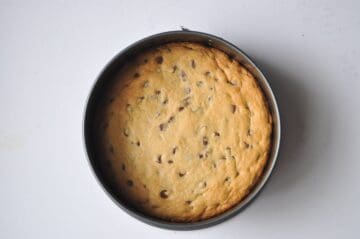
- Allow the crust to cool to room temperature.
Add the Ice Cream:
- For a tall cake, add a strip of clear acetate to the inside edge of the pan, taping the acetate in place with clear tape. If you don't have acetate, you can use less ice cream to ensure that all of your layers will fit beneath the top edge of the pan.
- Add scoops of the softened ice cream. Smooth into an even layer so there are no gaps.1 gallon ice cream
- Freeze the ice cream for at least 2 hours to set. Meanwhile, make the hot fudge.
Make the Hot Fudge:
- Combine powdered sugar, chocolate chips, evaporated milk and butter in a small saucepan and bring to a boil for 8 minutes, stirring occasionally.1 cup powdered sugar, ⅓ cup semisweet chocolate chips, 6 ounces evaporated milk, 4 tablespoons butter
- Remove the pan from heat and stir in the vanilla.½ teaspoon vanilla extract
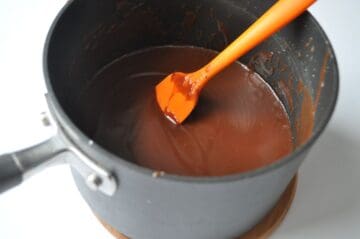
- Allow the fudge sauce to cool to room temperature.
- Once the ice cream layer has been frozen for at least 2 hours, spoon on the cooled hot fudge sauce and freeze the cake until firm before adding the whipped topping.
Frost the Cake:
- Carefully remove the metal ring of the springform pan.
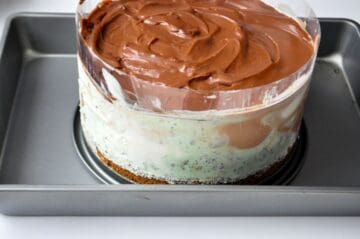
- Peel off the acetate sheet. You can wash and reuse the acetate.
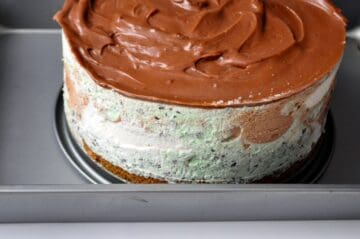
- Place a large mound of whipped topping on the top of the cake.
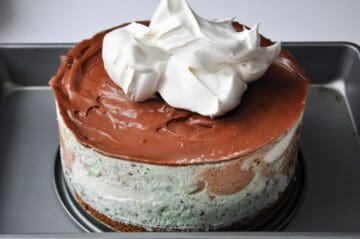
- Use a metal offset spatula to spread an even layer of topping to entirely frost the cake.
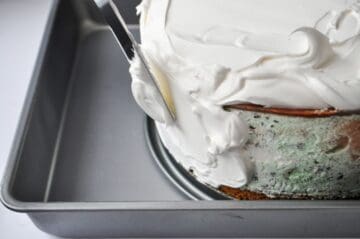
- Once the cake is coated, decorate immediately white the topping is still soft.
Decorate:
- Place a miniature Eiffel Tower on top of the cake, then place Ladybug and Cat Noir on each side.
- Press the fondant lady bugs and black circles into the topping on the top and sides of the cake.
- Sprinkle silver edible stars on top, if desired.

Leave a Reply