
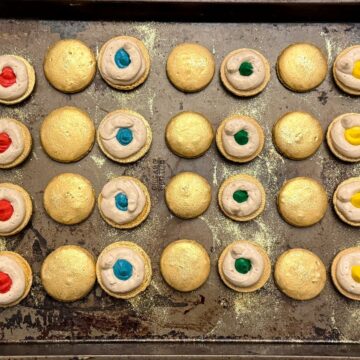
These Nut Free Sorting Hat Butterbeer Macarons are painted gold and filled with butterscotch buttercream and a colored center to determine which of the four Hogwarts houses you are in from Harry Potter. Bite into the cookie to see if you are a Gryffindor, Hufflepuff, Ravenclaw or Slytherin. These cookies are also gluten free, so they are an allergy friendly addition to your Harry Potter Birthday Party dessert table.
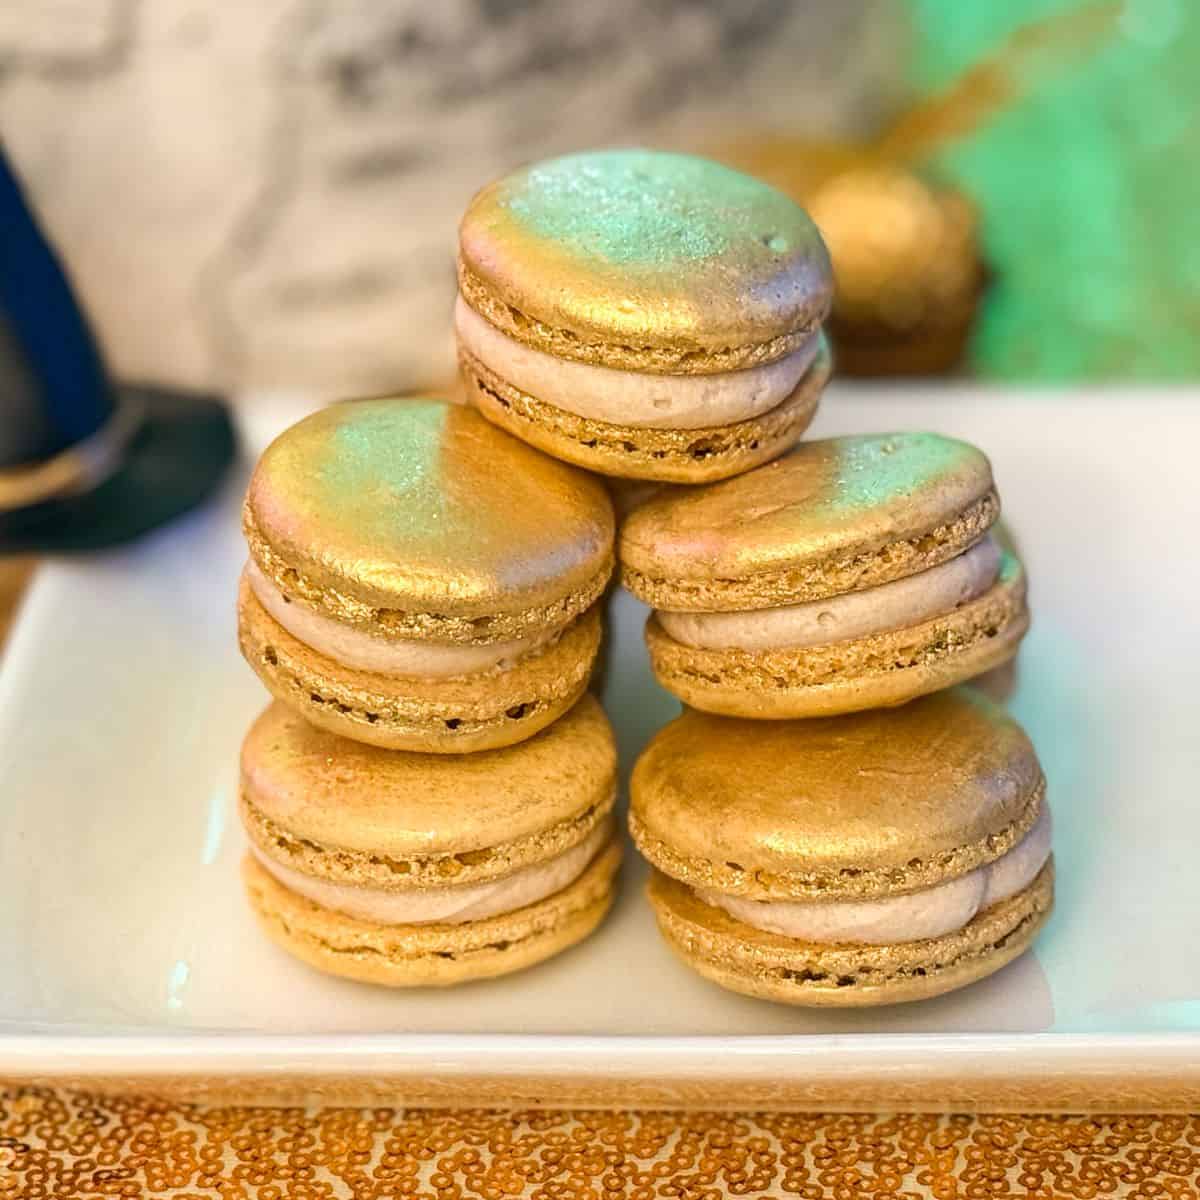
For my daughter's Harry Potter Birthday Party, we wanted to incorporate a "sorting hat" dessert, where each guest would bite into the treat and see the color of their Hogwarts house: red for Gryffindor, yellow for Hufflepuff, blue for Ravenclaw or green for Slytherin.
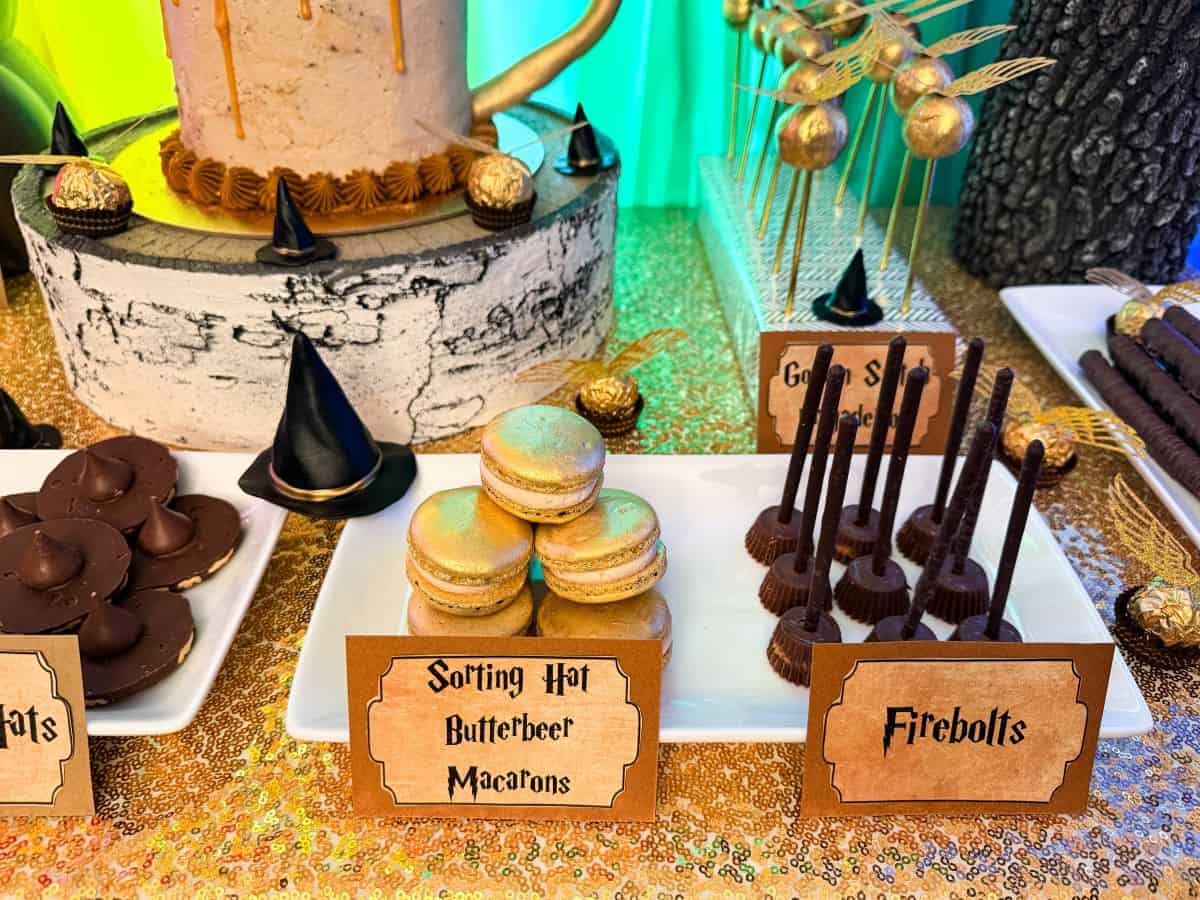
I wanted to make the flavor "butterbeer" to go with the Harry Potter theme. For this, I made a Butterscotch Buttercream border and filled the inside with tinted Easy Vanilla Buttercream.
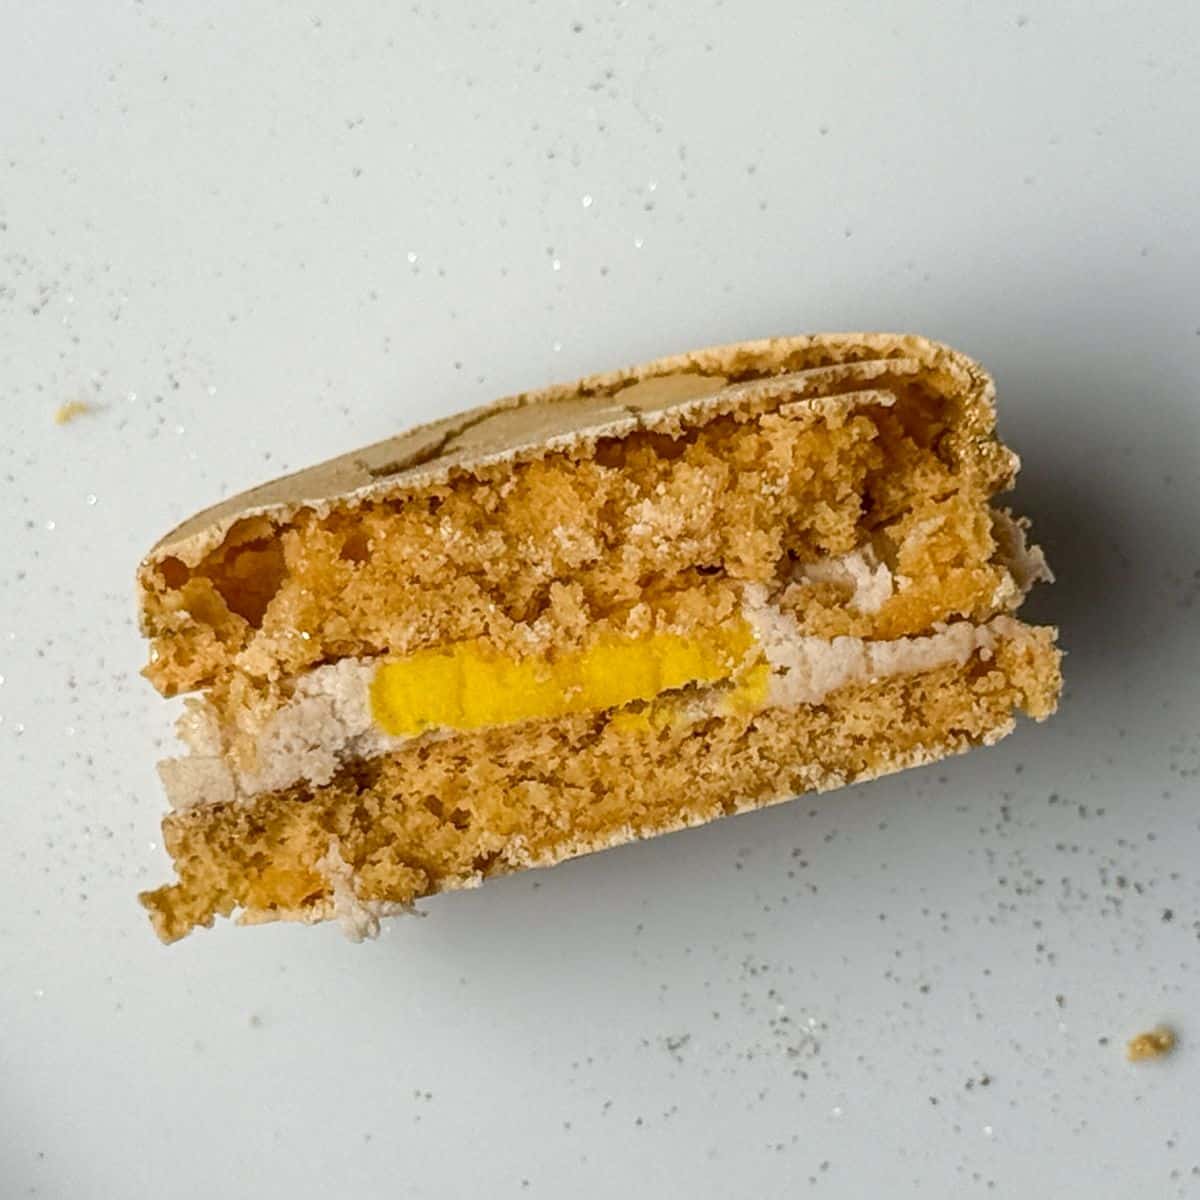
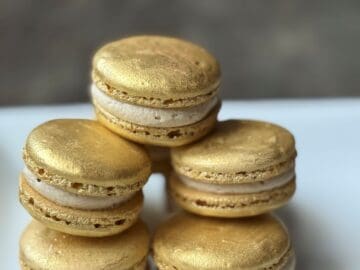
I thought my Gold Painted Macarons would be a good way to decorate them to coordinate with the gold decorations.
These macarons were so much fun! The kids were excited to see what house they were assigned to, and even the adults got into it.
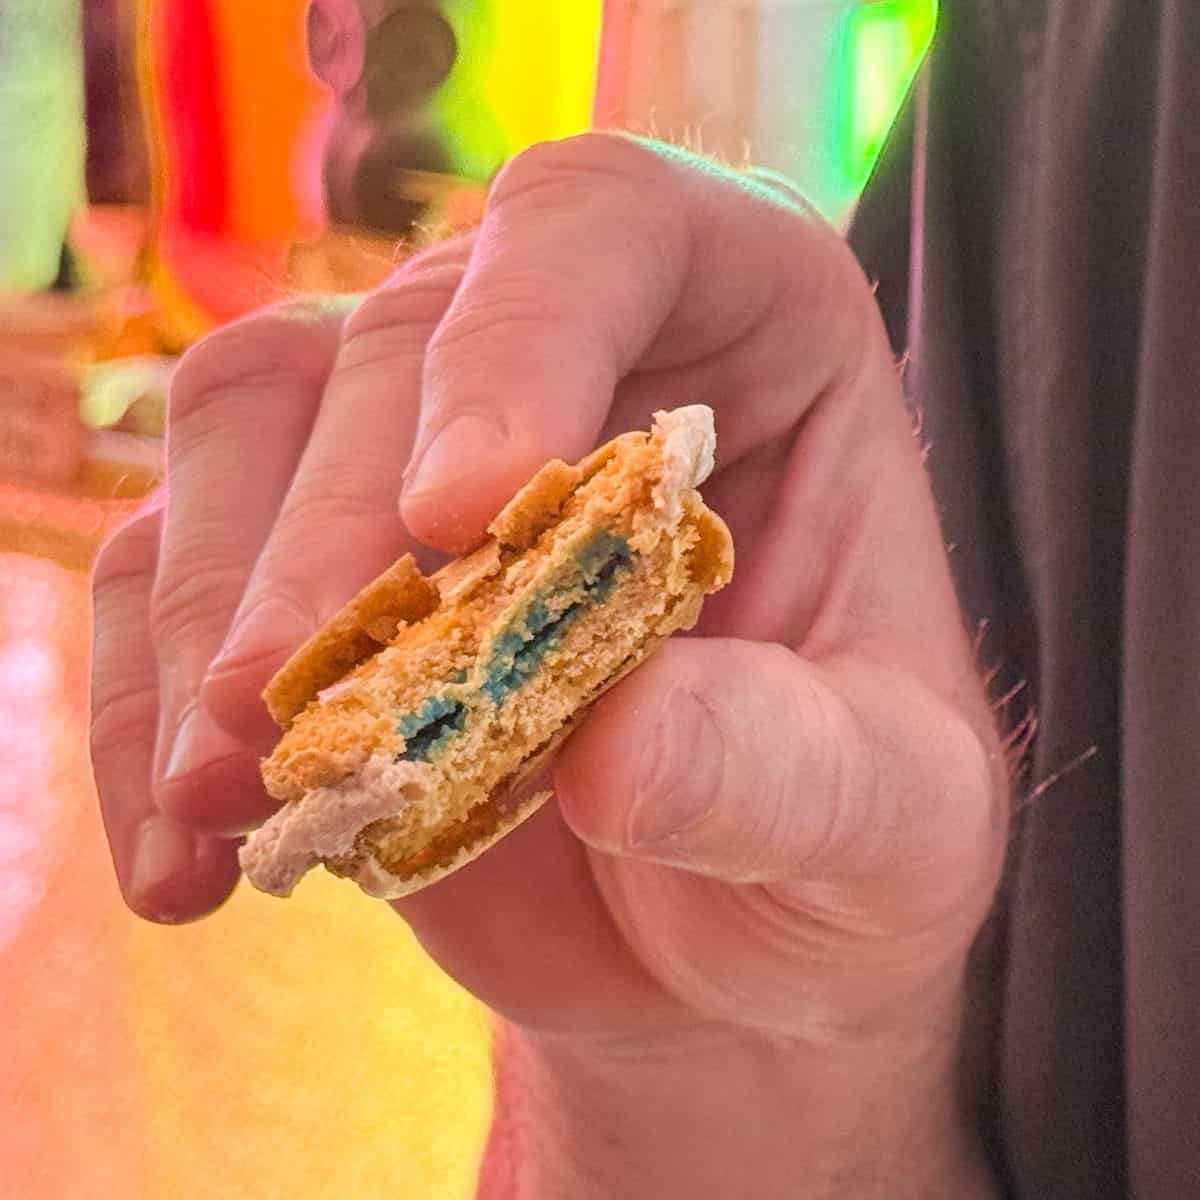
These macarons were interactive and delicious! I use certified gluten free oat flour instead of almond flour to make them nut free and gluten free, so they are an allergy friendly dessert.
SEE ALL THE HARRY POTTER PARTY DETAILS AND RECIPES HERE!
Jump to:
Supplies
Other than the macaron shell ingredients, you will need:
- medium round tip like #12
- plastic tip coupler
- disposable piping bags
- piping bag holders
- digital kitchen scale
- 2 macarons mats
- 2 half sheet pans
- gold food coloring gel
- 1 cup Easy Vanilla Buttercream
- 1-1½ cups Butterscotch Buttercream
- red, yellow, green and blue food coloring gel, such as Chefmaster
- gold luster dust
- paint palette dedicated to food
- food grade paintbrush
- disposable transfer pipette
- Everclear or vodka
- edible gold glitter
I buy my gold luster dust locally, but I have heard good things about the gold luster dust from Truly Mad Plastics.
Make the Macaron Shells
I highly recommend using a digital kitchen scale to weigh the ingredients. Macarons are very finicky and using precise measurements helps ensure they turn out.
To make the macaron batter, you first make a gold tinted meringue with gold food coloring gel.
The dry ingredients are folded into the meringue in a process called "macaronage." I include more details in my Gold Painted Macarons post as well as Nut Free French Macarons.
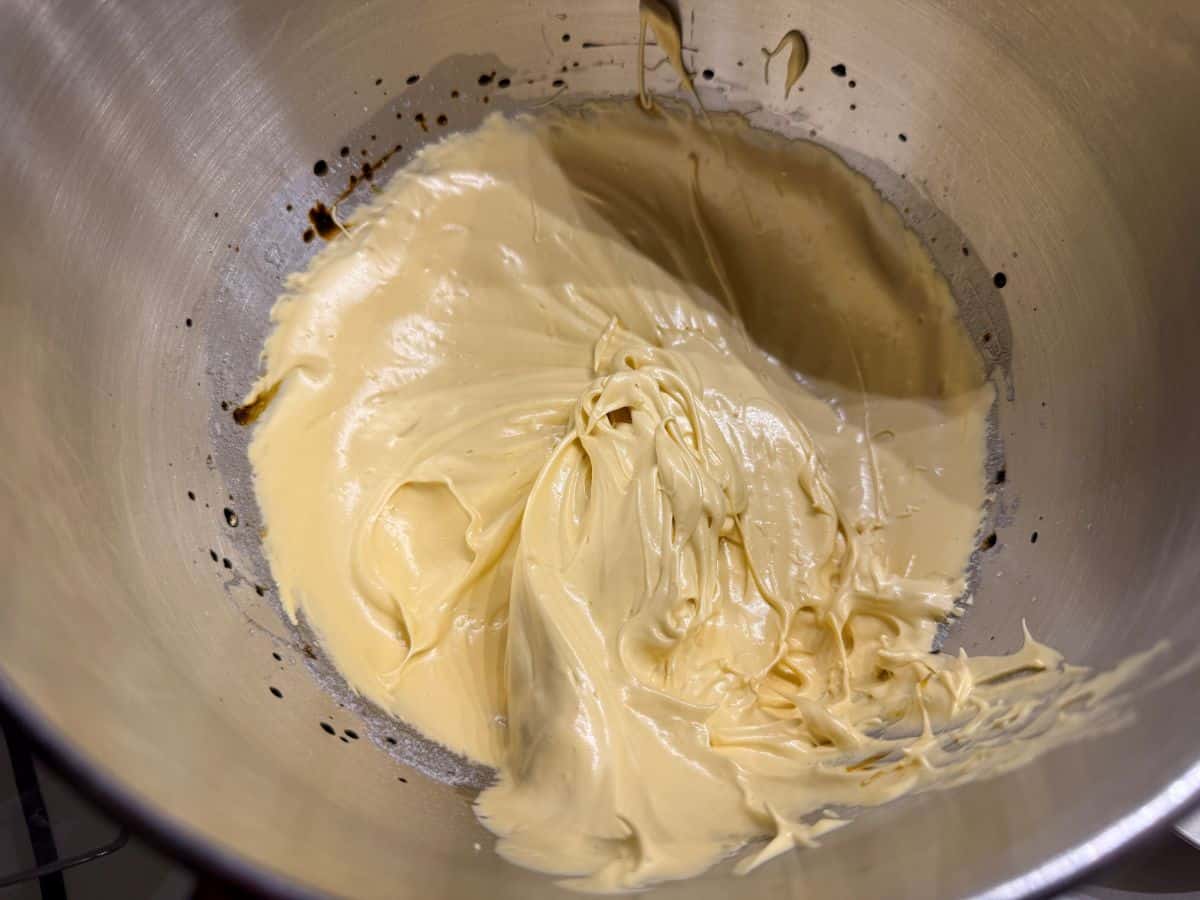
I recommend reading America's Test Kitchen and Le Cordon Bleu for visuals on macaron batter. For these nut free macarons that are made with oat flour, you want to stop folding just before reaching the figure 8 stage.
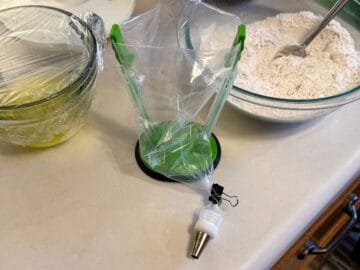
To make filling the piping bag with batter easier, I like to use a piping bag holder. I fit a disposable piping bag with a #12 medium round tip secured with a plastic tip coupler. I then twist the bag just above the coupler and secure it with a small binder clip to prevent batter from flowing out while filling the bag.
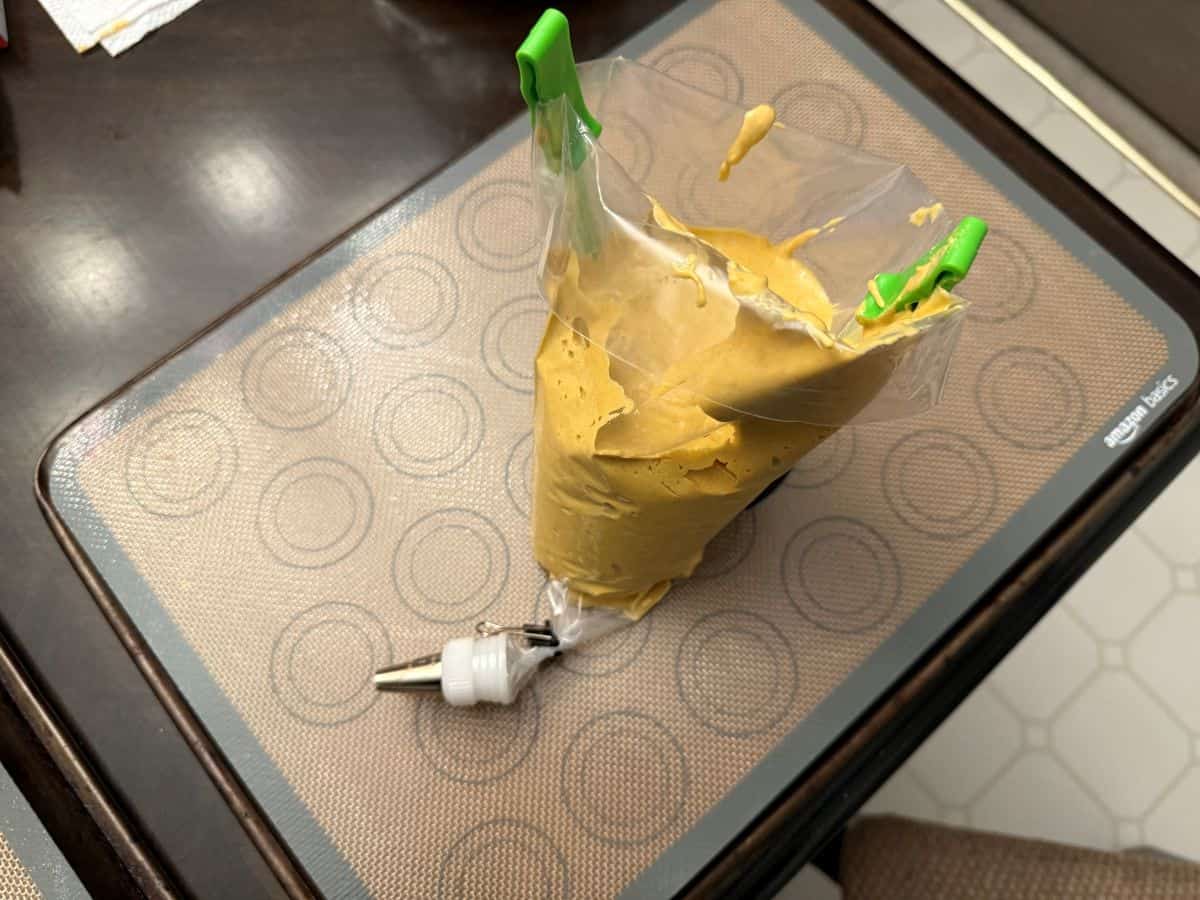
To start piping the batter, remove the binder clip and squeeze the batter into the tip. Make sure to twist the bag opening to prevent batter from coming out the top.
Pipe 1-inch circles on a macaron mat placed on an upside down half sheet pan so the mat lays perfectly flat. Slam the tray down on the counter several times to force air bubbles to the surface of the batter. Use a toothpick to pop any large bubbles and then smooth the batter over the hole left from the bubble.
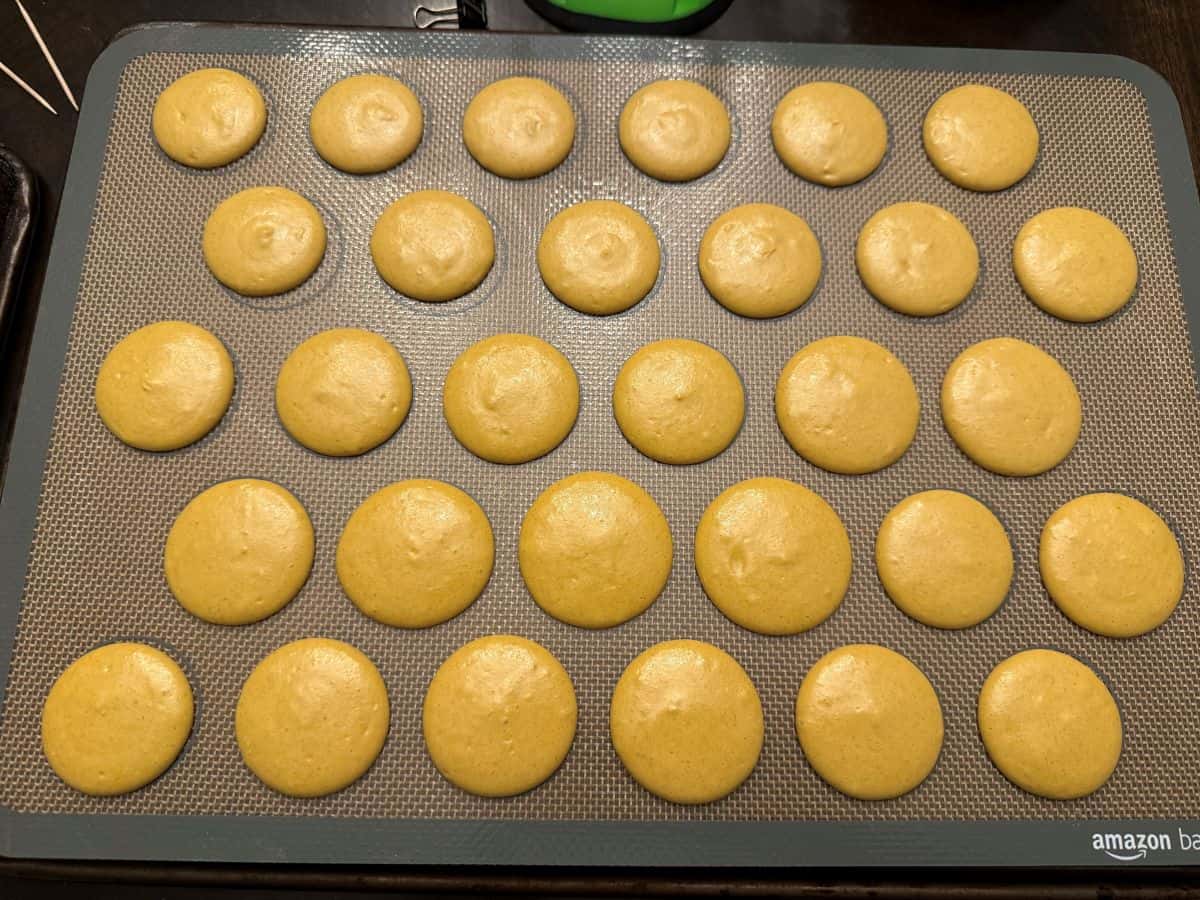
Repeat this process with the second tray. You likely won't have enough batter to fill the tray completely. Allow the batter to rest for about 40 minutes at room temperature.
Bake the shells, rotating half way through baking time.
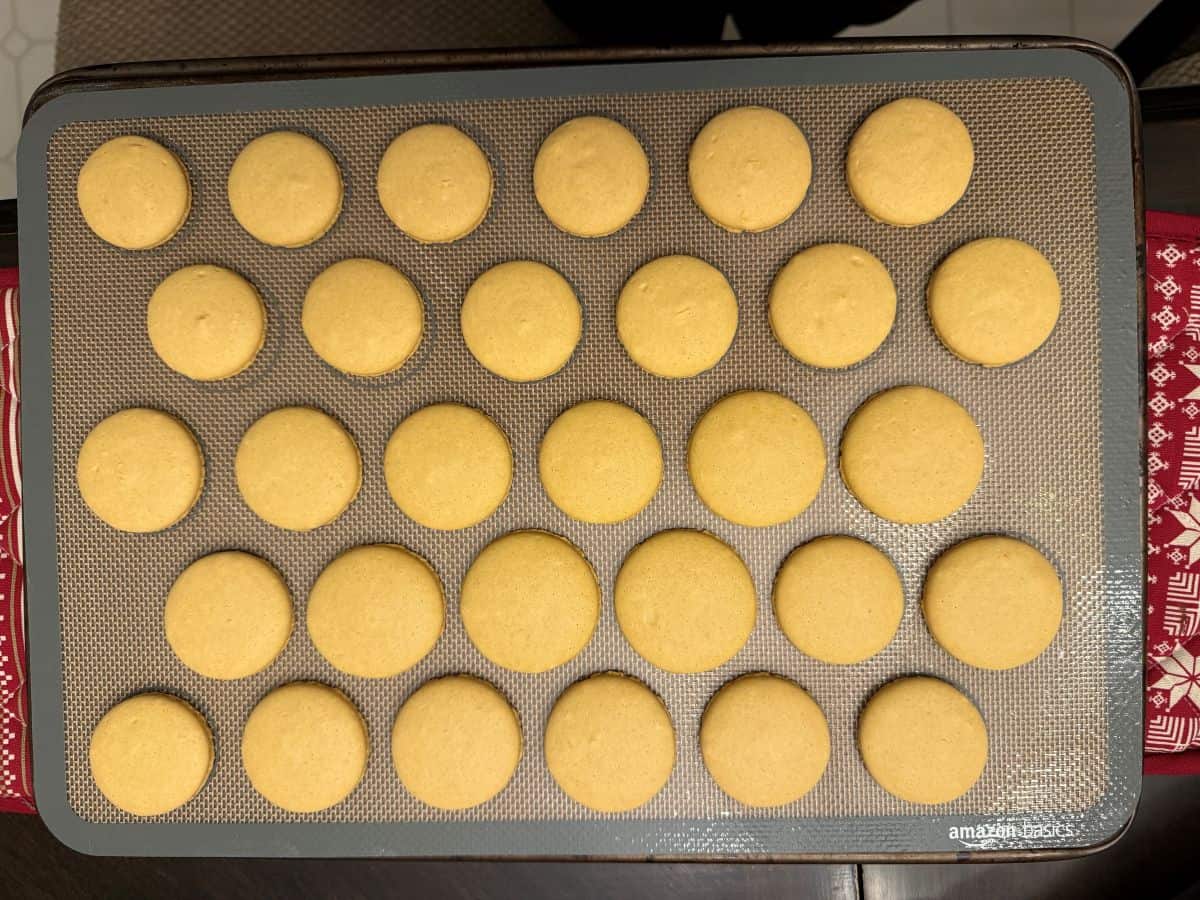
Allow the shells to cool to room temperature on the mat.
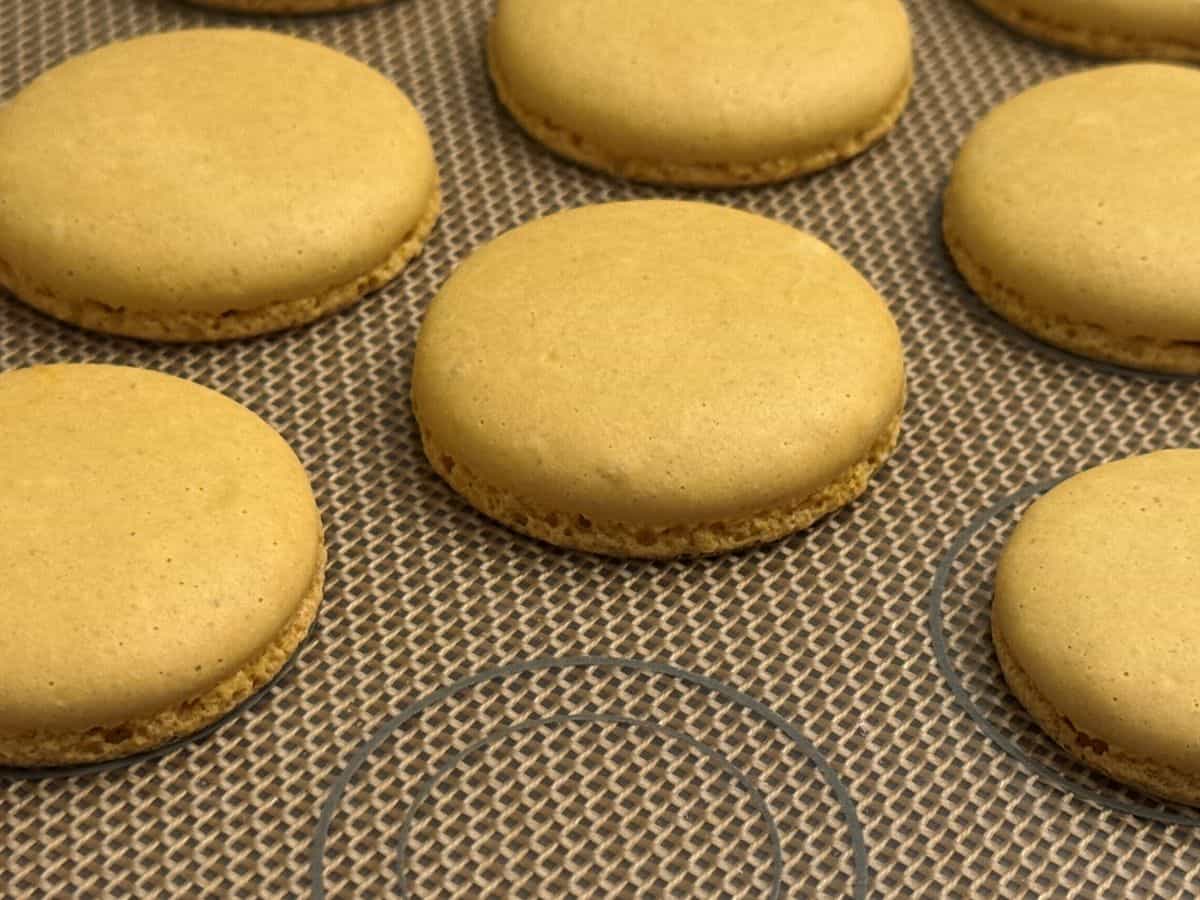
Paint the Shells Gold
First, I like to pair the shells up by size since these are sandwich cookies.
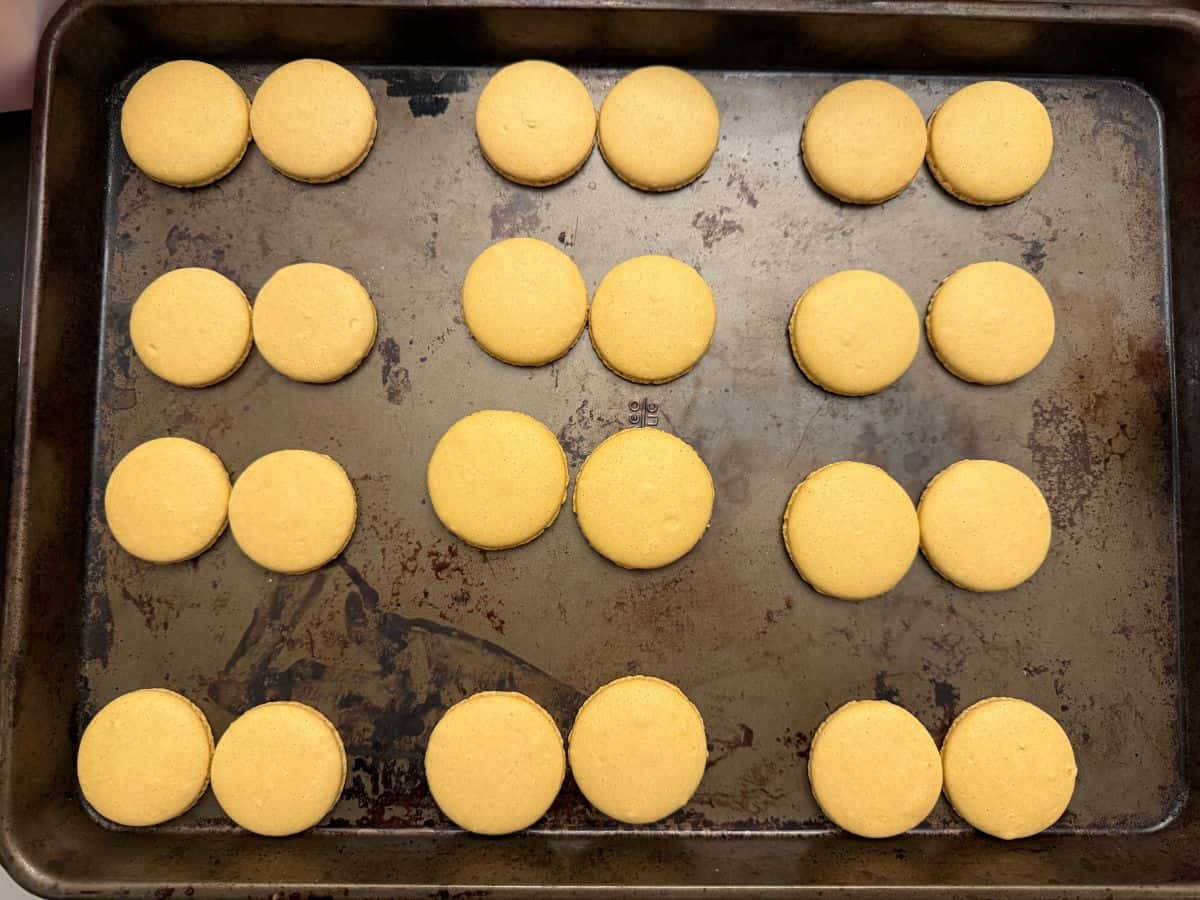
Fill a small bowl with Everclear, vodka or clear extract. I like to use Everclear due to the high alcohol content, which means faster evaporation.
Tap out some gold luster dust into the well of a food-dedicated paint palette.
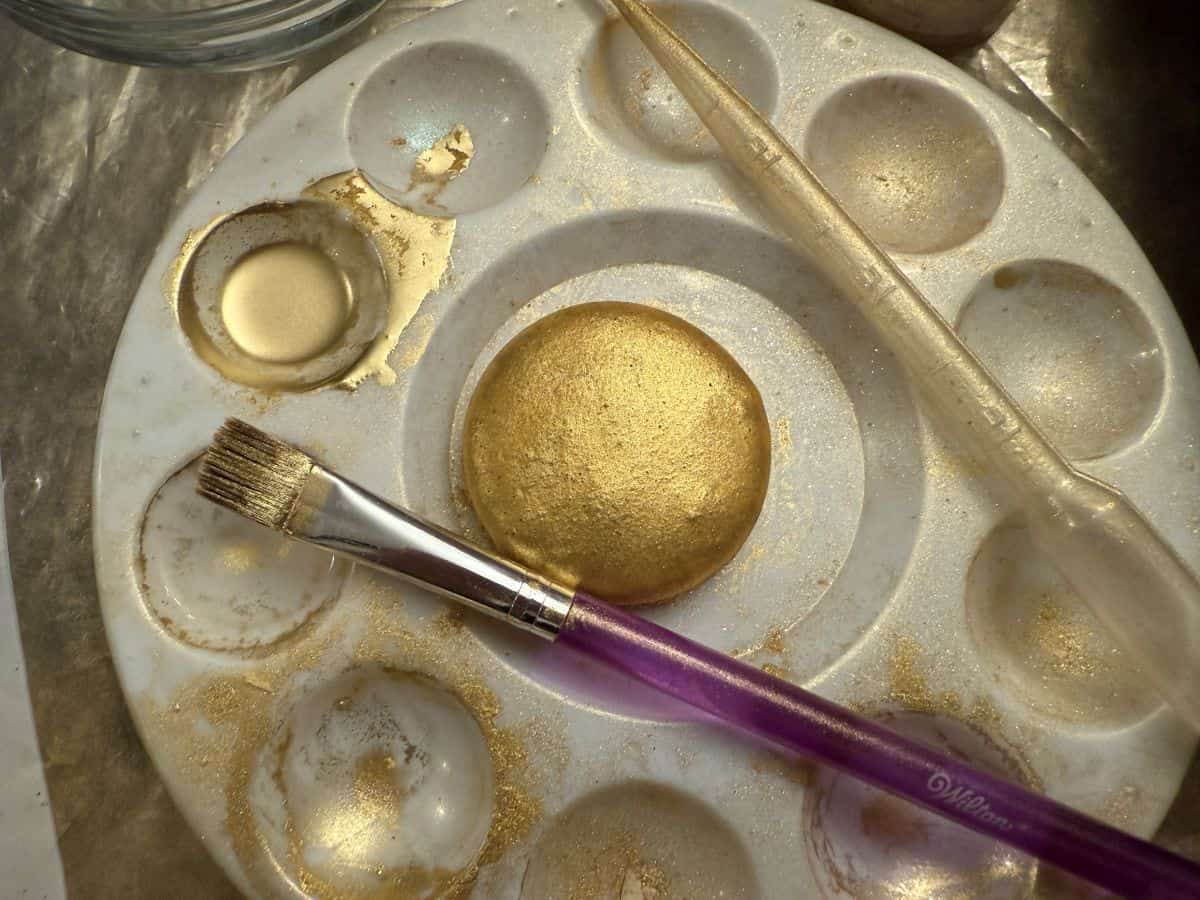
Use a plastic transfer pipette to transfer a few drops of alcohol to the well with the dust. Stir it around with a food grade paintbrush to make the gold suspension.
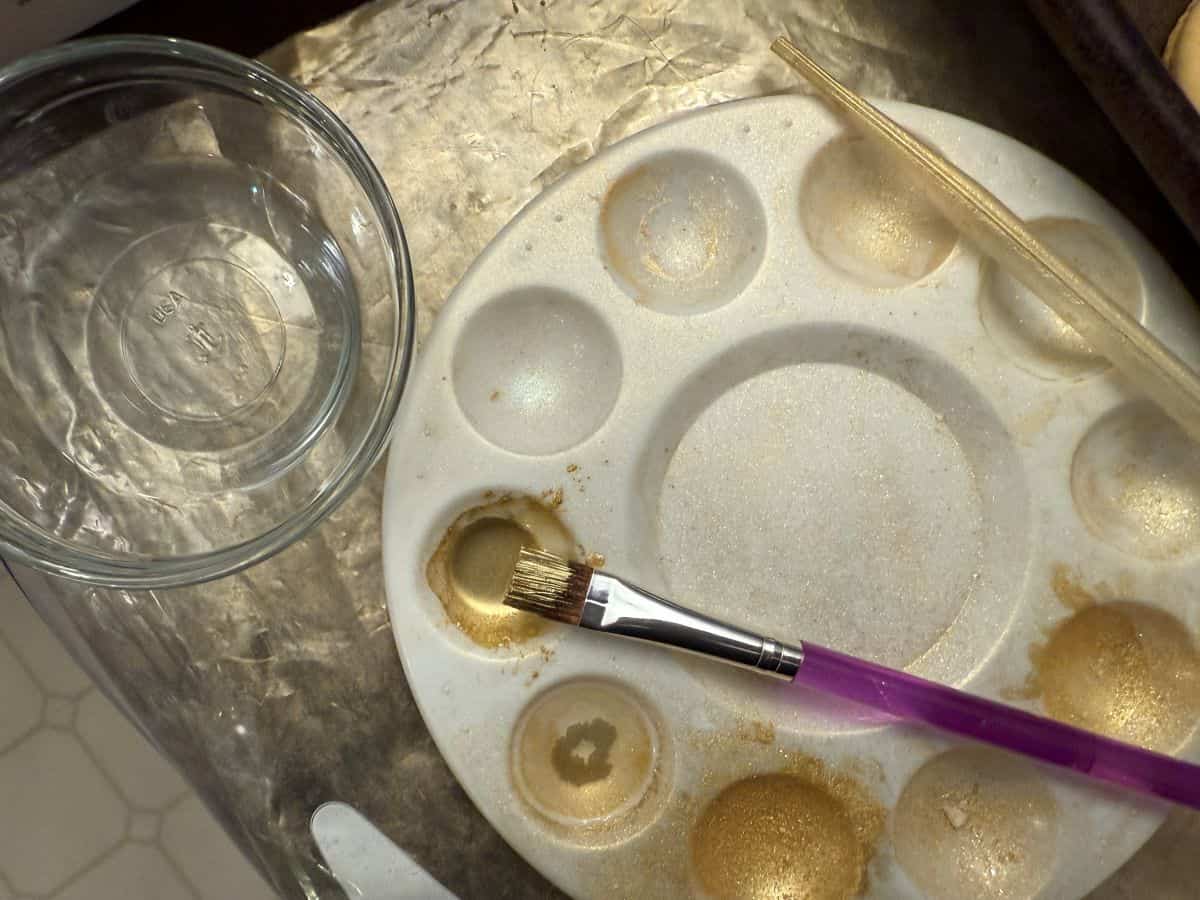
Add more luster dust or more alcohol as needed, depending on the consistency of the suspension. As you use the suspension on the macarons, you will need to remake more in the same well. The alcohol evaporates quickly, so if you don't use it right away, you will need to add another drop or two to get the suspension back to the original consistency.
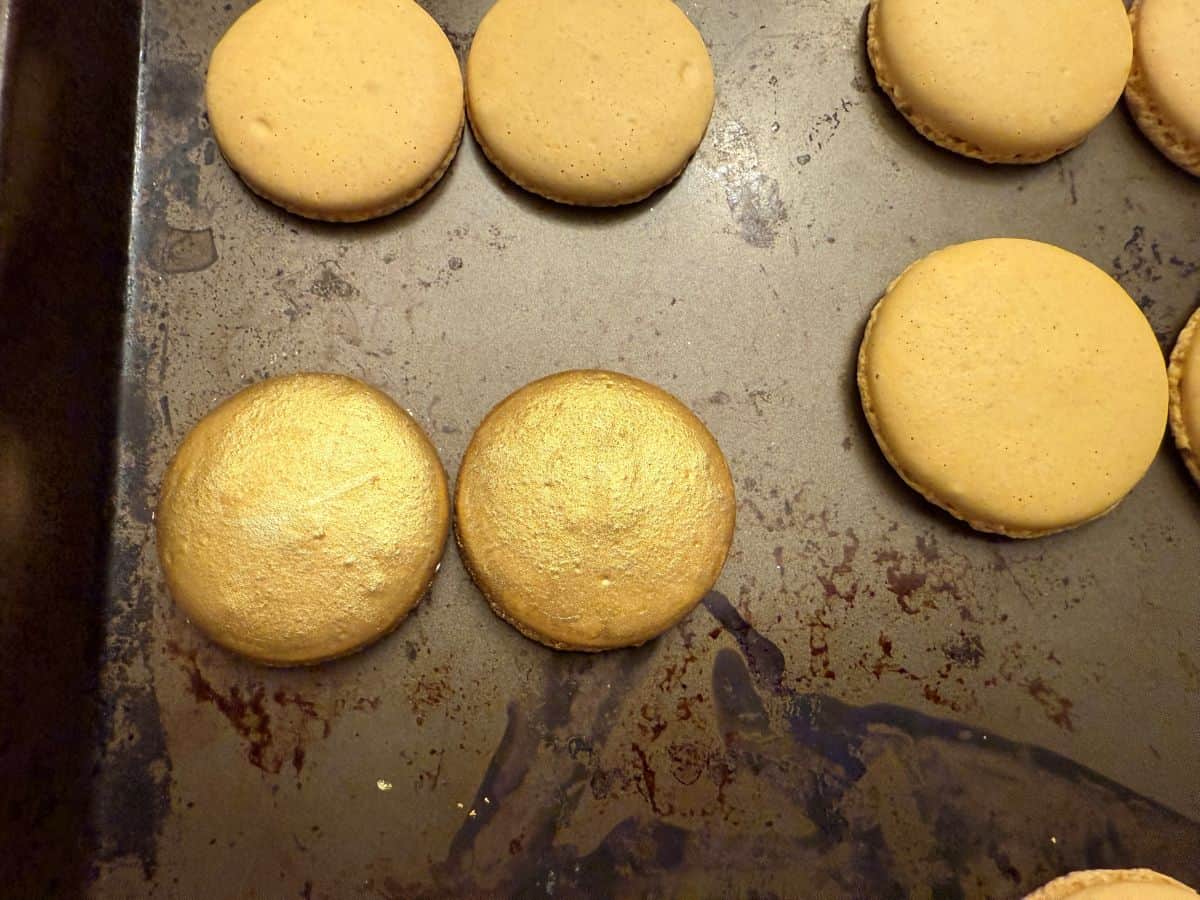
Dip the paintbrush into the liquid gold, and then quickly brush across the surface and sides of the macaron shells. Paint the flat underside of the shells just around the edges that might show when the cookies are sandwiched.
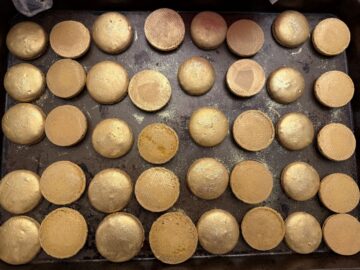
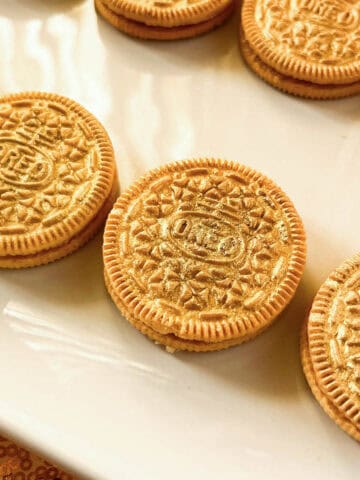
You can see how the painted shells have a metallic sheen to them compared to the neighboring unpainted shells.
After painting the shells gold, I sprinkled them with edible gold glitter to give them even more bling. You can use your index finger to rub the glitter into the shell if you want.
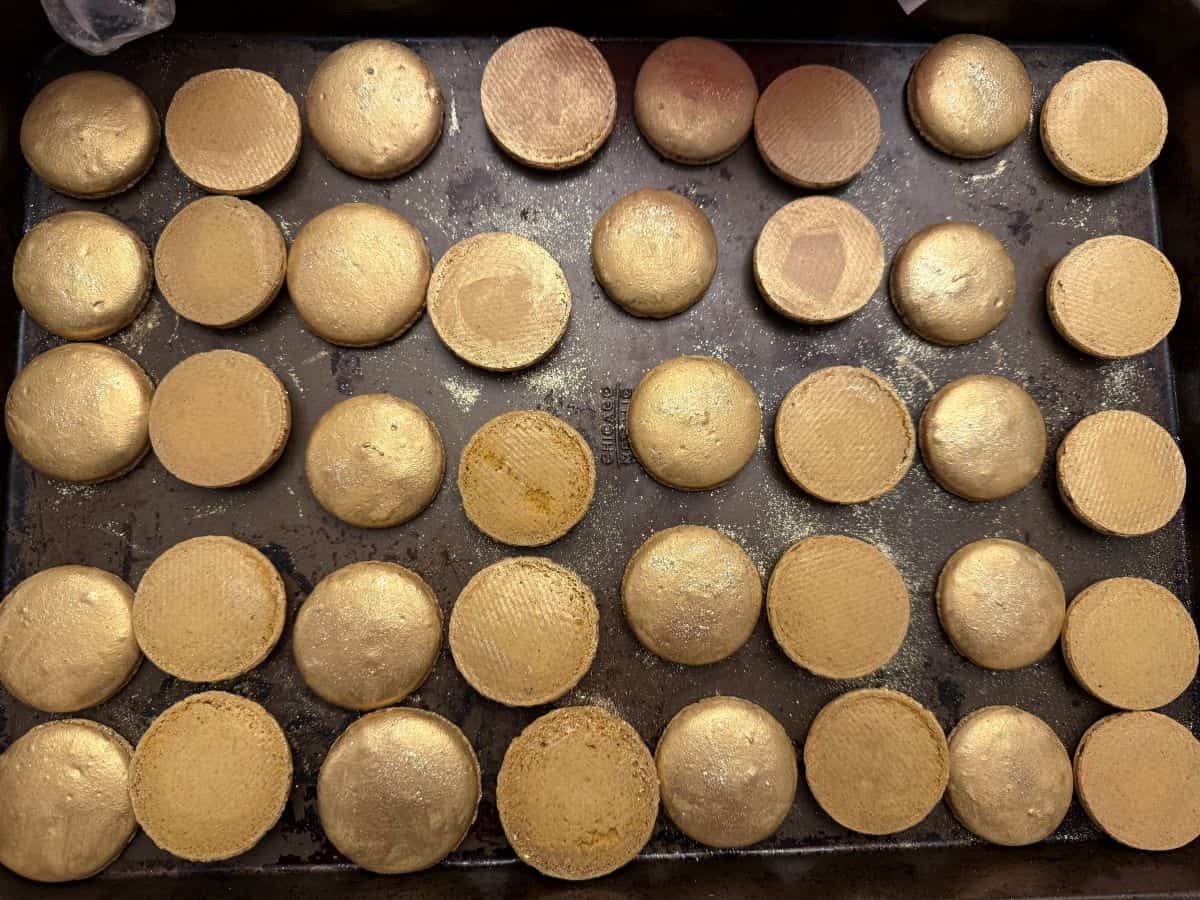
The alcohol will evaporate quickly, so the shells can be filled immediately or stored in an airtight container in single layers separated by wax paper at room temperature or in the refrigerator.
Make the Butterscotch Buttercream
I have detailed steps for making the Butterscotch Buttercream in a separate post.
First, it involves making an Easy Homemade Butterscotch Sauce.
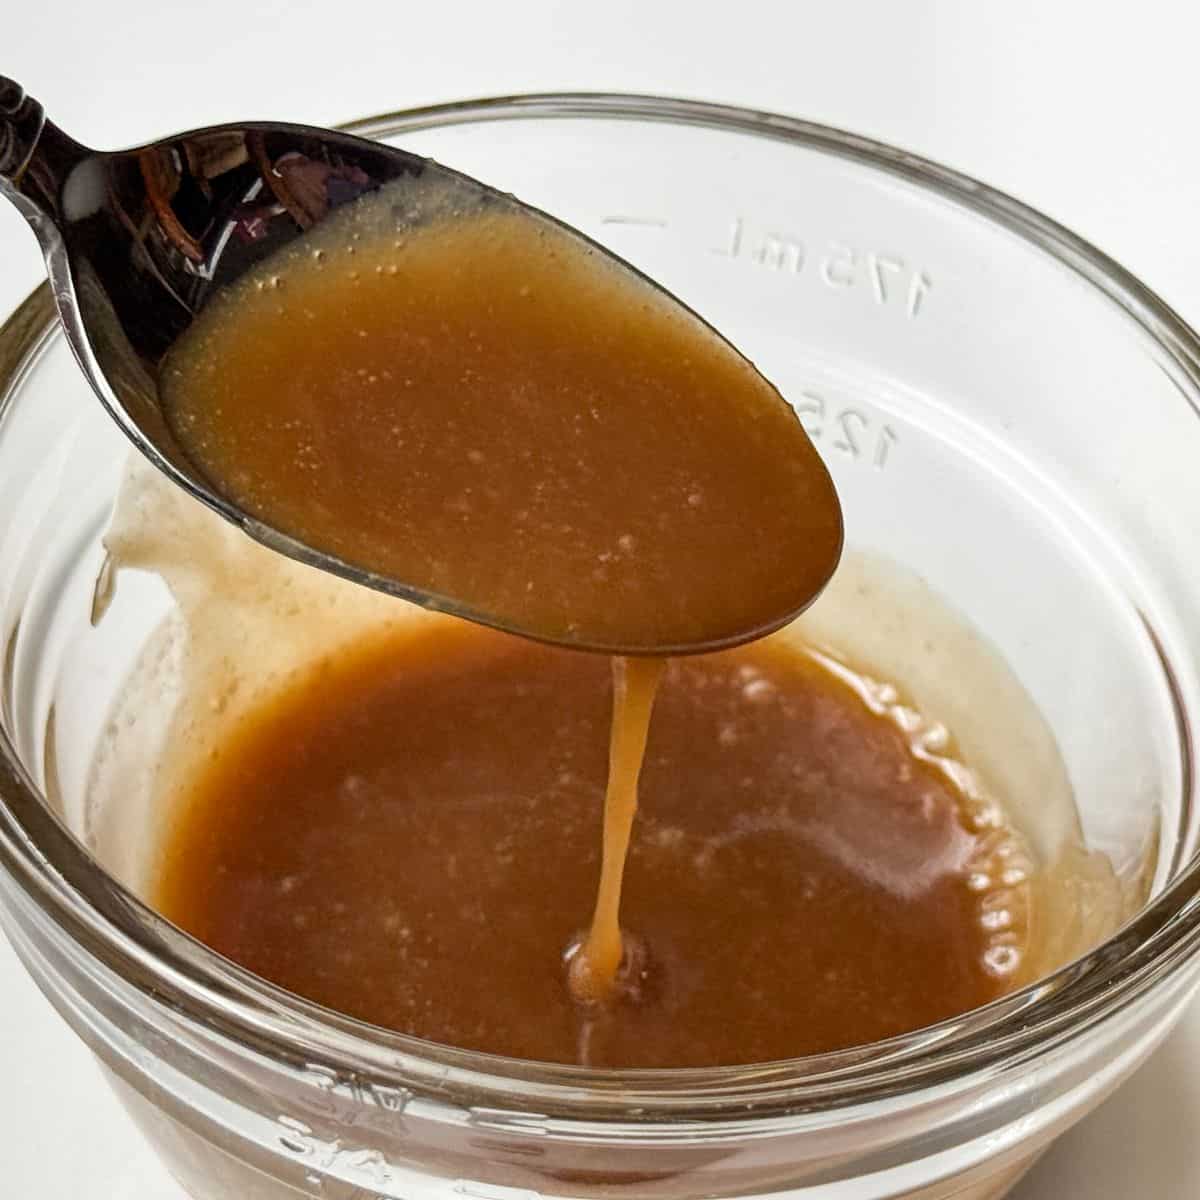
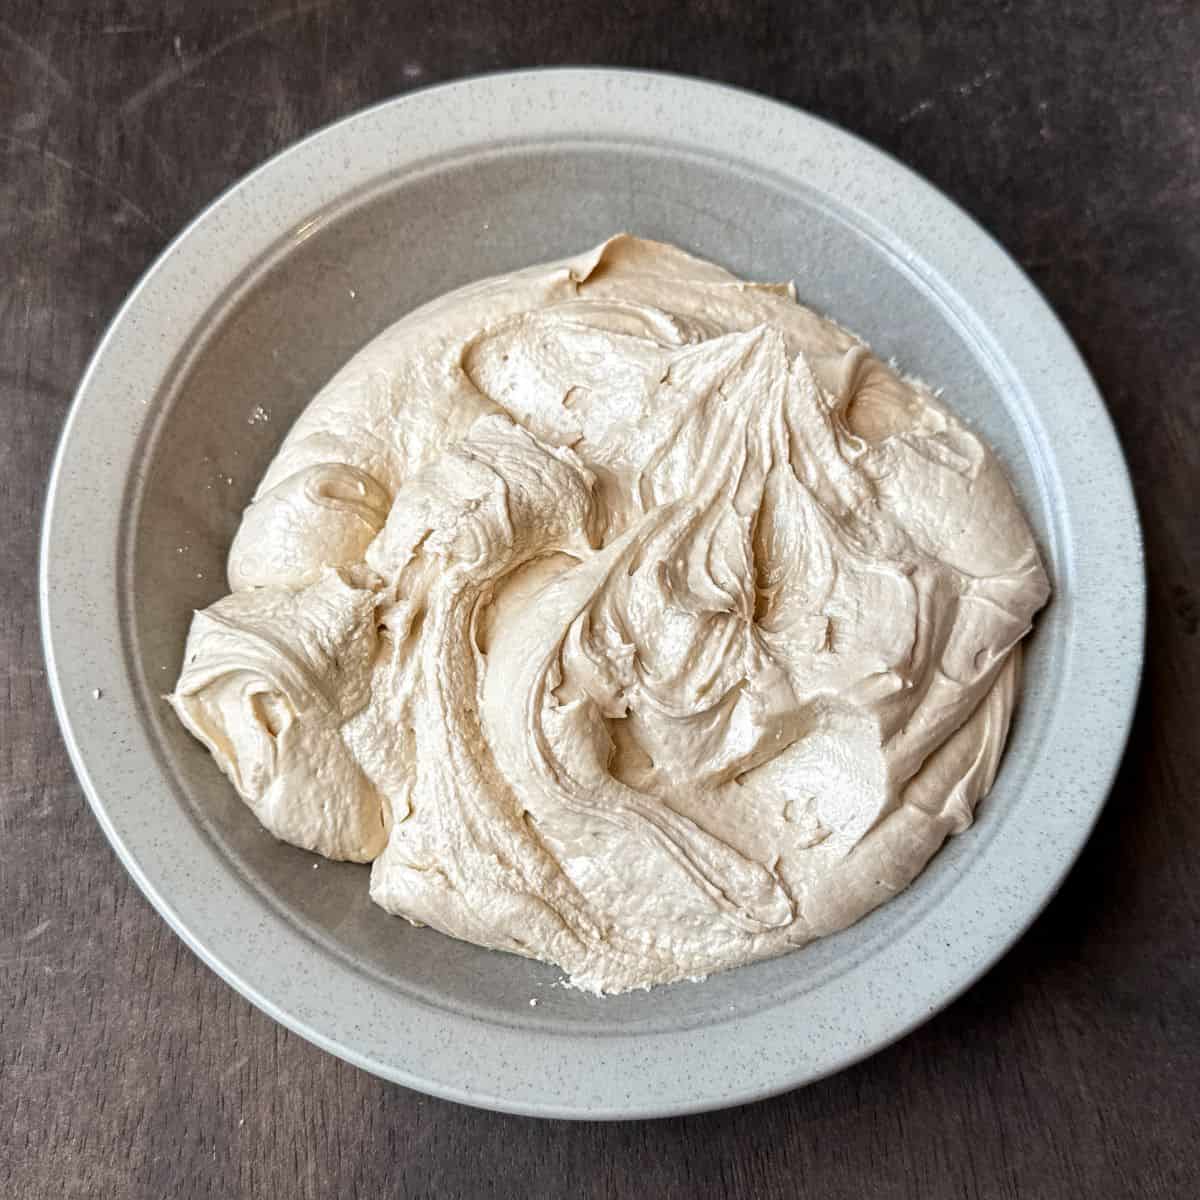
This sauce is then added to buttercream ingredients to create a smooth, butterscotch flavored frosting that I used for these Sorting Hat Macarons, Golden Snitch Macarons and the Butterbeer Cake.
Make the Colored Buttercreams
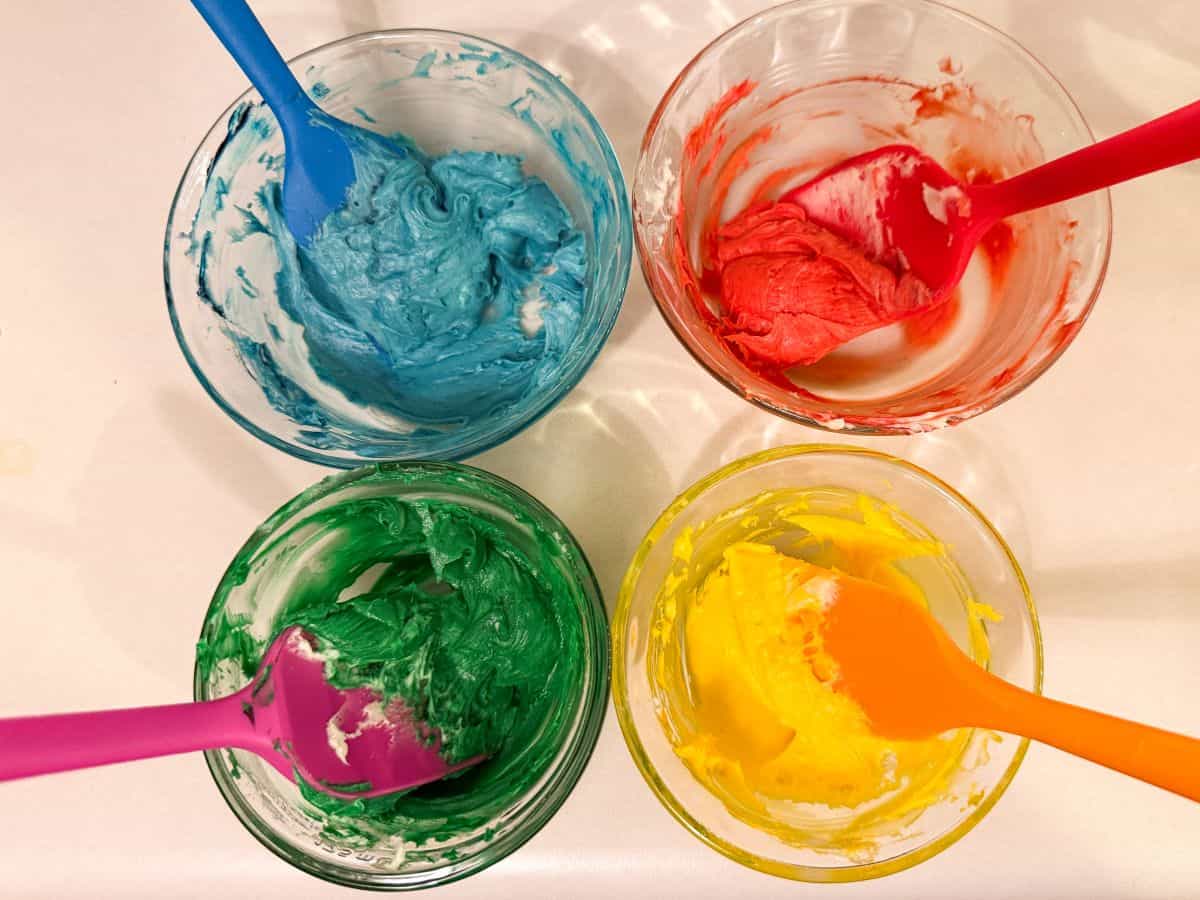
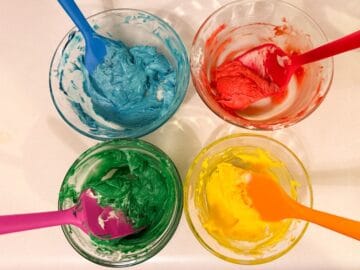
Divide a cup of Easy Vanilla Buttercream equally into each of 4 small bowls. Tint separately with blue, red, green and yellow food coloring gel.
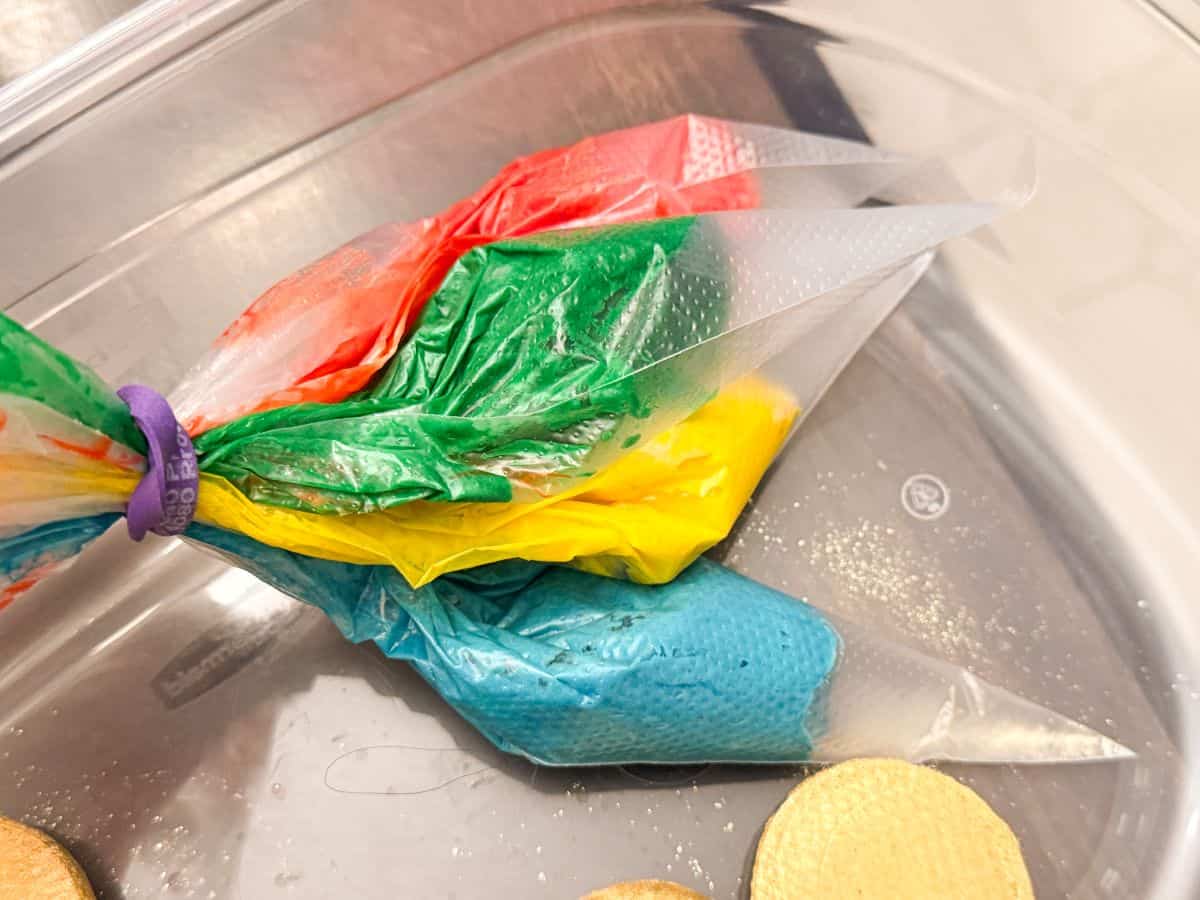
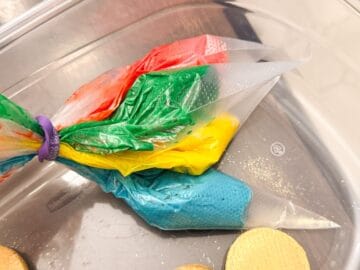
Transfer each colored buttercream to a disposable piping bag, and secure the openings together with a rubber band. This will prevent the buttercream from drying out until using.
Assemble the Macarons
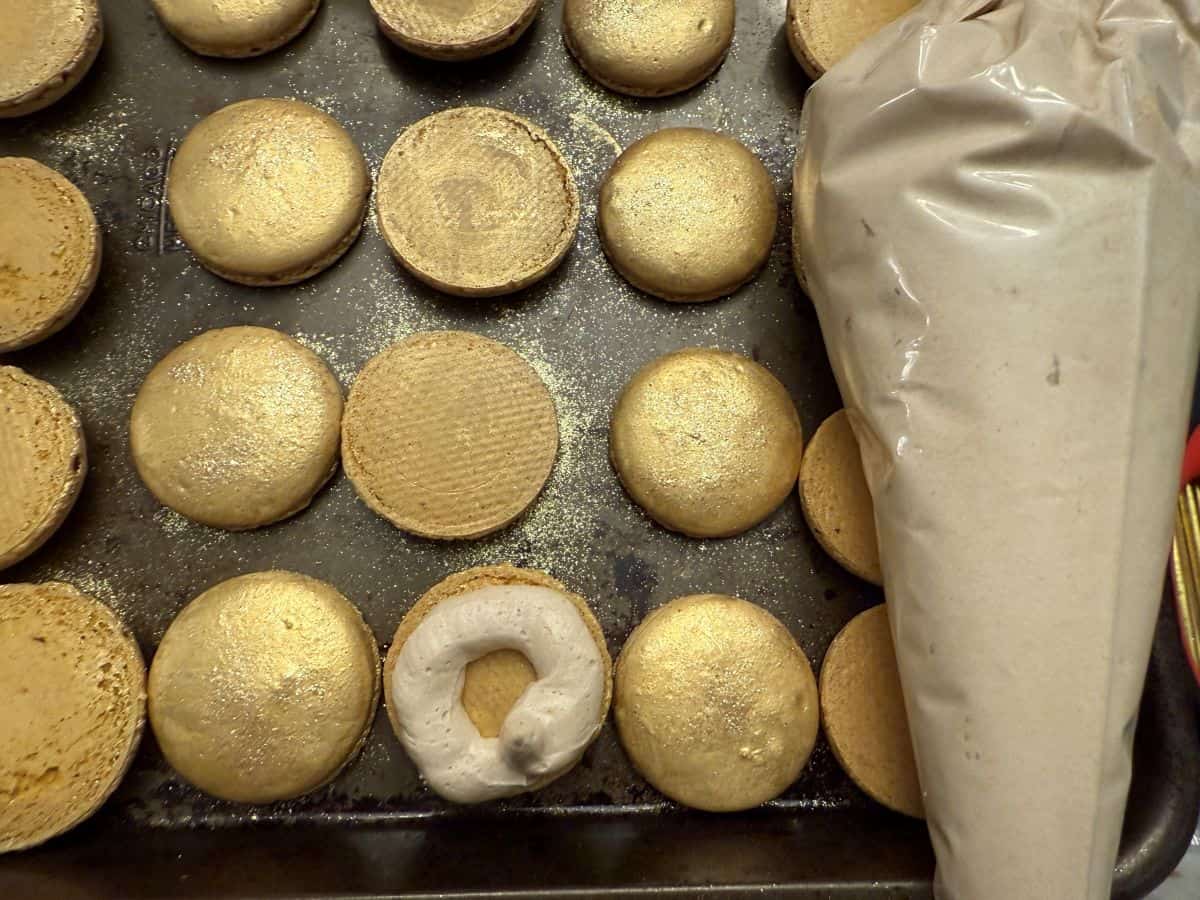
Transfer the Butterscotch Buttercream to a disposable piping bag fitted with a medium round tip or the tip cut off.
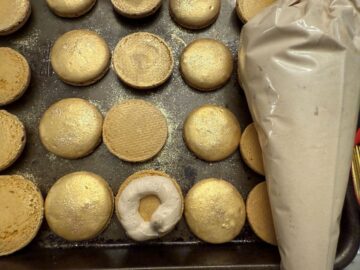
Pipe a border of buttercream around the perimeter of the flat side of the bottom shells.
Cut off the tip of each of the colored buttercreams. Pipe a single color into the center of the Butterscotch Buttercream dam. Try to make an equal number of each color.
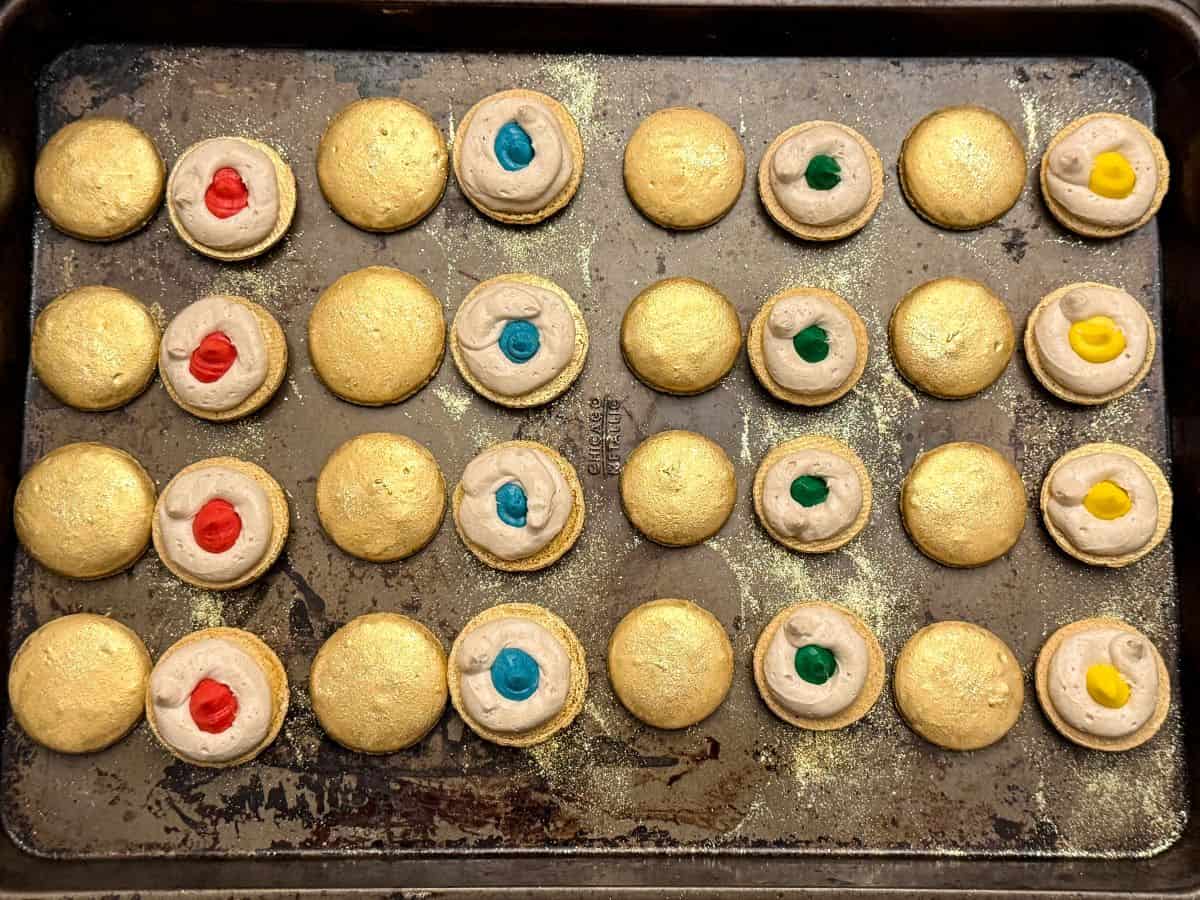
This recipe will yield around 22 assembled cookies, so that means about 5 of each color with a couple extras that you can make your color of choice.
After all of the bottom macaron shell have been filled, carefully pick up the top by the edges flat side down and place it on top of the buttercream, pressing gently to adhere. Repeat until all of the cookies have been assembled.
Storage
Macarons should be stored in an airtight container in the refrigerator for at least 24 hours before enjoying to mature and improve in texture.
Allow the cookies to come to room temperature before serving so the buttercream can soften.
Gluten Free Option
These cookies are naturally gluten free if you use a certified gluten free brand of oat flour. I like Bob's Red Mill brand of gluten free oat flour.
📖 Recipe
Nut Free Sorting Hat Butterbeer Macarons
Equipment
- digital kitchen scale
- Piping bag holder. optional
- disposable piping bags
- medium round piping tip, such as a #12
- Plastic tip coupler, optional
- 2 macaron mats
- 2 Baking sheets
- Paint palette dedicated to food
- food grade paintbrush
- disposable transfer pipette
Ingredients
For the Macaron Shells:
- 126 grams oat flour
- 126 grams powdered sugar
- 100 grams egg whites (see note)
- ¼ teaspoon cream of tartar
- 90 grams granulated sugar
- 1 teaspoon vanilla extract
- gold food coloring gel
For Painting the Shells:
- edible gold luster dust
- Everclear, vodka or clear extract
- edible gold glitter (optional)
For the Filling:
- 1-1½ cups Butterscotch Buttercream (see note)
- 1 cup Easy Vanilla Buttercream (see note)
- food coloring gel in red, yellow, green and blue
Instructions
Make the Macaron Batter:
- Place a macaron mat on each of 2 upside-down baking sheets. You can also use parchment paper with 1-inch circles drawn on underneath. Set these aside.

- Place a medium round tip, like a #12, in a disposable piping bag secured with a plastic tip coupler. Twist the bag above the piping tip and clip it closed with a small binder clip. Fold over the top of the bag and place it in a tall glass or in a piping bag holder. Set aside.
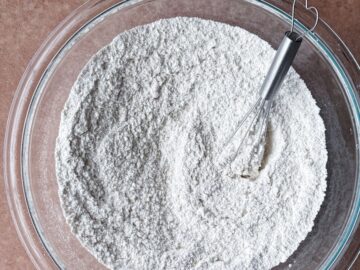
- Sift together the oat flour and the powdered sugar in a medium-sized bowl, then whisk to combine them completely. Set this bowl aside.126 grams oat flour, 126 grams powdered sugar
- Place the egg whites in the bowl of a stand mixer fitted with the whisk attachment and beat on medium-high until frothy.100 grams egg whites
- Add the cream of tartar, then slowly add the granulated sugar, one spoonful at a time, with the mixer still running.¼ teaspoon cream of tartar, 90 grams granulated sugar
- Add the vanilla extract and gold food coloring gel. Keep in mind that the color of the batter will deepen after the dry ingredients are incorporated. Continue to beat the mixture until the meringue forms stiff peaks. Remove the bowl from the mixer.1 teaspoon vanilla extract, gold food coloring gel
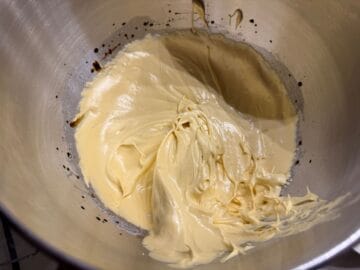
- Using a silicone spatula, carefully fold ⅓ of the flour/powdered sugar mixture into the meringue. Then add the remaining ⅔ of the flour mixture and continue folding until just before you reach the figure 8 stage. See note.
- Once the batter is the proper consistency, transfer it to the prepared piping bag.
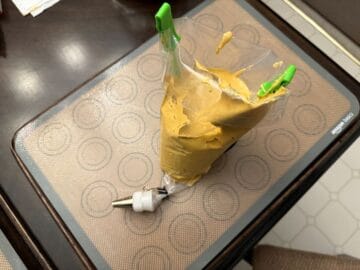
- Pipe 1-inch circles of batter onto the first macaron mat. Slam the tray down hard on the counter or a table several times to force any air bubbles to the surface. If desired, take a toothpick and pop large bubbles then smooth over the hole left after the bubble pops.
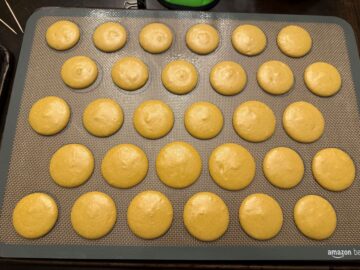
- Pipe the batter onto the second macaron mat. You will not fill the entire mat. Repeat the process of slamming the tray and popping bubbles.
- Allow the batter to dry at room temperature for 40 minutes, or until the surface of the batter does not stick to your finger when lightly pressed. Meanwhile, preheat the oven to 300°F.
Bake the Shells:
- Bake the macaron shells for 12-14 minutes, rotating the pan once about 7 minutes into the bake. Only bake one pan at at time.
- Allow the shells to cool completely on the mats before removing them.
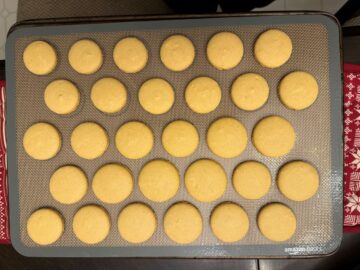
- To remove the shells, push up on the mat from underneath to help them pop off. If you have trouble with them sticking, that may mean they are underbaked. Some of the shells in the center of the tray may have a little bit of sticking. Very carefully use a stiff metal spatula to pry them off the mat, taking care not to rip the shell.
- After your macaron shells have completely cooled, you can paint them with a gold luster dust suspension immediately or store the shells in an airtight container in the refrigerator or freezer to paint later.
Paint the Shells Gold:
- Add some gold luster dust to the well of a food-dedicated paint palette.
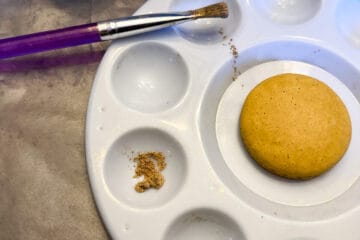
- Pour some Everclear or vodka into a small bowl.
- Use a plastic transfer pipette to add a few drops of alcohol to the well with the gold dust. Stir it around with a food grade paintbrush to make the gold suspension. You may need to add more luster dust or more alcohol depending on the consistency of the suspension.

- Dip the paintbrush into the liquid gold, and then quickly brush it across the surface and sides of the macaron shells. Paint the underneath (flat) side of the shells as well, or at least the perimeter that may not be covered with filling.

- As you use the suspension on the macaron shells, you will need to remake more in the same well. The alcohol evaporates quickly, so if you don't use it right away, you will need to add another drop or two of alcohol to get the suspension back to the original consistency.
- Because the alcohol evaporates very quickly, the shells will be dry quickly. Sprinkle the shells with edible gold glitter for extra sparkle, if desired.
Assemble the Macarons:
- Divide the vanilla buttercream equally into each of 4 small bowls. Tint separately with blue, red, green and yellow food coloring gel.
- Transfer each colored buttercream to a disposable piping bag, and secure the openings together with a rubber band. This will prevent the buttercream from drying out until using.
- Transfer the Butterscotch Buttercream to a disposable piping bag fitted with a medium round tip or the tip cut off.
- Pipe a border of buttercream around the perimeter of the flat side of the bottom shells.
- Cut off the tip of each of the colored buttercreams. Pipe a single color into the center of the Butterscotch Buttercream dam. Try to make an equal number of each color.
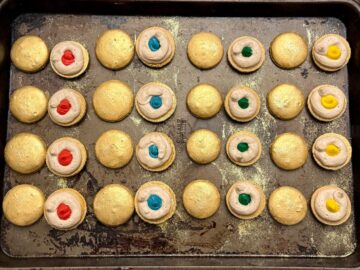
- After all of the bottom macaron shell have been filled, carefully pick up the top by the edges flat side down and place it on top of the buttercream, pressing gently to adhere. Repeat until all of the cookies have been assembled.
Notes
100 grams of egg whites is the equivalent of the whites from about 3 ⅓ large eggs. Macaronage: The process of incorporating the dry ingredients into the meringue is called macaronage. I recommend reading about this at America's Test Kitchen and Le Cordon Bleu to familiarize yourself with how the batter should look. This step is critical for the shells forming "feet" properly. You want the batter to flow off the spatula like a ribbon, and when you draw a figure 8 with the batter that flows off, you want it to slowly go back into the batter still in the bowl but not too quickly. For oat flour macarons, you want to stop mixing just before the batter reaches this step. Storage: Store the assembled cookies in an airtight container in the refrigerator for up to several days. If refrigerated, allow the cookies to come to near room temperature before serving. Nutritional information is only an estimate and will vary based on your ingredients and substitutions. The values for this recipe represent the shells only and does not include the filling in the calculation. You're Gonna Bake It After All bakeitafterall.com

Leave a Reply