
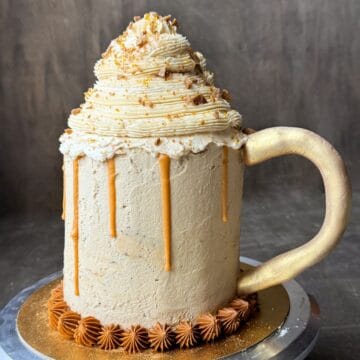
This Harry Potter Butterbeer Cake is shaped like a mug of butterbeer! It has a homemade butterscotch buttercream, butterscotch ganache drips and homemade toffee crumbles.
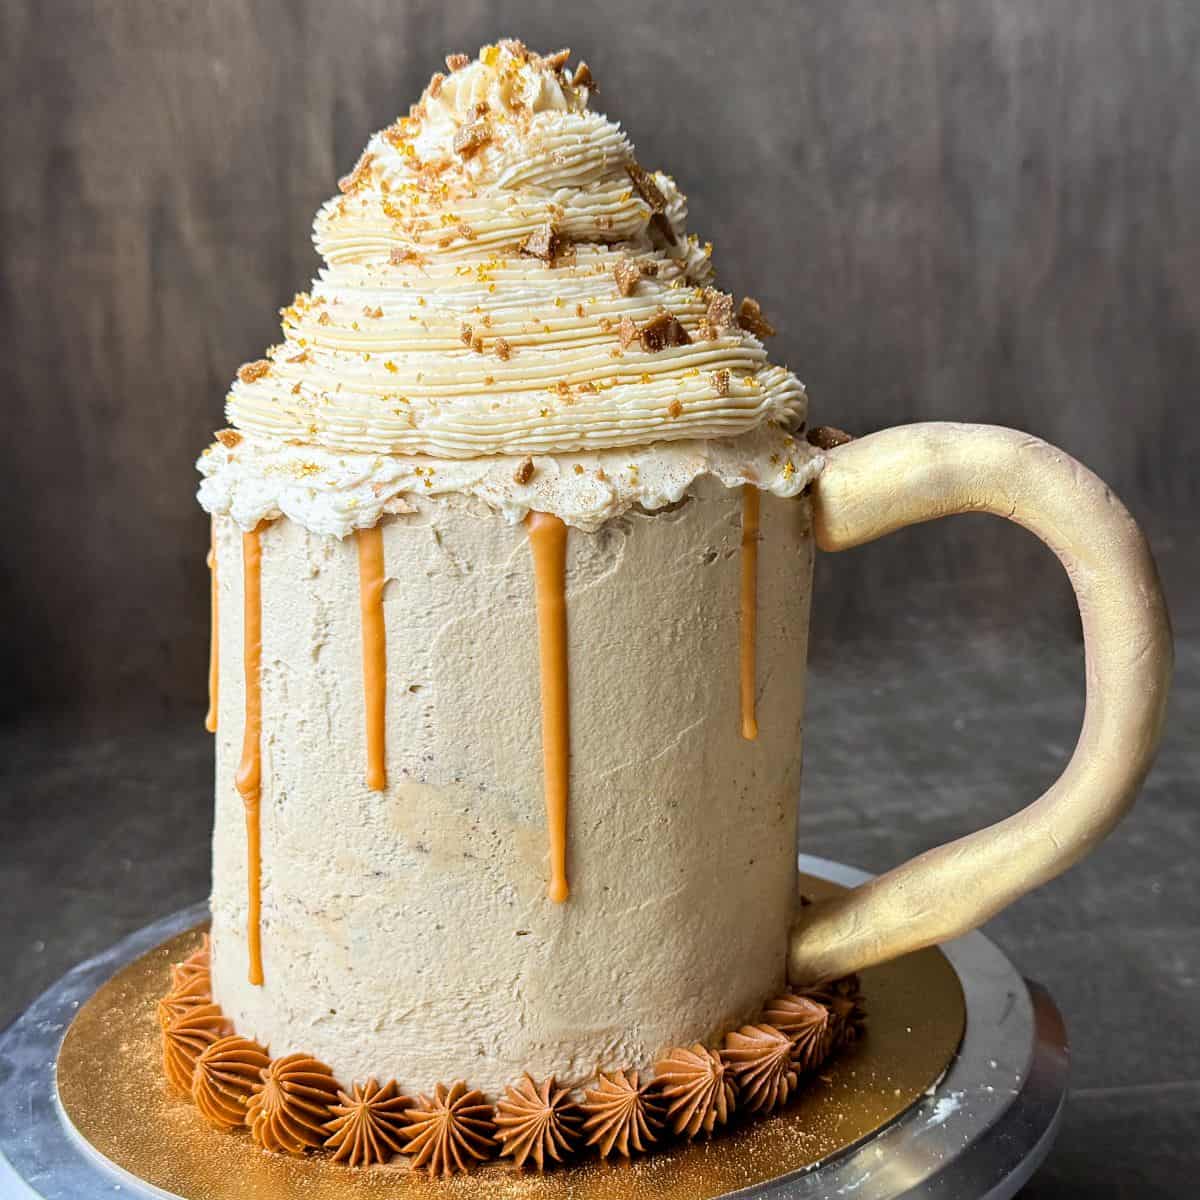
For my daughter's Harry Potter Birthday Party, I let her peruse Pinterest for cake ideas. She ultimately landed on a butterbeer flavored cake shaped like a mug of butterbeer to represent the fictional butterscotch flavored drink from Harry Potter. I now think that inspiration image was likely made with AI, so this is my real life version, flaws and all.
She wanted the actual cake layers to be chocolate, not butterscotch flavored, so we used Butterscotch Buttercream to allow that flavor to come through.
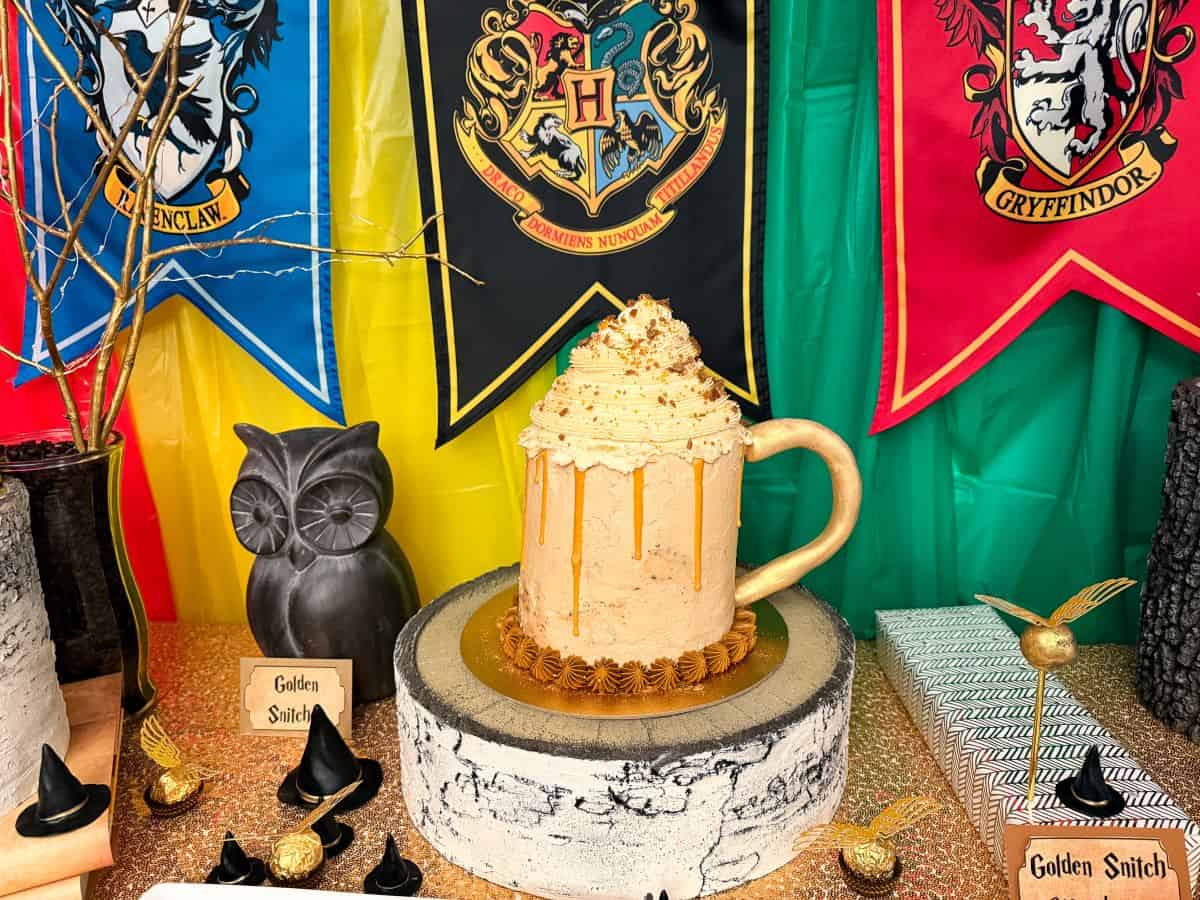
We displayed the cake on a birch tree slice platform as the center of the dessert table. Although it may not look like it, it is a large, heavy cake.
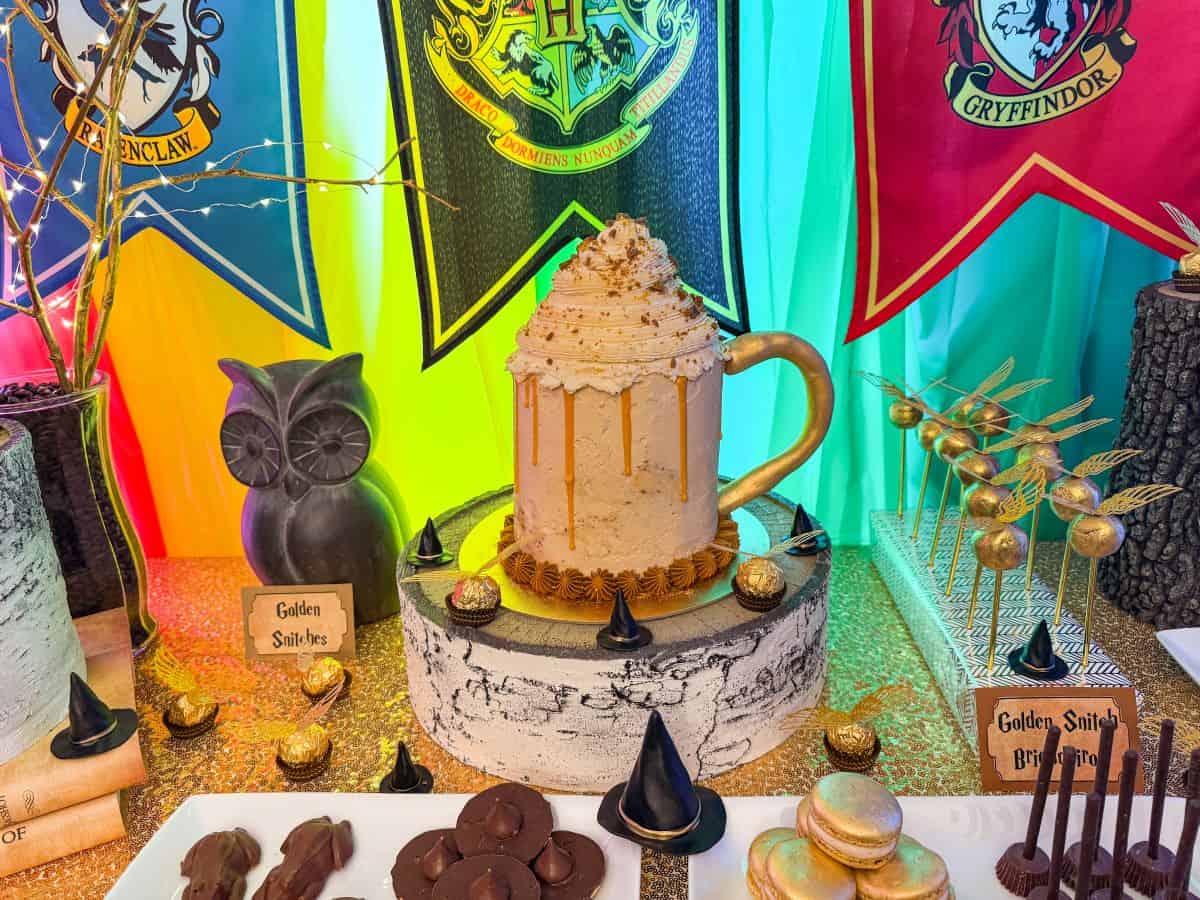
This cake was loved by all the guests, especially the birthday girl!
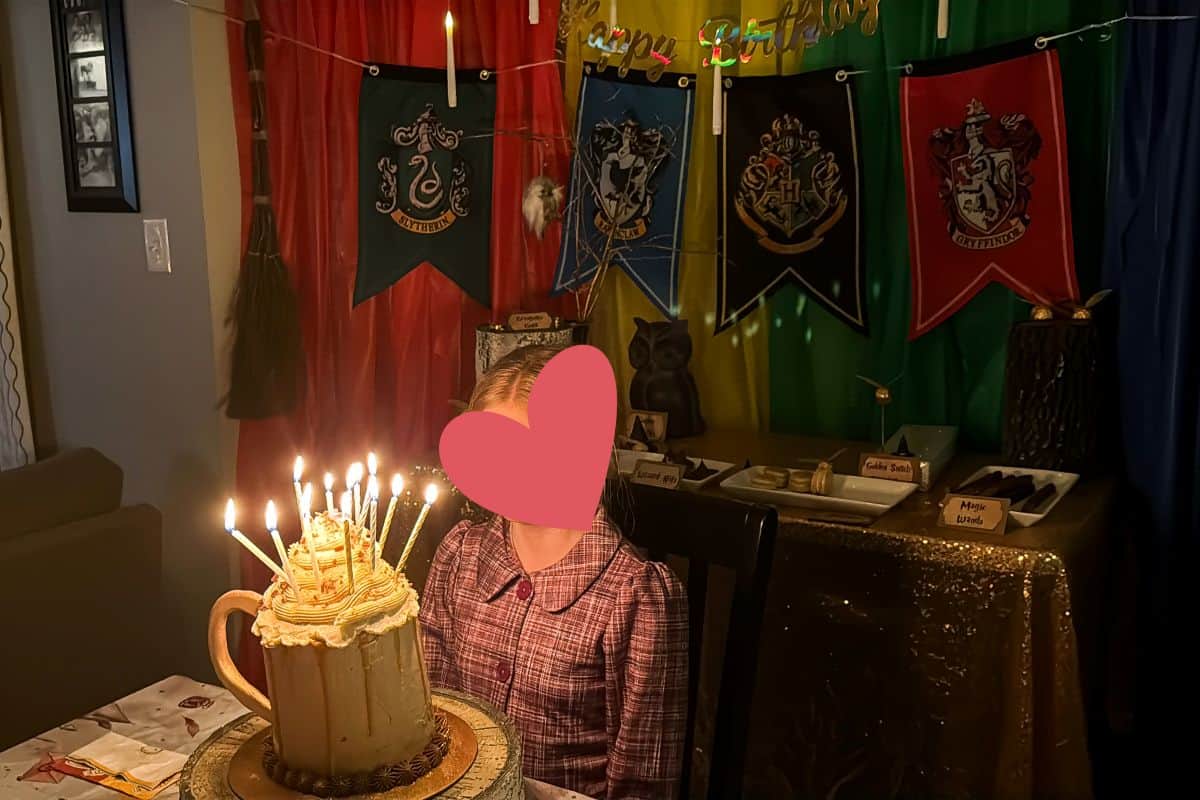
SEE ALL THE HARRY POTTER PARTY DETAILS AND RECIPES HERE!
Jump to:
Supplies
- white rollable fondant or gum paste
- parchment paper
- masking tape
- aluminum foil
- powdered sugar
- small fondant rolling pin with guides
- gold food coloring gel
- brown food coloring gel
- wooden skewers
- spinning cake decorating stand
- 10-inch round gold cake board
- metal cake scraper
- 4 6-inch cake layers, such as Chocolate Layer Cake
- 4 batches Butterscotch Buttercream
- 2 batches Easy Vanilla Buttercream
- gold luster dust
- food dedicated paint palette
- Everclear, vodka or clear extract
- disposable transfer pipette
- food grade paintbrush
- disposable piping bags
- decorative piping tip, like a #6B large star tip
- Homemade Nut Free Toffee
- gold sprinkles
- Wilton Edible Accents gold stars
- edible gold glitter
Make Fondant Decorations
I wanted the mug of butterbeer to appear like it was topped with a large mound of piped whipped cream. In order to avoid wasting buttercream, I made a fondant cone to place on top of the cake.
You can use rollable fondant or gum paste for this. Fondant requires a longer dry time to harden, but I always make the fondant decorations ahead of time. In my experience, fondant is easier to find in stores, like Walmart. The directions for making the fondant decorations are interchangeable with gum paste.
To make the cone, start by cutting a strip of parchment paper and wrapping it into a cone shape with a base that measures about 4 inches diameter. Tape to secure it. Depending on how slick your paper is, this may require multiple pieces of tape, some of which are tape on top of tape to get it to stick.
Trim the bottom edge of the cone so it stands up straight.
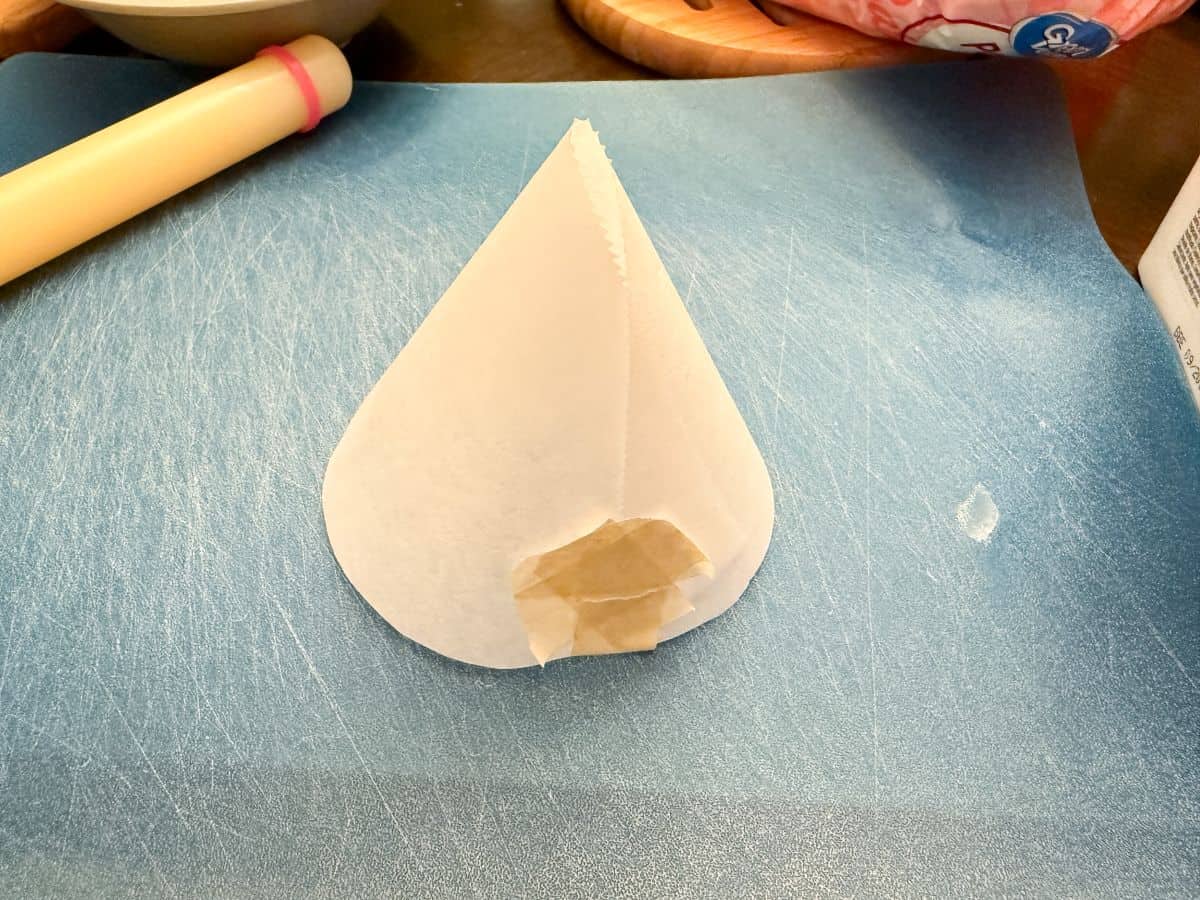
Fill the inside of the cone with crumbled aluminum foil so it can maintain its shape when the fondant is wrapped around it. Set the cone aside.
Dust a cutting surface with powdered sugar and roll about ¼ cup of white fondant out to even thickness so it is more than twice the height of your cone. I use a small fondant rolling pin with guides to ensure even rolling.
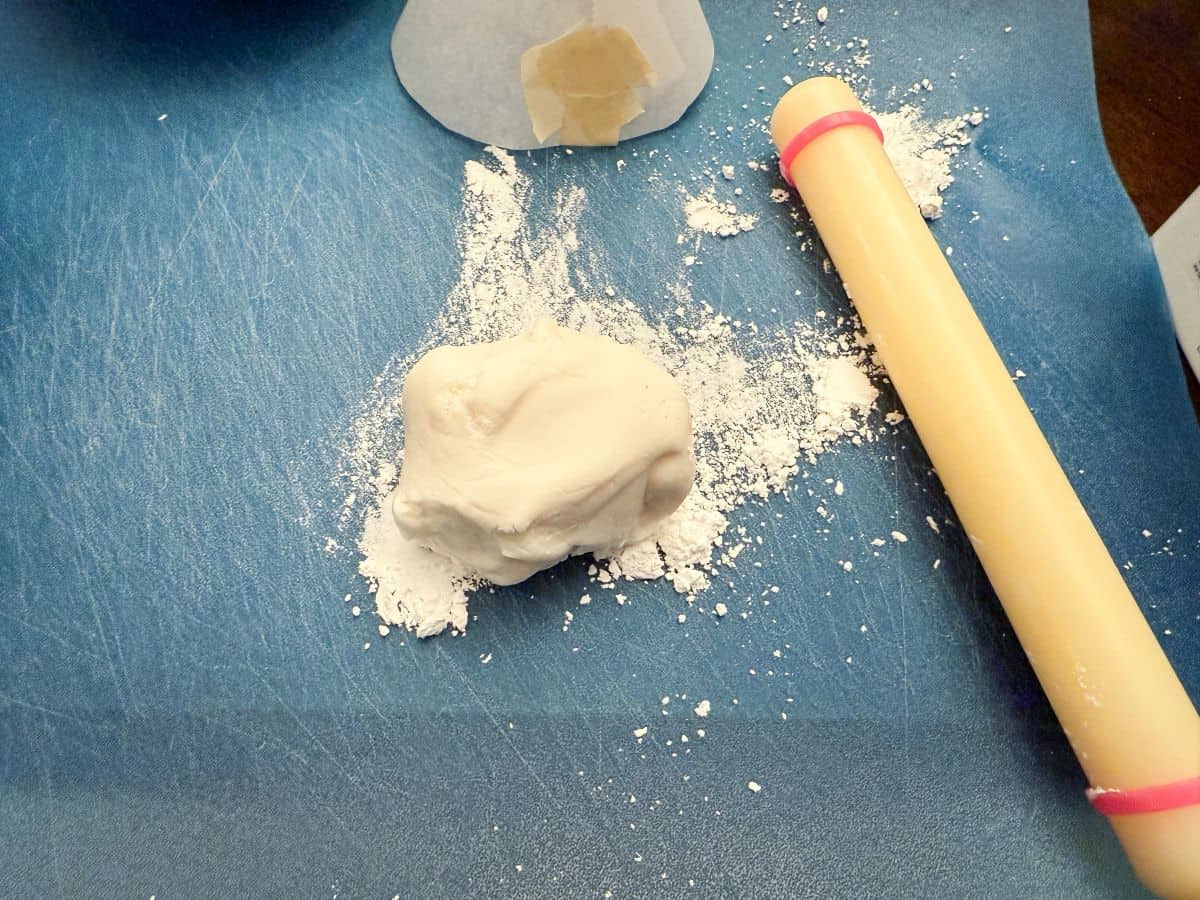
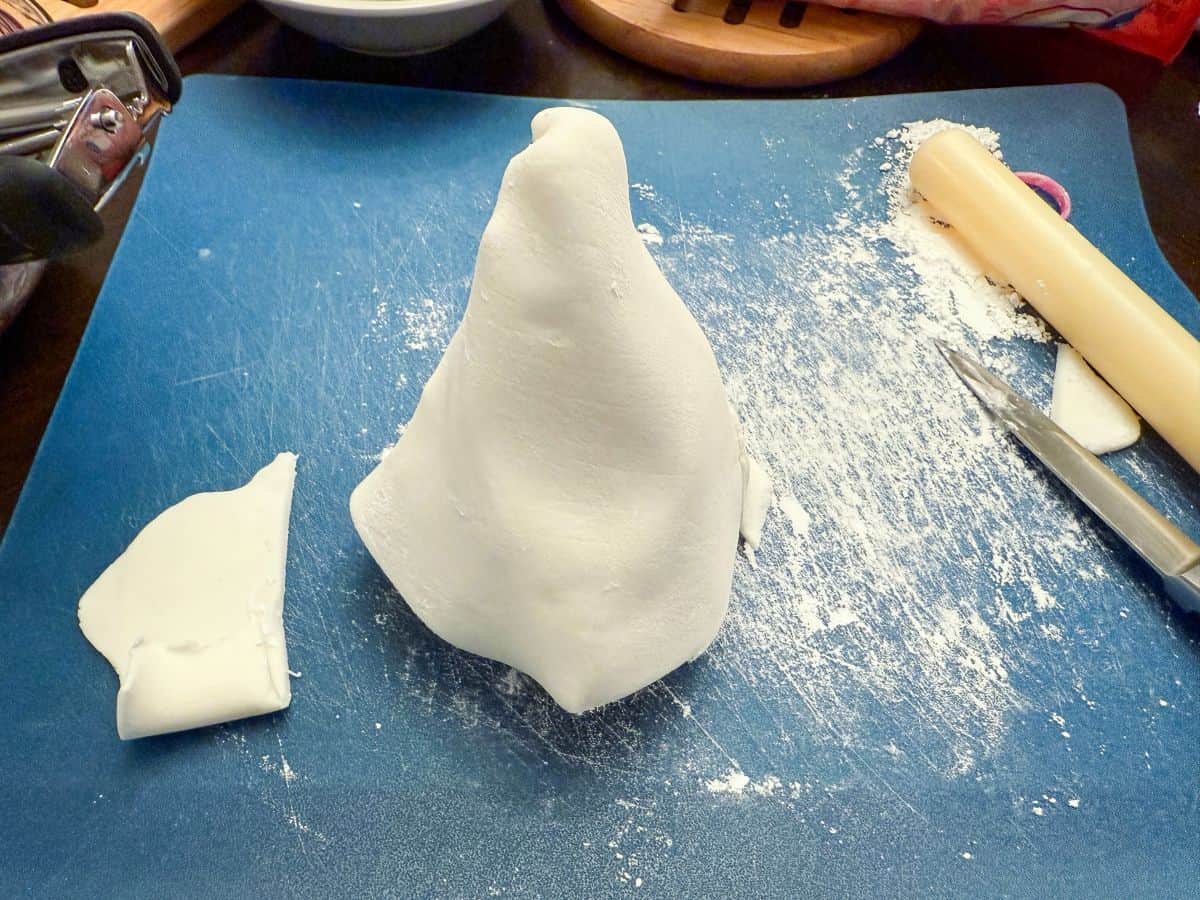
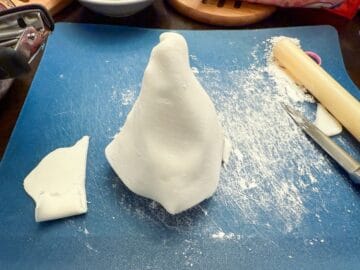
Wrap the fondant around the cone to completely cover. Trim the bottom edge so it can stand up straight. This cone can look rustic since it will be completely covered in buttercream. Its purpose it just to take up space.
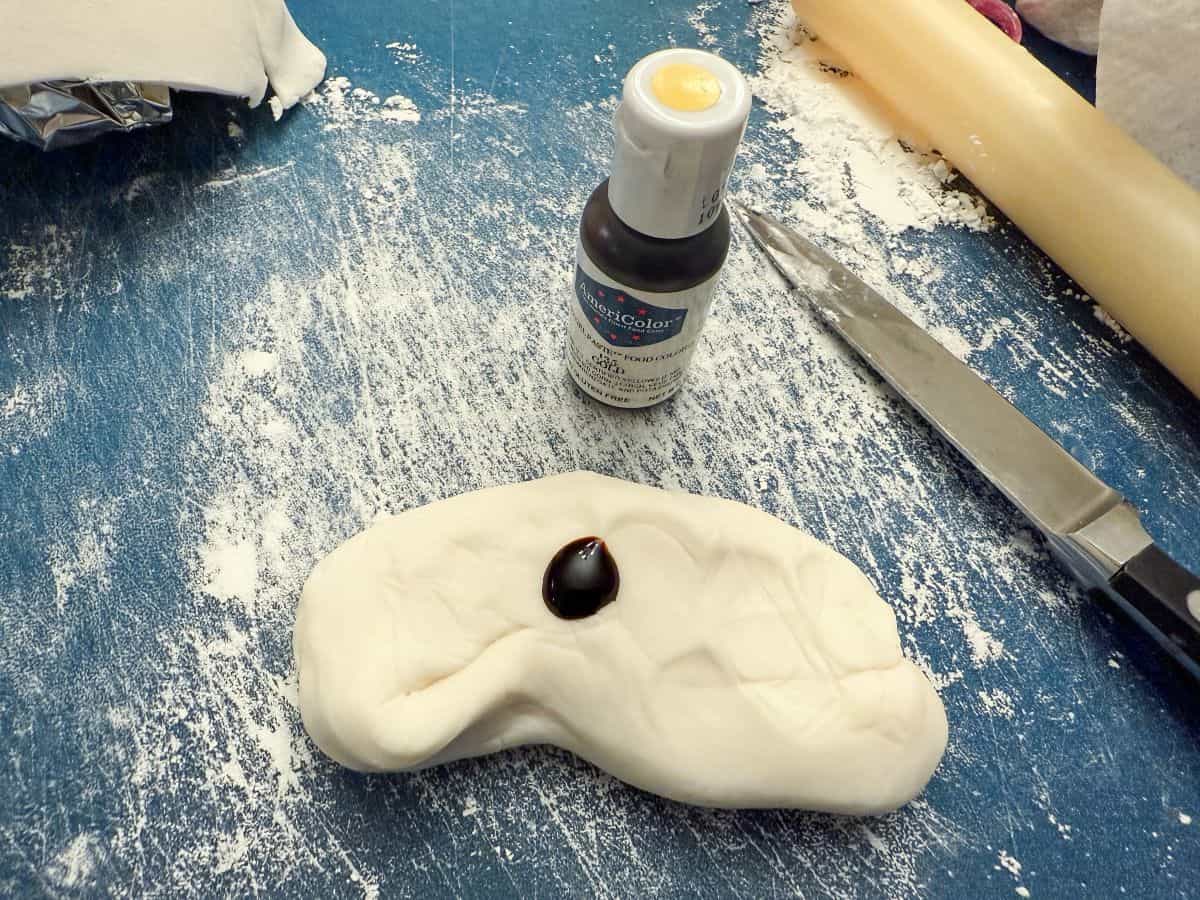
To make the mug handle, begin by adding some gold food coloring gel on top of about ¼ cup white fondant. I recommend wearing disposable nitrile gloves when working the gel into the fondant to avoid staining your hands. You can twist and fold the fondant much like clay to evenly distribute the color.
You may add a small drop of brown food coloring if you want a deeper color. Work it into the fondant the same way.
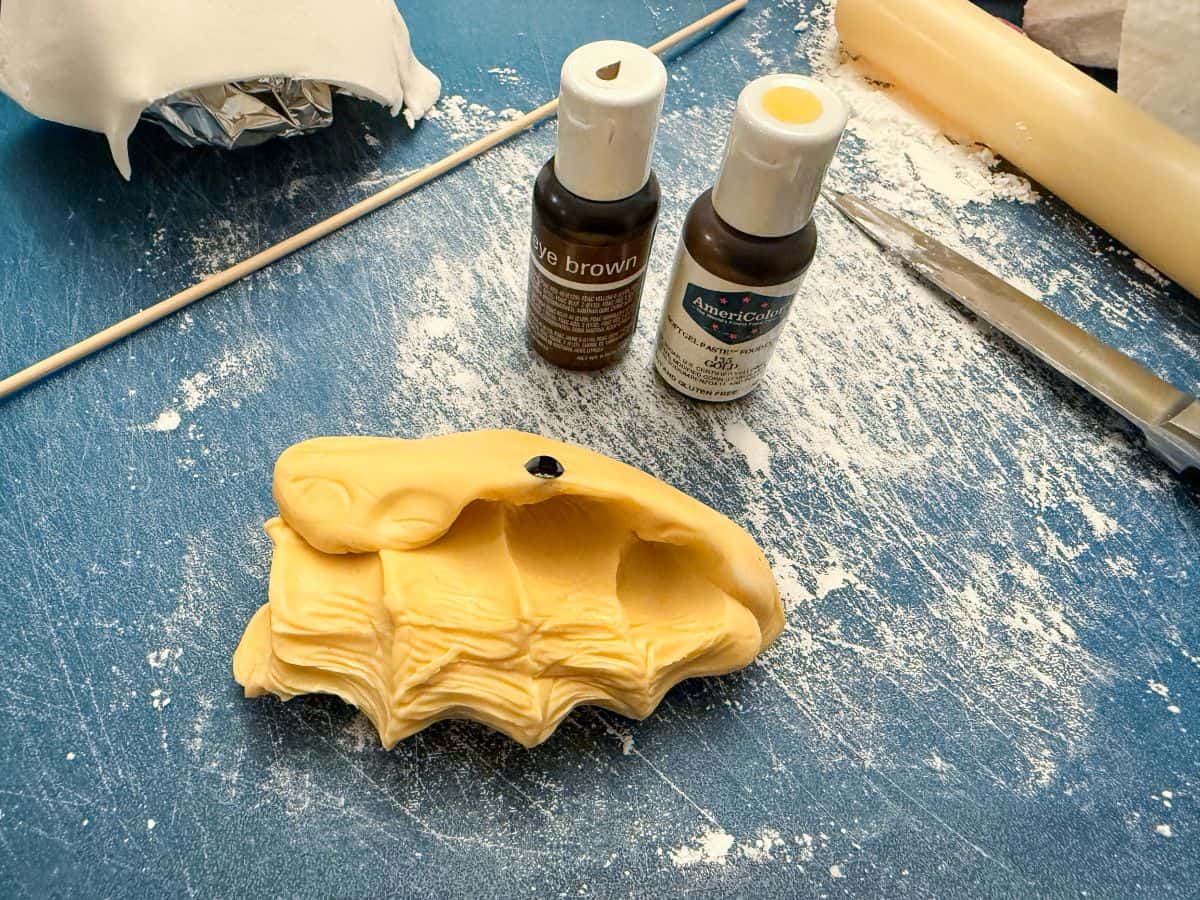
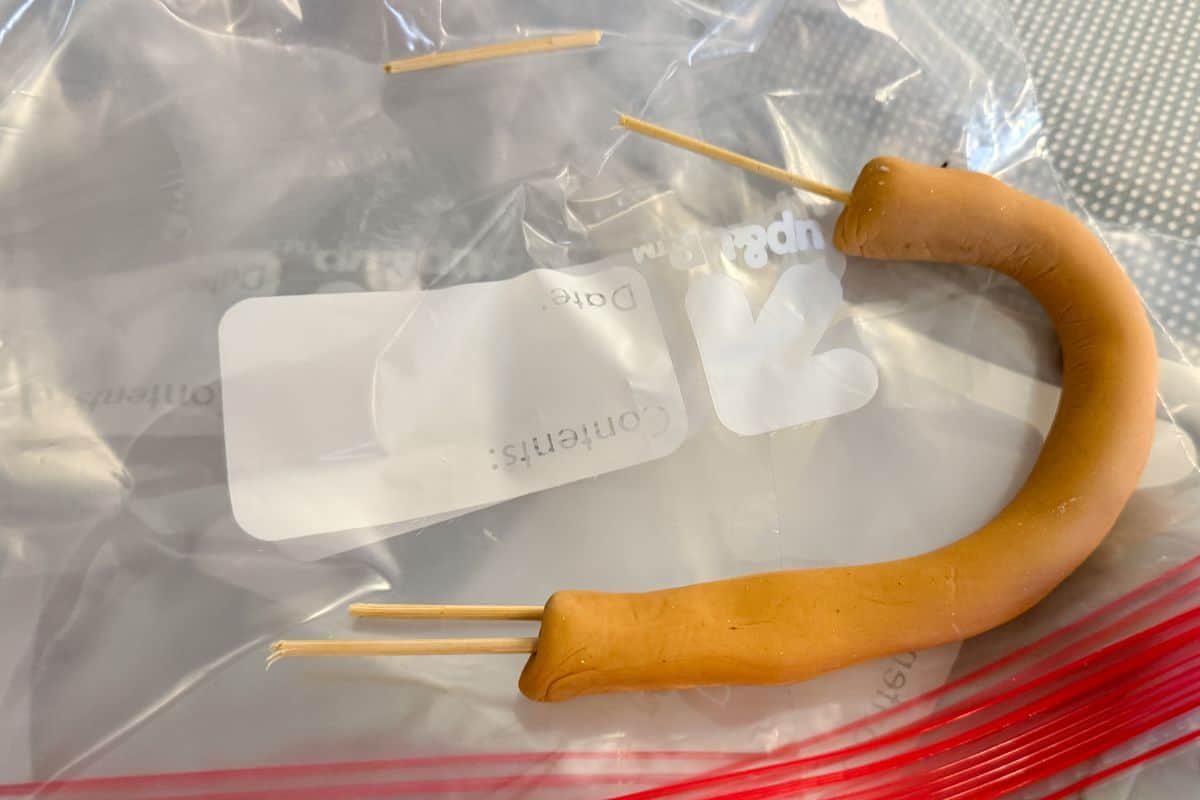
Next, roll the fondant with your hands against the powdered sugar dusted cutting surface into a rope shape and form into a handle. Carefully insert wooden skewers into each end. These will be needed when attaching the handle to the cake.
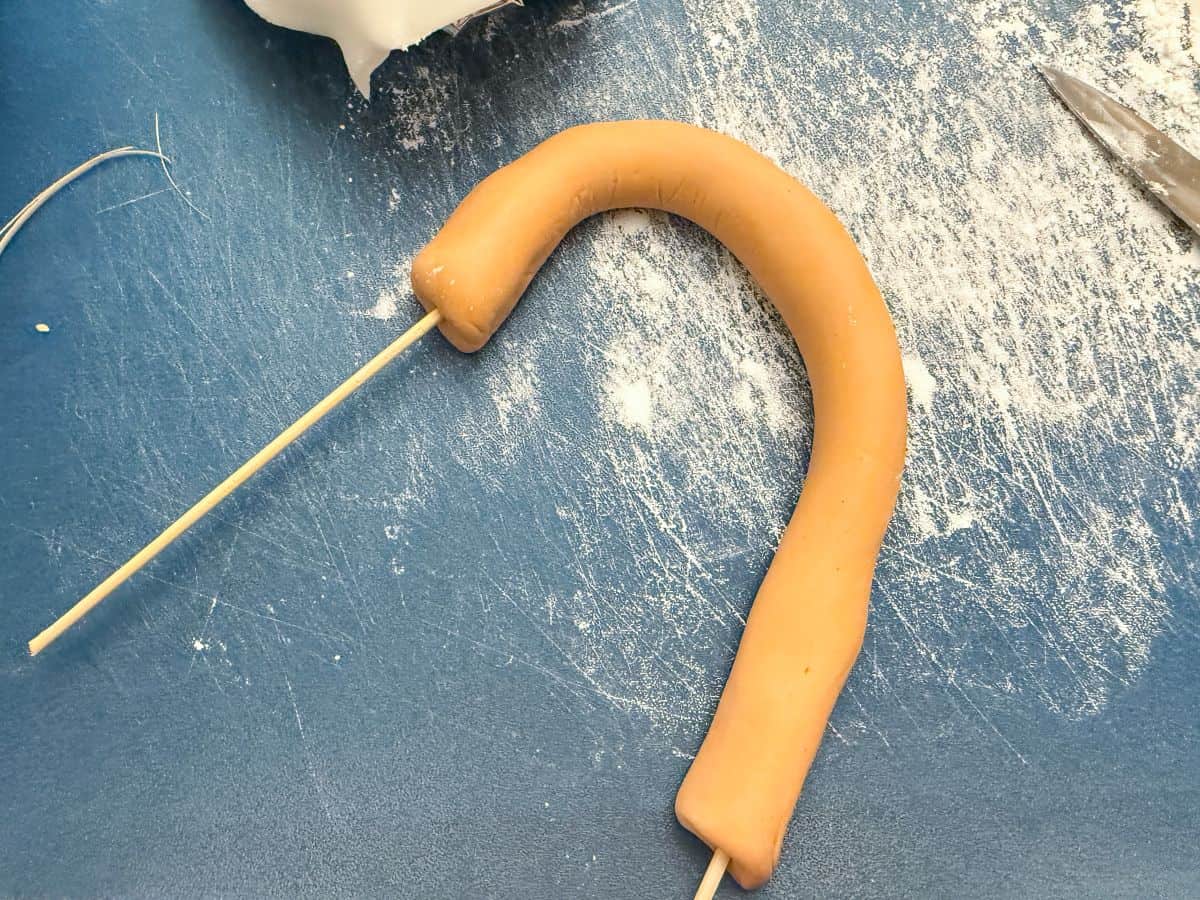
For now, don't worry about trimming the skewers, as that can be done after the fondant has dried.
Allow the fondant decorations to dry uncovered at room temperature for at least 1-2 days, perhaps more depending on the temperature and humidity of your workspace.
Bake the Cake Layers
You can use any flavor cake you prefer for the inside. My daughter wanted chocolate, so I made our favorite Chocolate Layer Cake and divided the batter between four 6-inch pans. Using 6-inch pans makes the cake tall and narrow, just like a mug.
I always use Pam for Baking spray inside the pans and Cake Baking Strips outside the pans when baking layer cakes. Because I used the full cake recipe, I filled the pans a little too much and had some batter spill over during baking, so I recommend not using all of the batter.
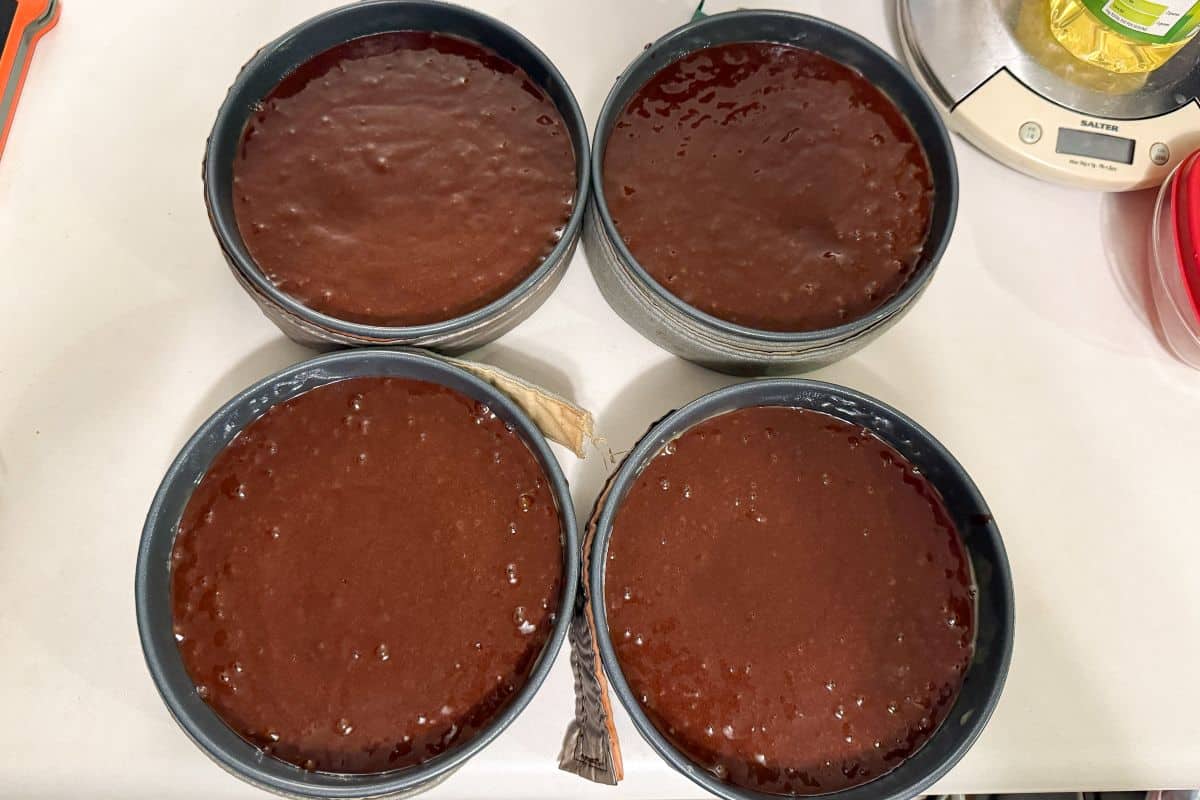
You can pour the extra batter into a separate pan and use it for cake pops, cupcakes, or even a Boston Cream Pie.
Make the Buttercream
This cake is made to look like a mug of butterbeer, which is a butterscotch flavored drink, so I wanted to use Homemade Butterscotch Buttercream to frost it.
This buttercream starts by making an Easy Homemade Butterscotch Sauce.
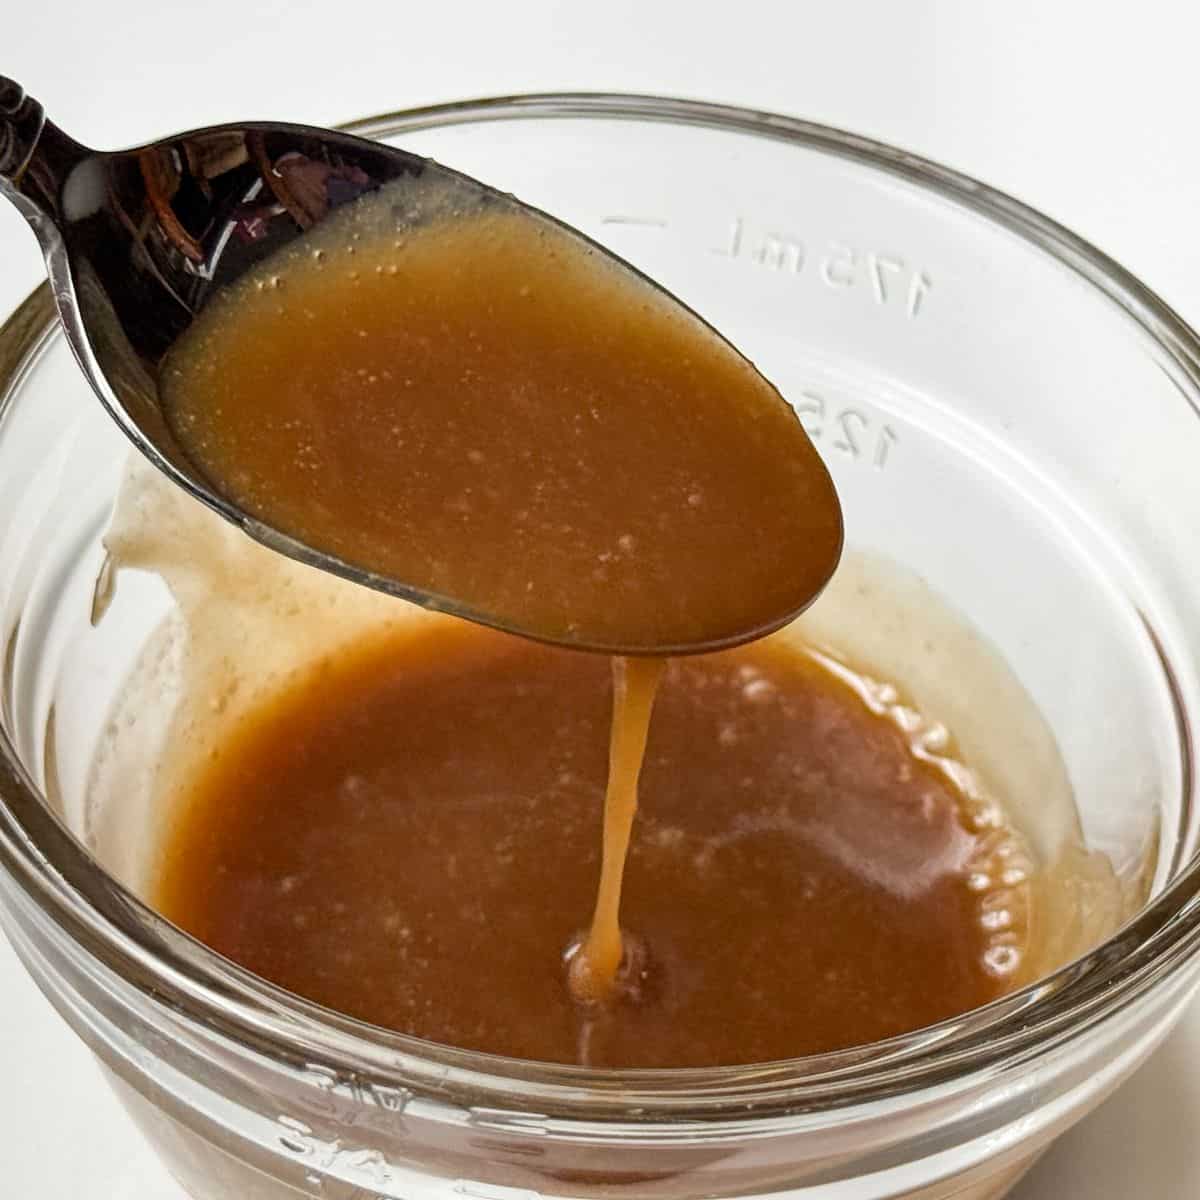
Then, the butterscotch is incorporated into the buttercream that can be used in between the layers and on the outside of the cake.
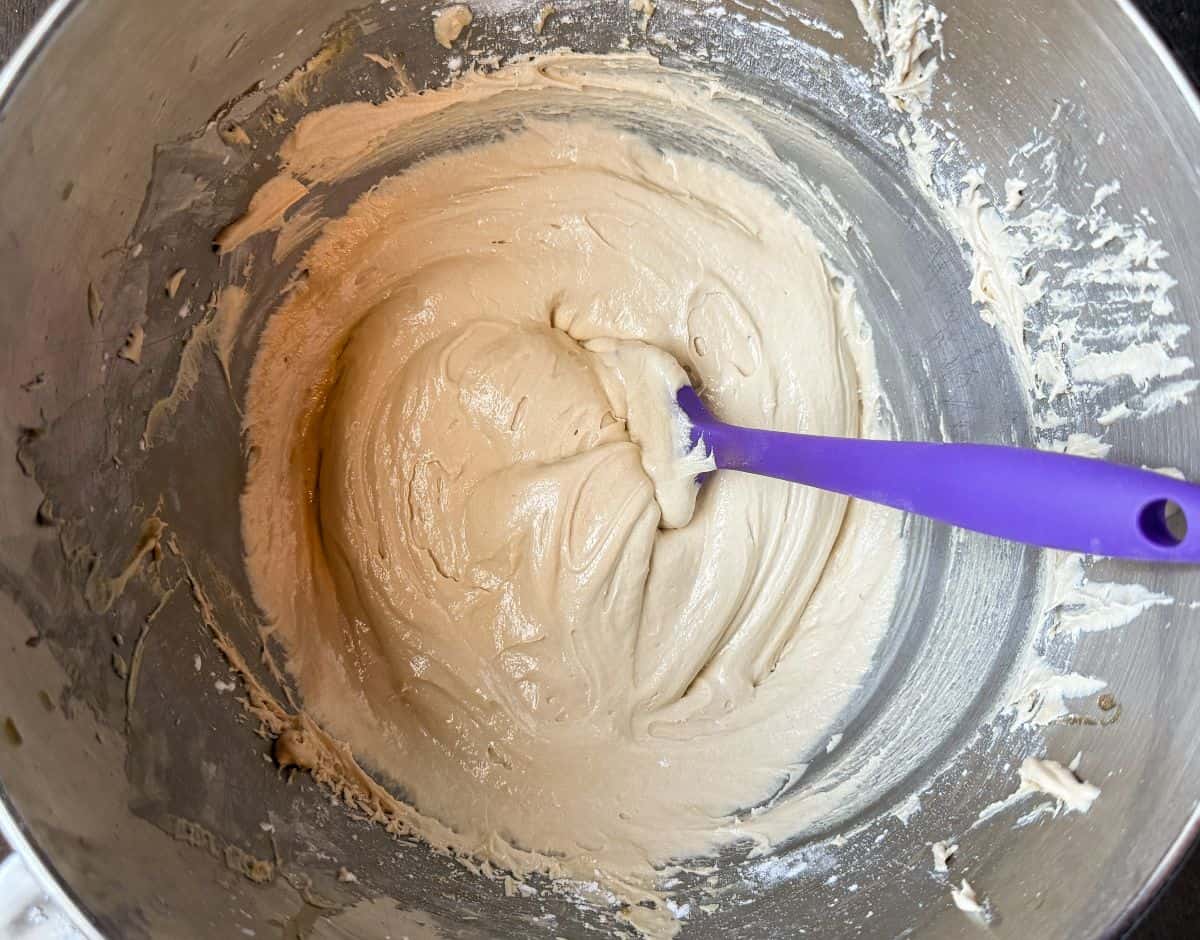
I also made Easy Vanilla Buttercream to use as the froth and whipped cream on top of the mug.
Assemble the Cake
I use a spinning cake stand to assemble cakes. First, place the gold cake board on top of the stand.
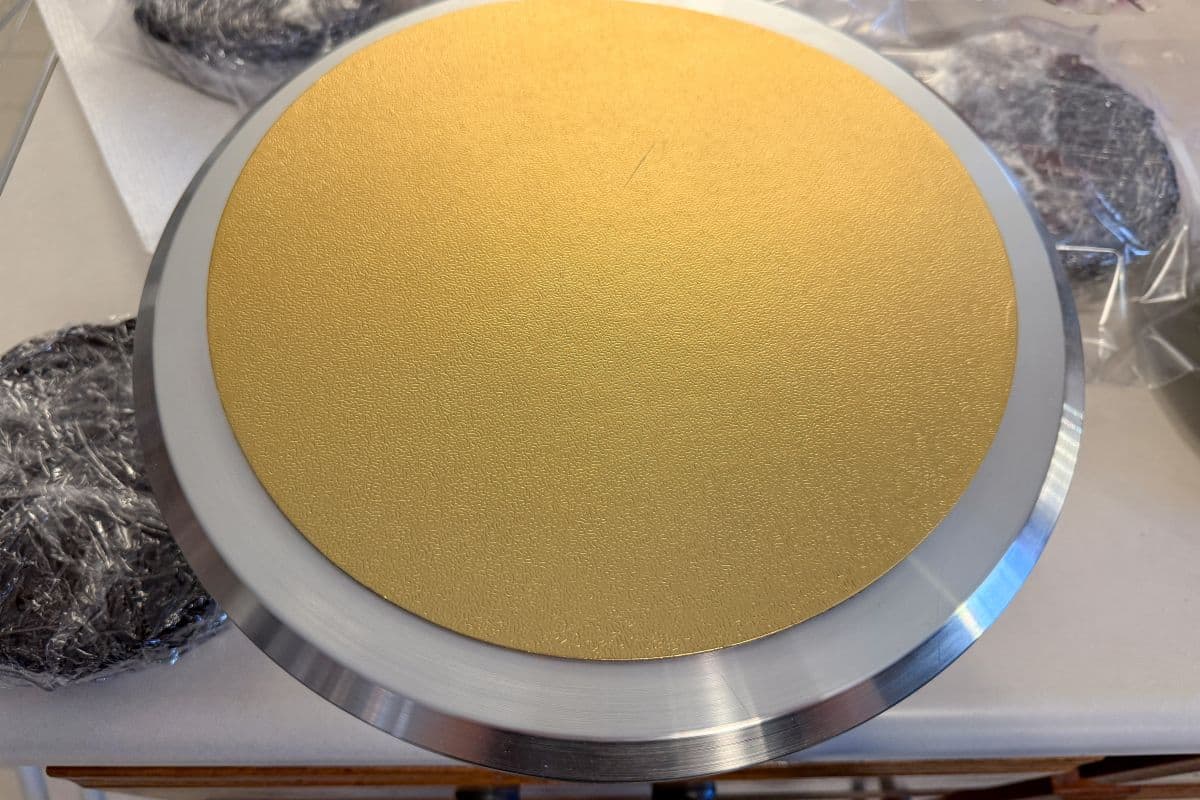
Place a small mound of Butterscotch Buttercream in the center of the cake board then place one cake layer on top with some pieces of waxed paper under the edges to protect the board. Add a mound of buttercream on top of the cake layer.
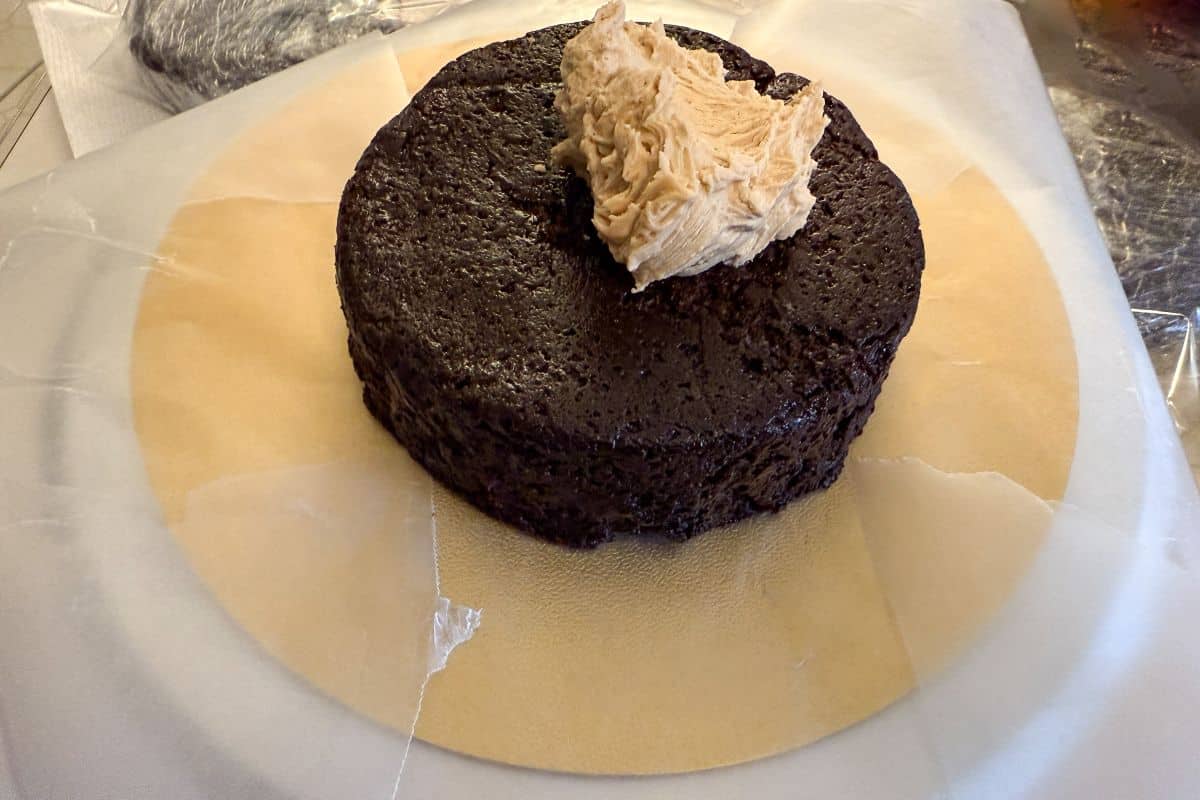
Spread the buttercream into an even layer with an offset spatula.
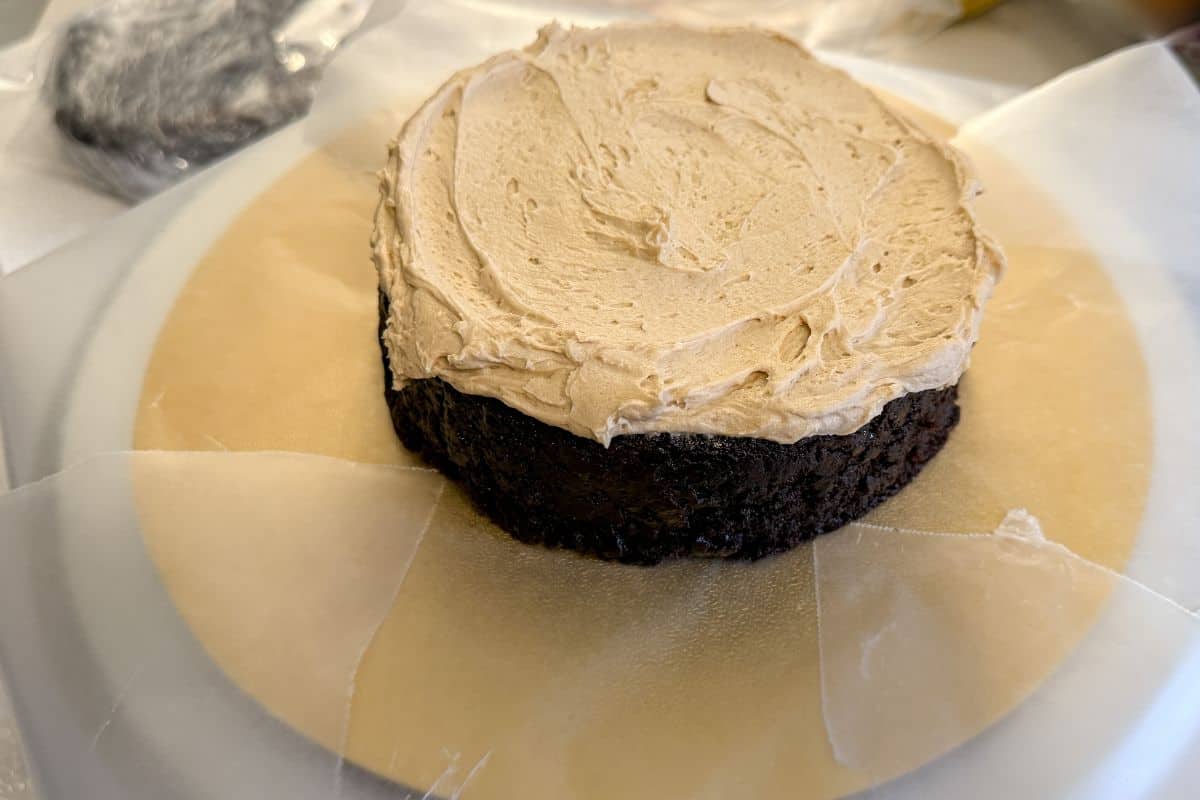
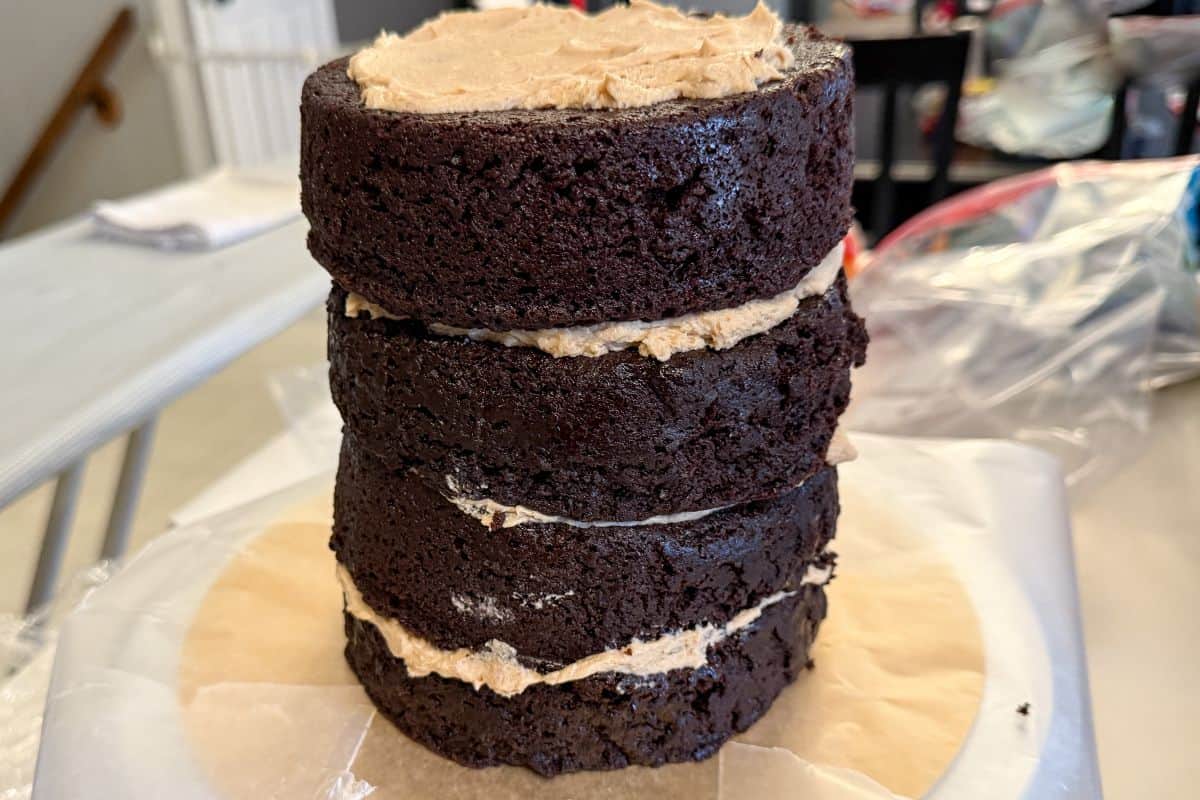
Place the second layer of cake on top and repeat the process until all 4 layers have been stacked.
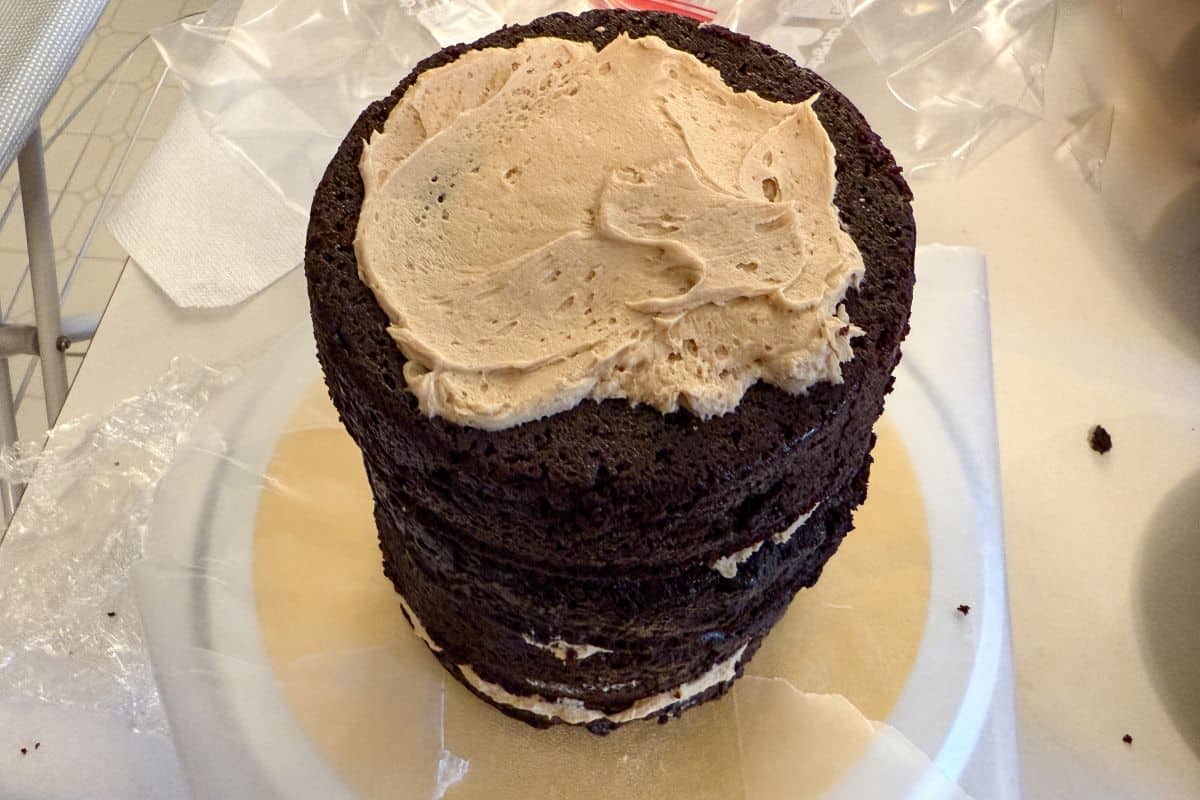
Insert some wooden skewers down through the cake to prevent sliding.
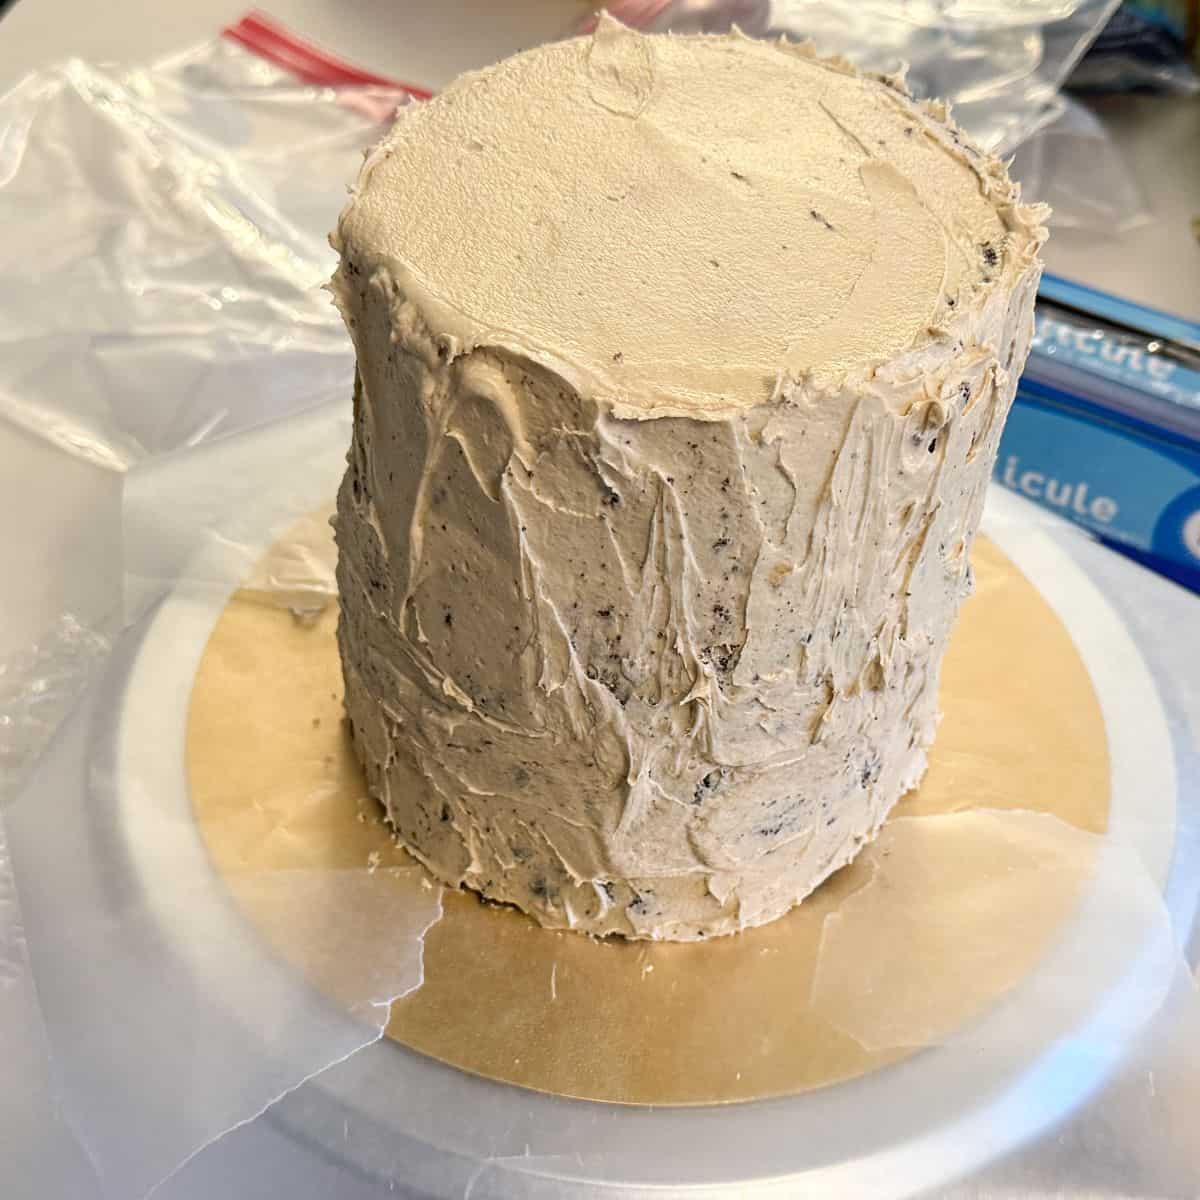
Frost the entire cake with Butterscotch Buttercream then smooth it out by spinning the cake stand and using a straight edge cake scraper. If you are running out of buttercream, you can leave the center of the top unfrosted because it will be covered with the fondant cone.
Carefully remove the waxed paper pieces by sliding them back and forth. The cake is heavy, so use extra caution when doing this.
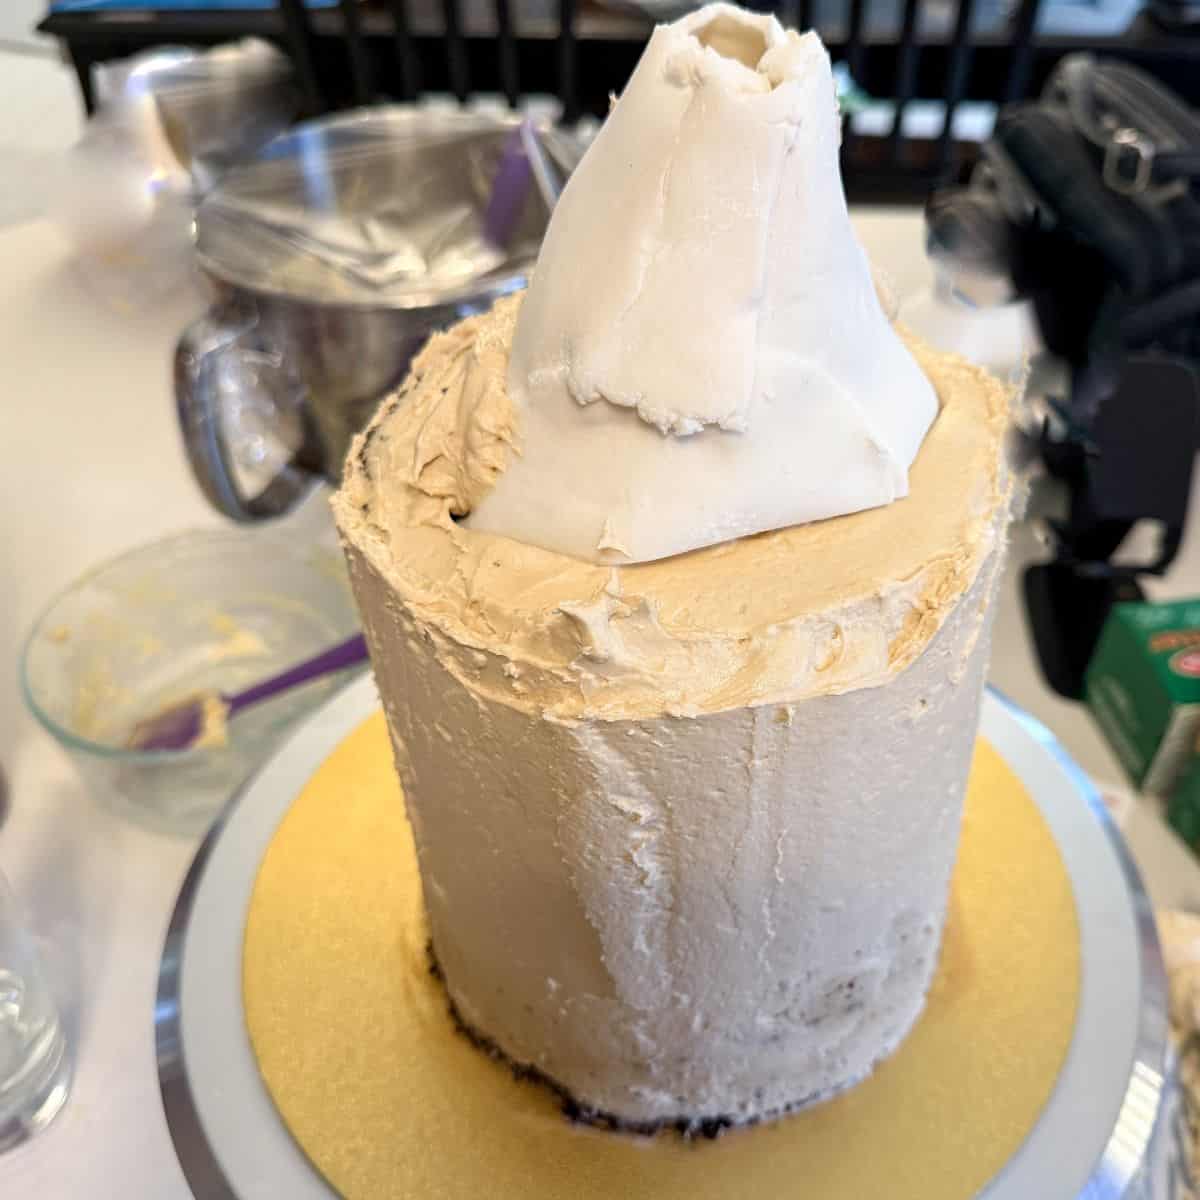
Place the white fondant cone on top of the cake.
Next, you'll prepare the butterscotch drips. I used the butterscotch ganache from Baking Up Memories.
Combine butterscotch chips and heavy cream in a bowl and microwave in 30 second intervals, stirring after each, until smooth and melted.
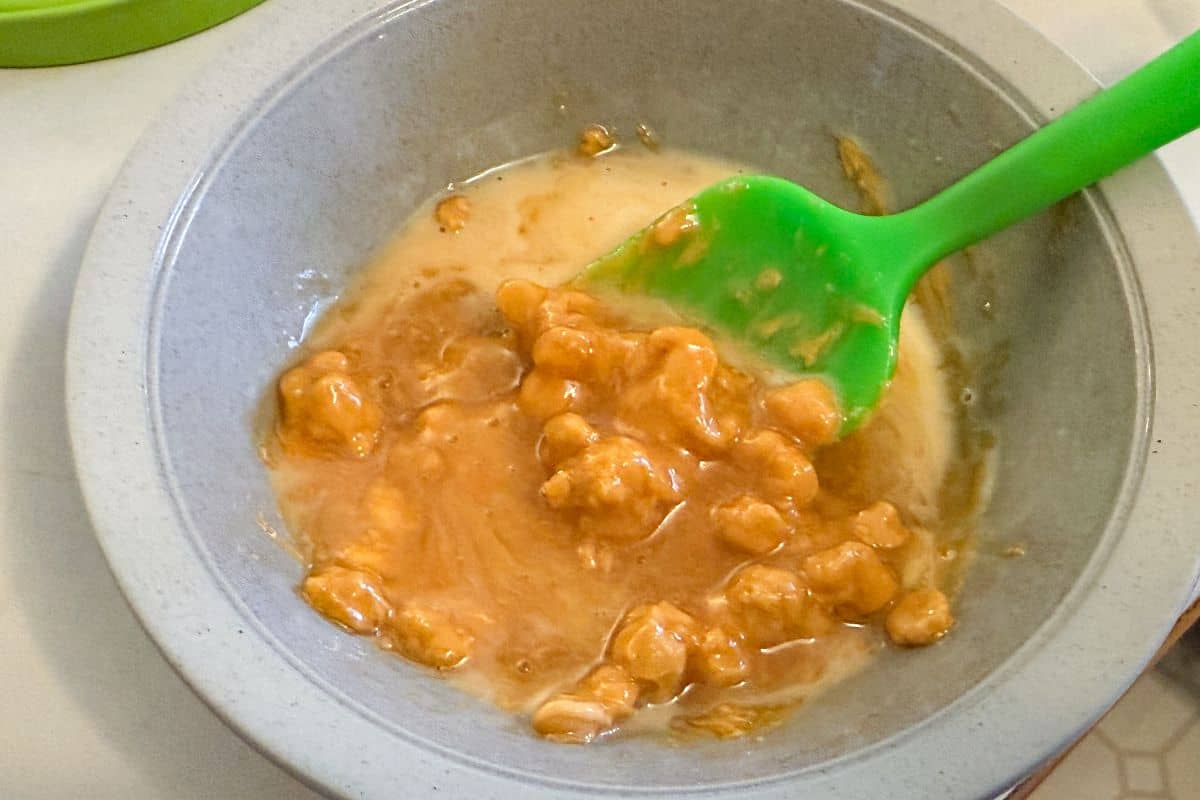
Immediately use a small spoon to lift small portions of the ganache and slowly pour it off the top edges of the cake to create drips.
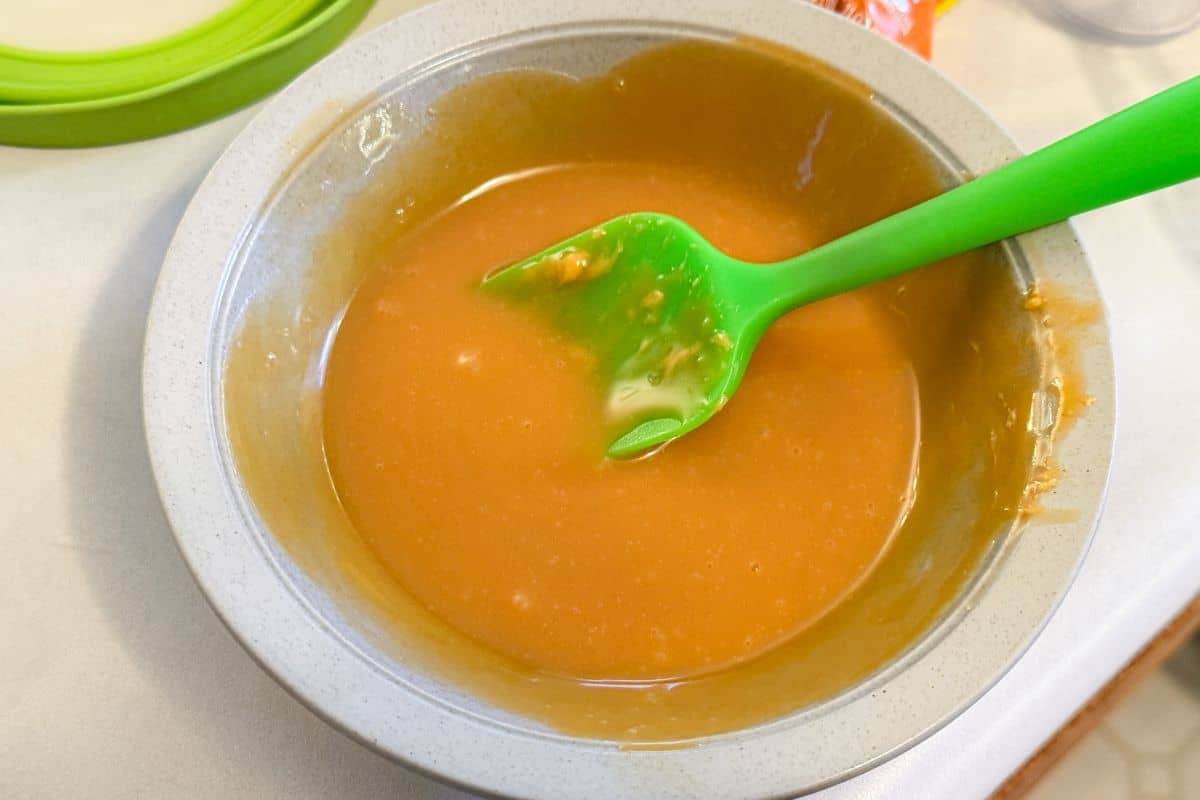
Refrigerate the cake for about 10 minutes to set the drips.
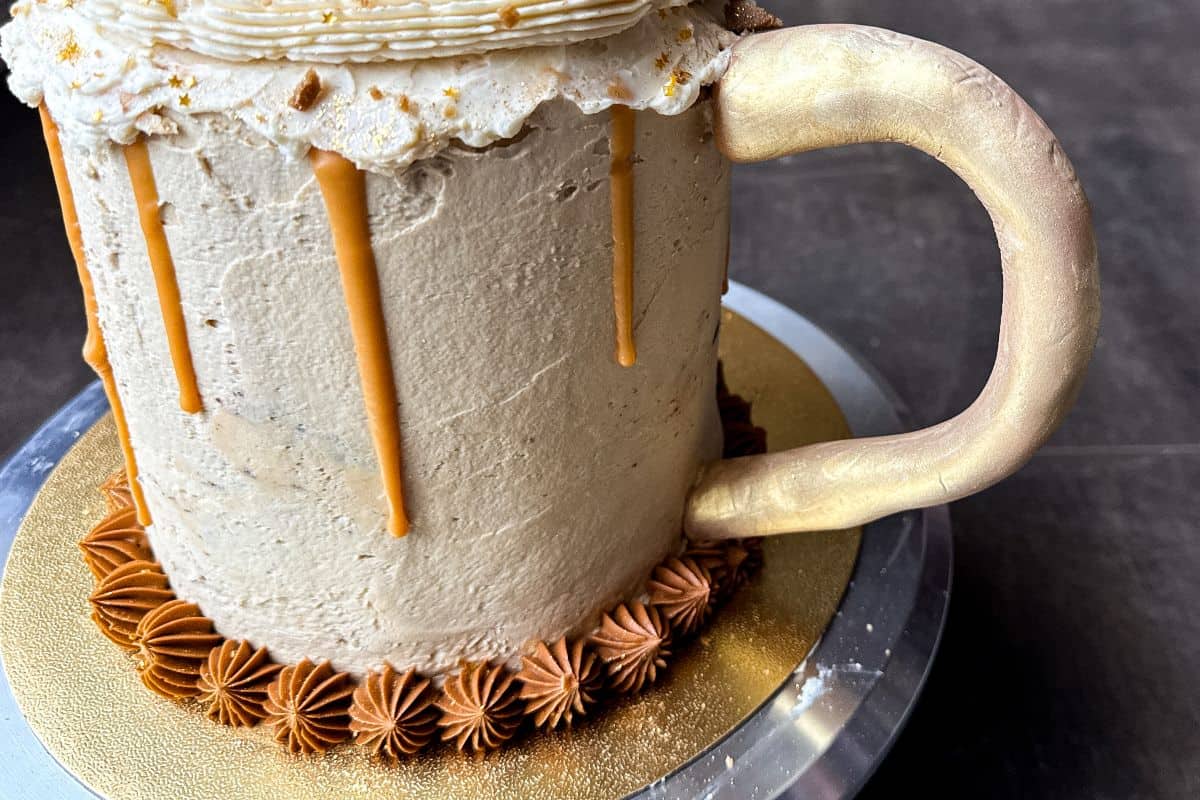
Break off the wooden skewers so they extend about 2 to 3 inches beyond the handle. Carefully insert the handle into the side of the cake until the fondant is touching the cake and the handle is secure.
Use an offset metal spatula to spread on some Easy Vanilla Buttercream around the top border of the cake to look like overflowing foam on the glass.
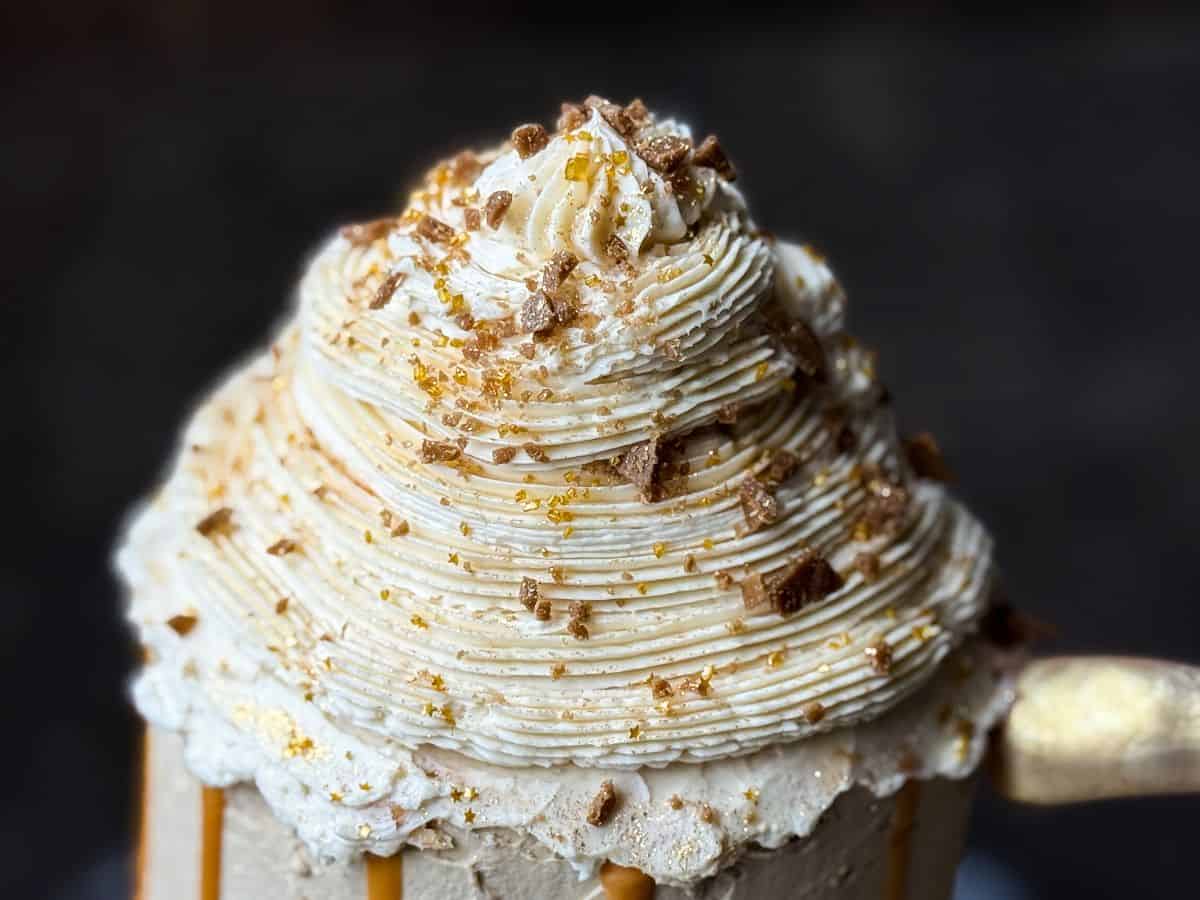
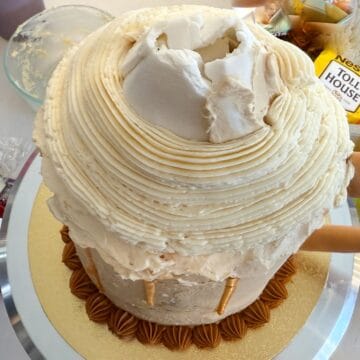
Fill a disposable piping bag fitted with a large star tip with Easy Vanilla Buttercream. Pipe around the fondant cone to look like a swirl of whipped cream.
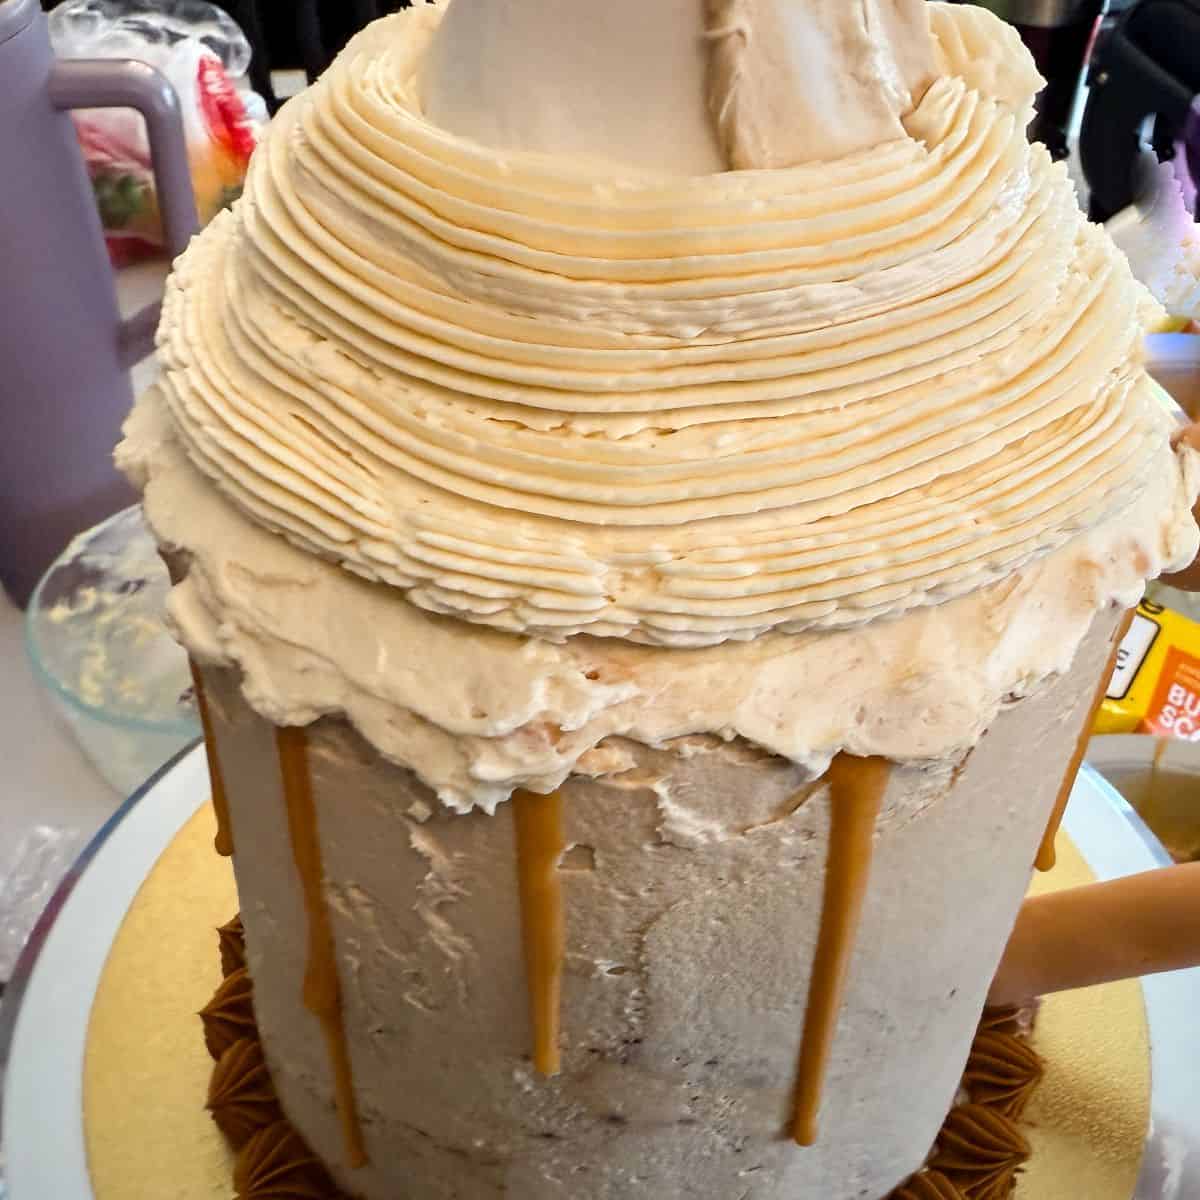
At the very top of the cone, you can make a star tip mound to completely cover the fondant.
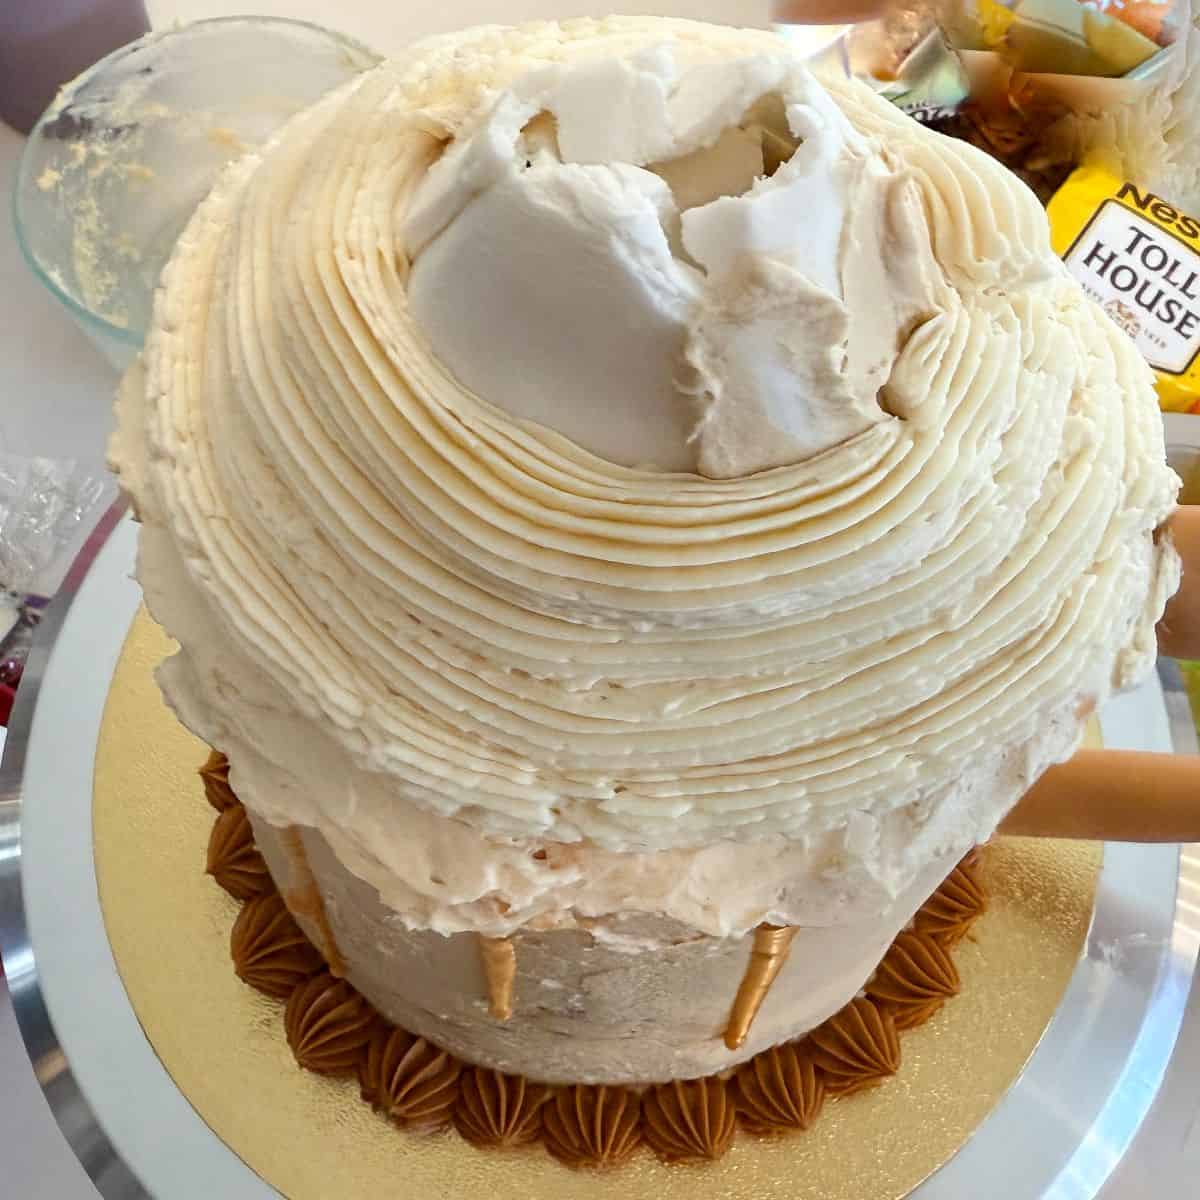
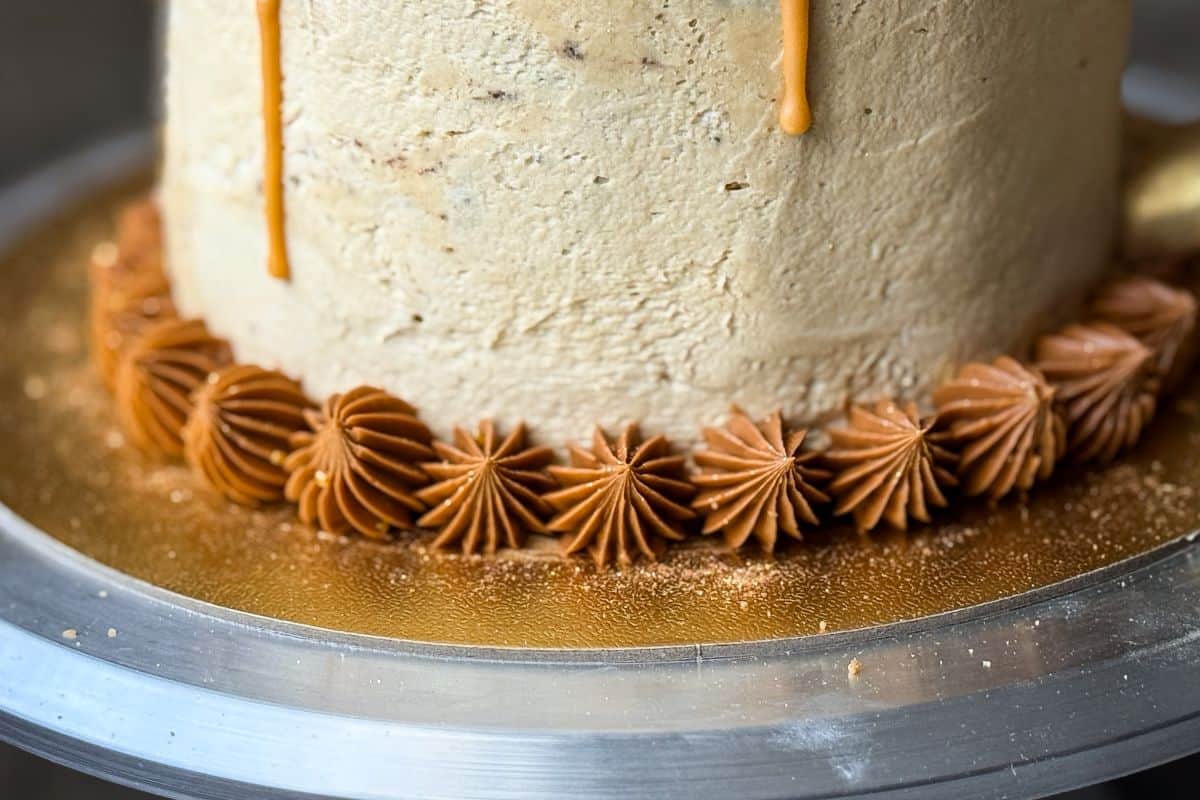
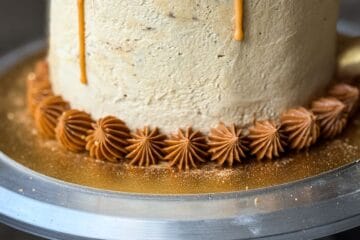
Pipe a decorative border around the bottom of the cake with a large star tip. I used gold and brown food coloring gel to tint some vanilla buttercream and then piped with a #6B tip. Sprinkle with edible gold glitter, if desired.
Mix up gold luster dust suspension and paint it on the fondant handle, taking care not to drip it on the cake.
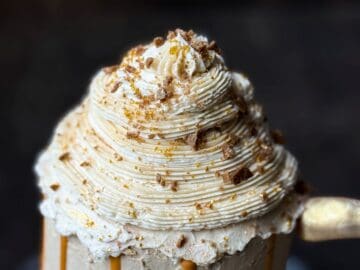
On top, sprinkle crumbled Homemade Toffee, gold sprinkles, edible gold glitter, edible gold stars and gold sugar sprinkles.
Storage
The cake should be stored in the refrigerator. Allow it to come to room temperature before serving to soften the buttercream.
Gluten Free Option
I use Bob's Red Mill Gluten Free 1 to 1 Baking Flour in this Chocolate Layer Cake recipe in place of all purpose flour. The other ingredients are gluten free.
📖 Recipe
Harry Potter Butterbeer Cake
Equipment
- parchment paper
- masking tape
- aluminum foil
- powdered sugar
- small fondant rolling pin
- disposable nitrile gloves optional
- wooden skewers
- 10-inch gold round cake board
- spinning cake stand optional
- food dedicated paint palette
- disposable transfer pipette
- food-safe paintbrush
- Disposable piping bag
- decorative piping tip like a #6B large star tip
Ingredients
For the Fondant Decorations:
- white fondant or gum paste
- gold food coloring gel
- brown food coloring gel
For Cake Assembly:
- 4 6-inch cake layers (such as Chocolate Layer Cake)
- 4 batches Butterscotch Buttercream (see note)
- 2 batches Easy Vanilla Buttercream (see note)
For the Butterscotch Drips:
- ½ cup butterscotch chips
- 3 tablespoons heavy whipping cream
For Decoration:
- gold luster dust
- Everclear, vodka or clear extract
- Homemade Nut Free Toffee (see note)
- gold sprinkles
- gold edible stars
- gold edible glitter
Instructions
Make the Fondant Cone:
- Cut a strip of parchment paper and wrap it into a cone shape with a base that measures about 4 inches in diameter. Tape to secure it. Depending on how slick your paper is, this may require multiple pieces of tape, some of which are tape on top of tape to get it to stick.
- Trim the bottom edge of the cone so it stands up straight.
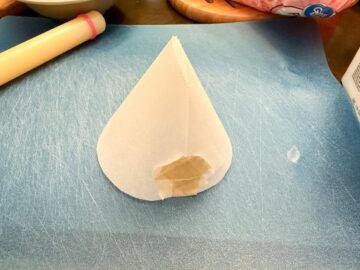
- Fill the inside of the cone with crumbled aluminum foil so it can maintain its shape when the fondant is wrapped around it. Set the cone aside.
- Dust a cutting surface with powdered sugar and roll about ¼ cup of white fondant or gum paste out to even thickness so it is more than twice the height of your cone.
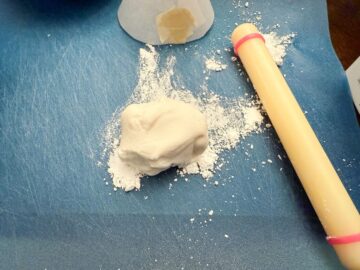
- Wrap the fondant around the cone to completely cover. Trim the bottom edge so it can stand up straight. This cone can look rustic since it will be completely covered in buttercream.
Make the Fondant Handle:
- Add some gold food coloring gel on top of about ¼ cup white fondant. I recommend wearing disposable nitrile gloves when working the gel into the fondant to avoid staining your hands. You can twist and fold the fondant much like clay to evenly distribute the color. You may add a small drop of brown food coloring if you want a deeper color and work it into the fondant the same way.
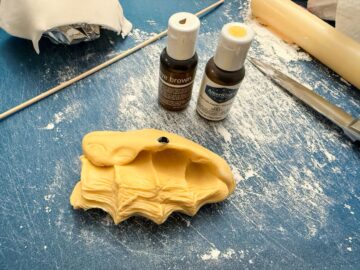
- Roll the fondant against the powdered sugar dusted cutting surface into a rope shape and form into a handle. Carefully insert wooden skewers into each end.
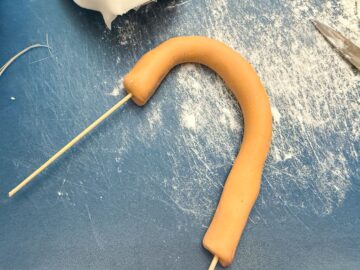
- Allow the fondant decorations to dry uncovered at room temperature for at least 1-2 days, perhaps more depending on the temperature and humidity of your workspace.
Assemble the Cake:
- Place a cake board on top of a spinning cake stand.
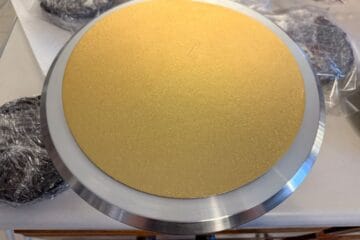
- Place a small mound of Butterscotch Buttercream in the center of the cake board then place one cake layer on top with some pieces of waxed paper under the edges to protect the board.
- Add some Butterscotch buttercream on top of the cake layer. Spread the buttercream into an even layer with an offset spatula.
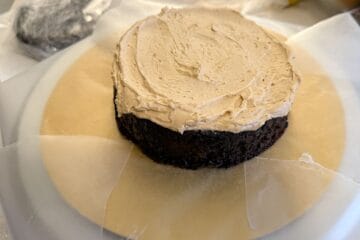
- Place the second layer of cake on top and repeat the process until all 4 layers have been stacked.
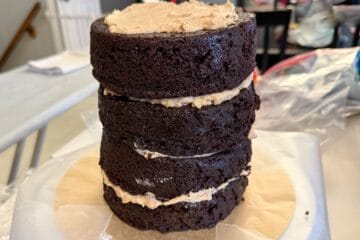
- Frost the entire cake with Butterscotch Buttercream then smooth it out by spinning the cake stand and using a straight edge. If you are running out of buttercream, you can leave the center of the top unfrosted because it will be covered with the fondant cone.
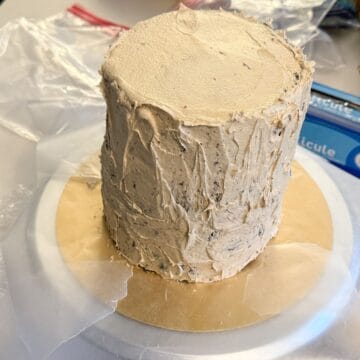
- Carefully remove the waxed paper from underneath the cake. The cake is heavy, so this may take some effort. The bottom will be covered with a border to cover small imperfections.
- Insert some wooden skewers down through the cake to prevent sliding.
Make the Butterscotch Drips:
- Combine butterscotch chips and cream in a bowl and microwave in 30 second intervals, stirring after each, until smooth and melted.½ cup butterscotch chips, 3 tablespoons heavy whipping cream
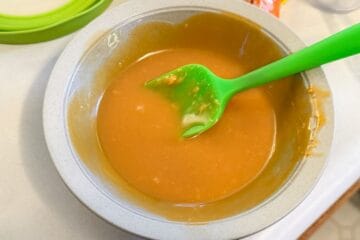
- Immediately use a spoon to lift small portions of the ganache and slowly pour it off the top edges of the cake to create drips.
- Refrigerate the cake for 10 minutes to set the drips.
Attach and Paint the Handle:
- Mark the wooden skewers sticking out of the handle about 2 to 3 inches out. Remove the wooden skewers from the handle and break them on the spot you marked. Insert them back into the handle.
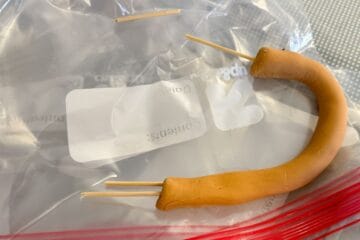
- Carefully insert the handle into the side of the cake until the handle is touching the cake and is secure.
- Add some edible gold luster dust to the well of a food dedicated paint palette. Transfer drops of Everclear or vodka to the dust and mix with a food grade paintbrush to create a liquid gold suspension.
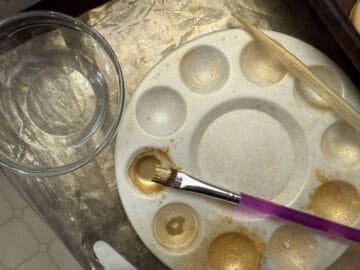
- Paint the handle with the liquid gold, taking care not to drip it on the cake. You may need to let the excess liquid run off the paintbrush before applying it to avoid drips.
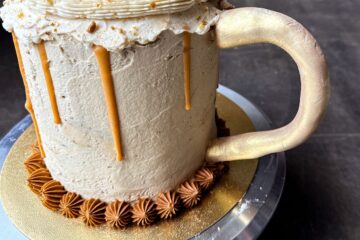
Finish the Cake:
- Use an offset metal spatula to spread some Easy Vanilla Buttercream around the top border of the cake to look like overflowing foam on the glass.
- Place the white fondant cone on top of the cake.
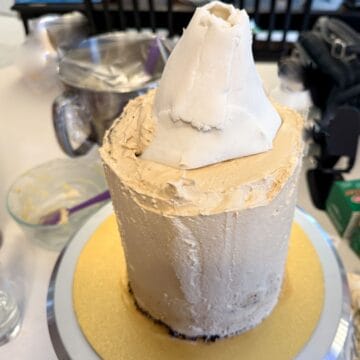
- Fill a disposable piping bag fitted with a large star tip with Easy Vanilla Buttercream. Pipe around the fondant cone to look like a swirl of whipped cream.
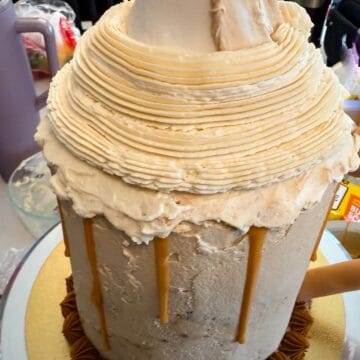
- At the very top of the cone, you can make a star tip mound to completely cover the fondant.
- Sprinkle crumbled Homemade Toffee, edible gold dust, edible gold stars and gold sugar sprinkles on top of the cake.
- Tint some vanilla buttercream with gold and brown food coloring gel to achieve a rich light brown color. Transfer the buttercream to a disposable piping bag fitted with a large start tip. Sprinkle with edible gold glitter, if desired.
- The cake should be stored in the refrigerator. Allow it to come to room temperature before serving to soften the buttercream.
Leave a Reply