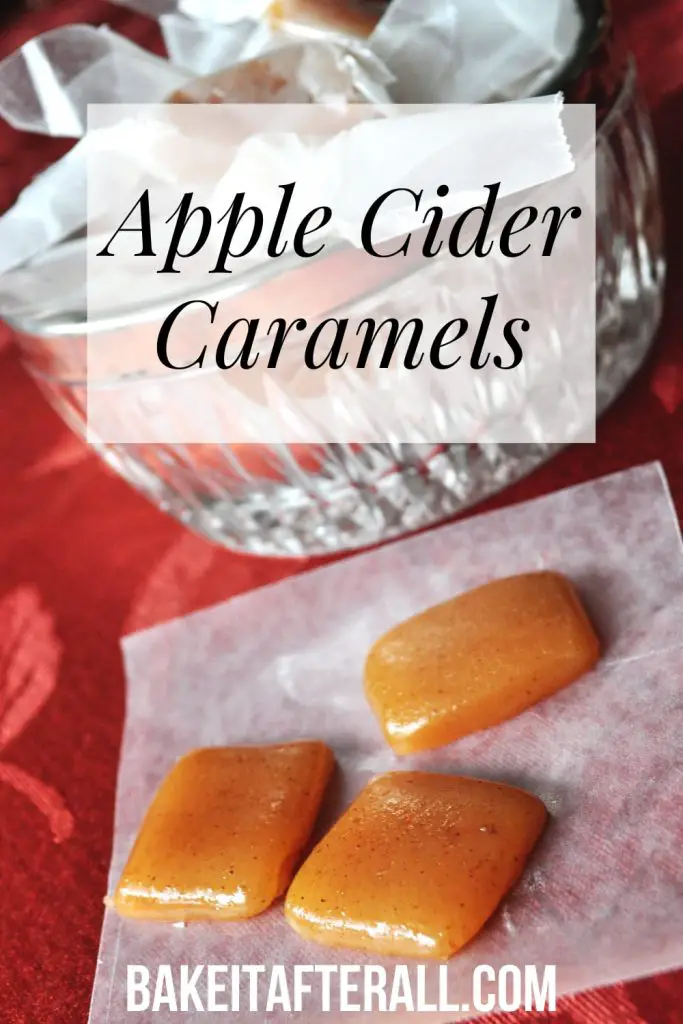
Apple Cider Caramels
These homemade caramels have a true apple cider flavor with the spices of fall. They are great alone or baked in Brown Butter Sugar Cookies with Apple Cider Caramels!

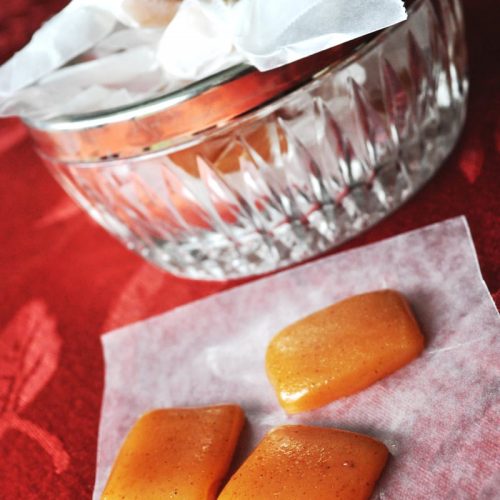
I made these apple cider caramels two falls ago and never got around to blogging them, which is sad because they are so, so good. I’ve never had anything like them before, and they truly do have a distinct apple cider flavor. Stay tuned for my next post where I show you an awesome recipe that uses these caramels! UPDATE: Browned Butter Cookies with Apple Cider Caramels


Apple Cider Caramels
With the bright flavors of apple cider and warm fall spices, these caramels are great alone or baked into Browned Butter Sugar Cookies.
Ingredients
- 4 cups apple cider
- 2 teaspoons flaky sea salt
- 1/2 teaspoon ground cinnamon
- 1/2 cup butter (cut into cubes)
- 1 cup granulated sugar
- 1/2 cup light brown sugar
- 1/3 cup heavy cream
Instructions
- Boil the apple cider in a 4-quart saucepan over high heat, stirring occasionally, until reduced to a dark, thick syrup, between 1/3-cup and 1/2-cup (approximately 35 to 40 minutes).
- Meanwhile, line the bottom and sides of an 8-inch square baking dish with parchment paper, leaving excess hanging over the sides.
- In a small bowl, combine the cinnamon and salt, set aside.
- After the cider has reduced, remove it from the heat and stir in the butter, sugars, and heavy cream. Return the pan to medium-high heat and attach a candy thermometer to the side. Let the mixture boil until the thermometer reaches 252 degrees F, about 5 minutes.
- Immediately remove the caramel from the heat, add the cinnamon and salt, and stir several times with a wooden spoon. Pour the caramel into the prepared pan. Let sit until cool and firm, about 2 hours.
- Once the caramel is firm, use the parchment overhangs to lift it out of the pan and transfer to a cutting board. Using a very sharp knife coated with non-stick cooking stray, cut the caramel into 1-inch squares. You may need to respray the knife several times during cutting to ensure clean slices.
- Wrap each caramel in a 4-inch square of waxed paper, twisting the sides to close. The caramels can be stored in an airtight container for up to 2 weeks.
Notes
Source: Adapted from Brown Eyed Baker, originally from The Smitten Kitchen Cookbook and blog
You’re Gonna Bake It After All
bakeitafterall.com
My mouth is watering just thinking about these caramels!!!